Back to the Future Lego Set
2026-03-29
Having some fun building the iconic DeLorean Time Machine Lego Set from Back to the Future

I had my eye on the Back to the Future Lego set since I first saw it. I watched the Back to the Future movies as a kid, so this build brought back a lot of memories. At $249 CAD it’s a bit pricey, but it was a very fun build. I highly recommend it!
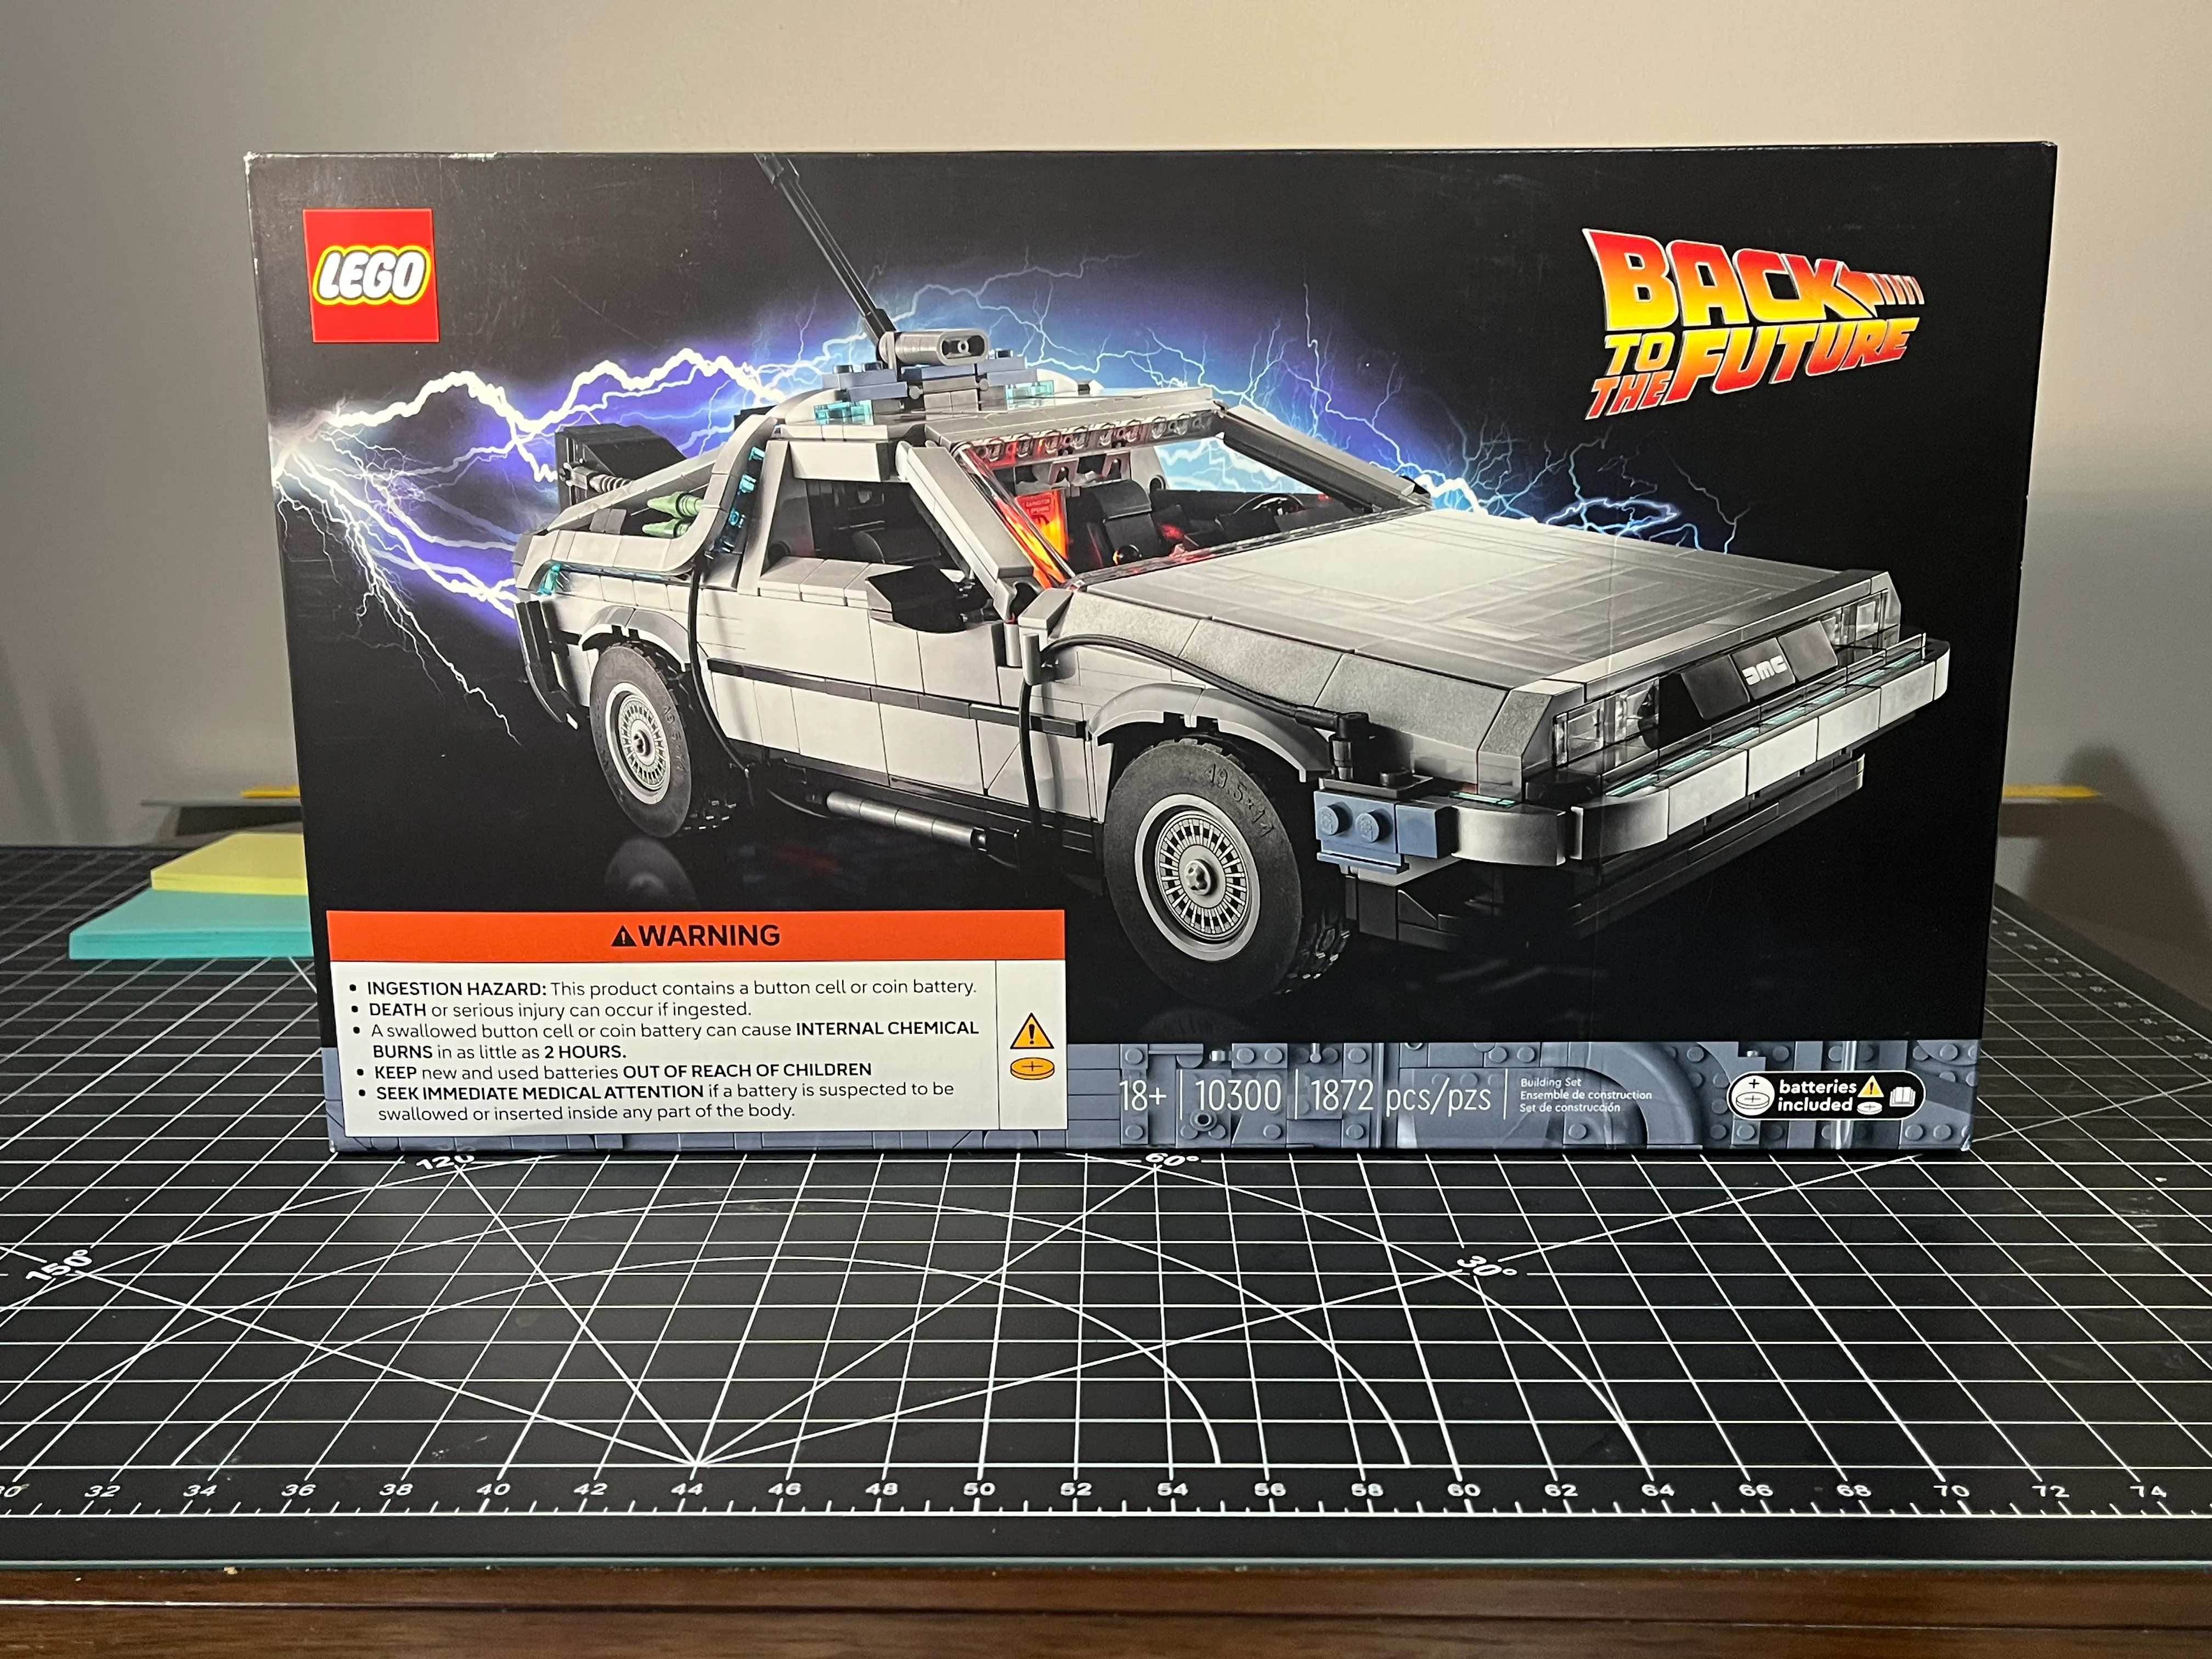
Packaging
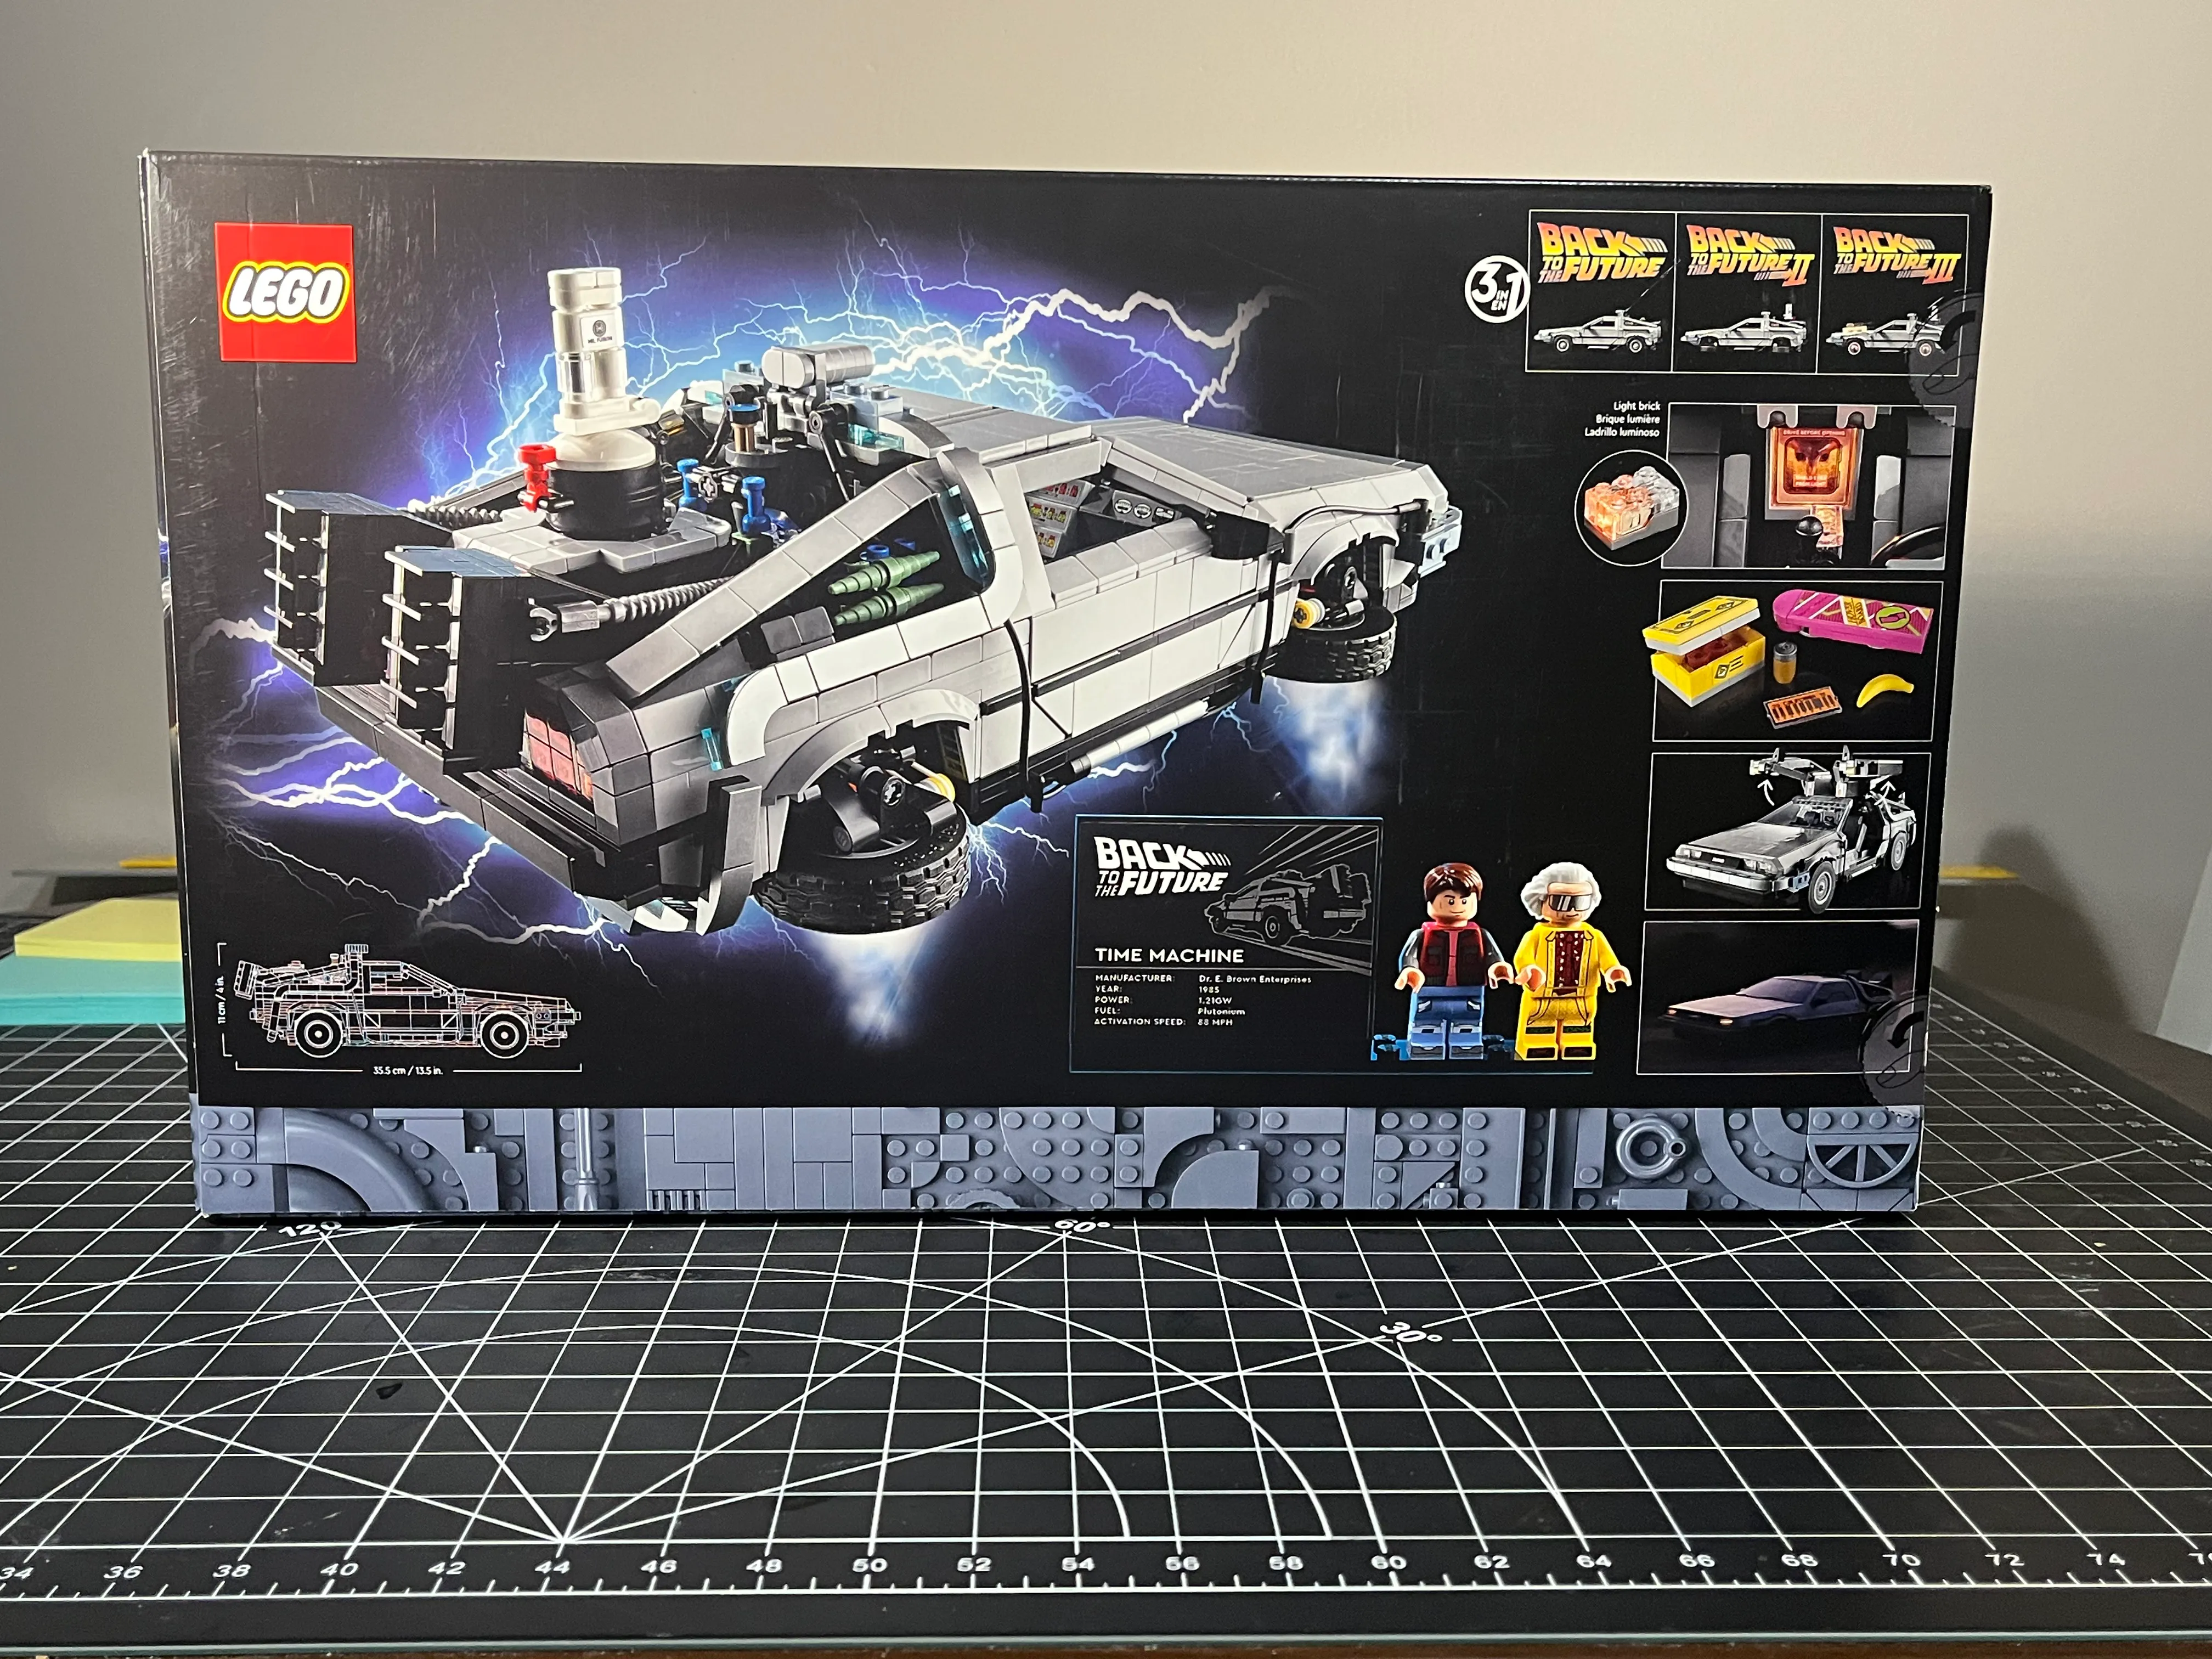
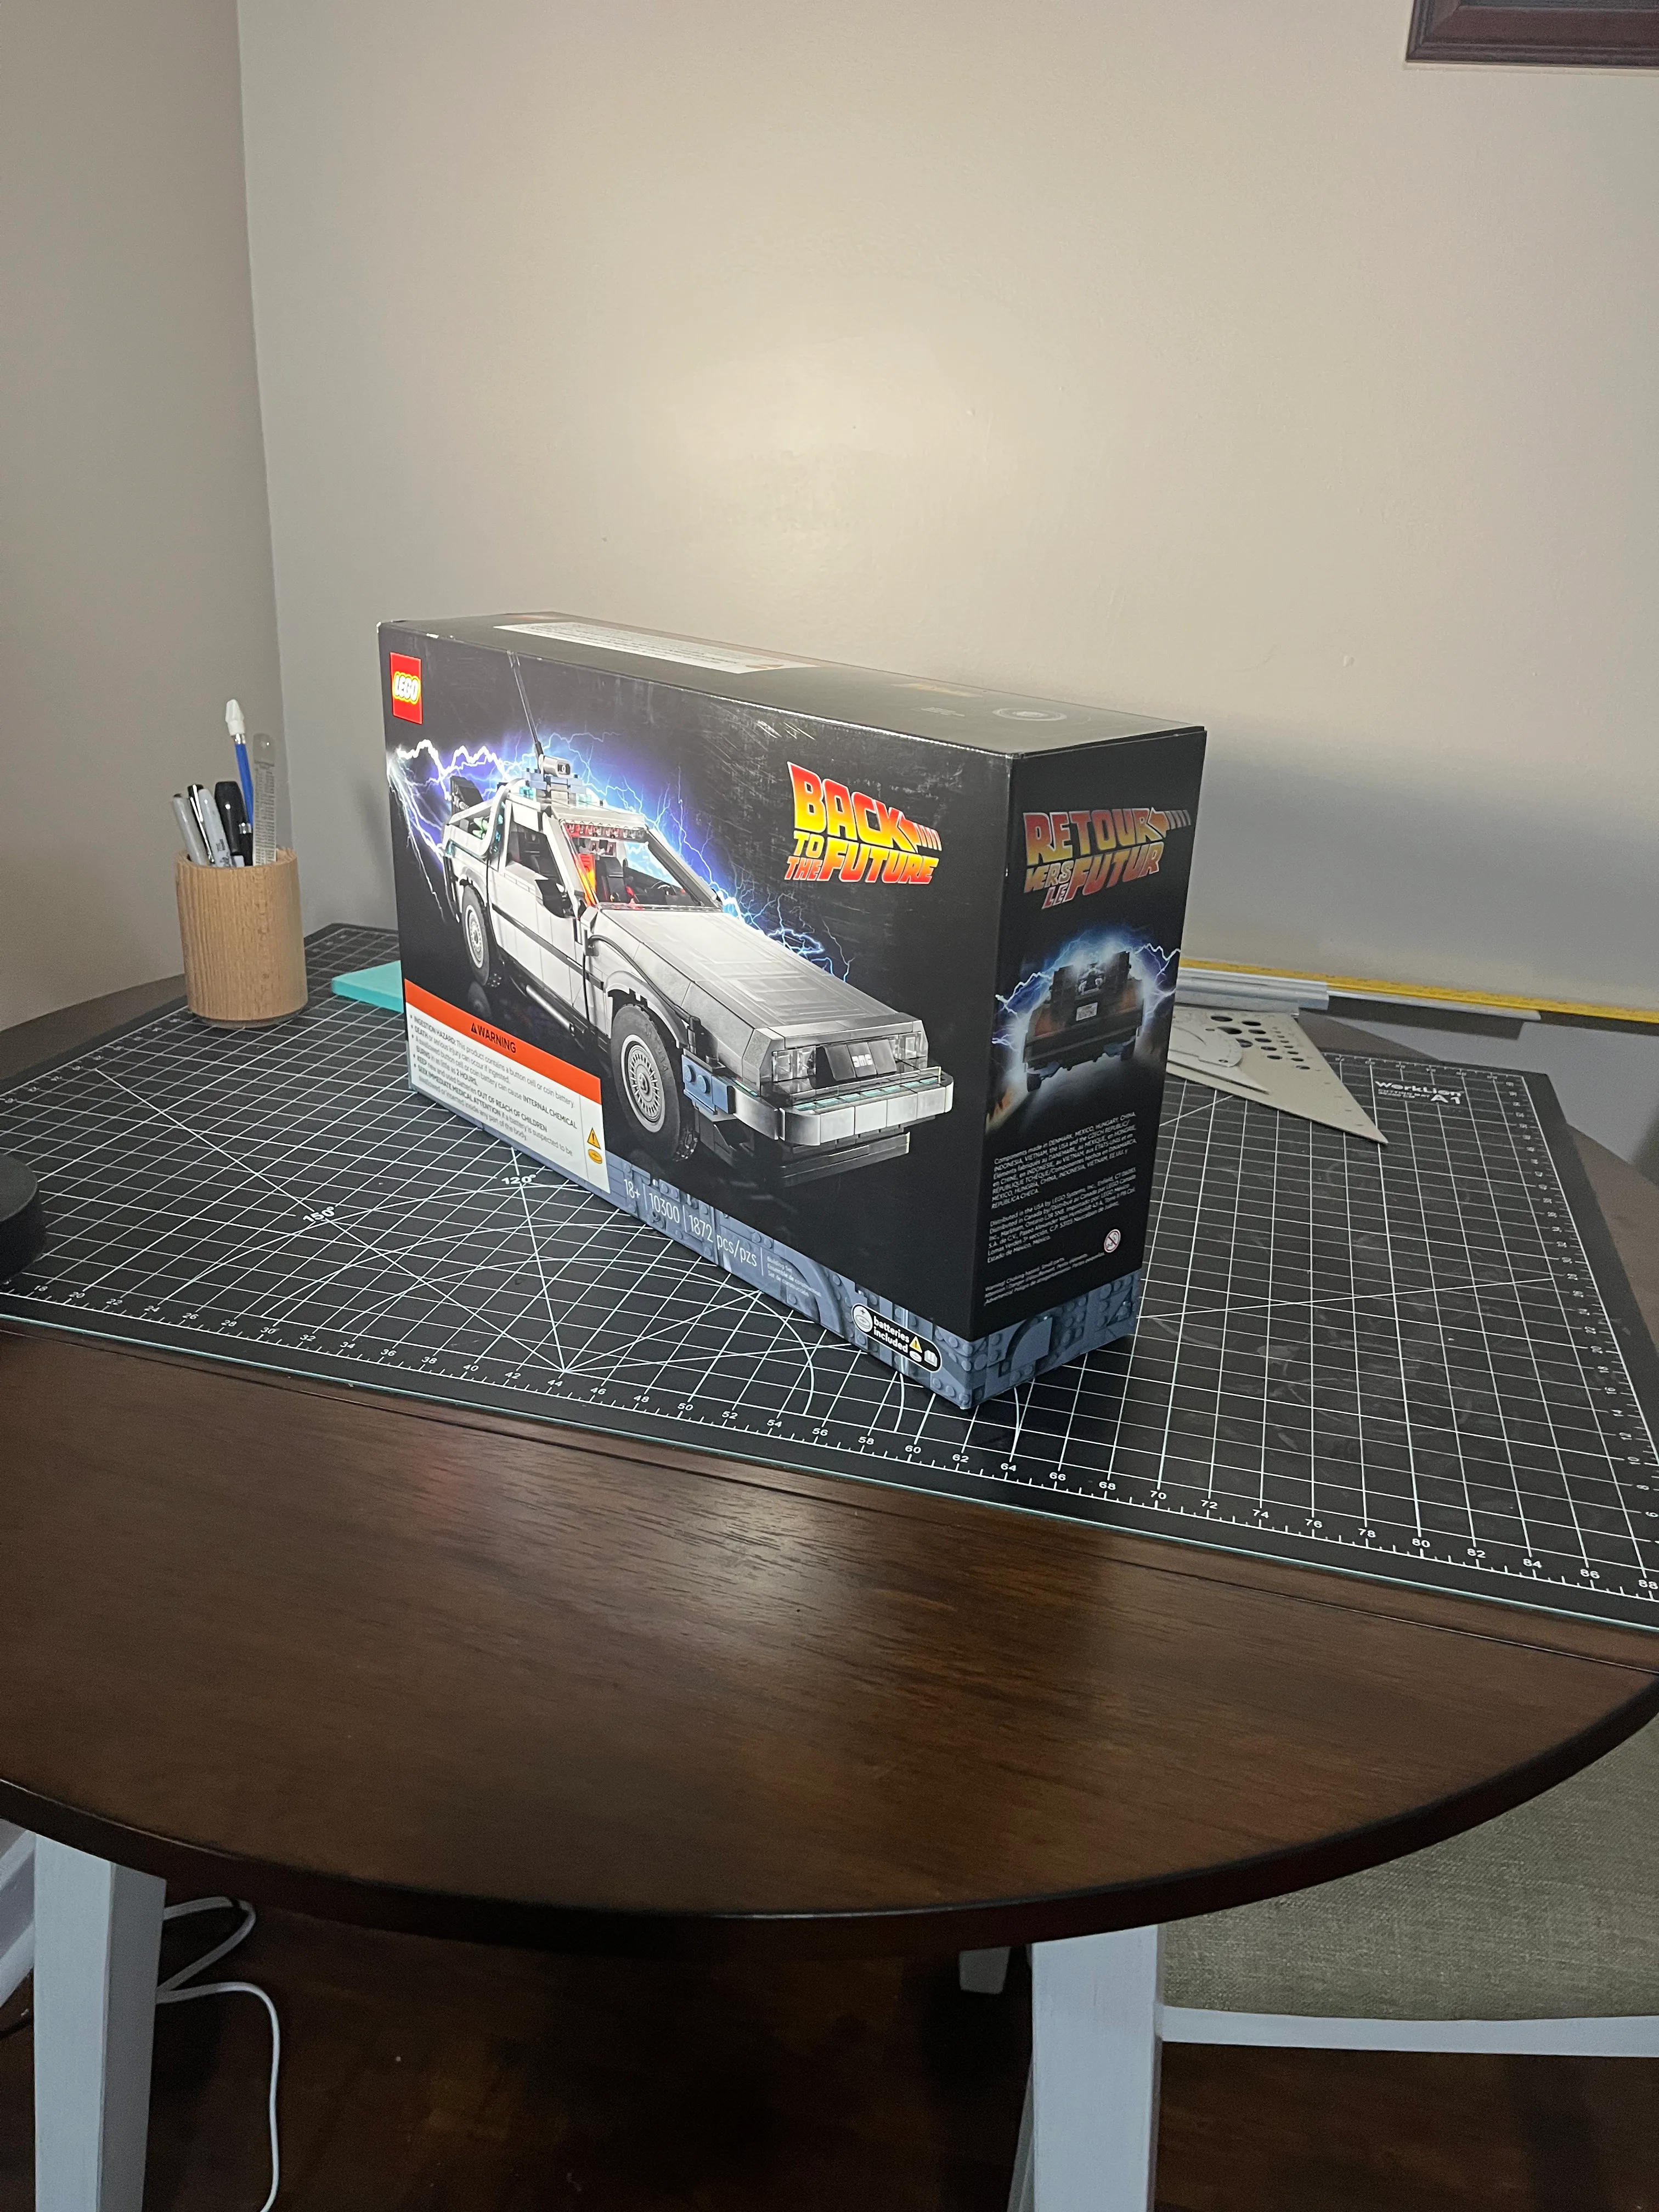
The packaging alone was incredible. I took my time opening the box so I didn’t damage it. The box itself is a display piece, in my opinion.
Contents
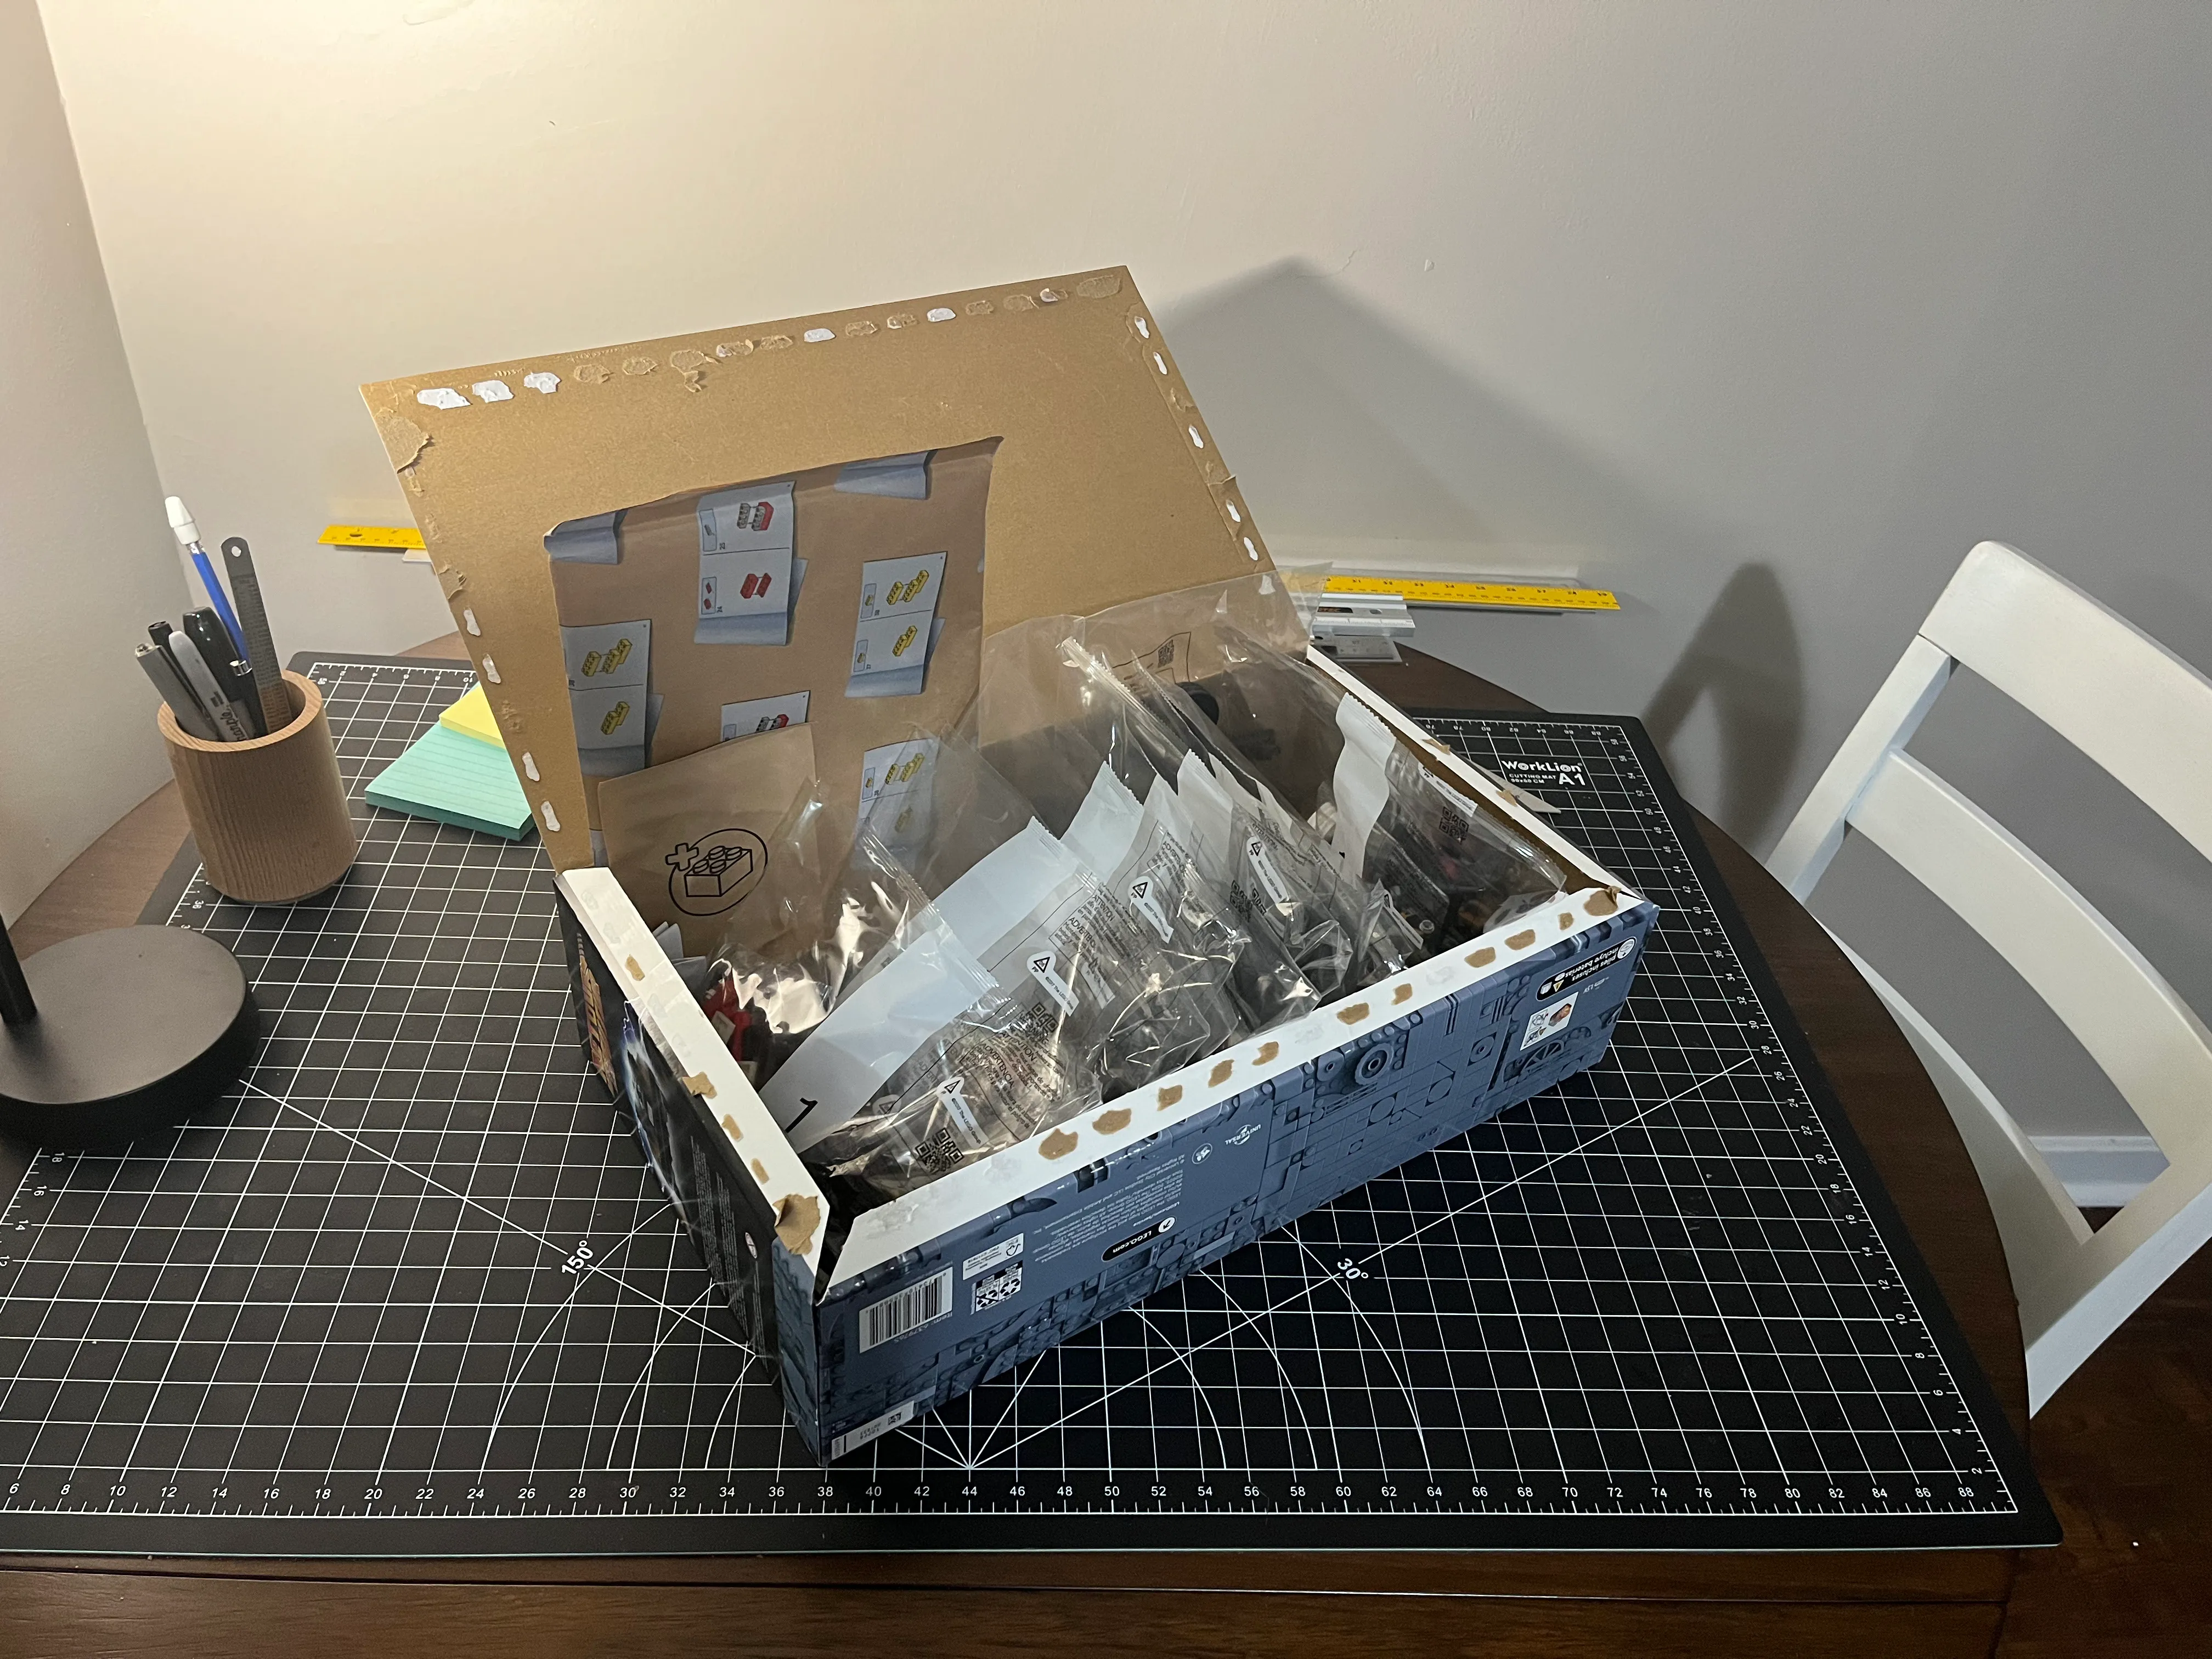
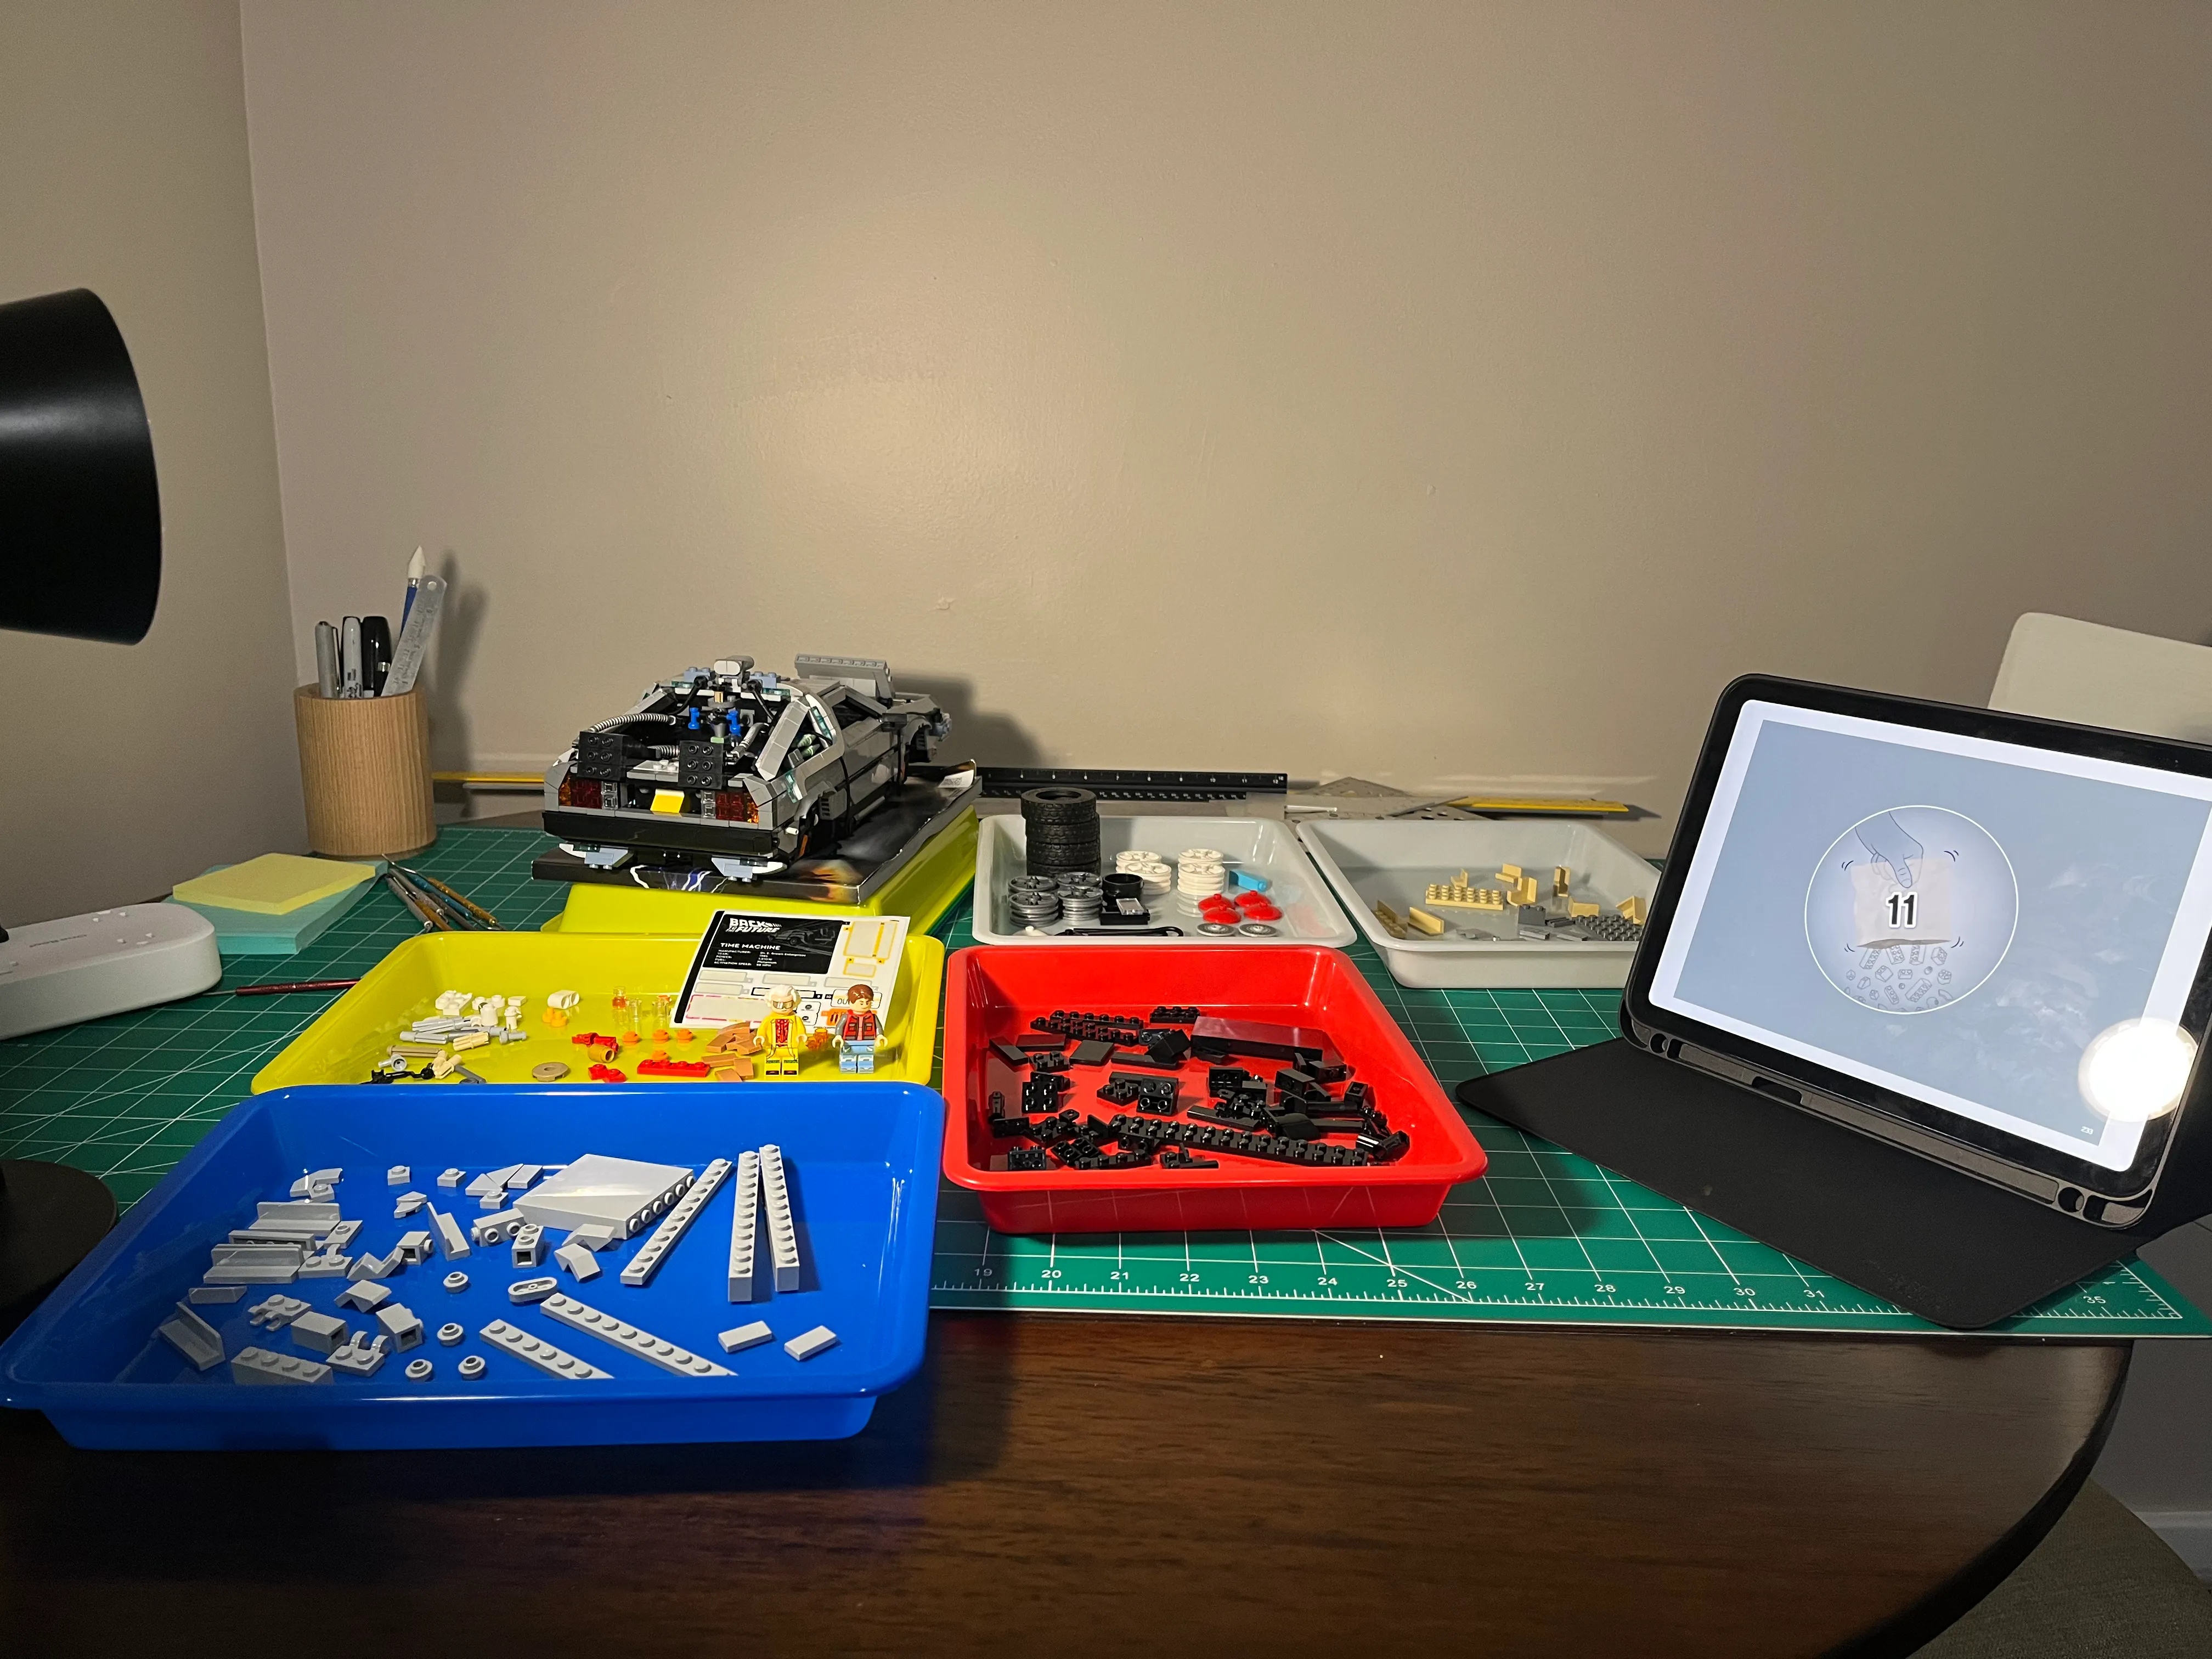
There’s 11+ bags, the instruction booklet, and the windshield wrapped in bubble wrap.
Bag #1
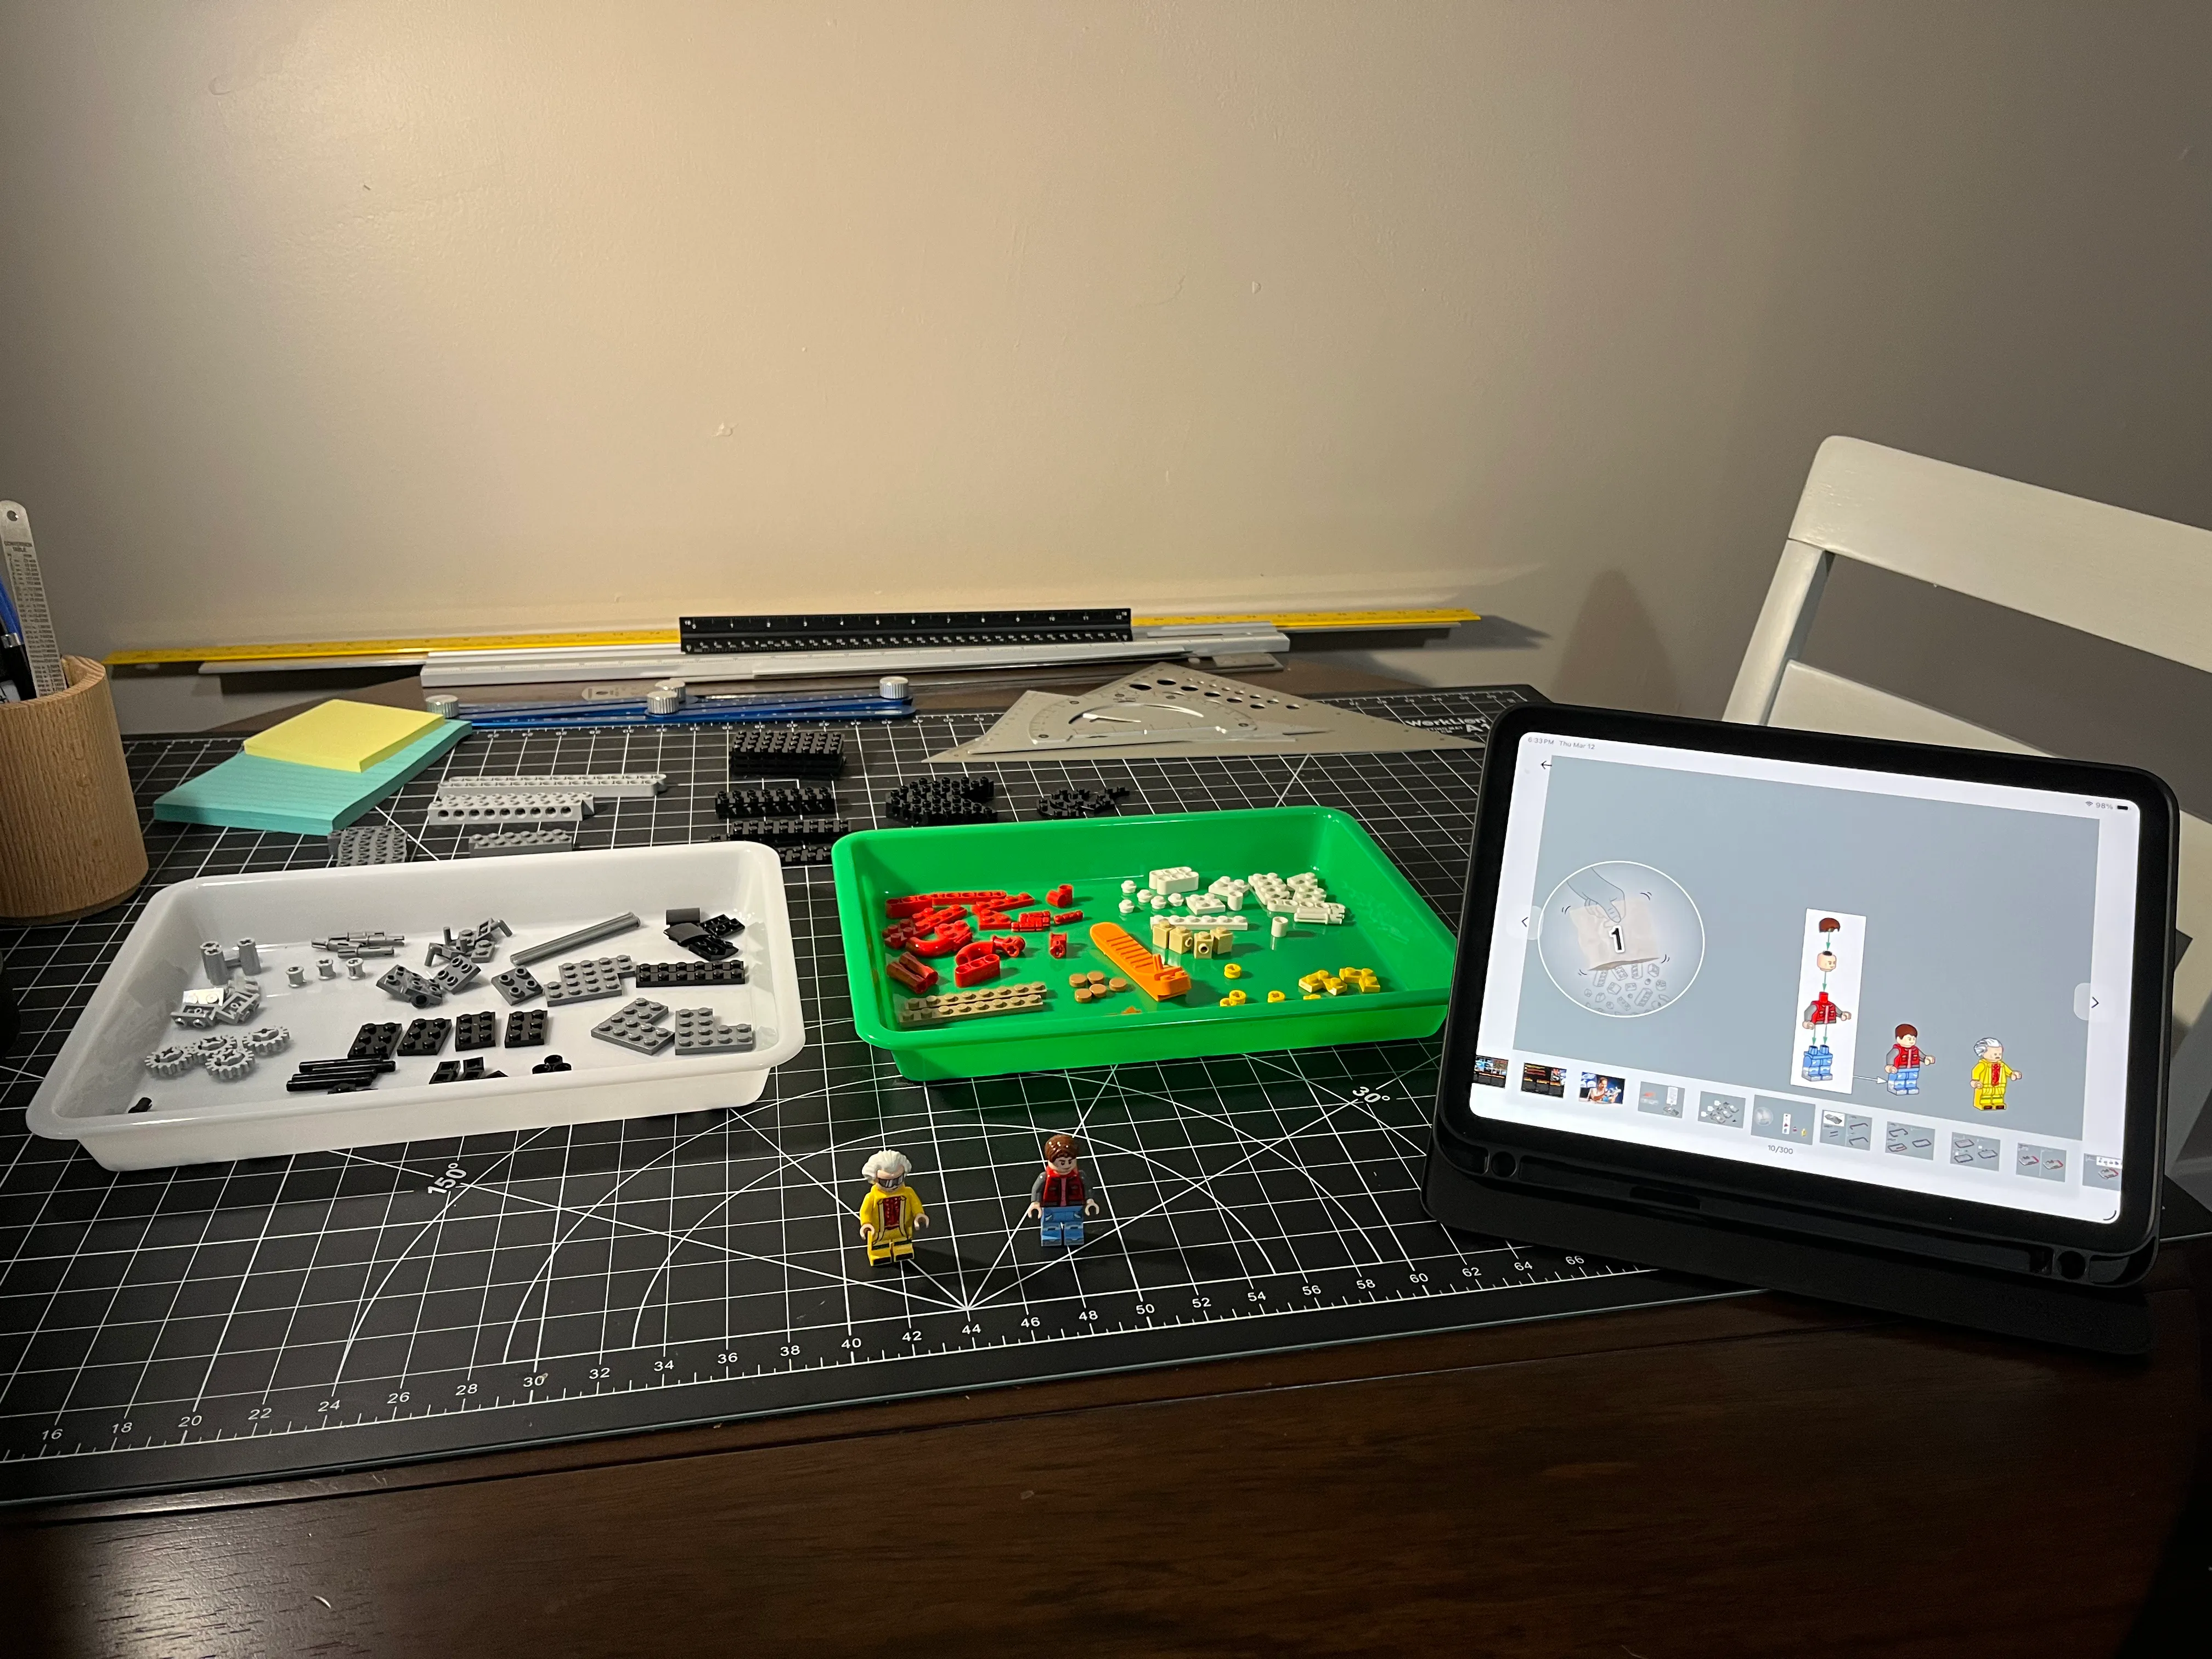
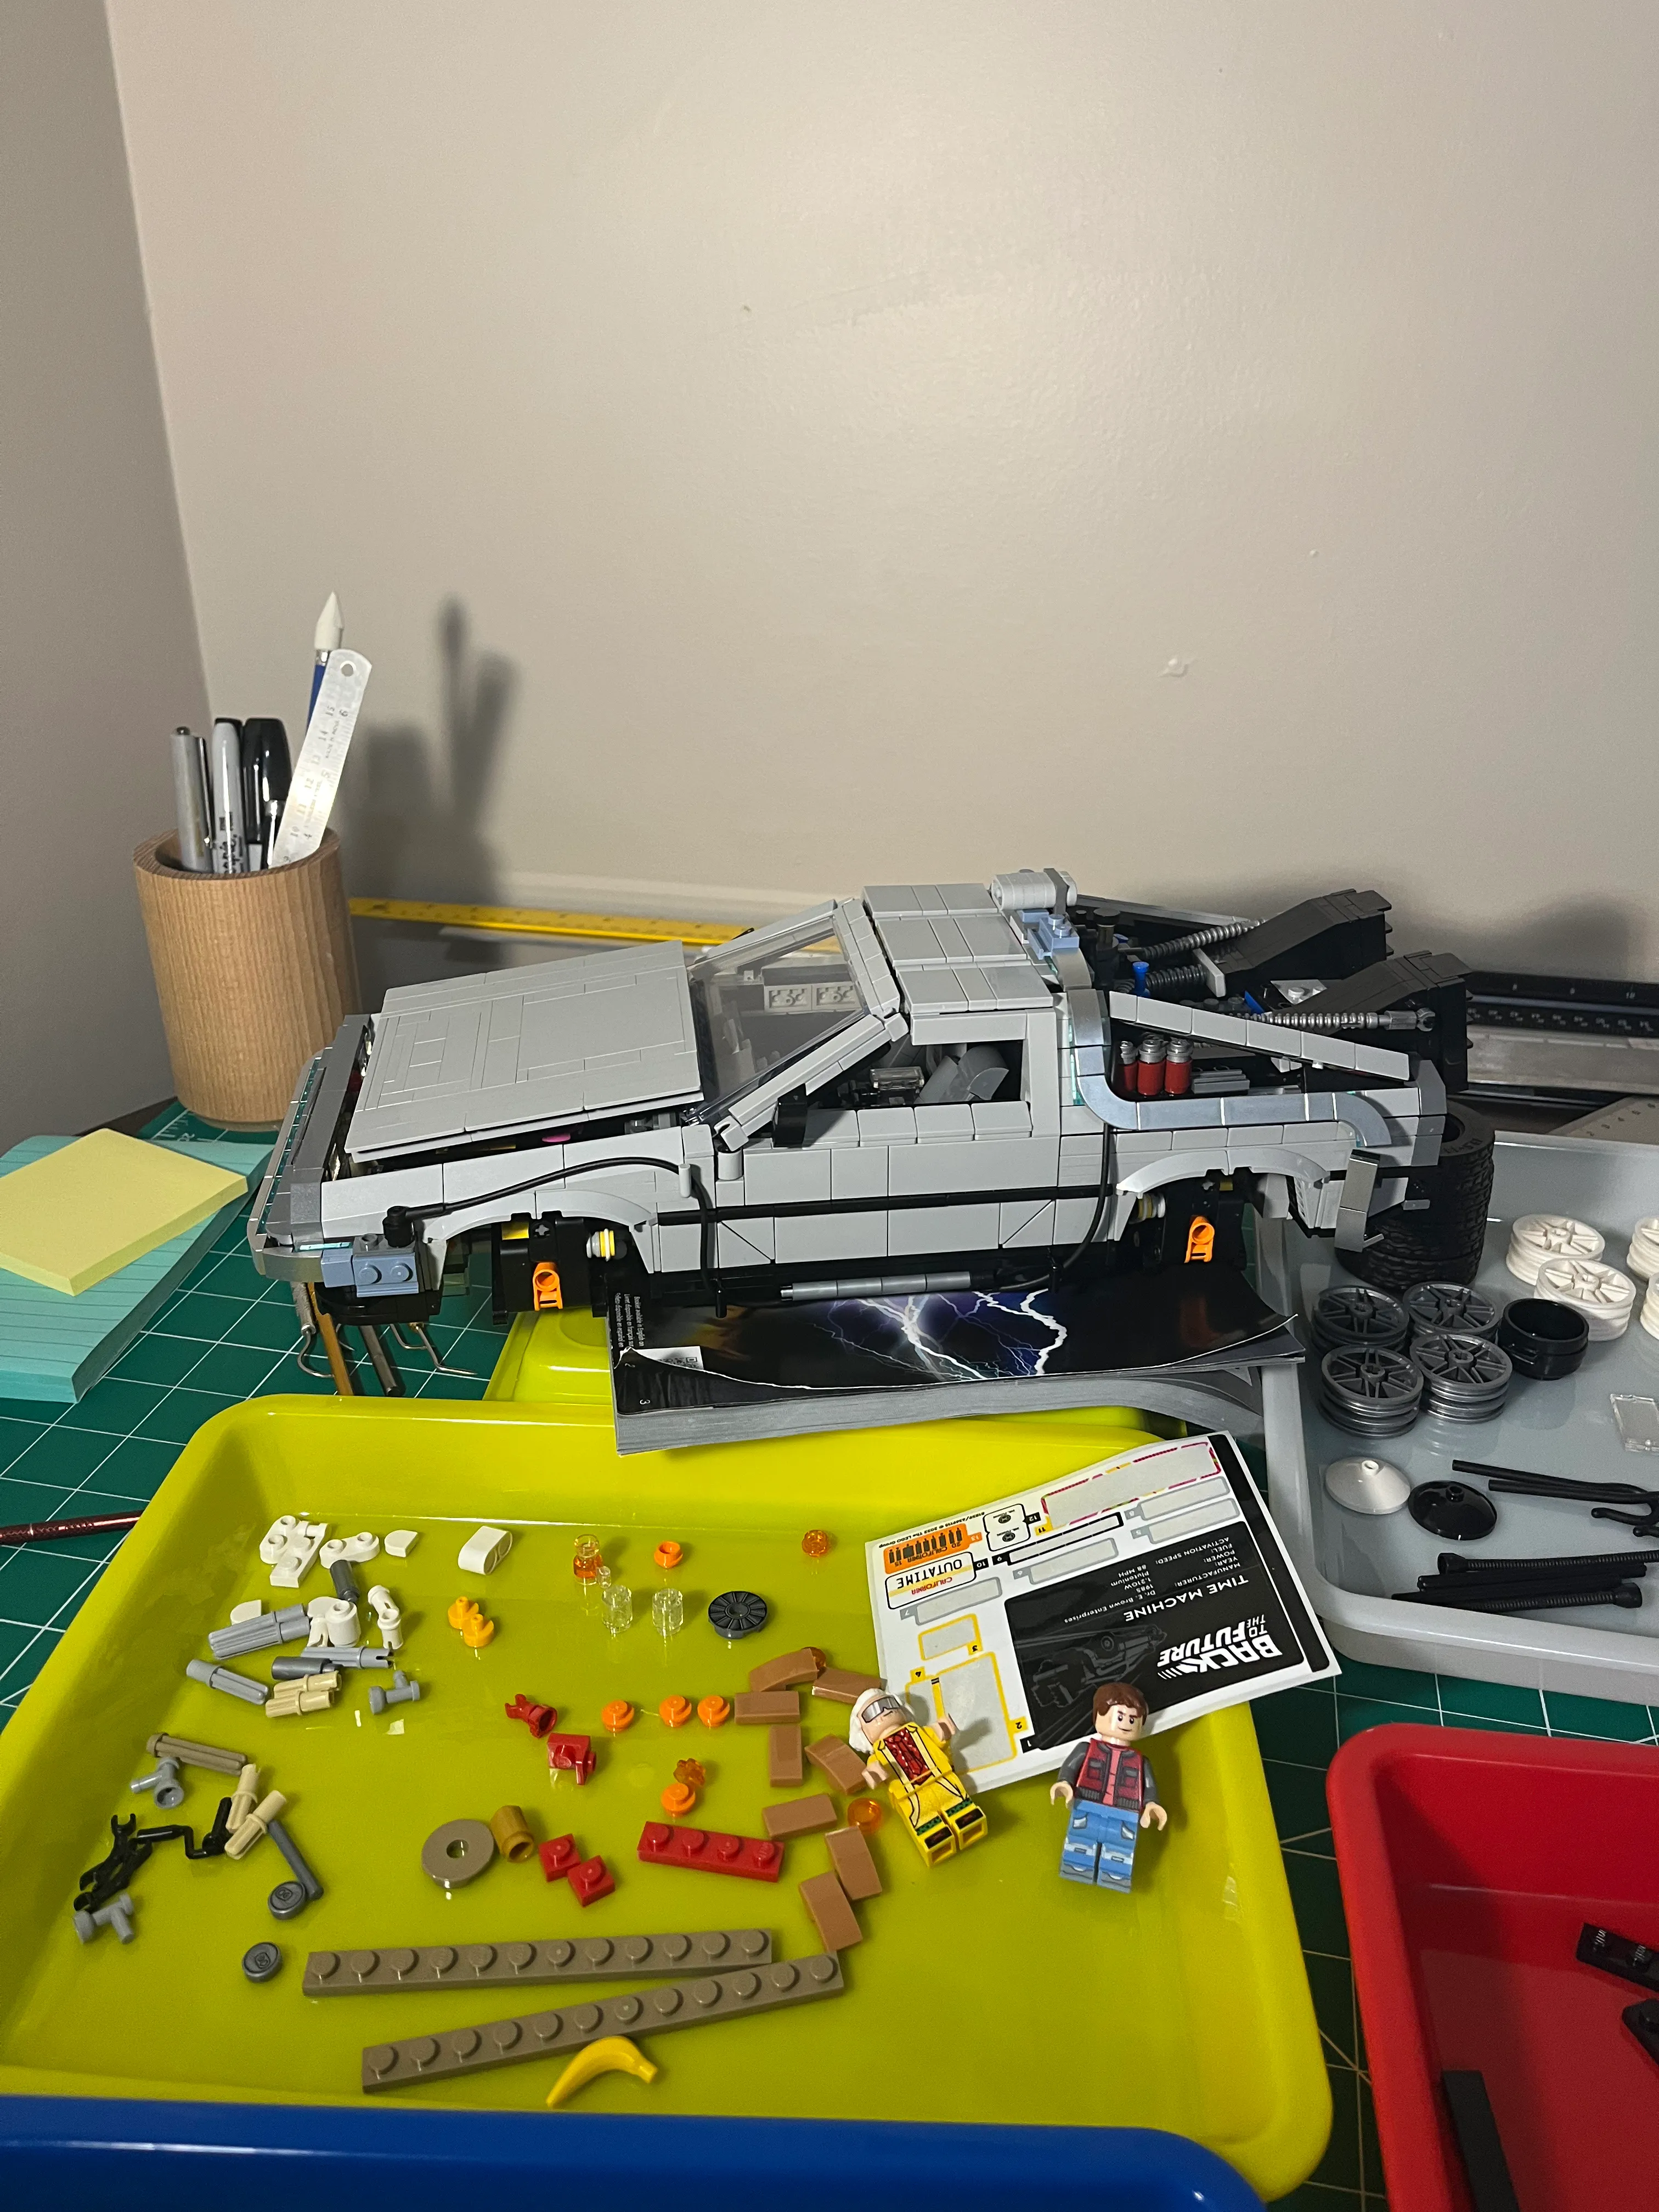
Marty and Doc are the first up for the build.
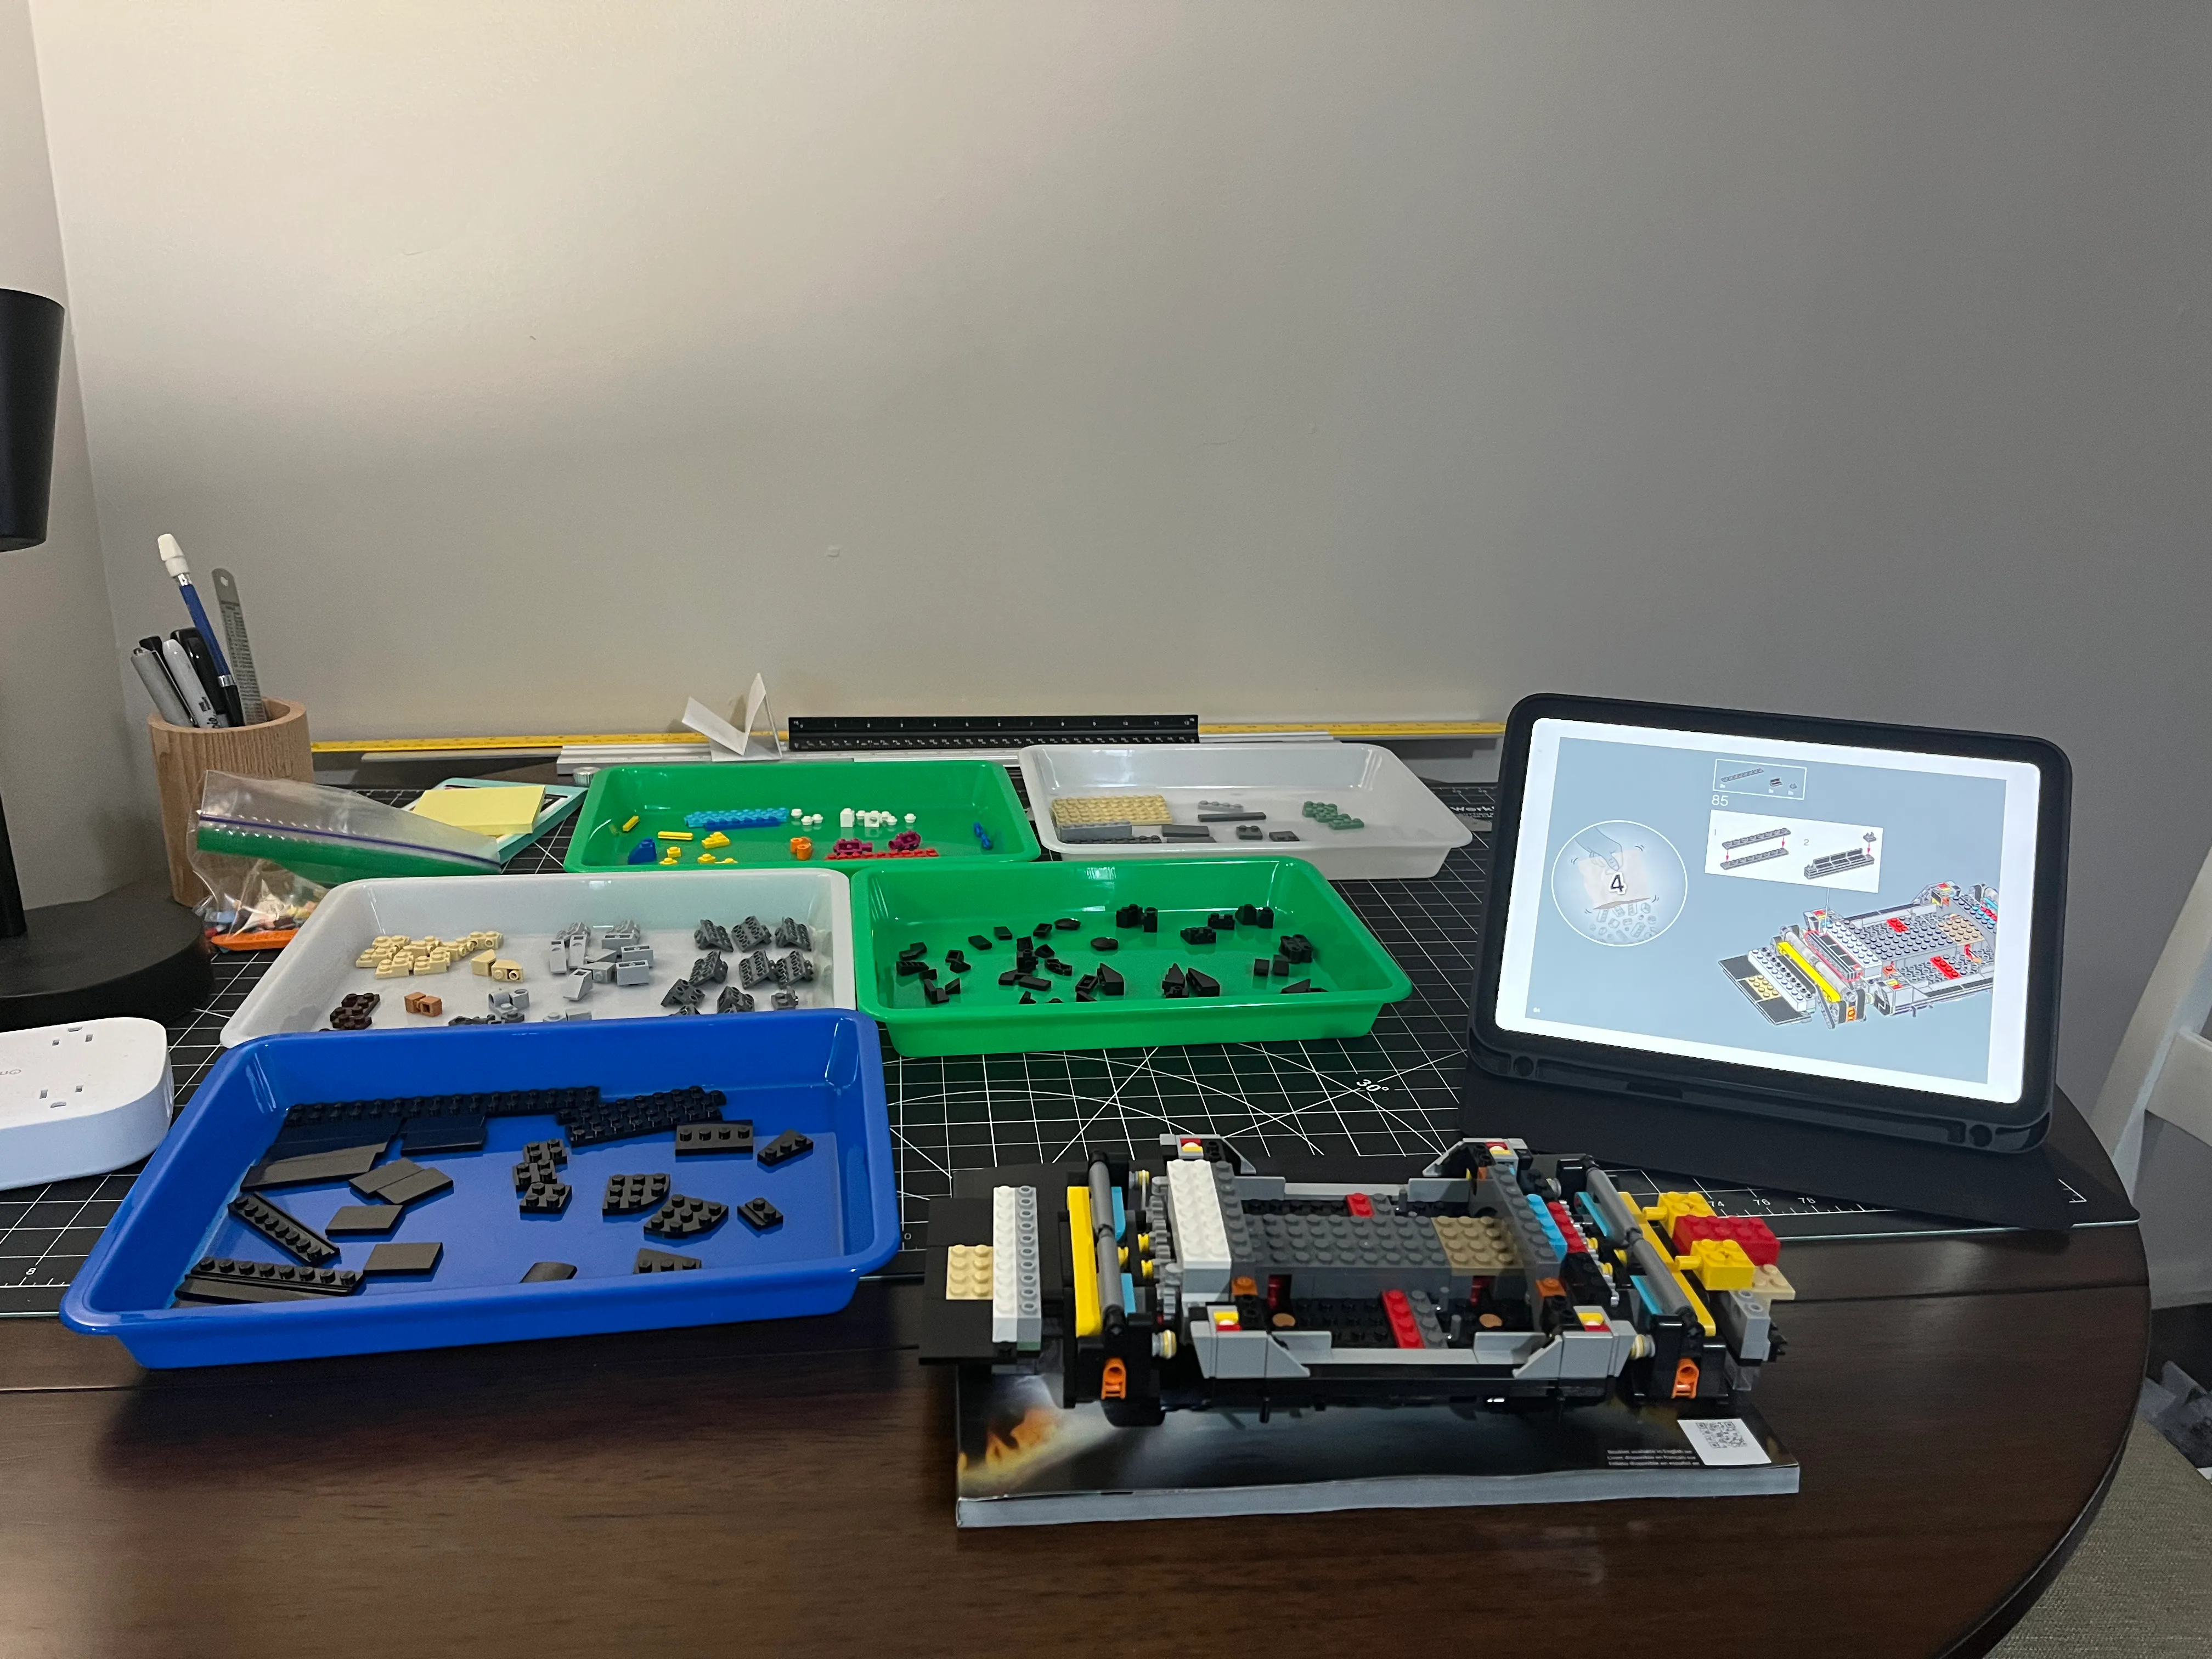
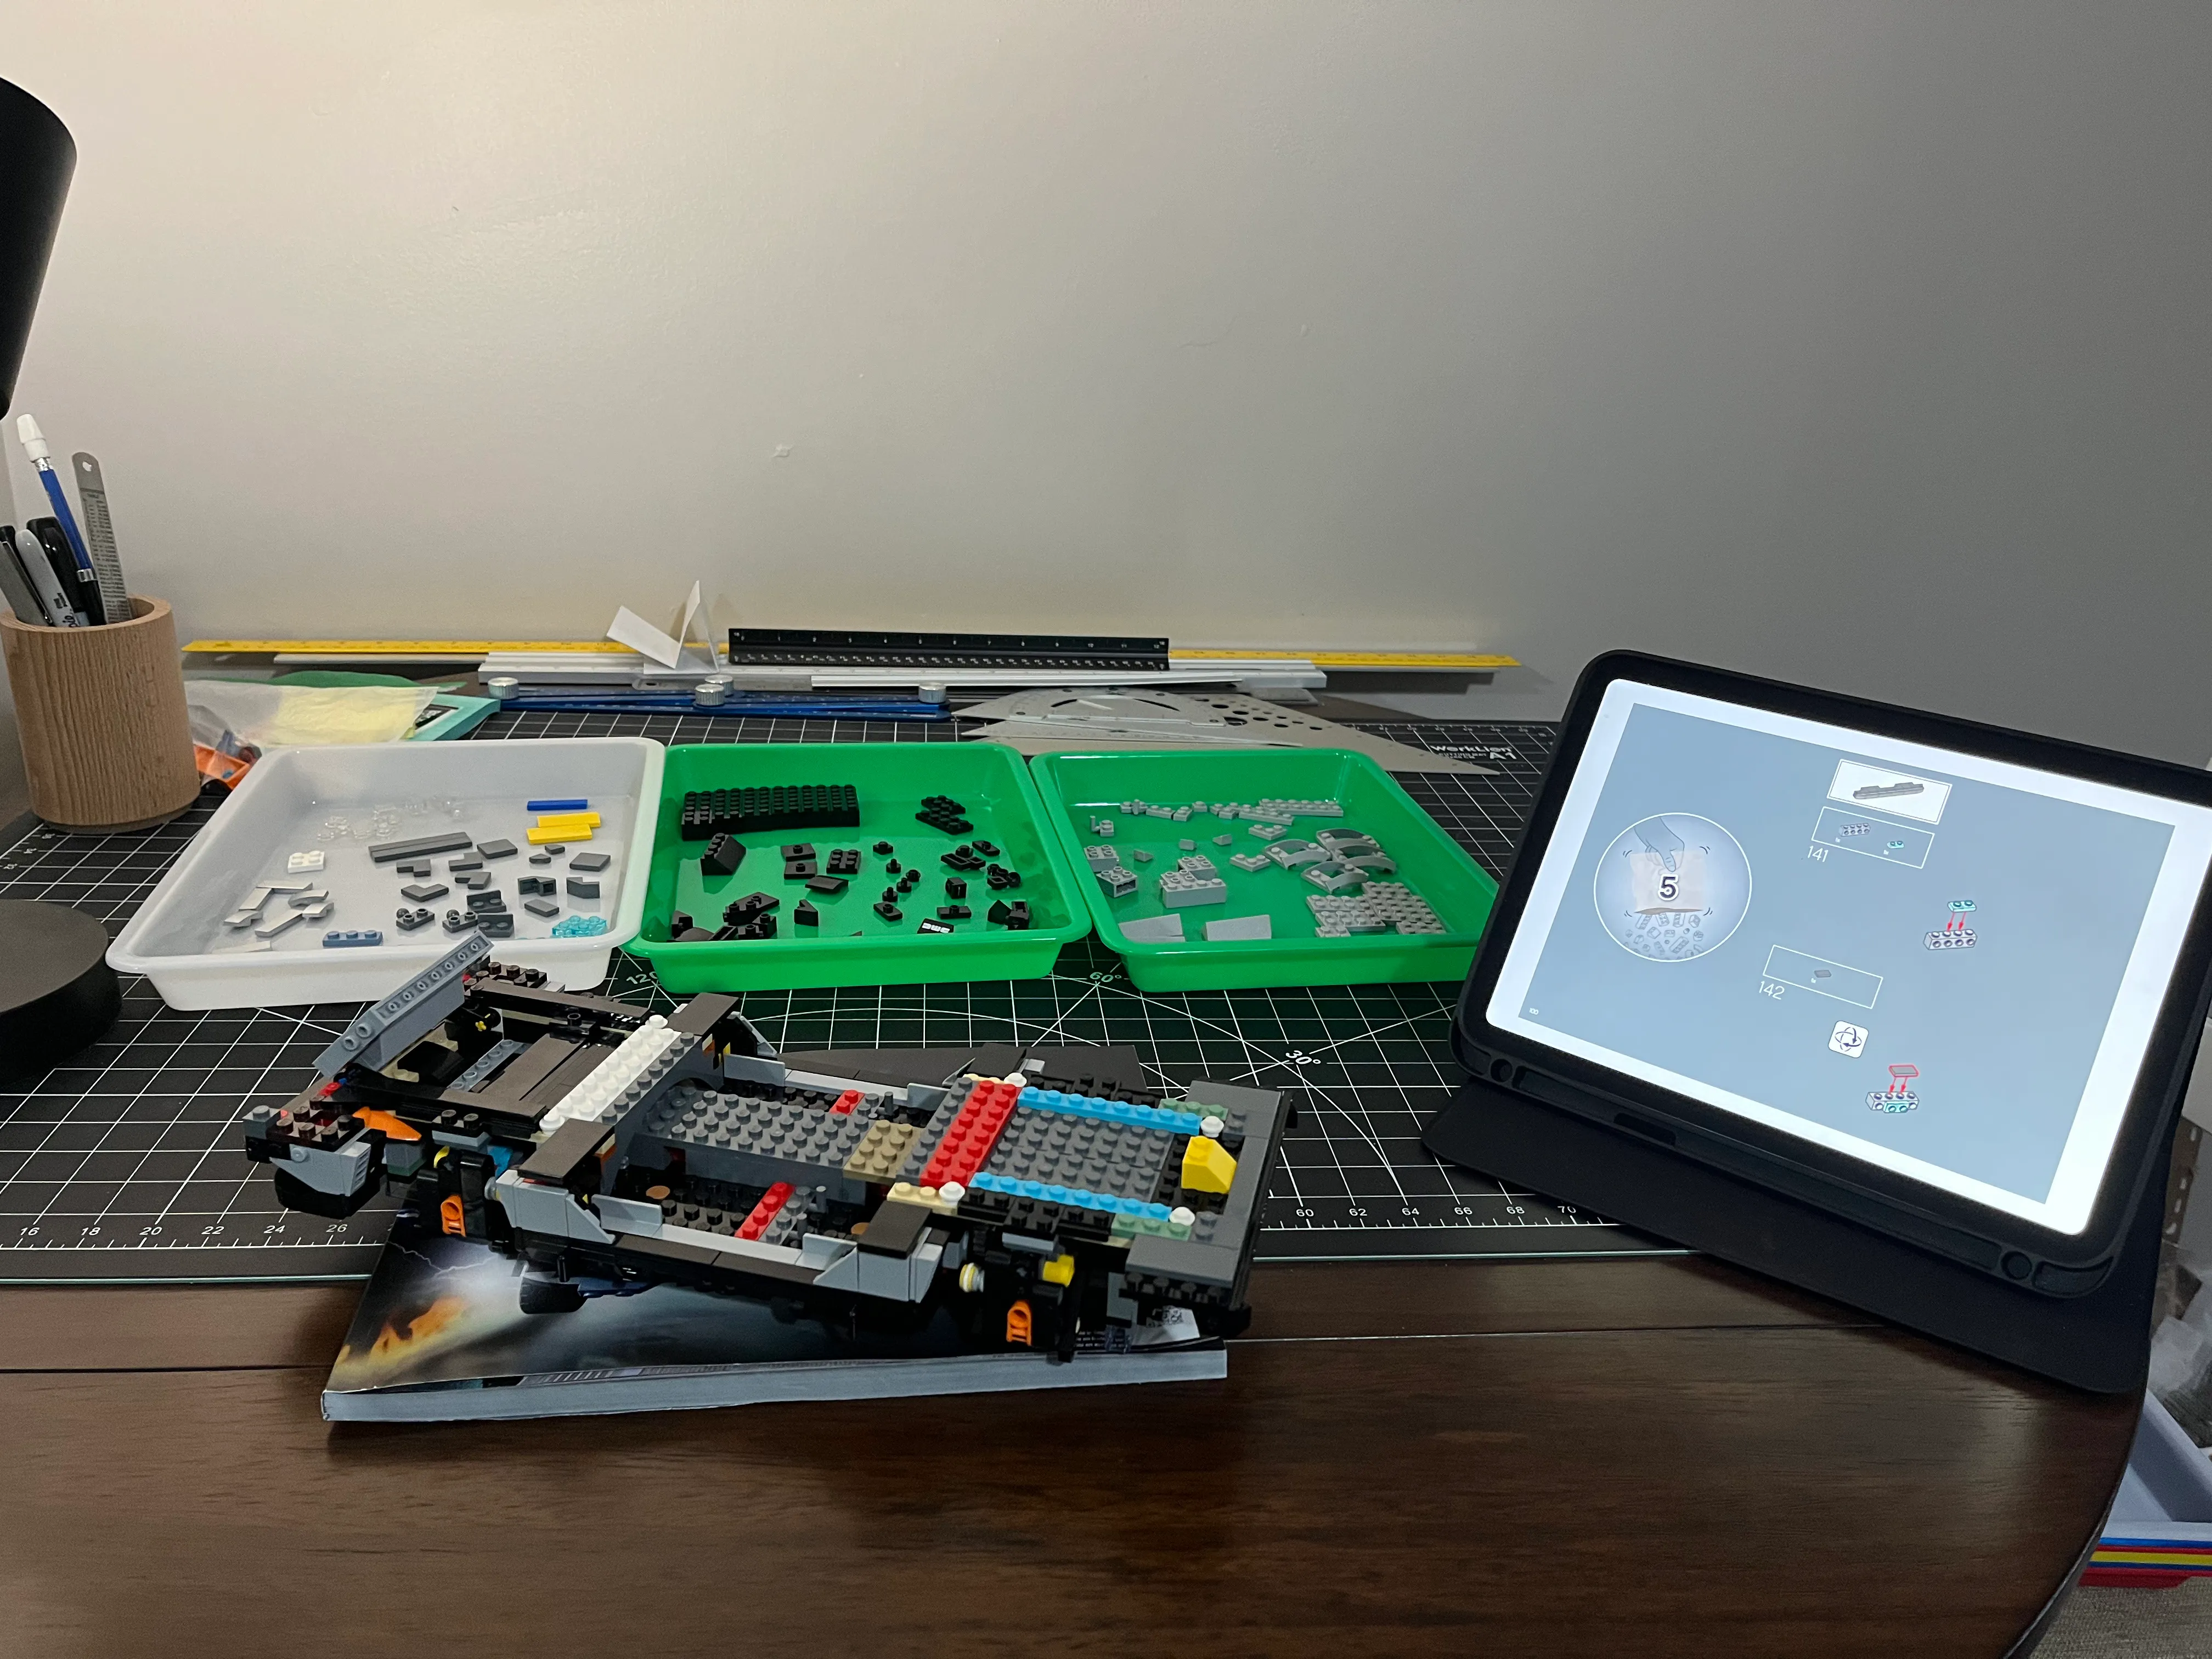
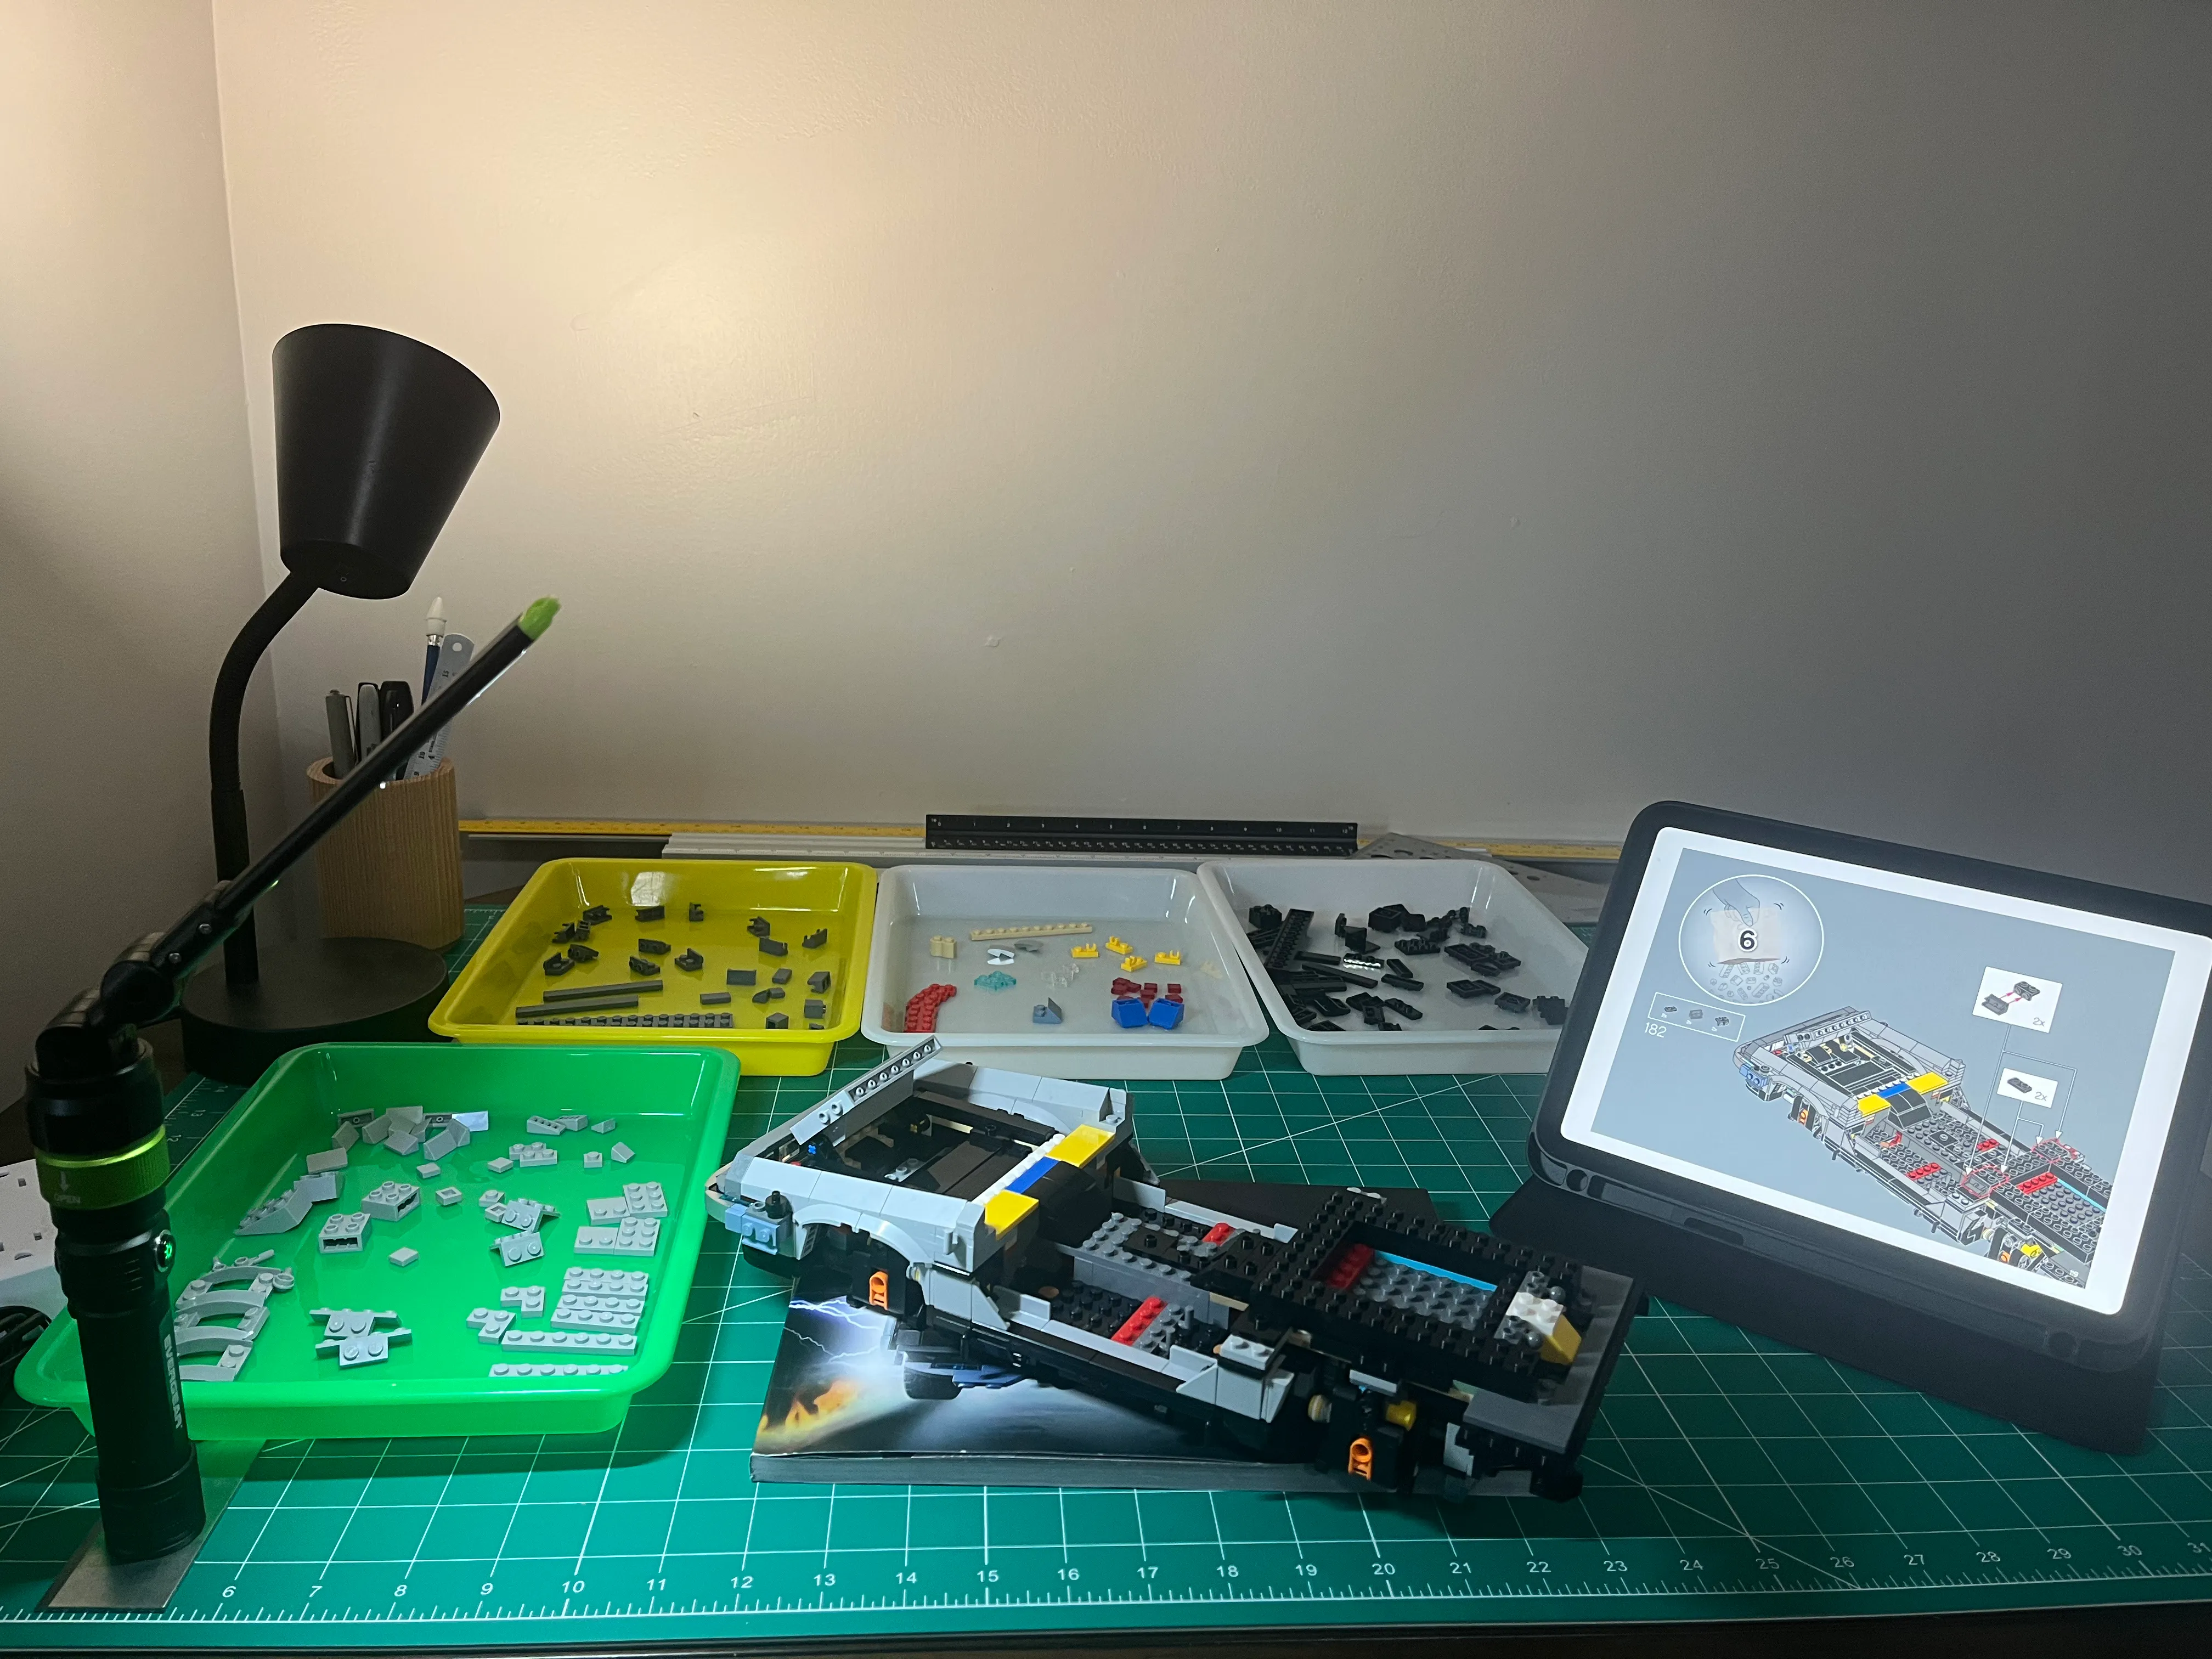
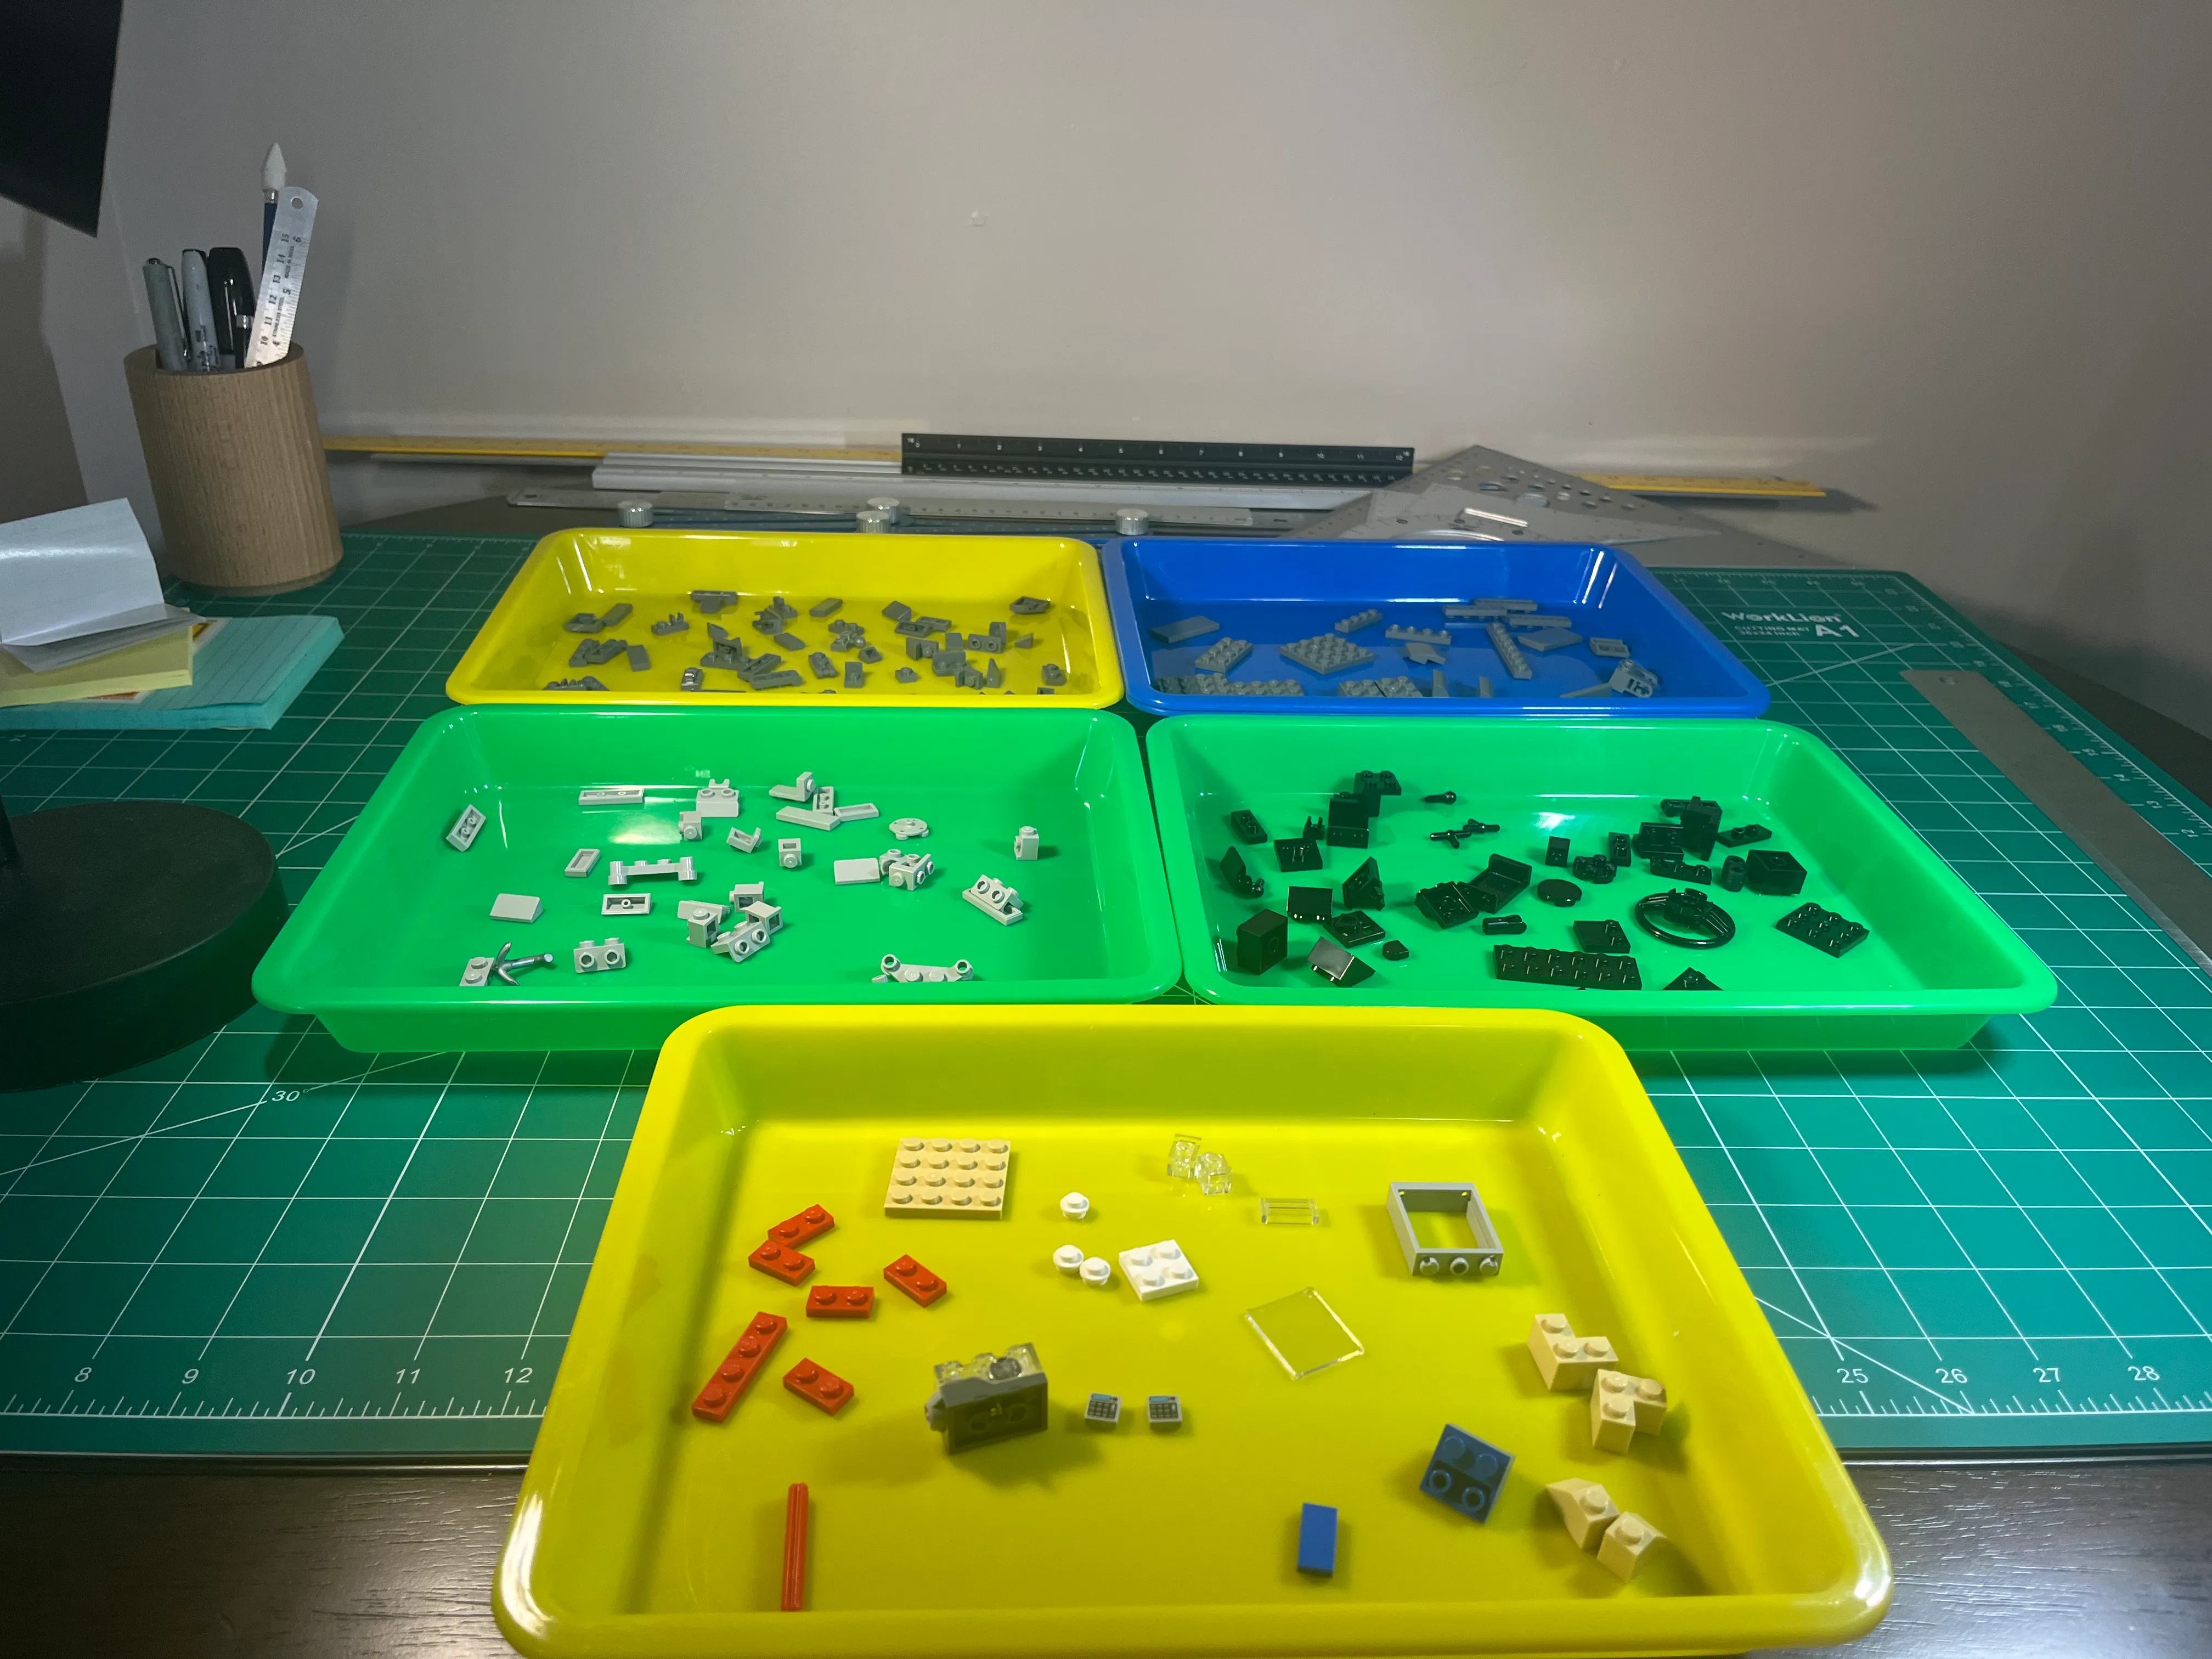
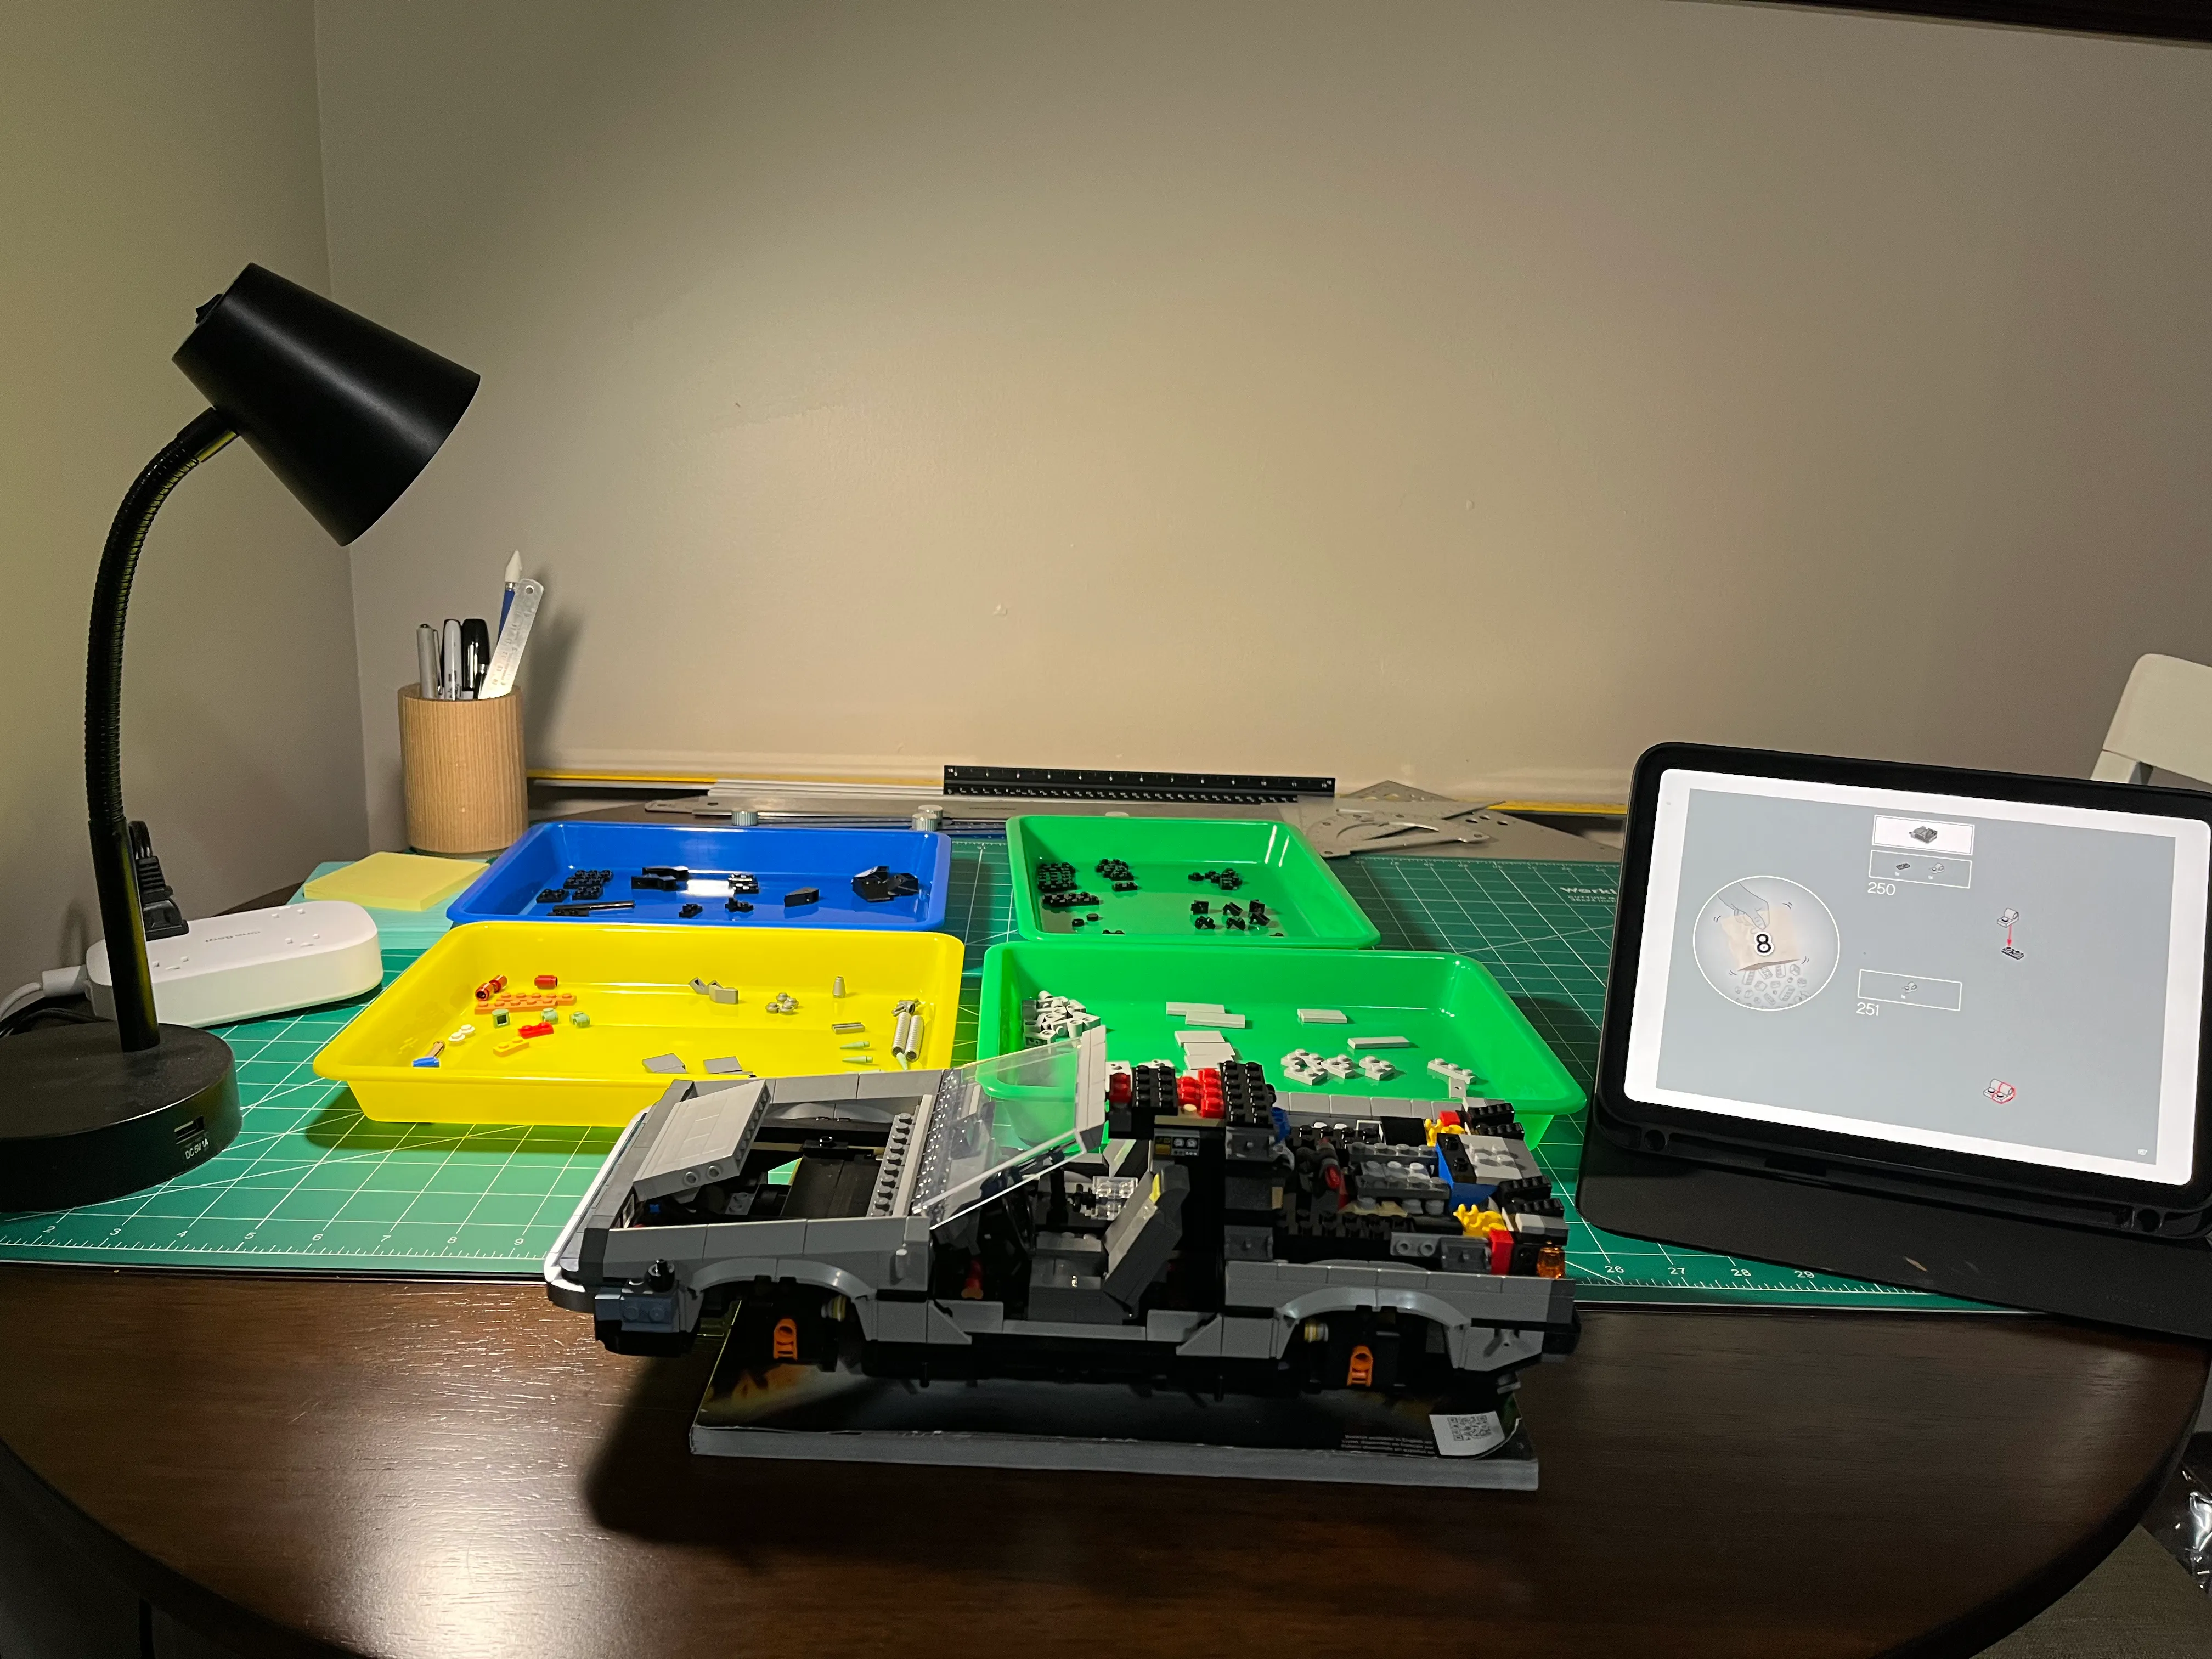
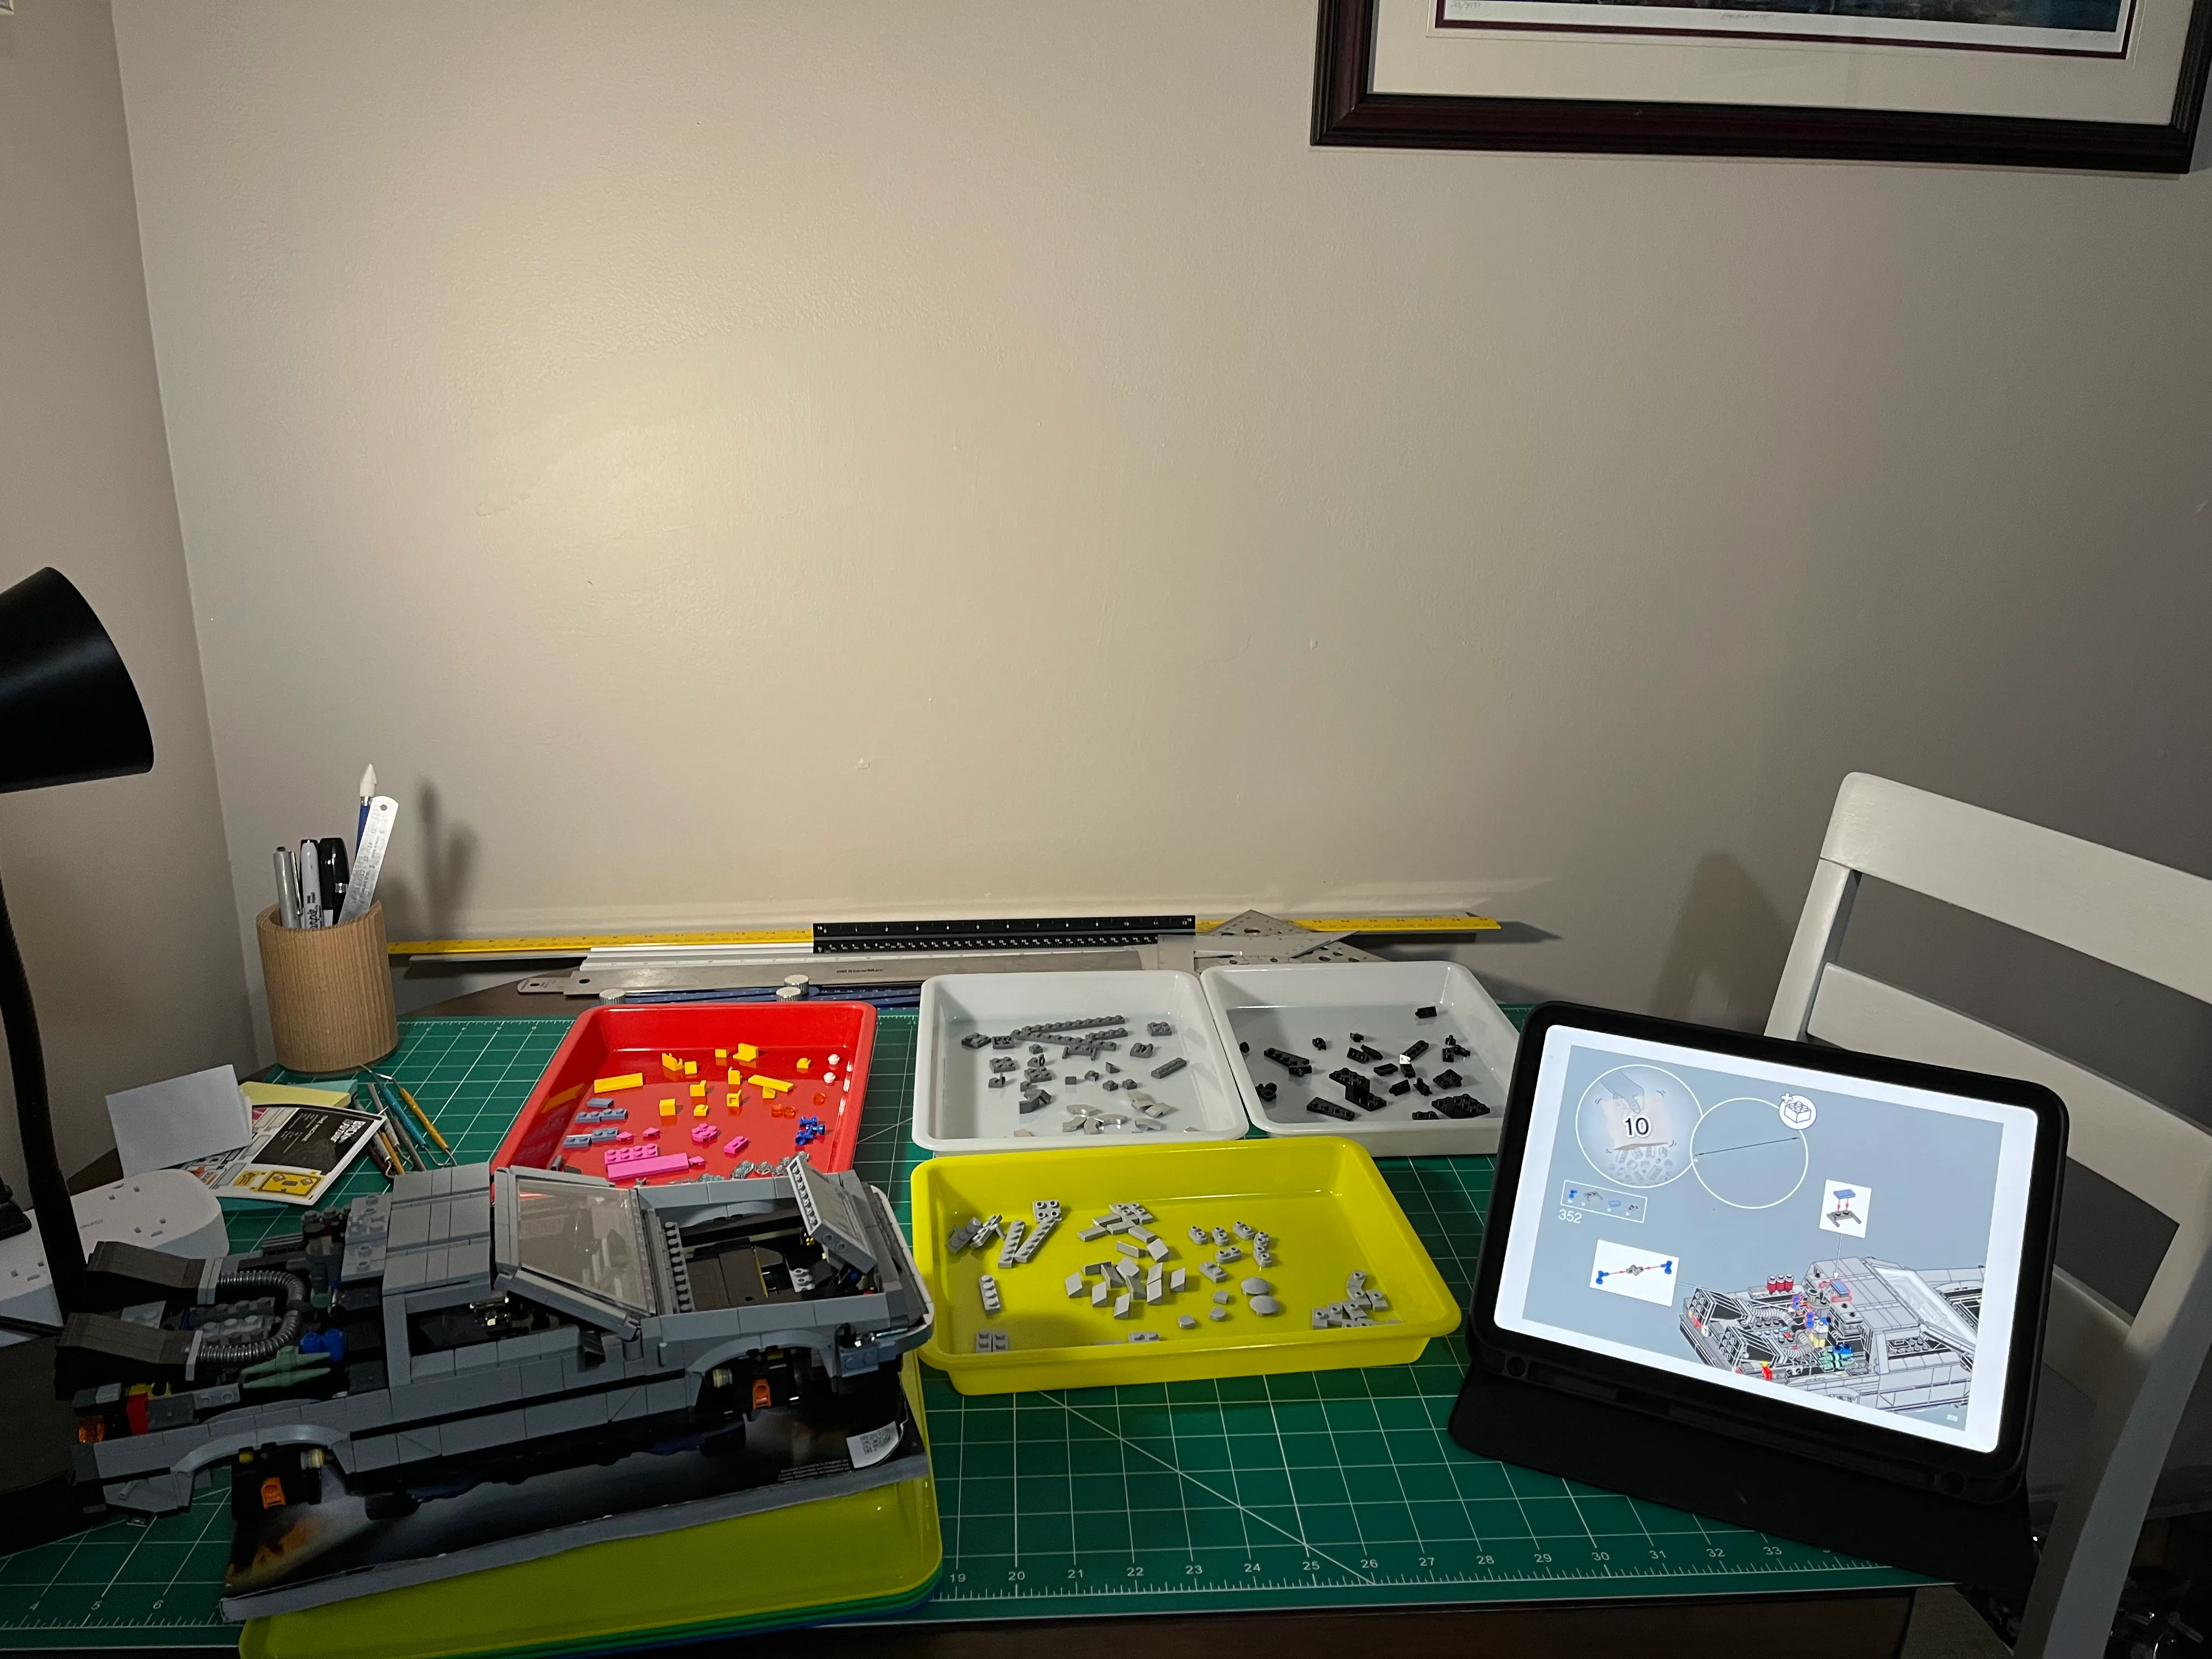
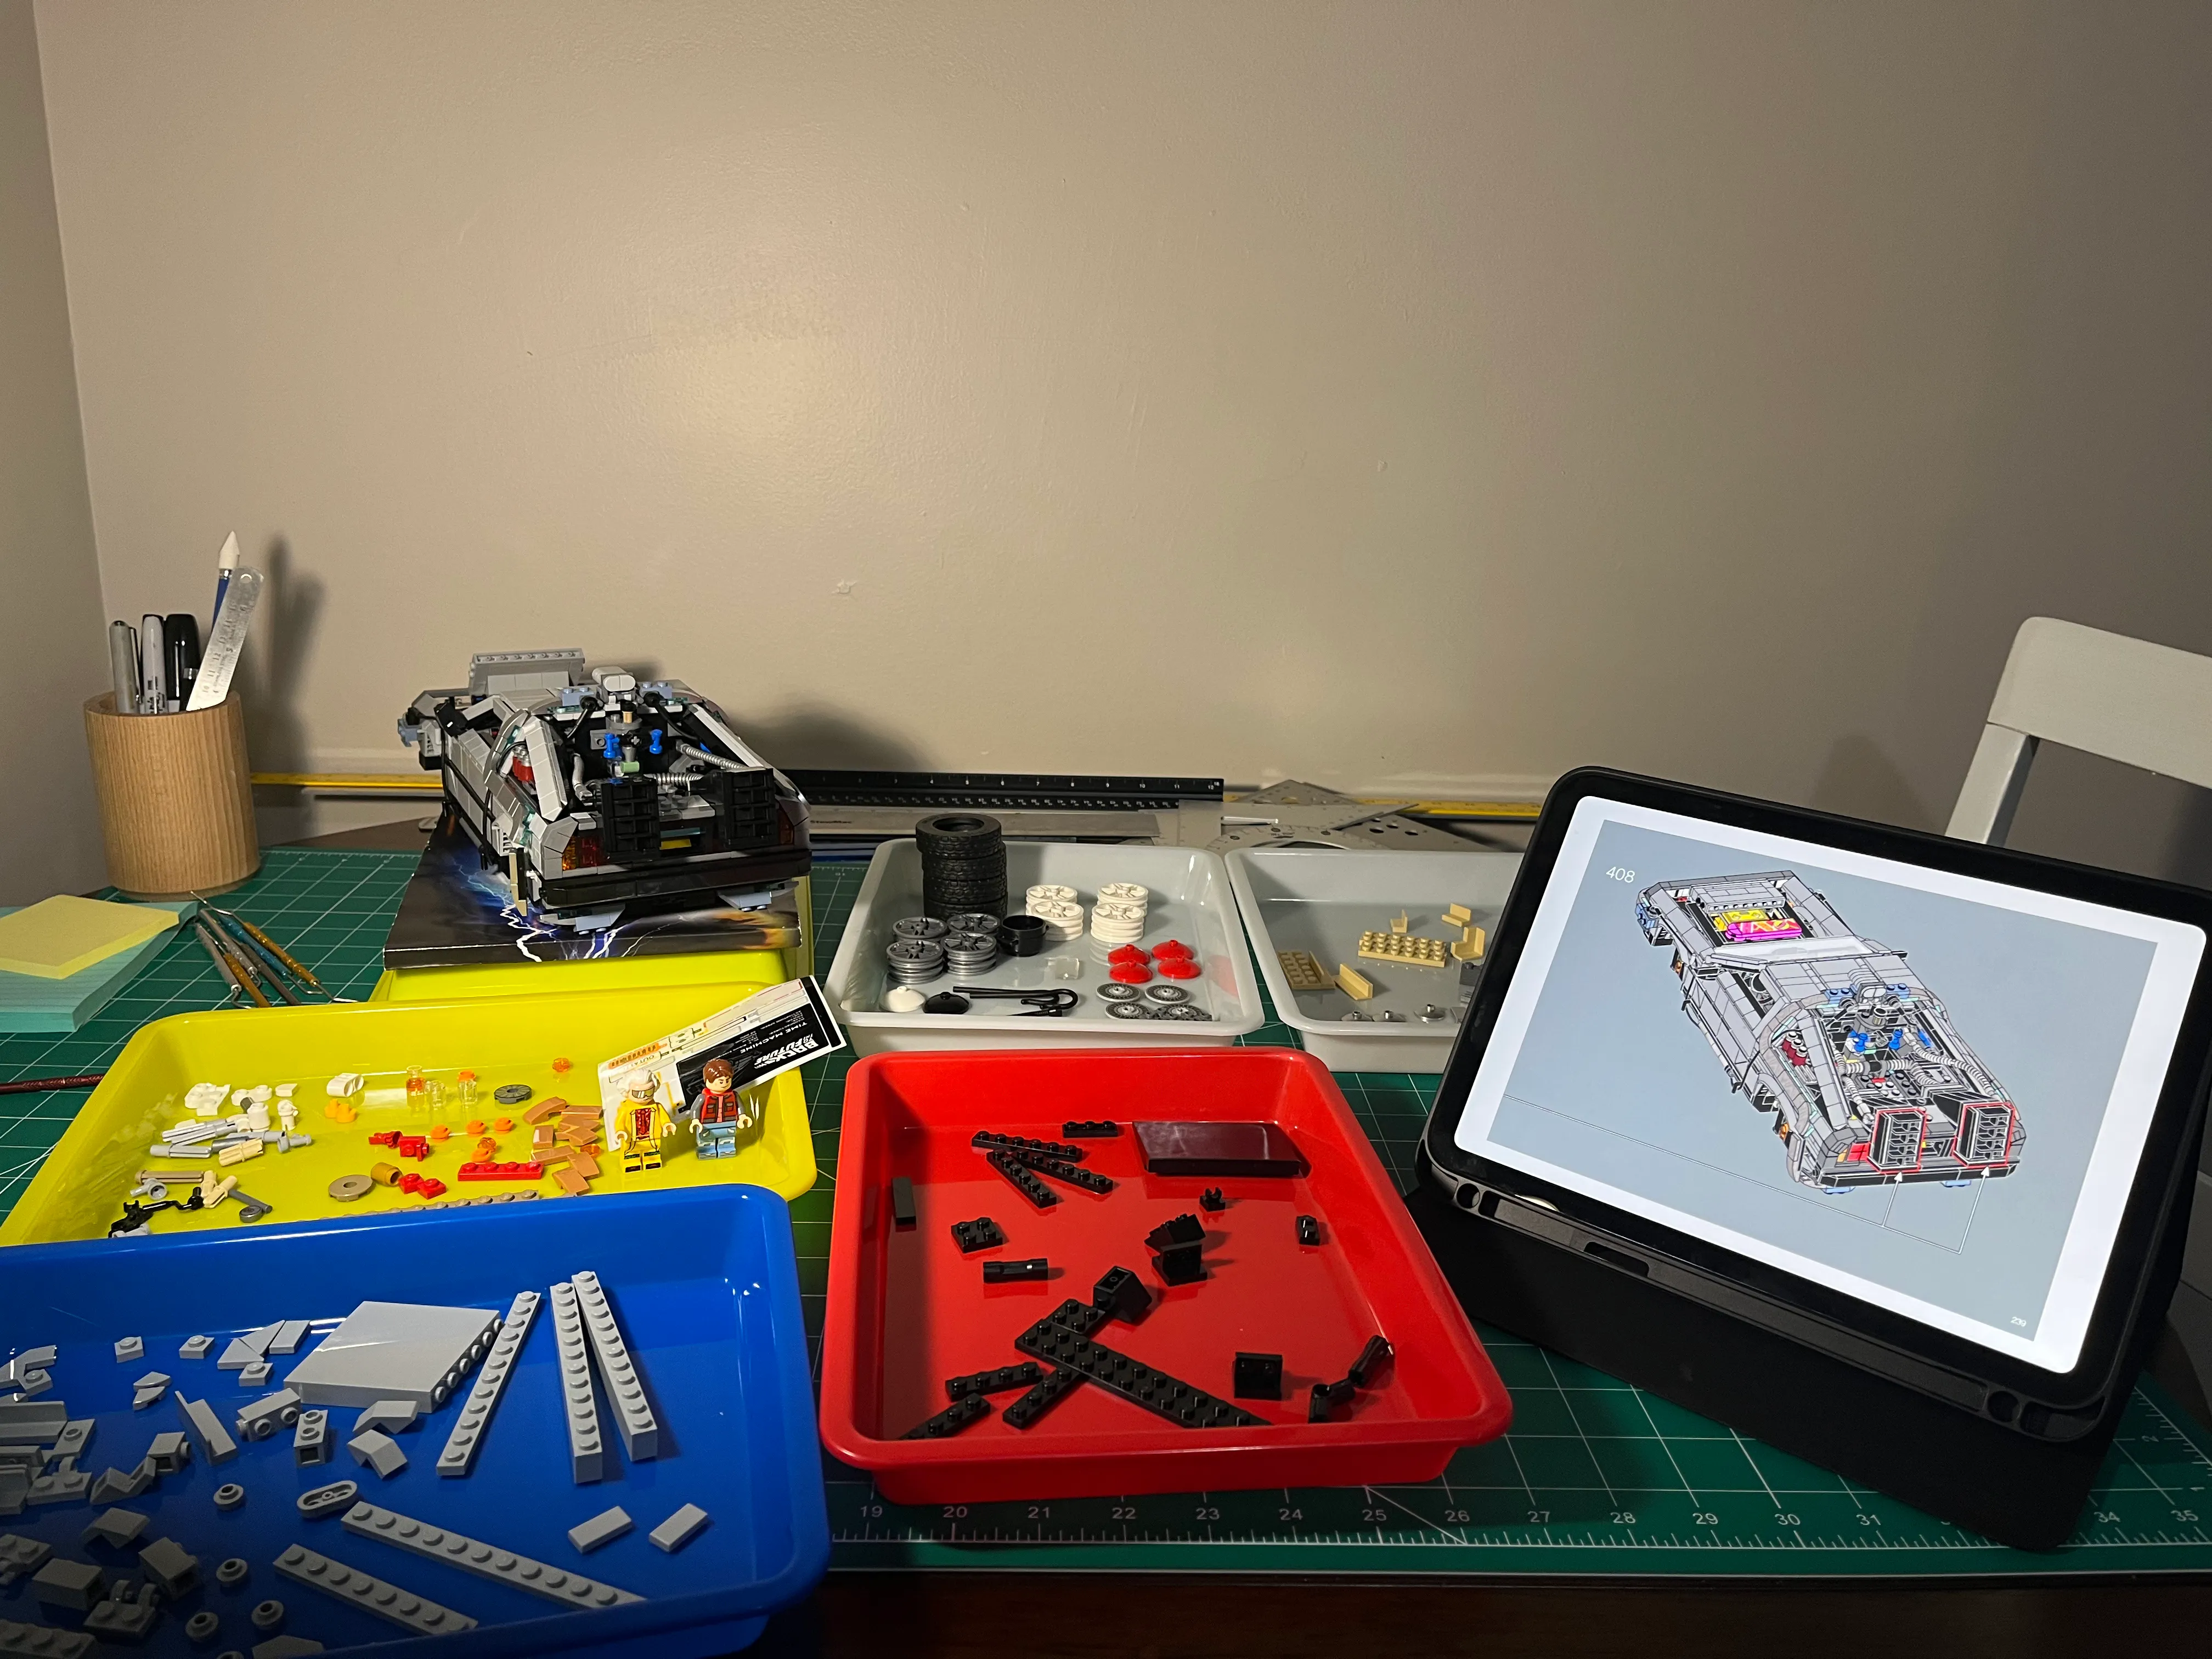
I bought art trays from Amazon for my lego builds. Opening bags of Lego with tiny parts is easy to accidentally drop pieces. I make sure to use scissors to open the bags and empty them directly into these trays. These trays are great for organizing the pieces. I start with separating pieces into separate trays based on color, then split further by size if there’s too much for a single tray to hold.
Bag #2
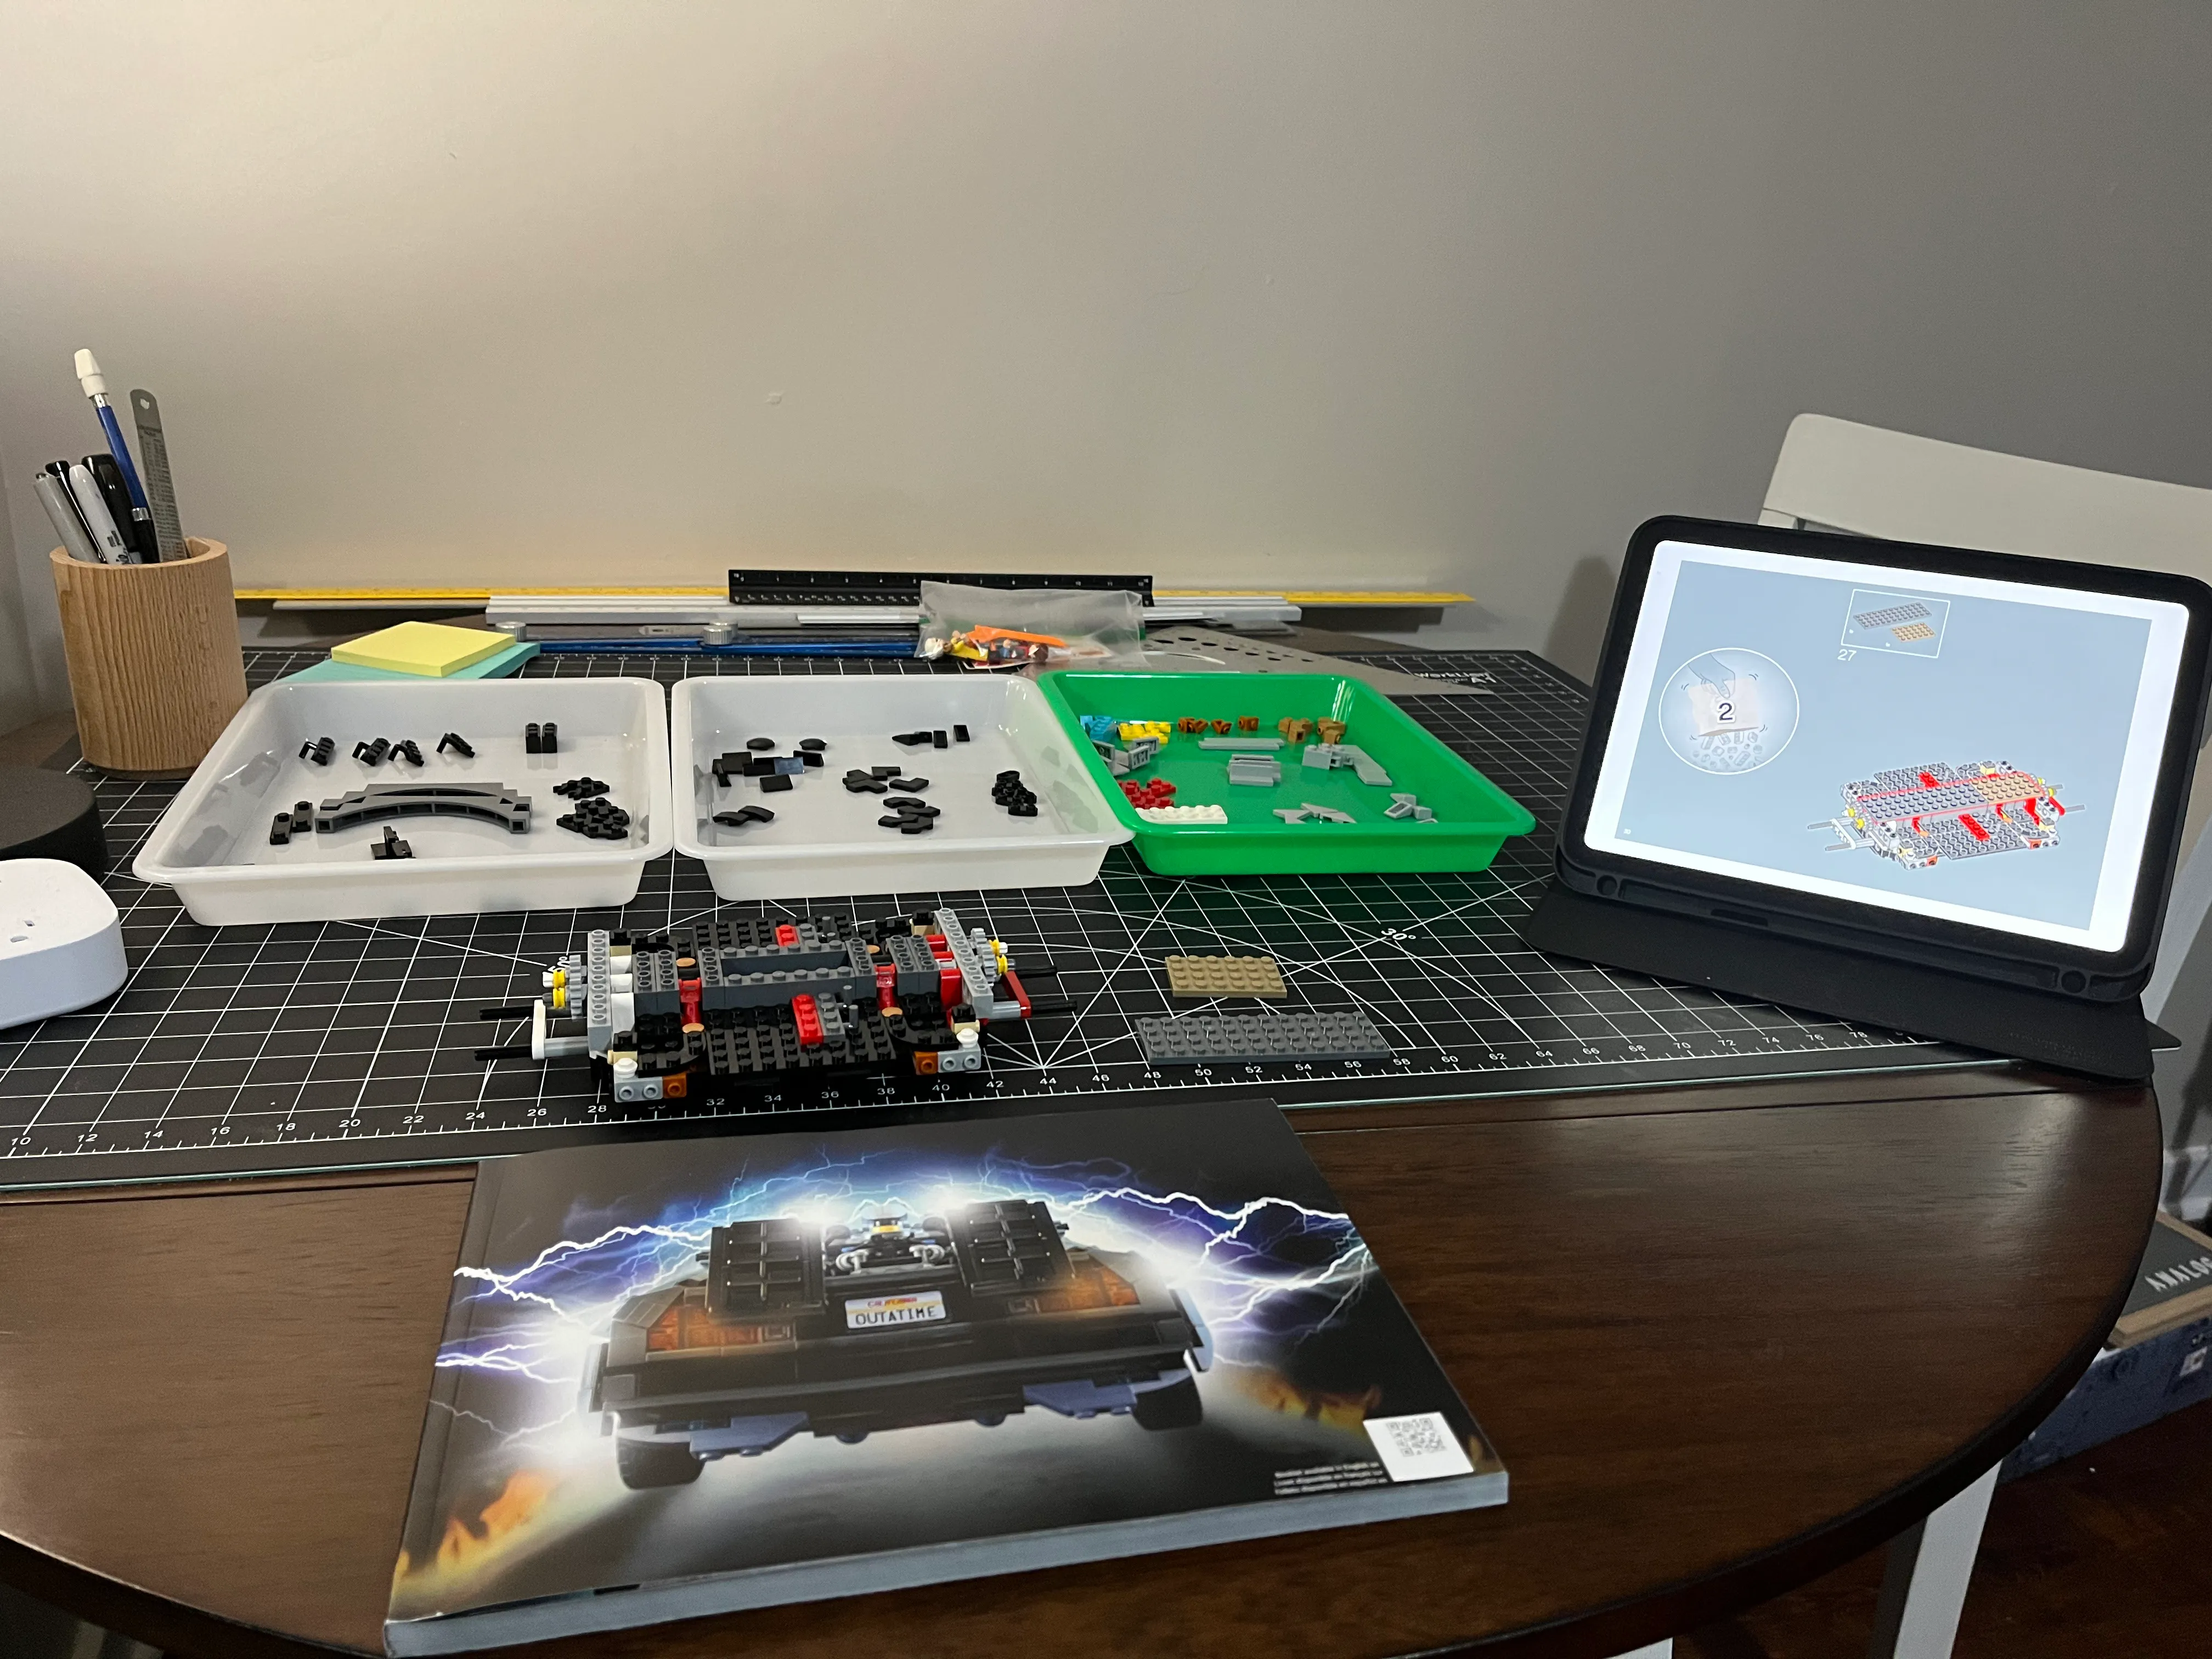
Bag #3
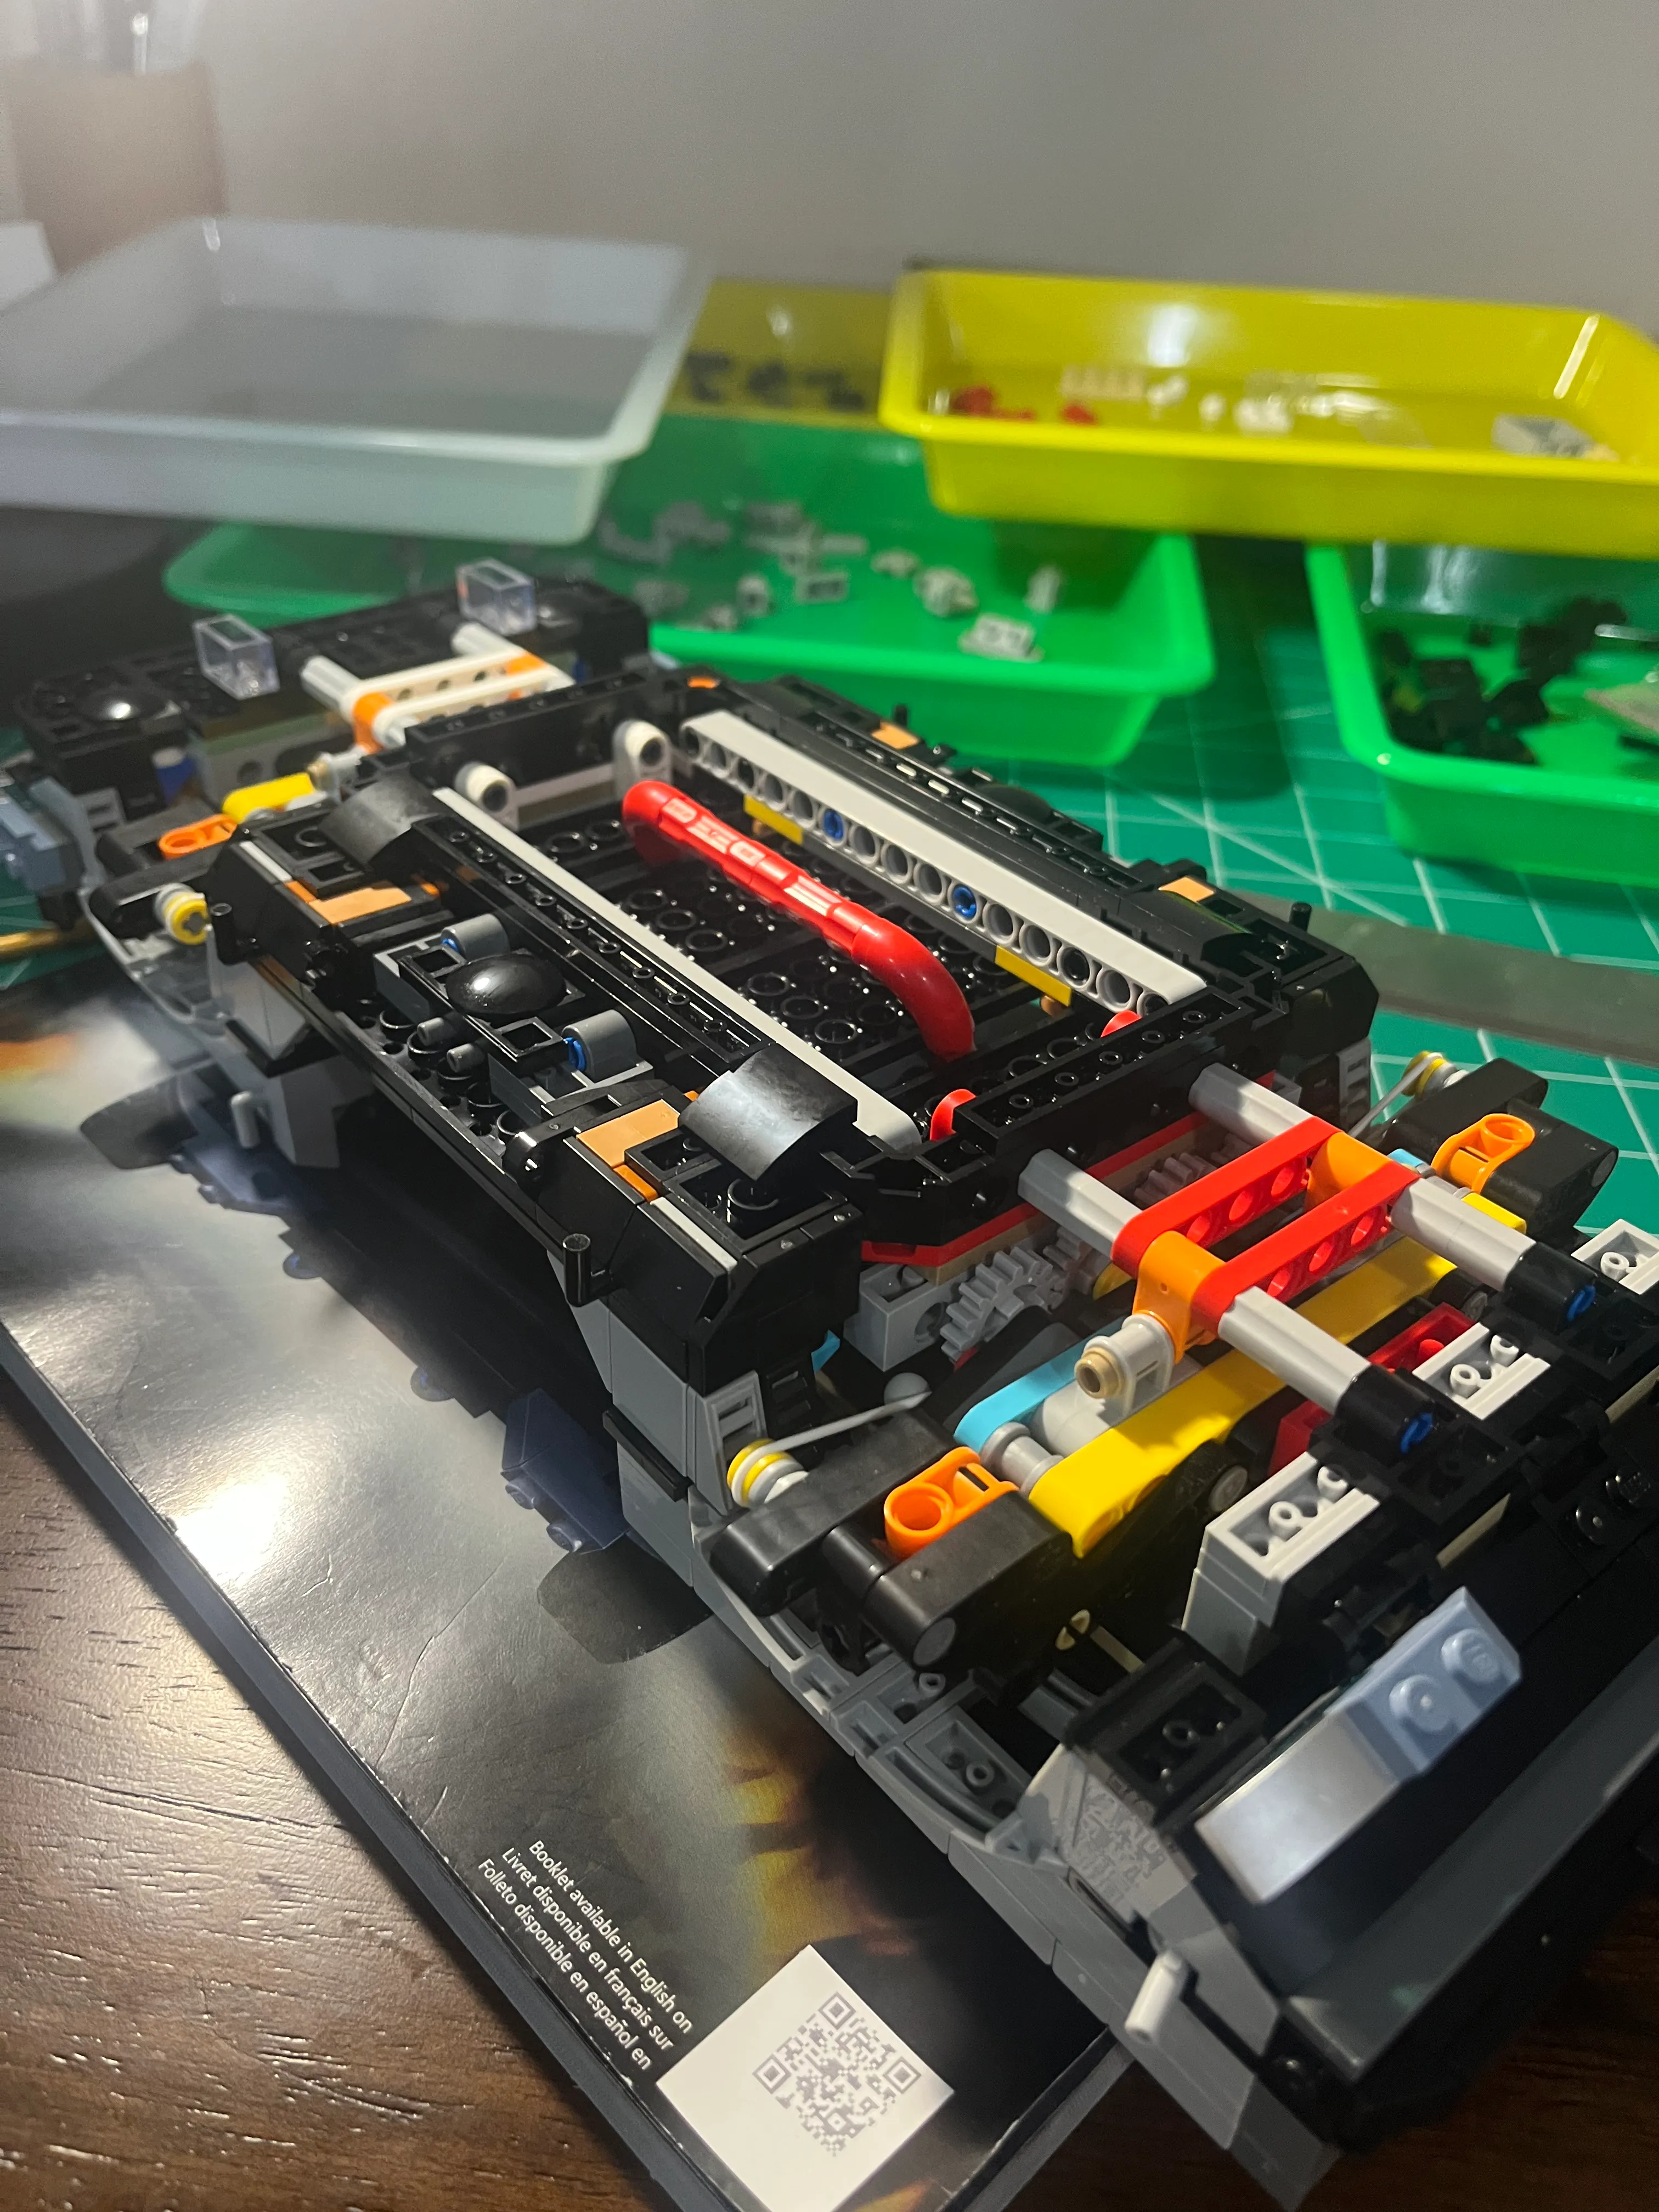
The design of the suspension on the Lego DeLorean uses o-rings! Works quite well, if you build it right.
The wheels will eventually be mounted to the suspension, and the red bar underneath is a lever that flips the wheels up for flight mode.
I wanted the wheels to flip up. To me, that was essential. If I had gotten to the end of the build and the wheels didn’t flip up I would not have been happy. I didn’t play close enough attention when assembling the suspension. The instructions indicated to push the red bar and the suspension should rotate. My build was doing this, however it was binding! The suspension wasn’t rotating the full 90 degrees. More like 30 degrees. This was because of a misconfiguration on my part. The red bar was acting more like a torsion bar.
When I got to bag #7 which works on the underside of the vehicle, that’s when I realized the issue. The instructions are great but by making a mistake in bag 3 and not realizing it until bag 7 meant that I was in uncharted territory. There’s no instruction manual for doing emergency repairs on the suspension. I did manage to fix it thankfully.
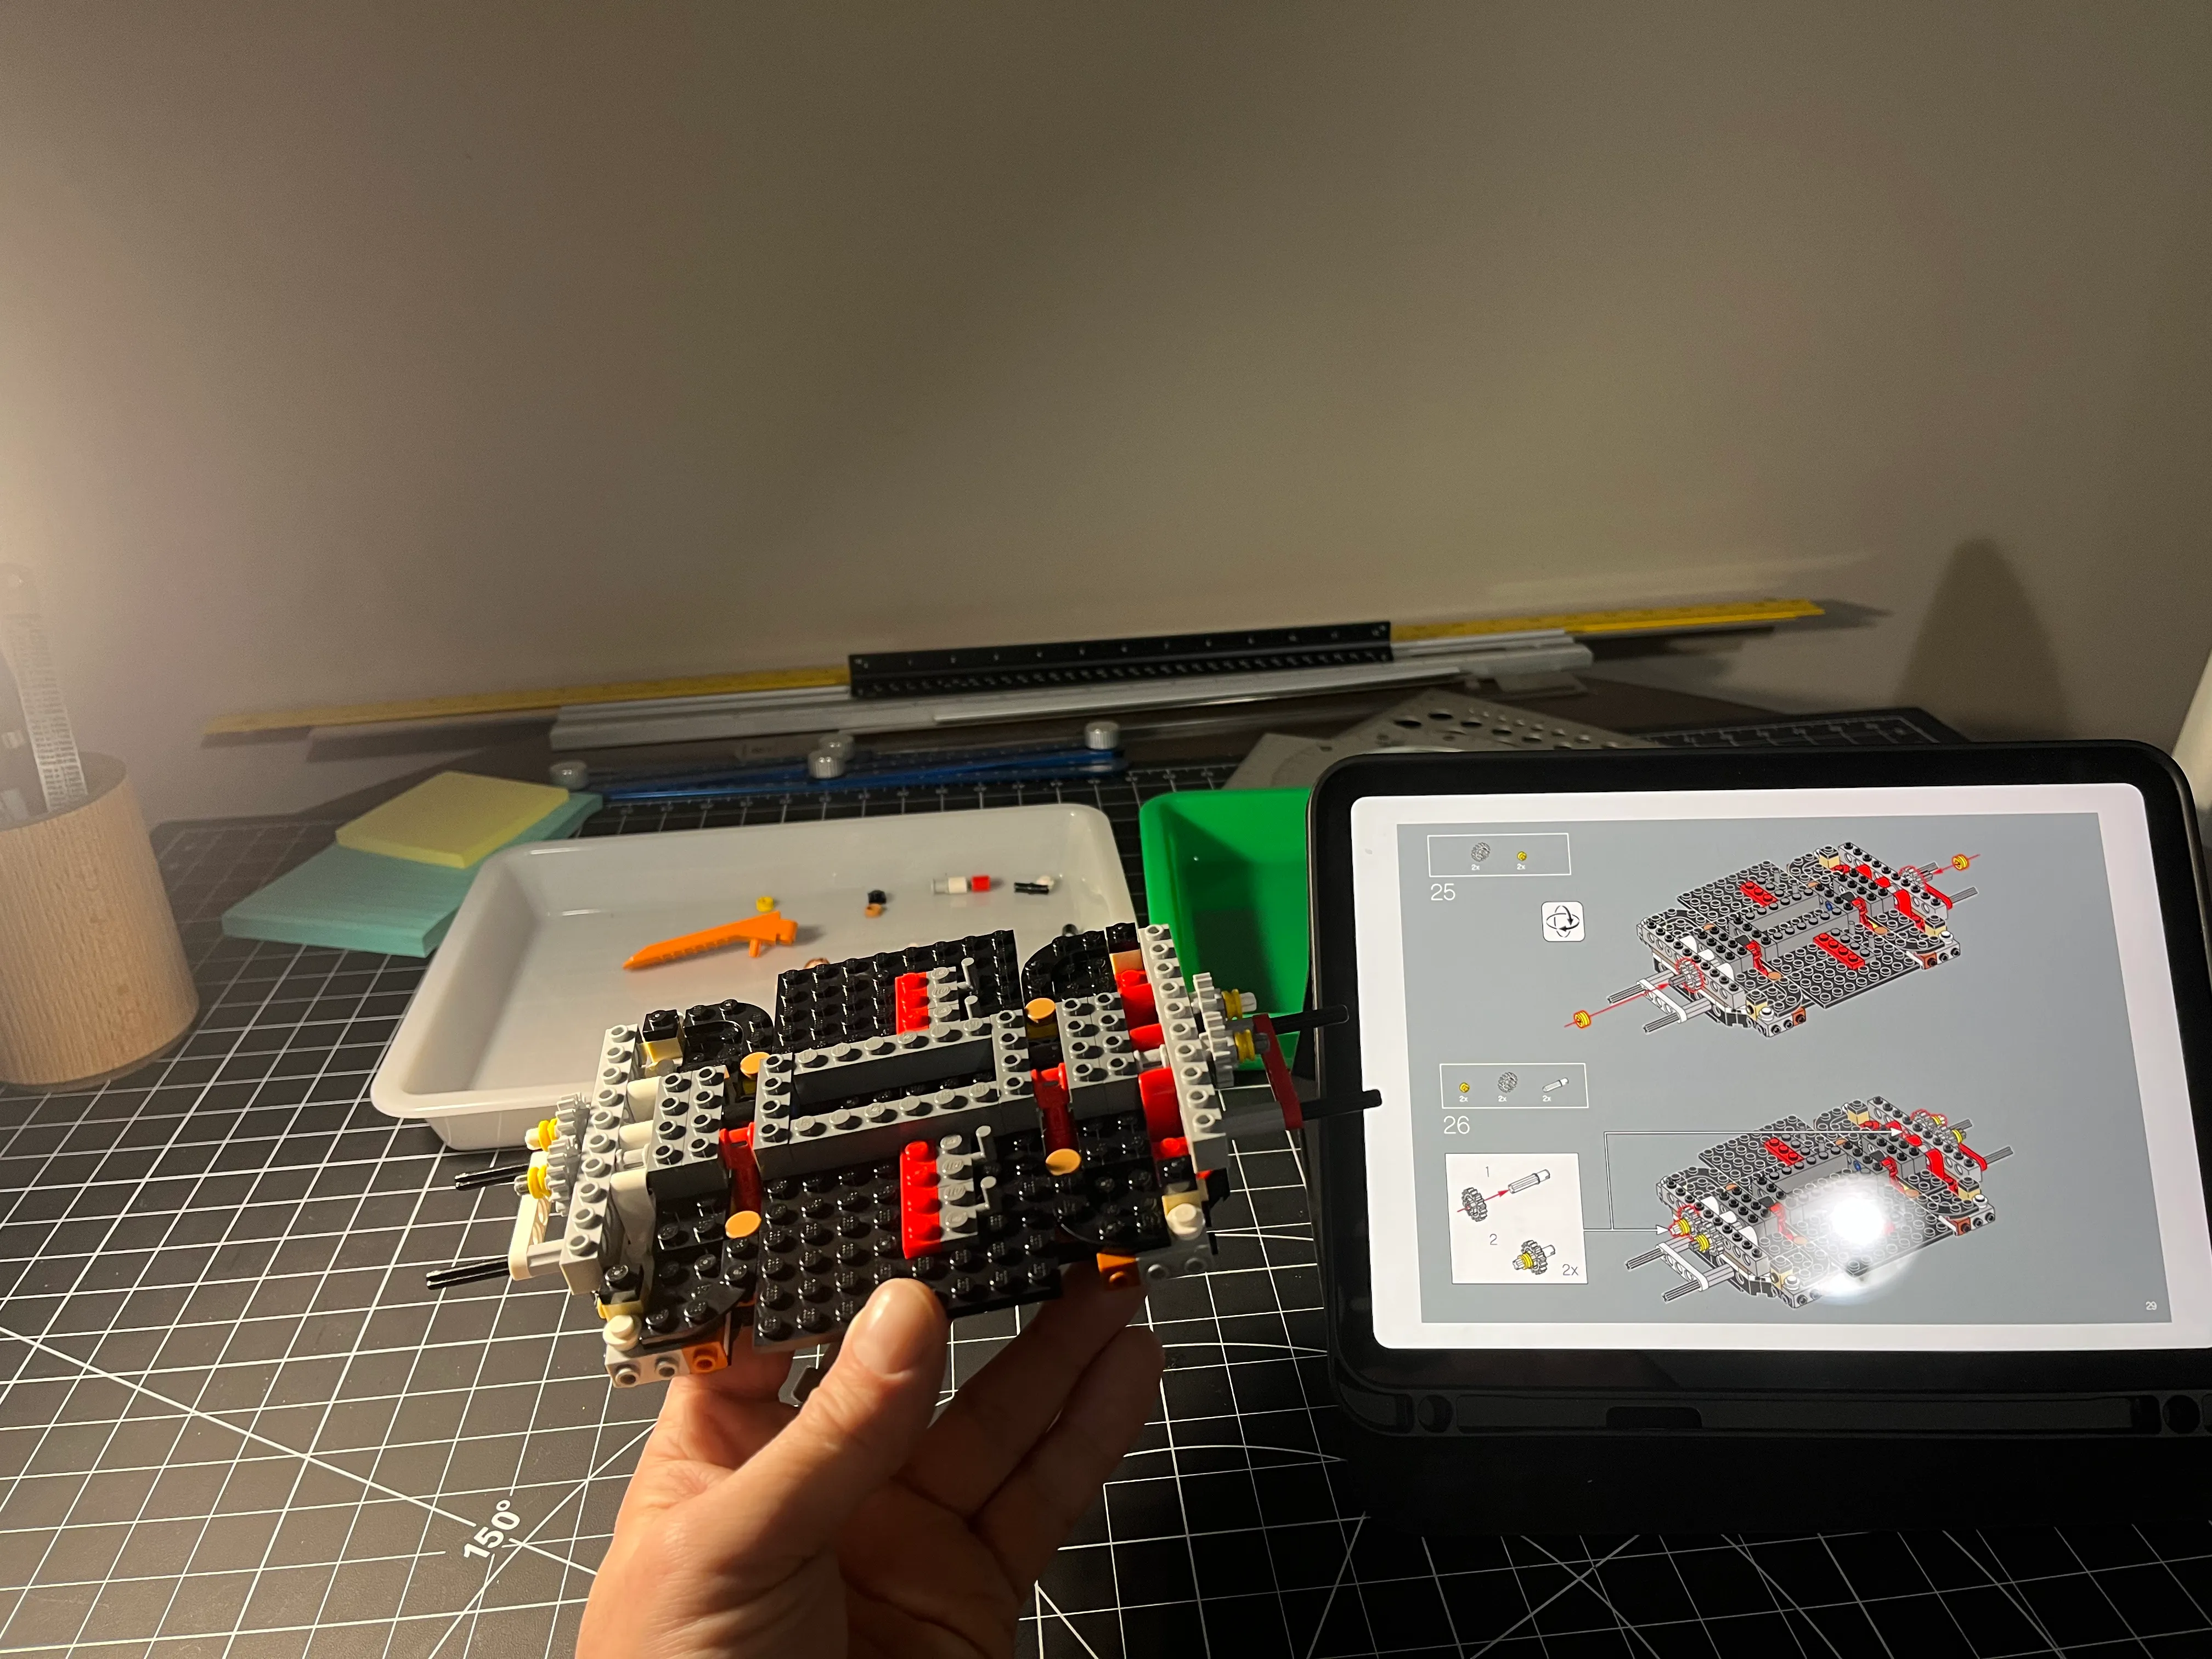
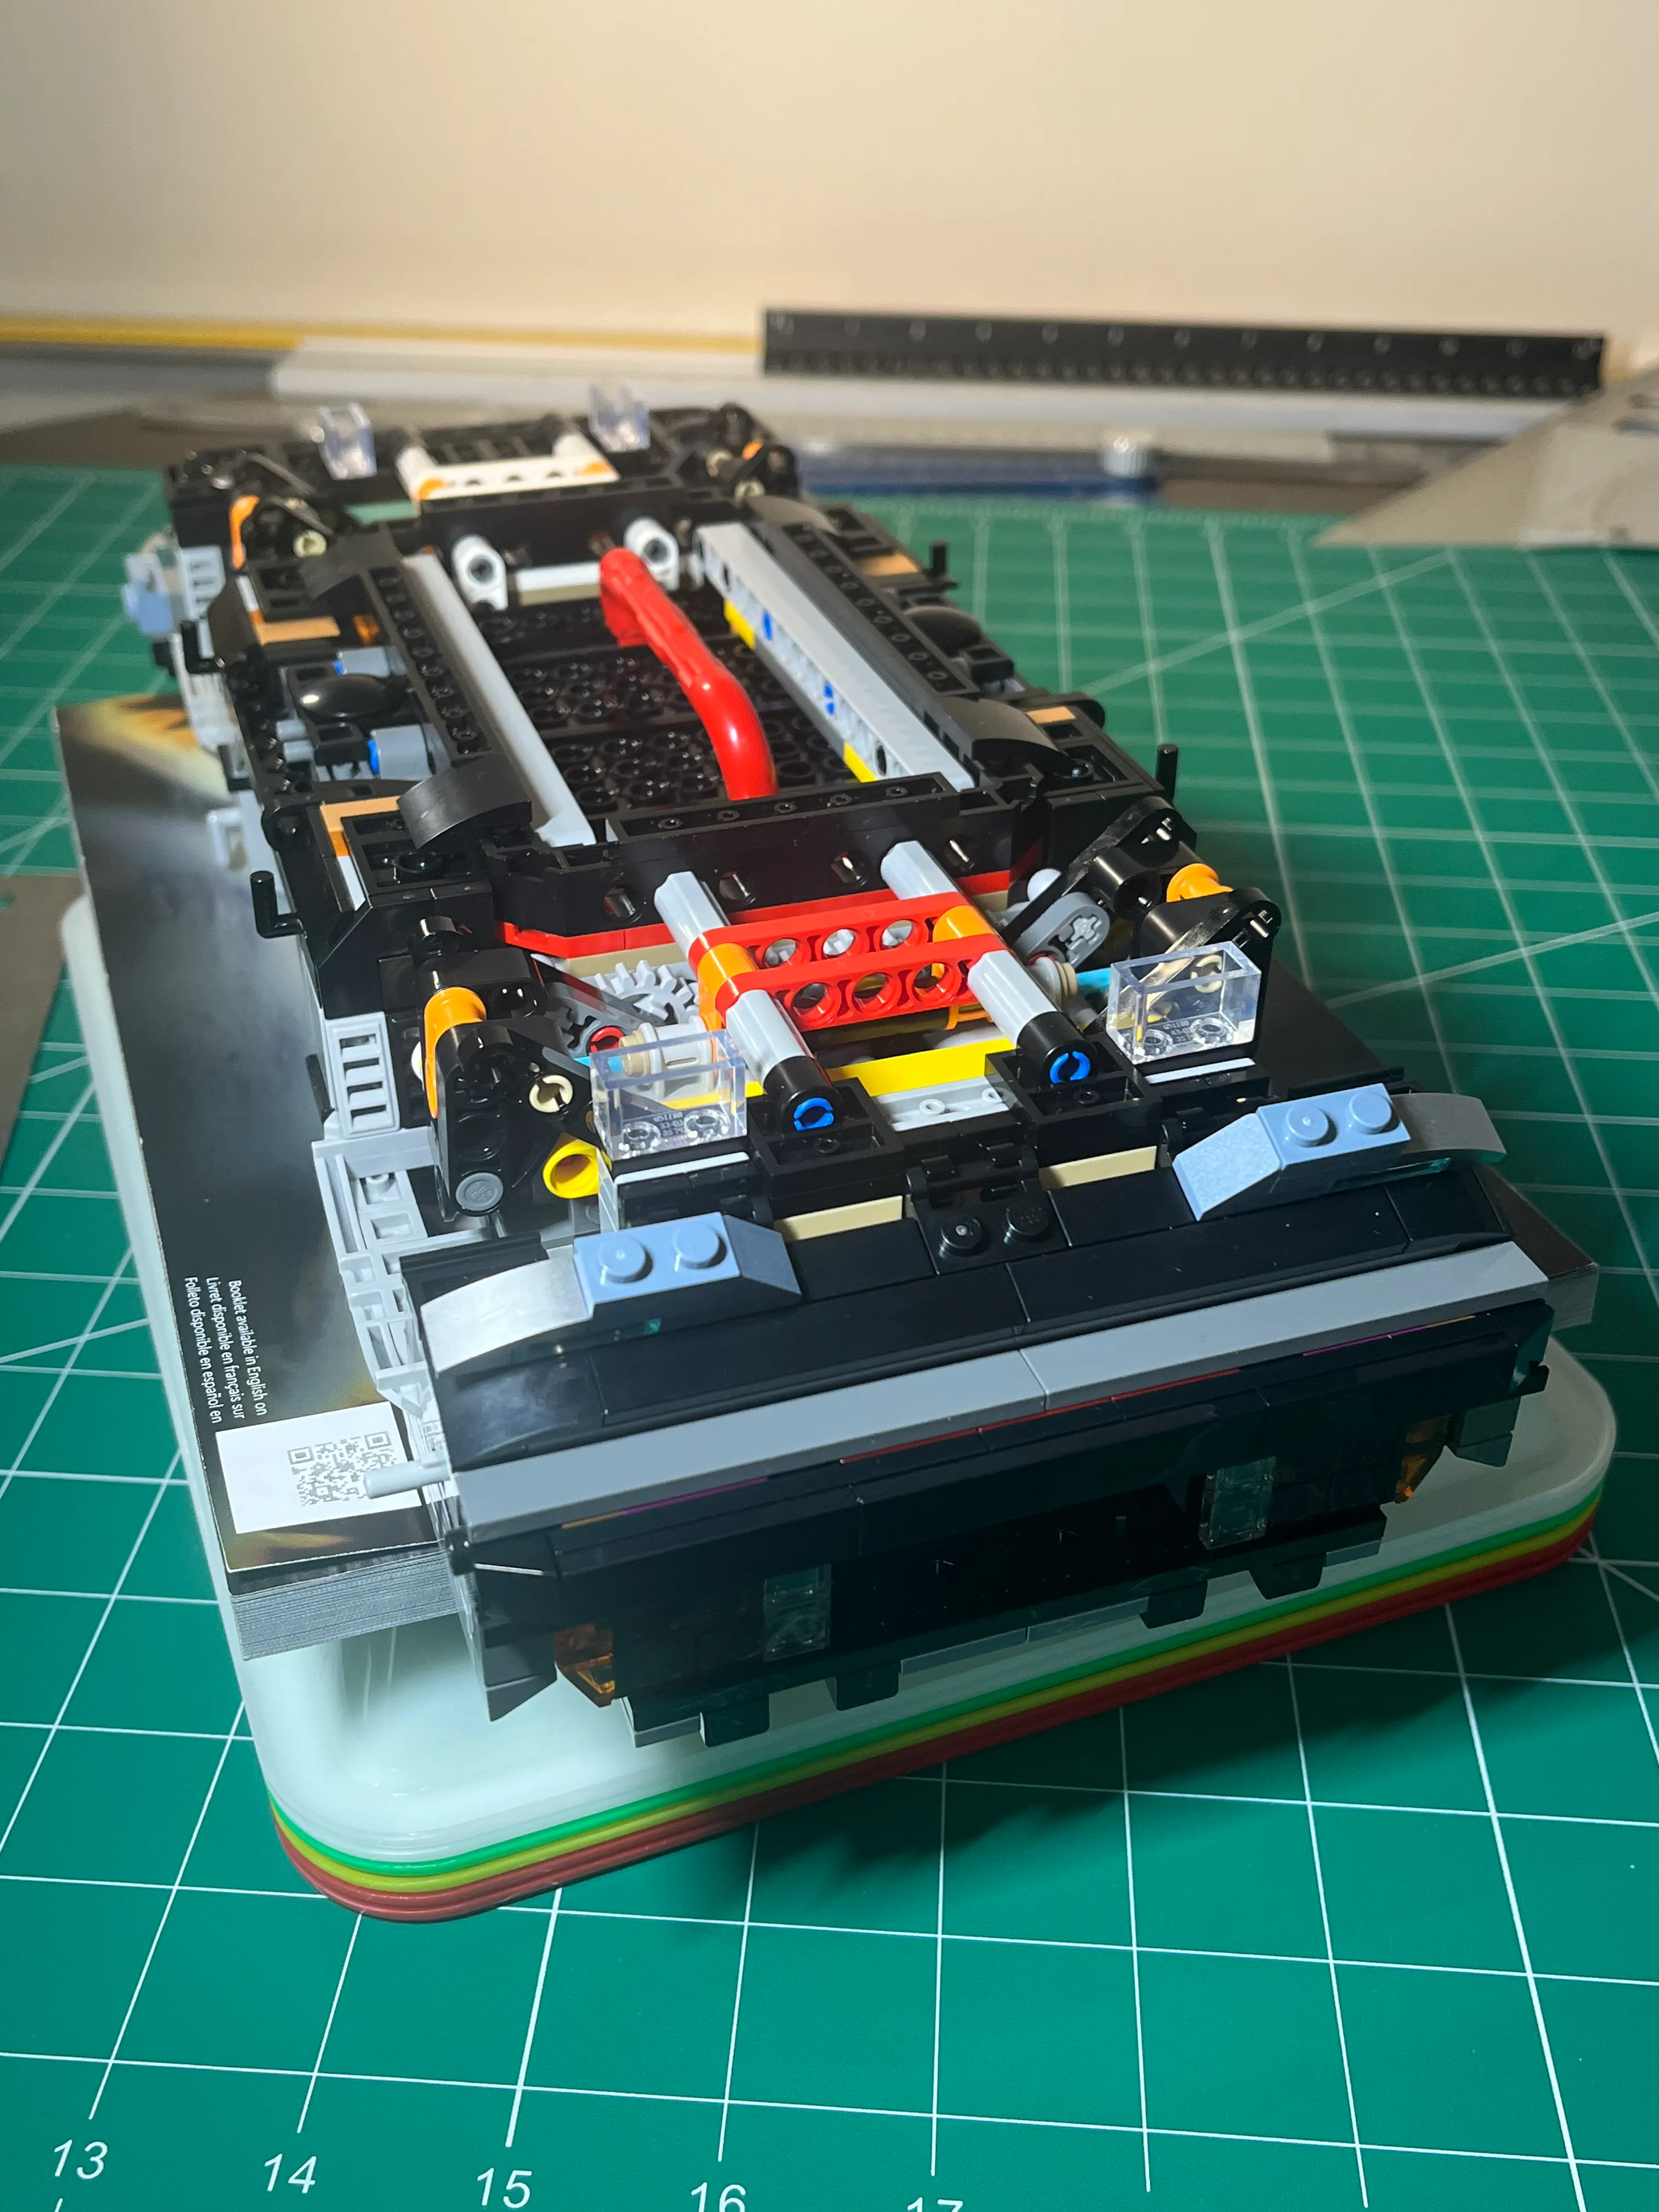
Pushing down on the suspension you can see rotation of the wheel mount rotating from upright to flat. When installed,
the suspension needs to be able to rotate so the wheel mounts lie completely flat!
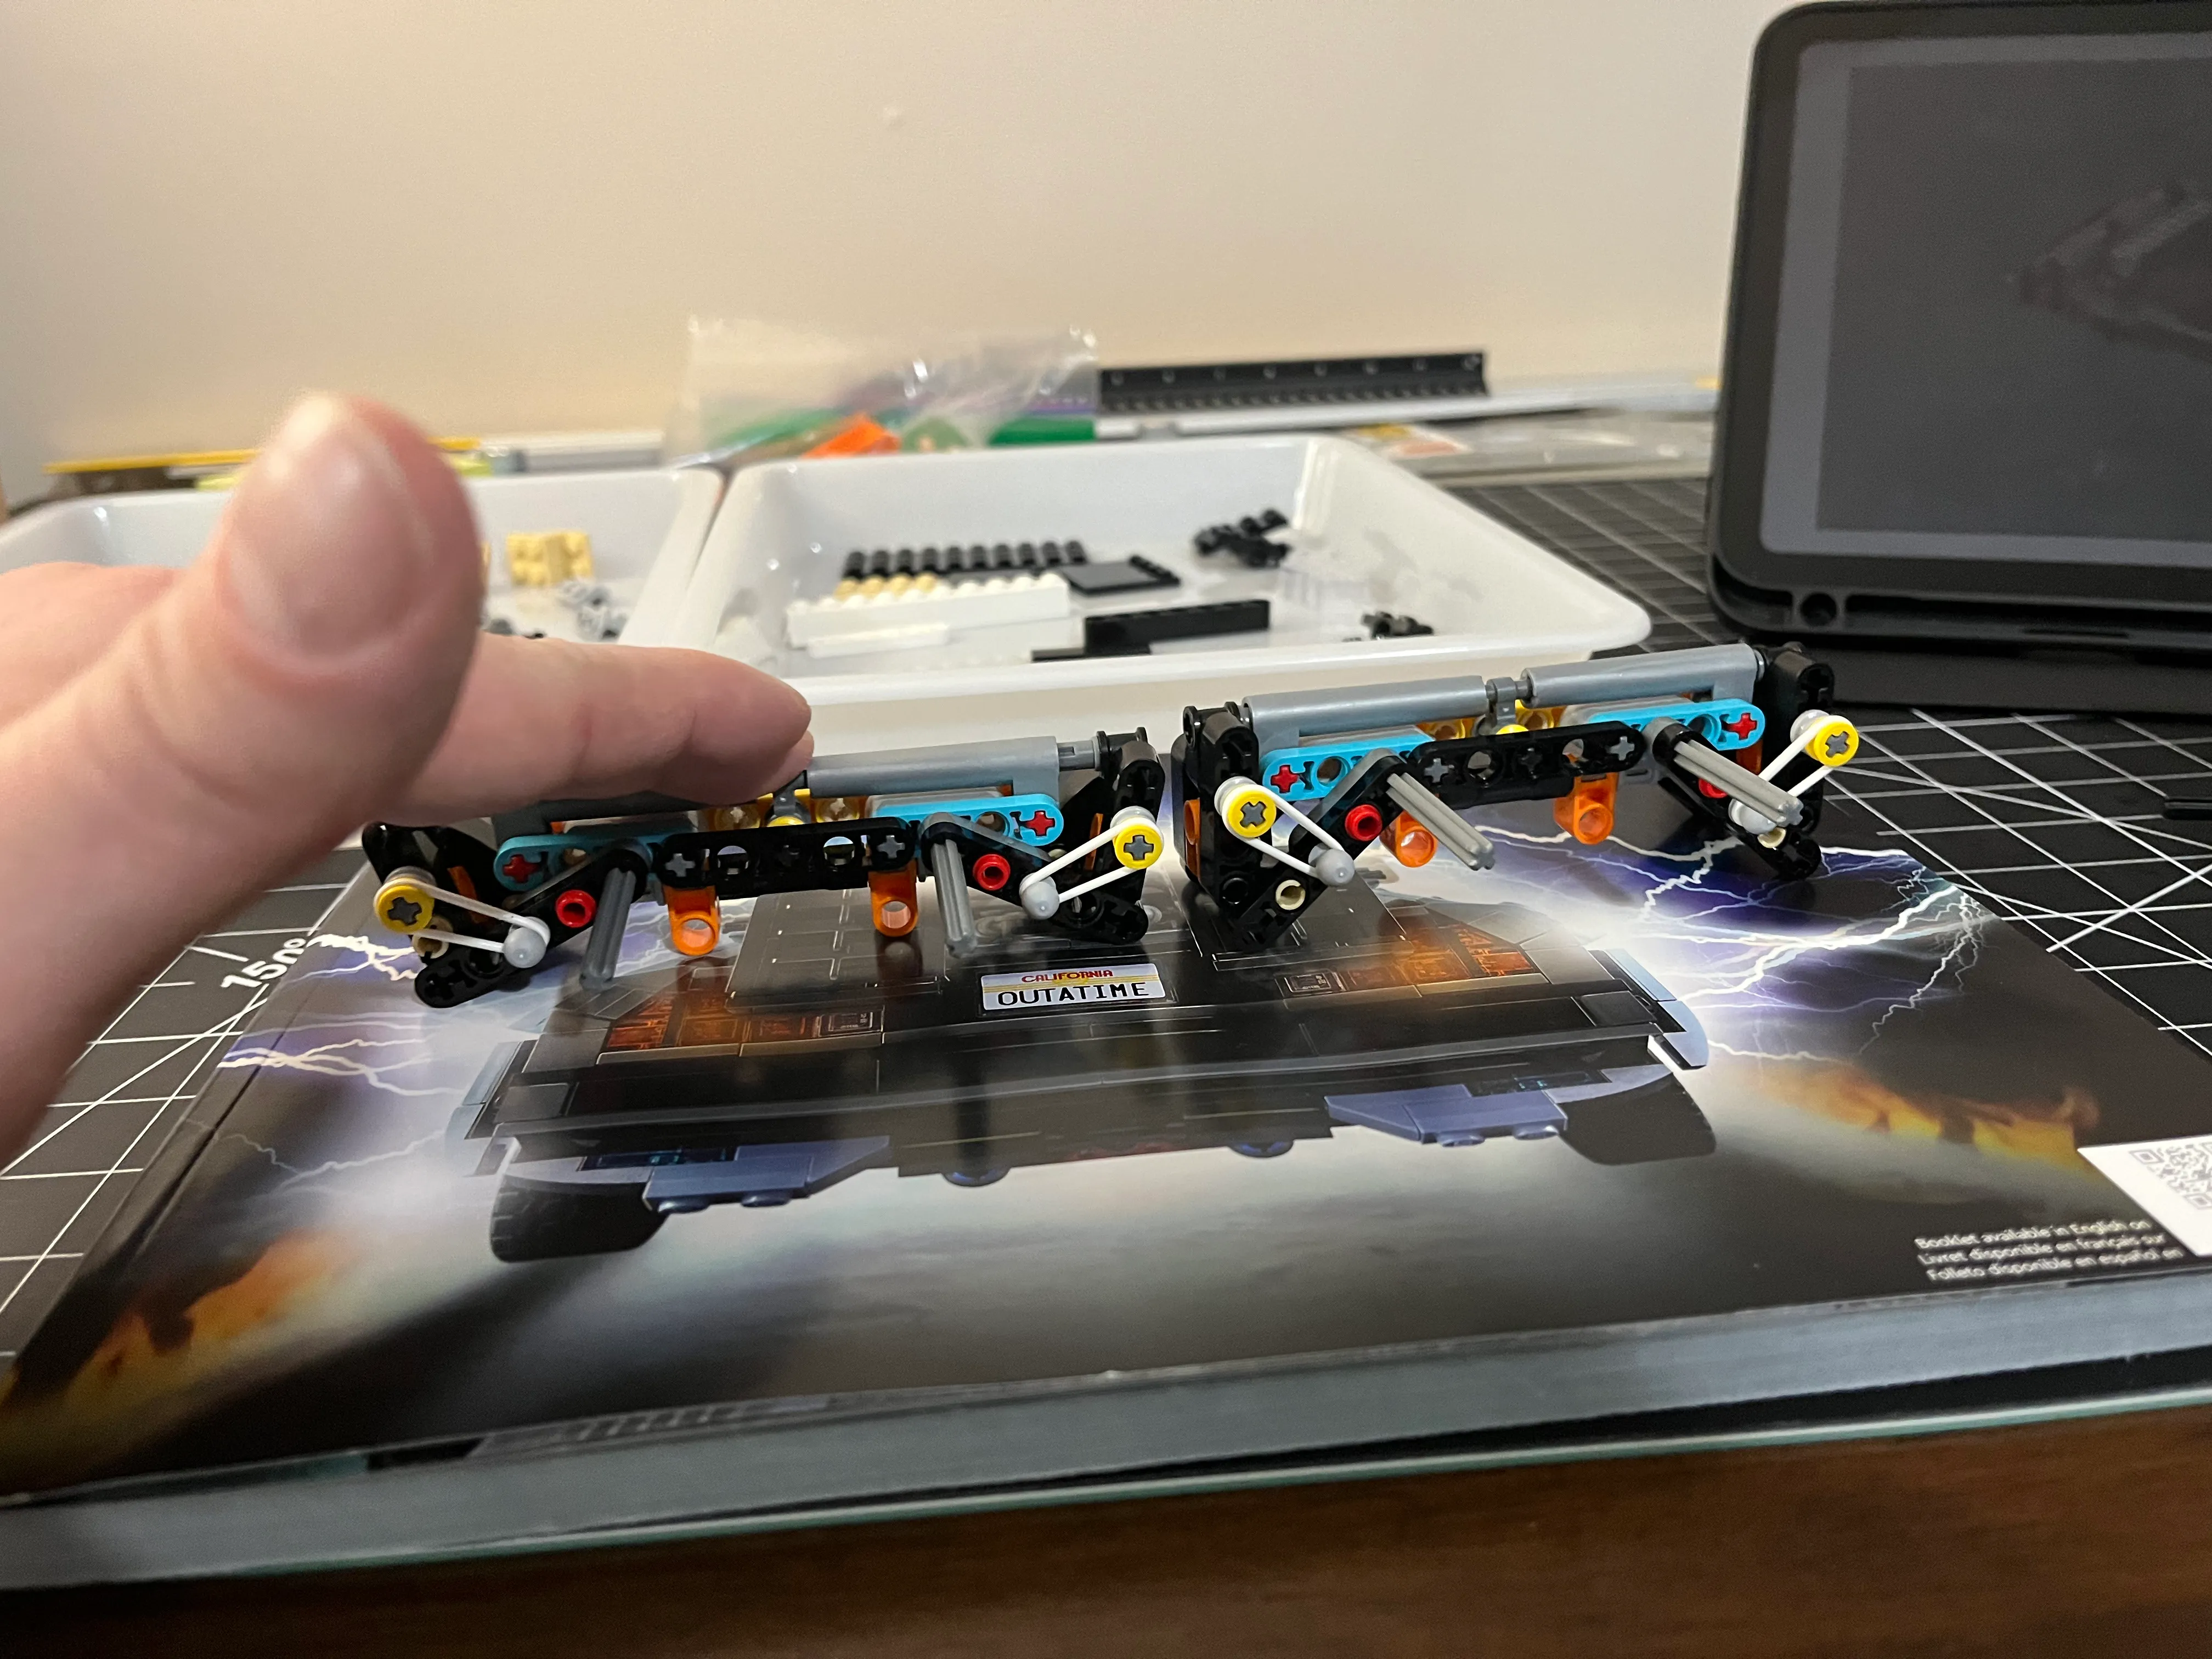
The red bar should be resting next to the gray structural bar on the driver’s side of the vehicle. The instructions
indicate to use 2 yellow bricks to lock the suspension in place during the build. In the picture below, the red bar is
vertical, which highlights my assembly error.
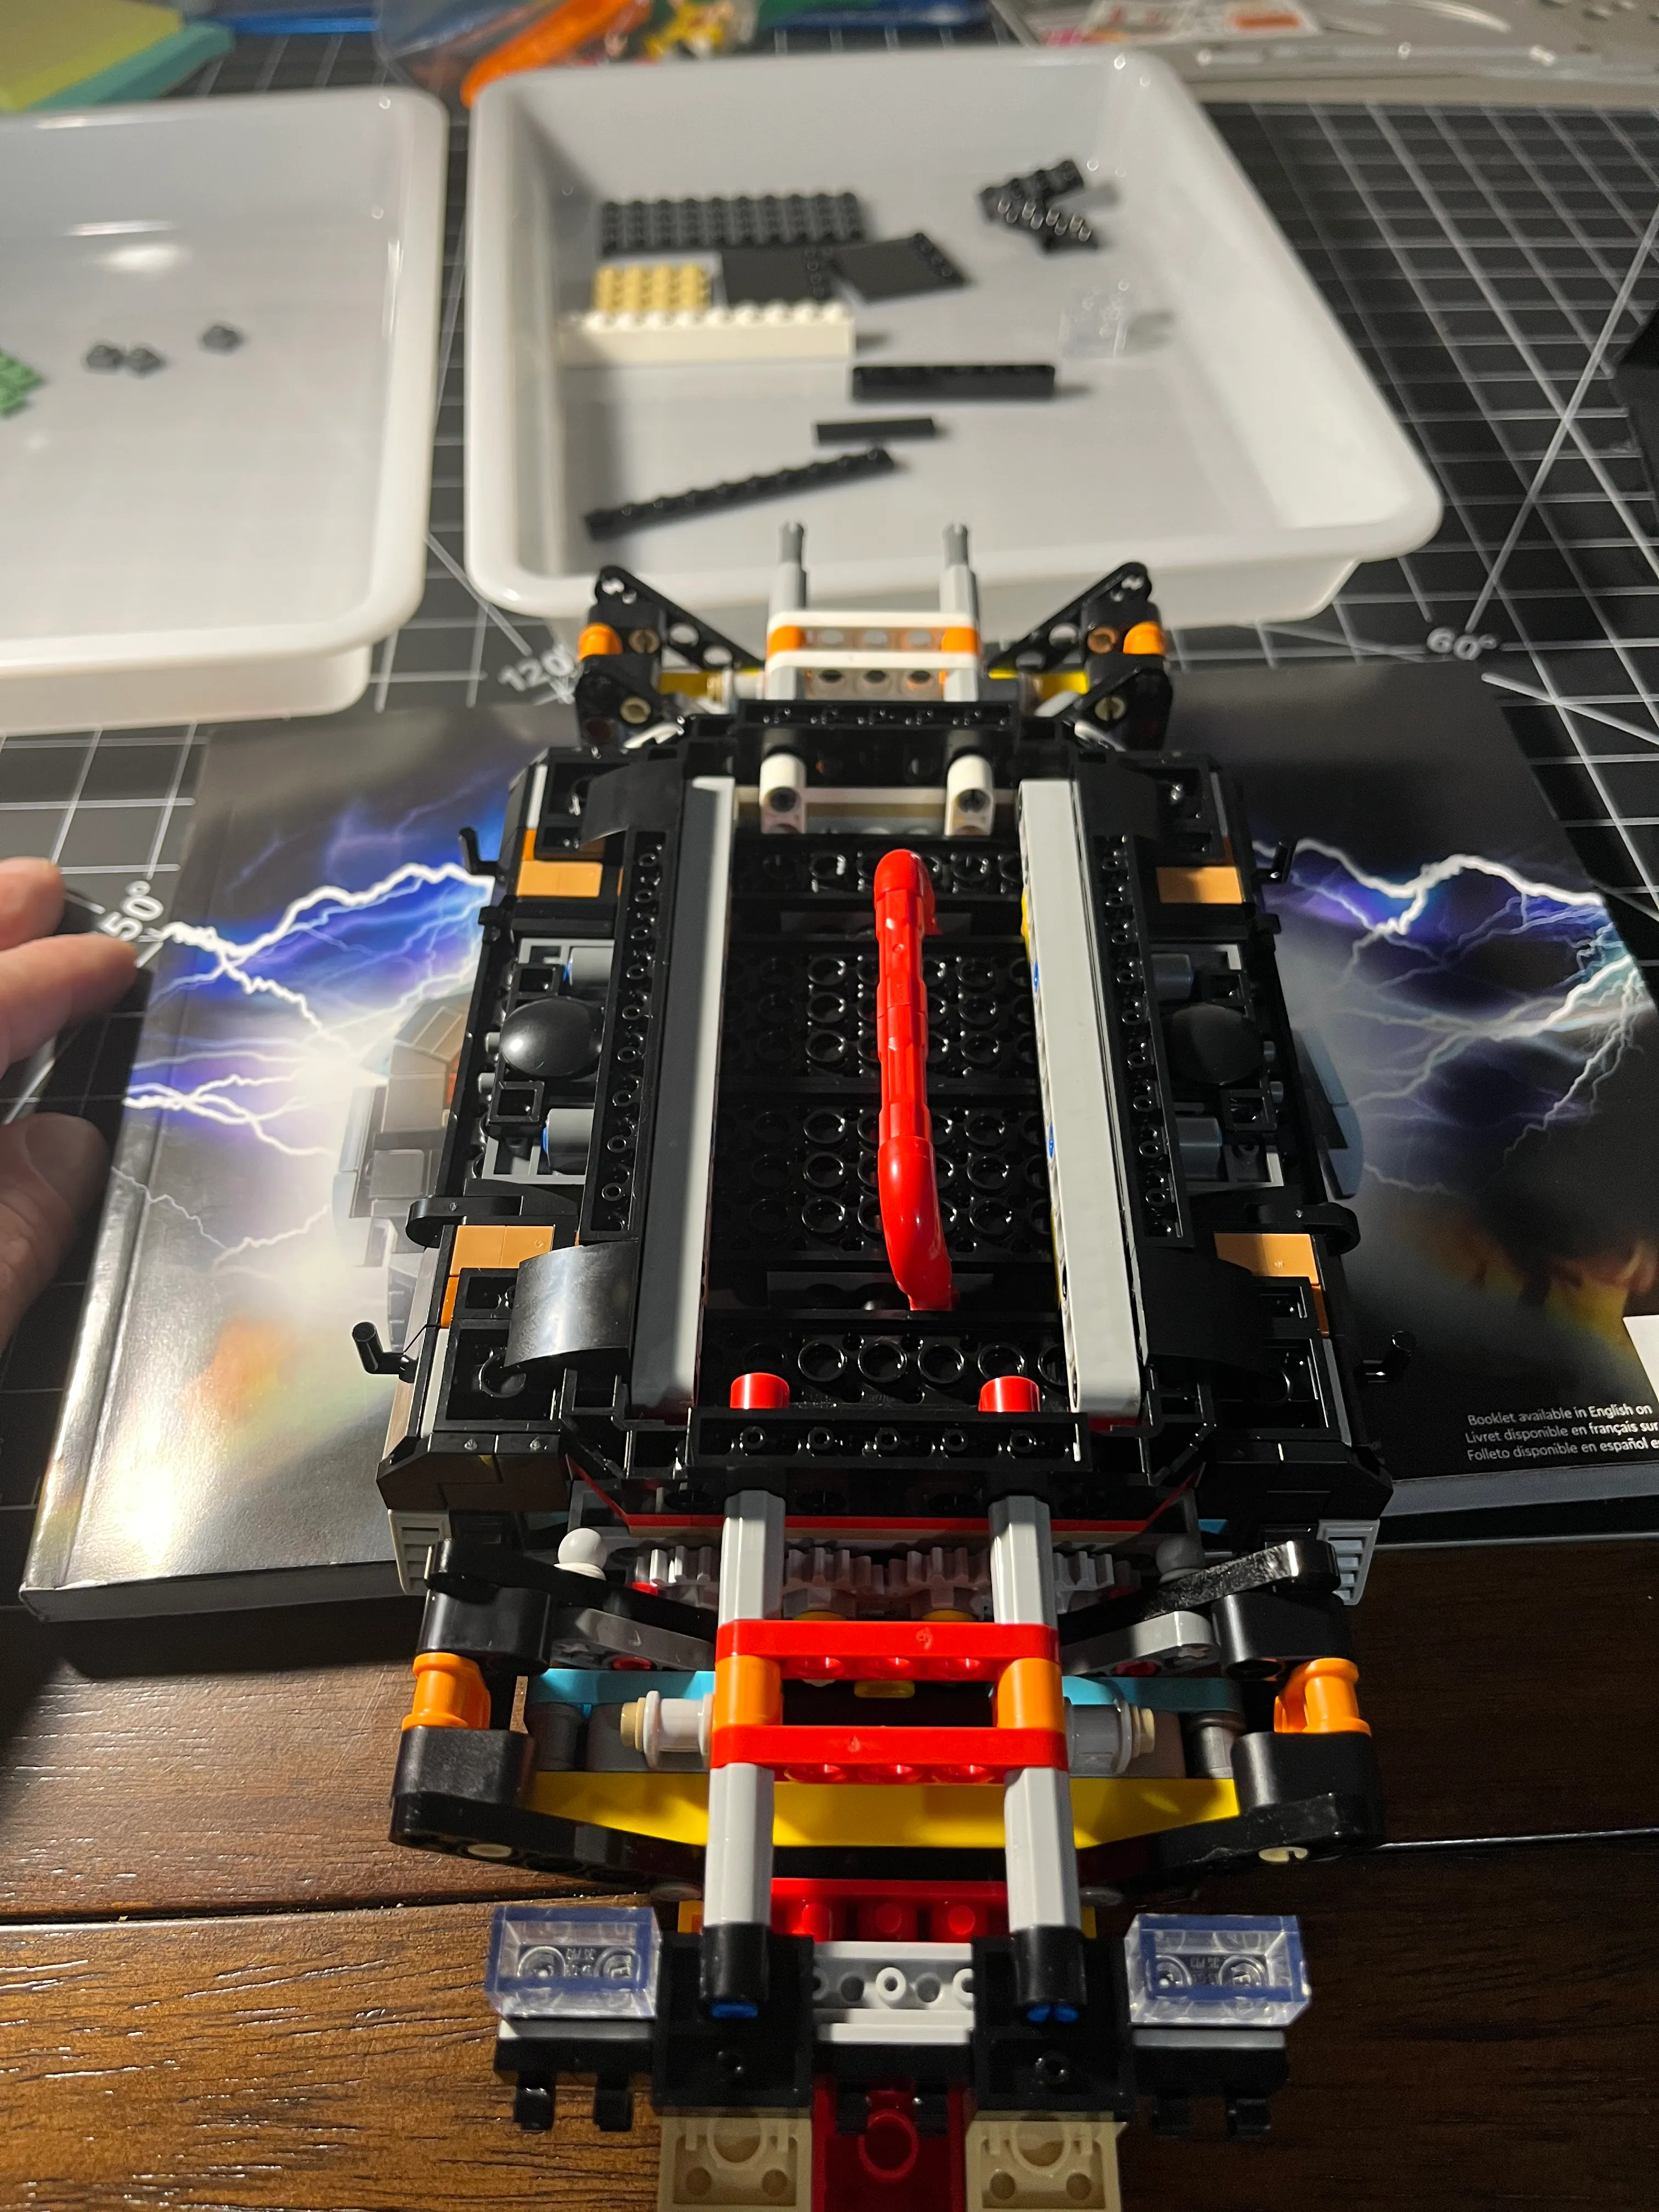
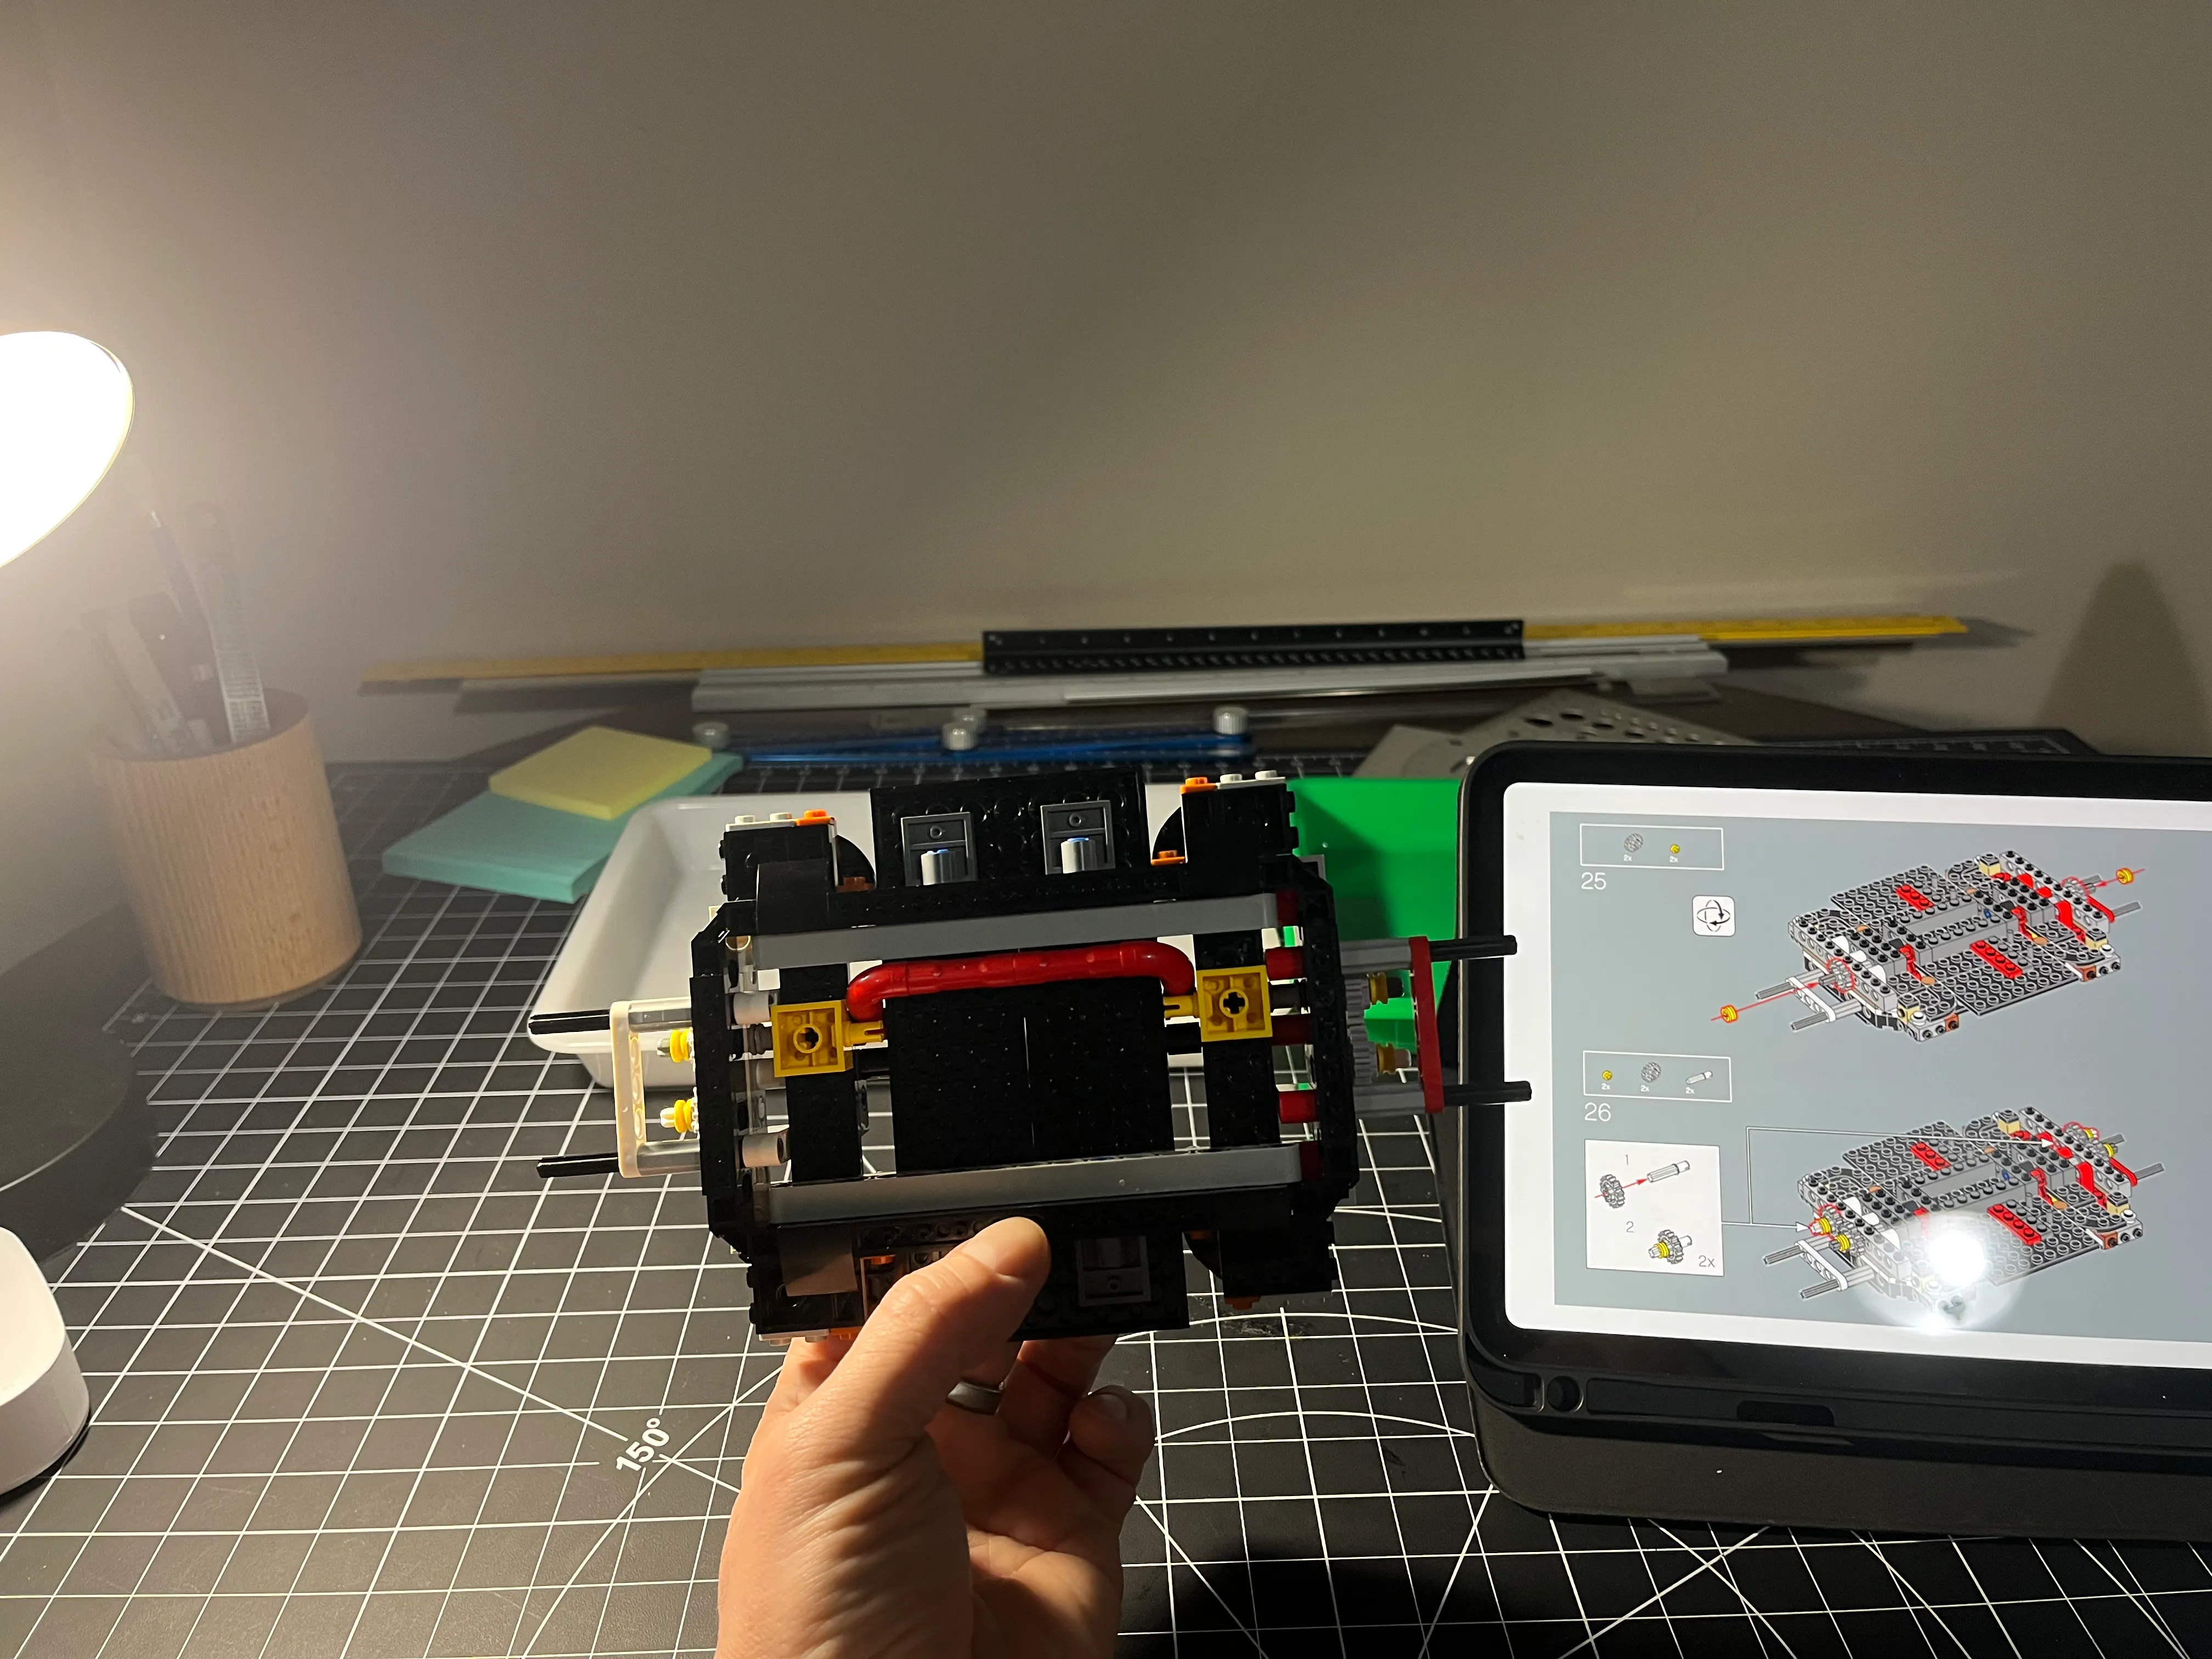
Here’s the red bar as it looked after bag #1. That’s how it should look after bag 3 as well. The problem I had was
aligning the gears. I removed the yellow bricks retaining the red bar to give some wiggle room. When I assembled it
the first time, I allowed the red bar to sit in the middle of the vehicle, which wasn’t correct. Pay attention to the
suspension geometry if you want to avoid problems with the wheels flipping up.
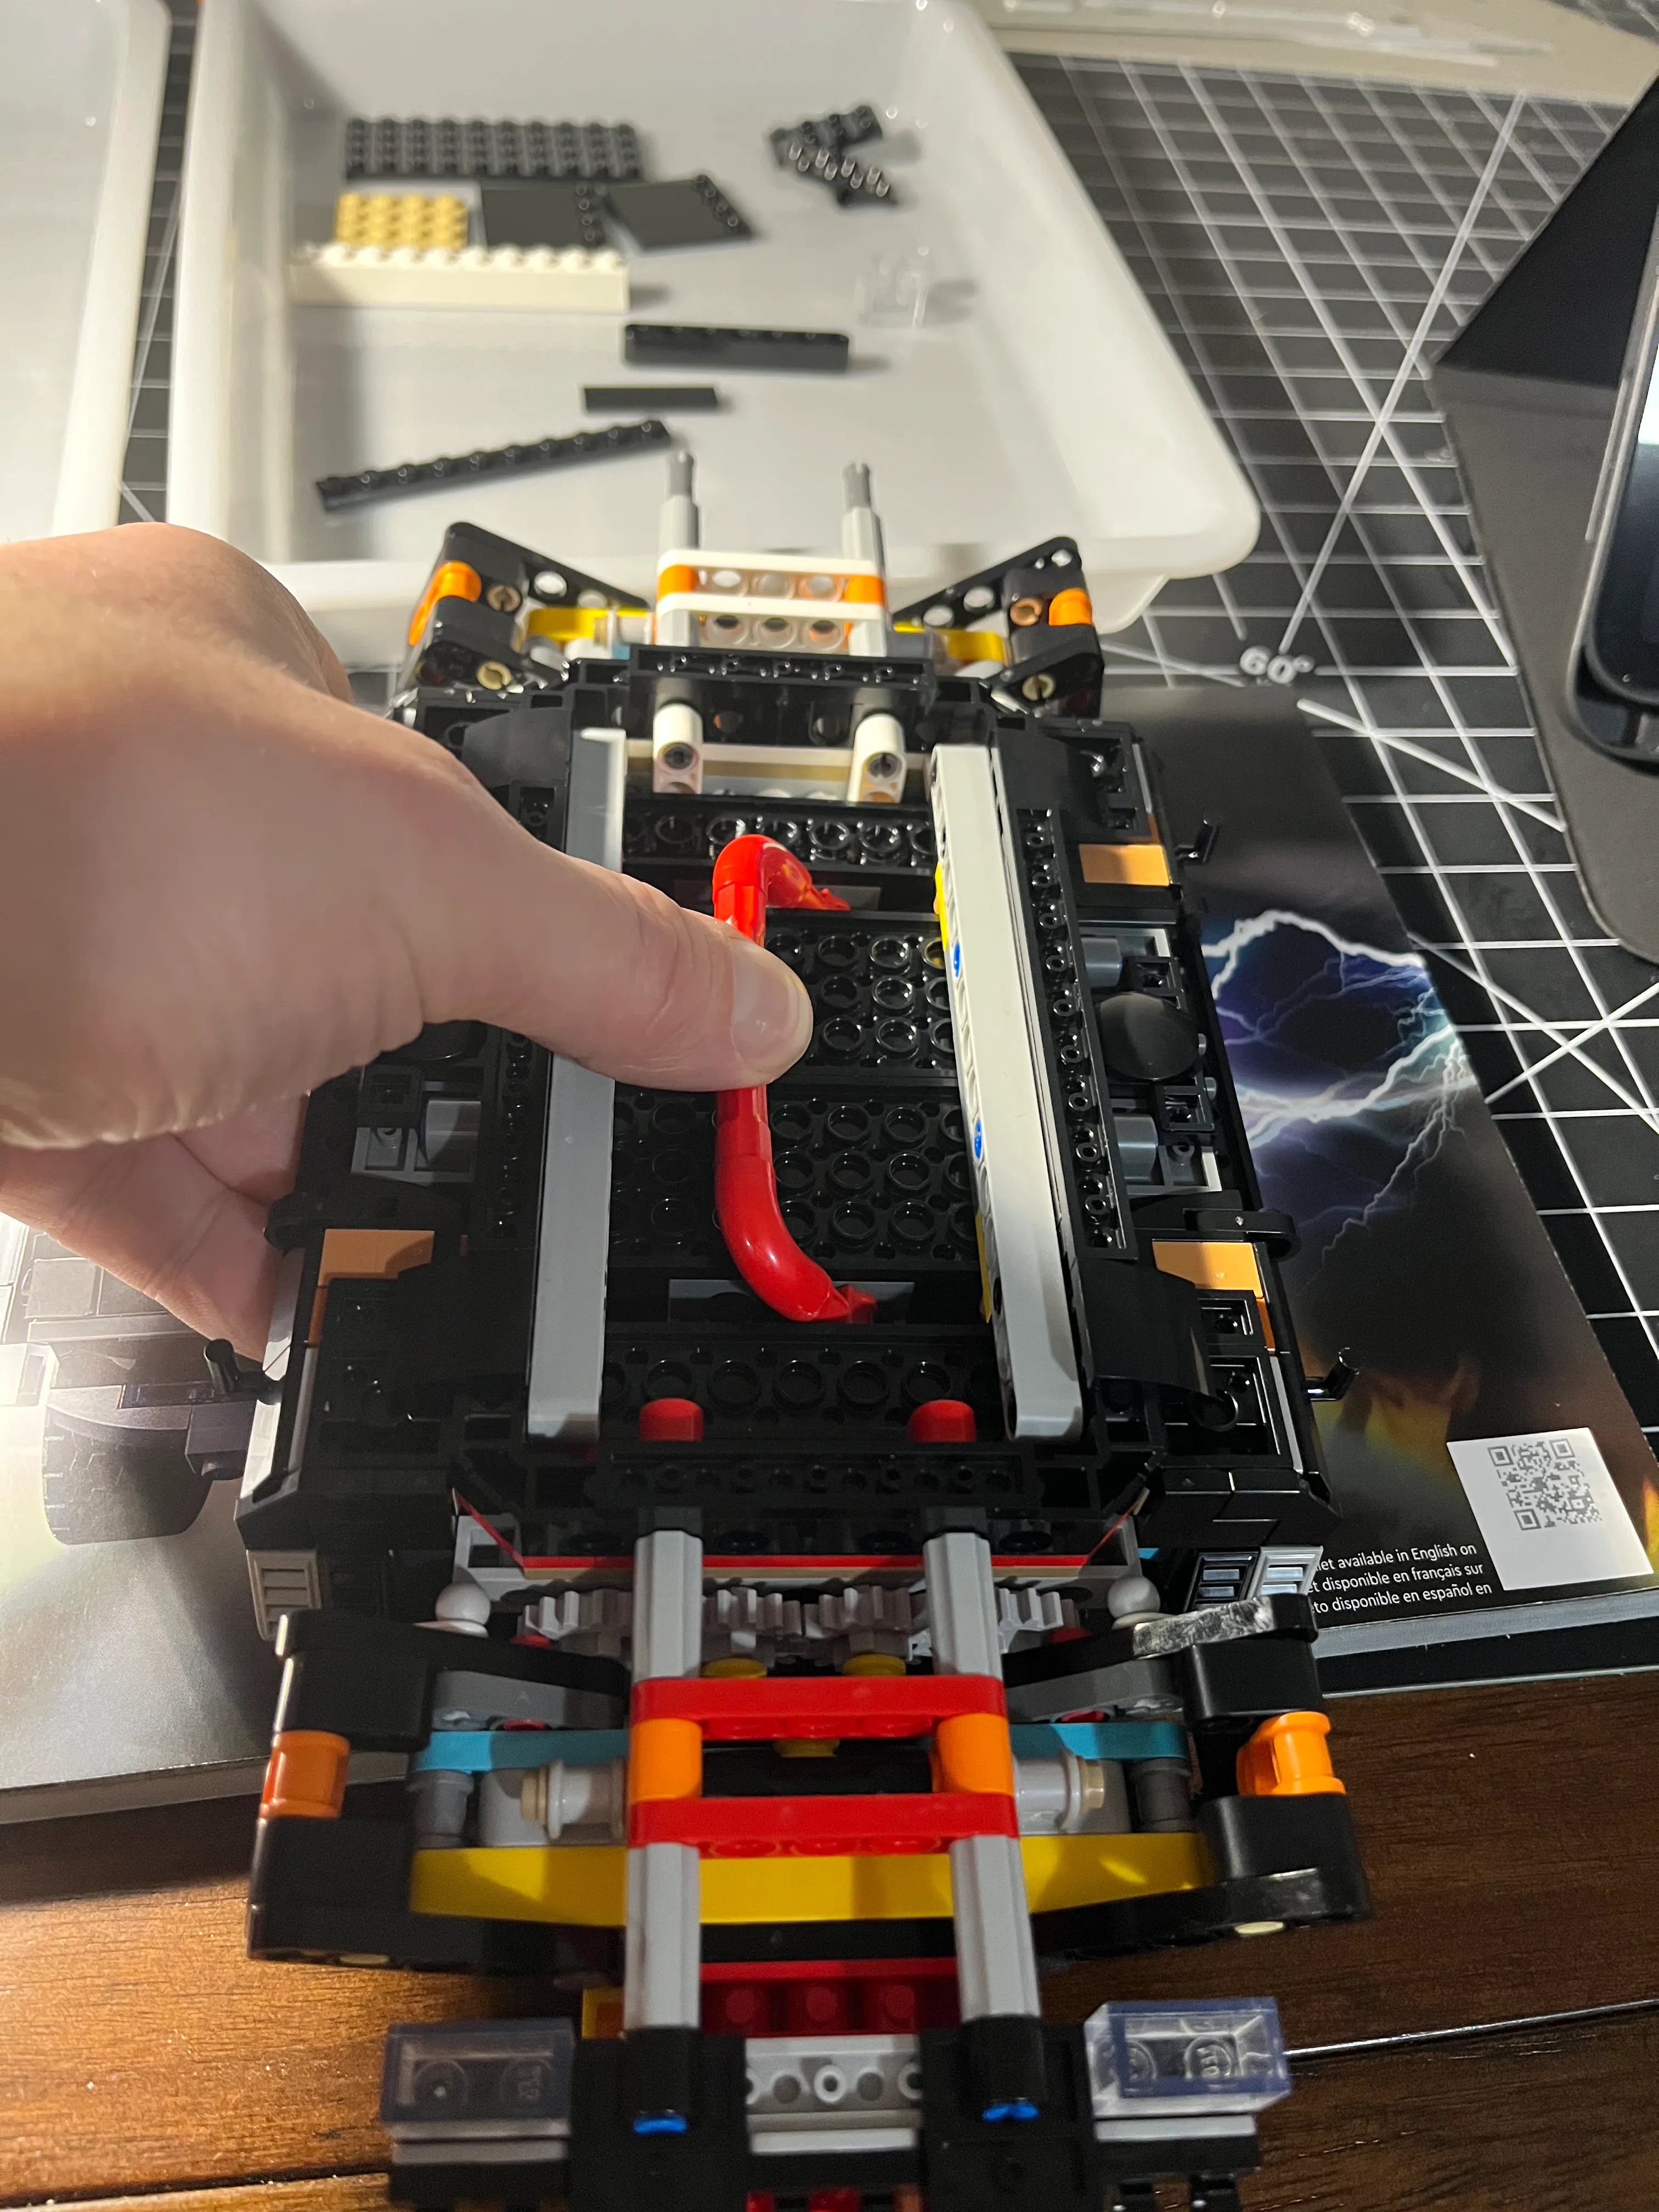
The red bar only rotated about 20-25 degrees to the passenger side of the vehicle, showing the issue with my
installation. Pushing this red bar should make the suspension lay flat, and it should lock in place. My build was not
doing that at all.

Bag #4
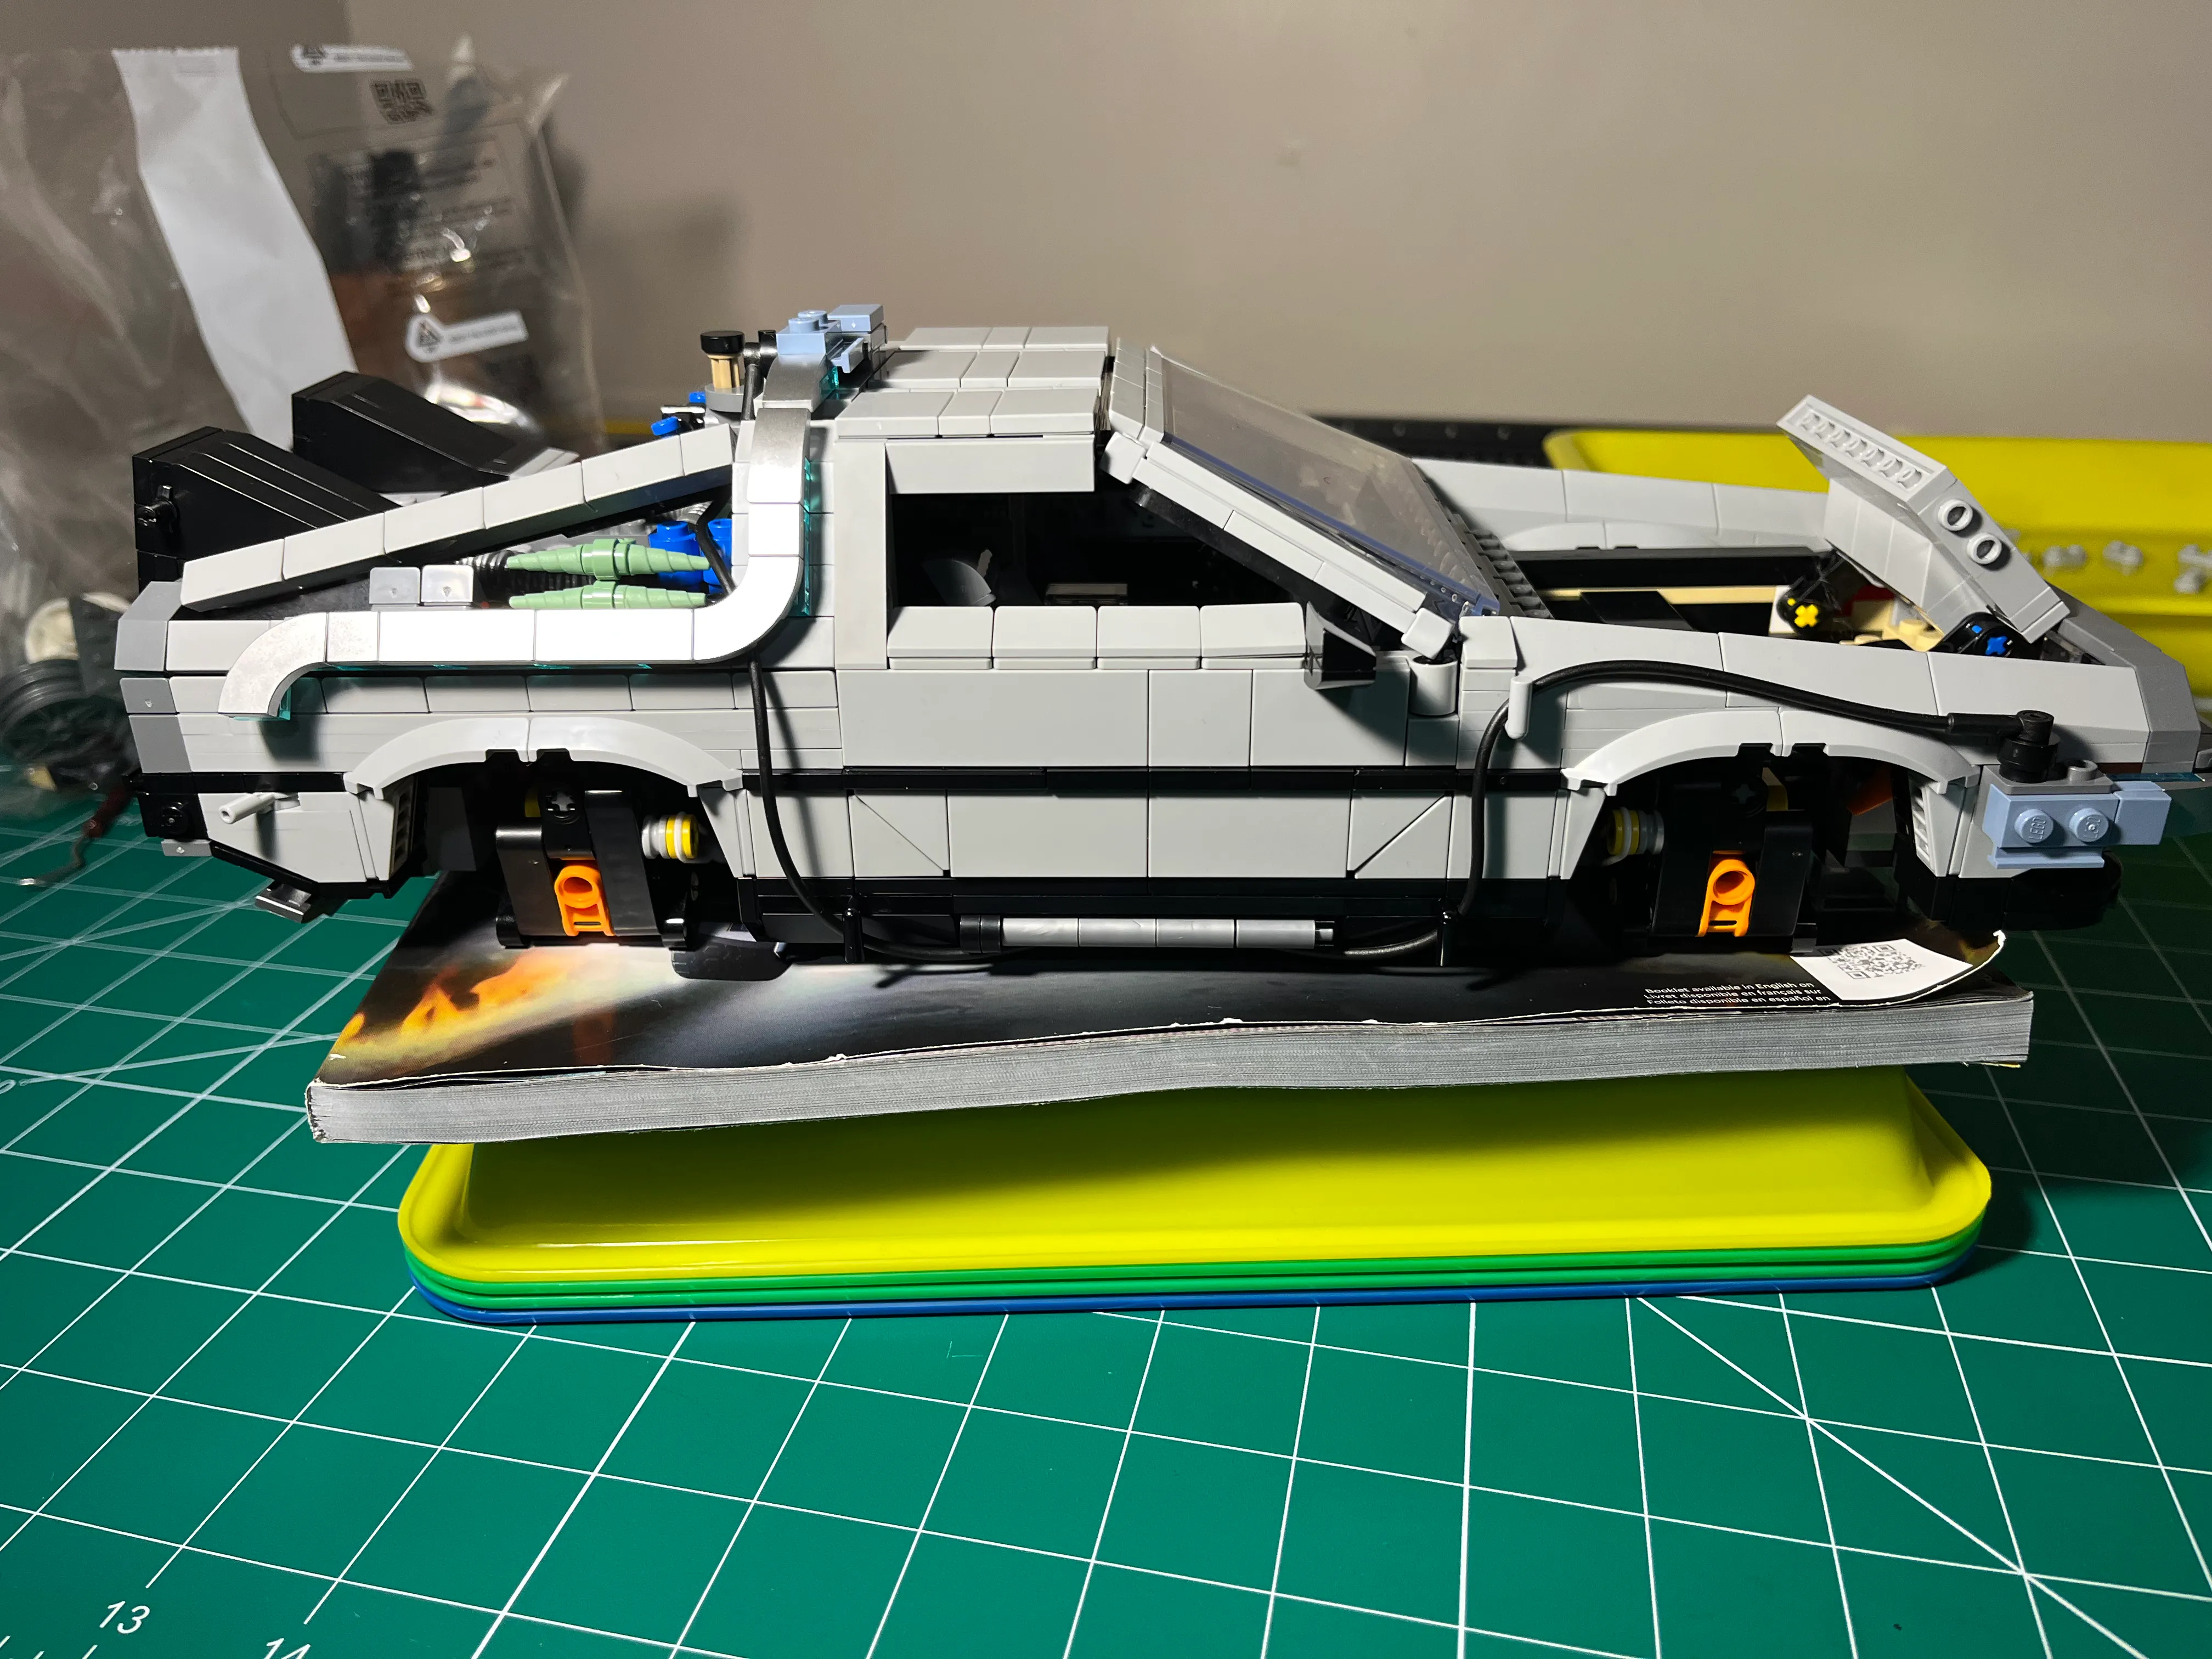
Bag #5
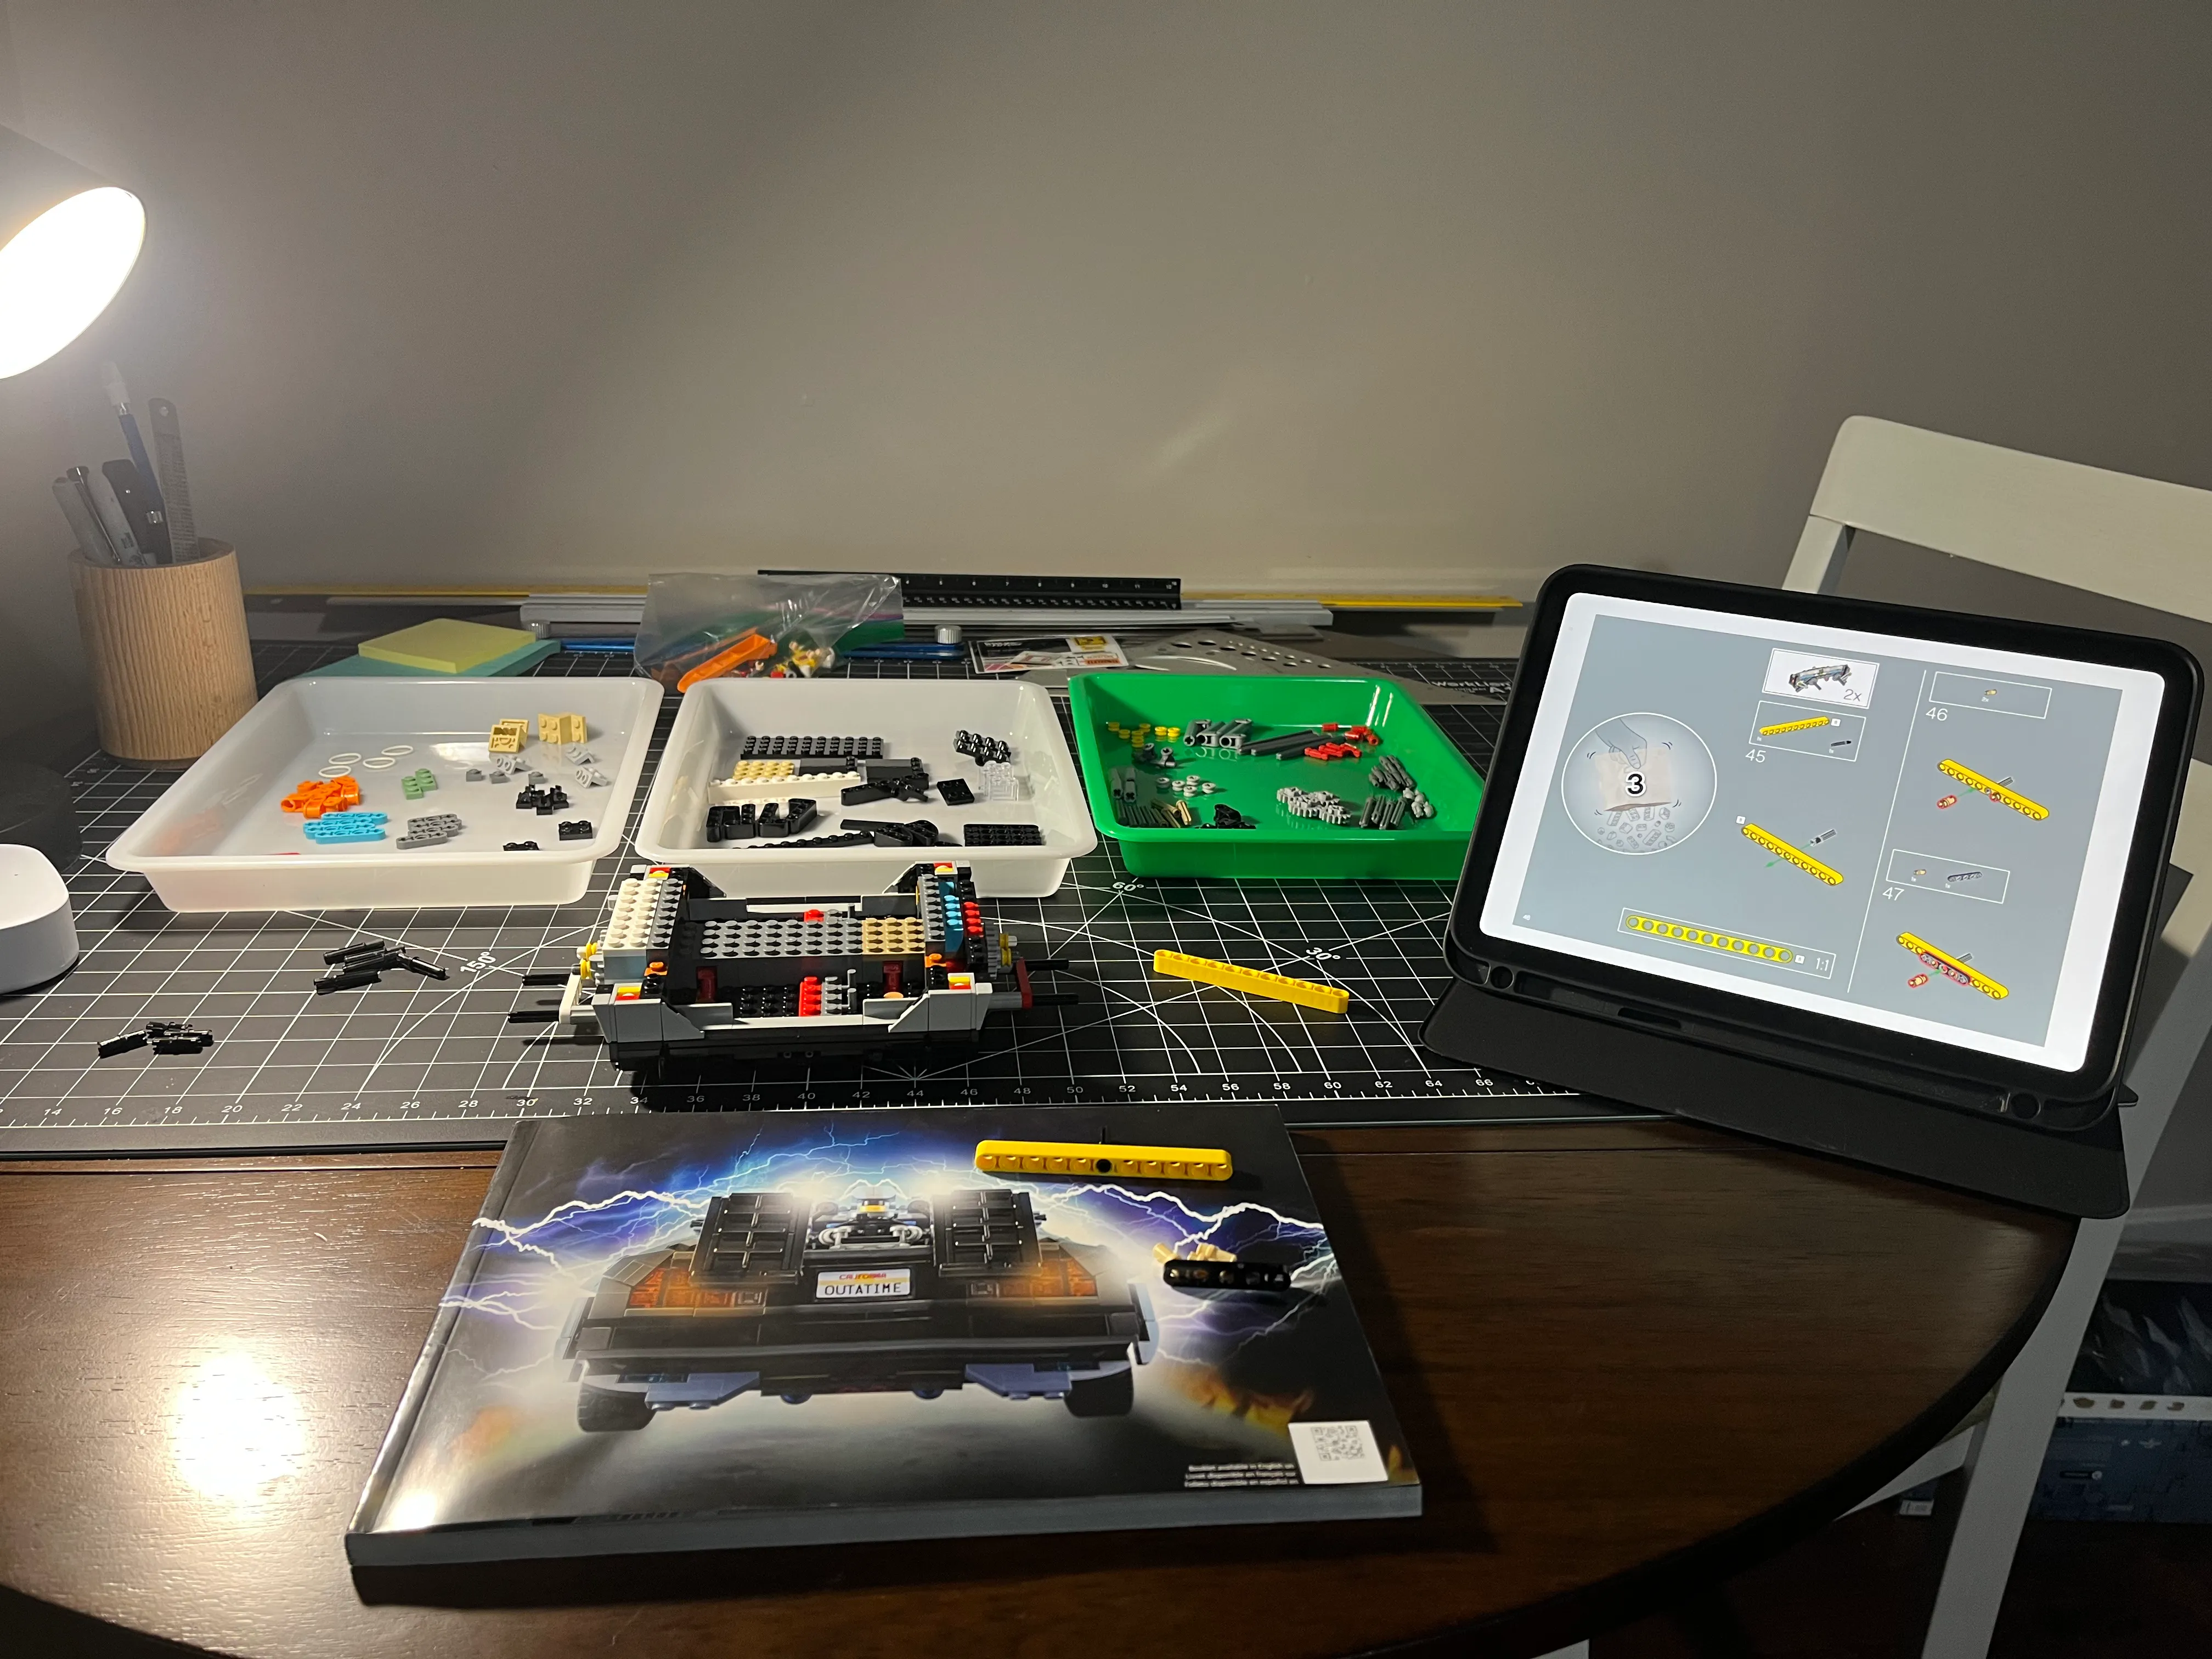
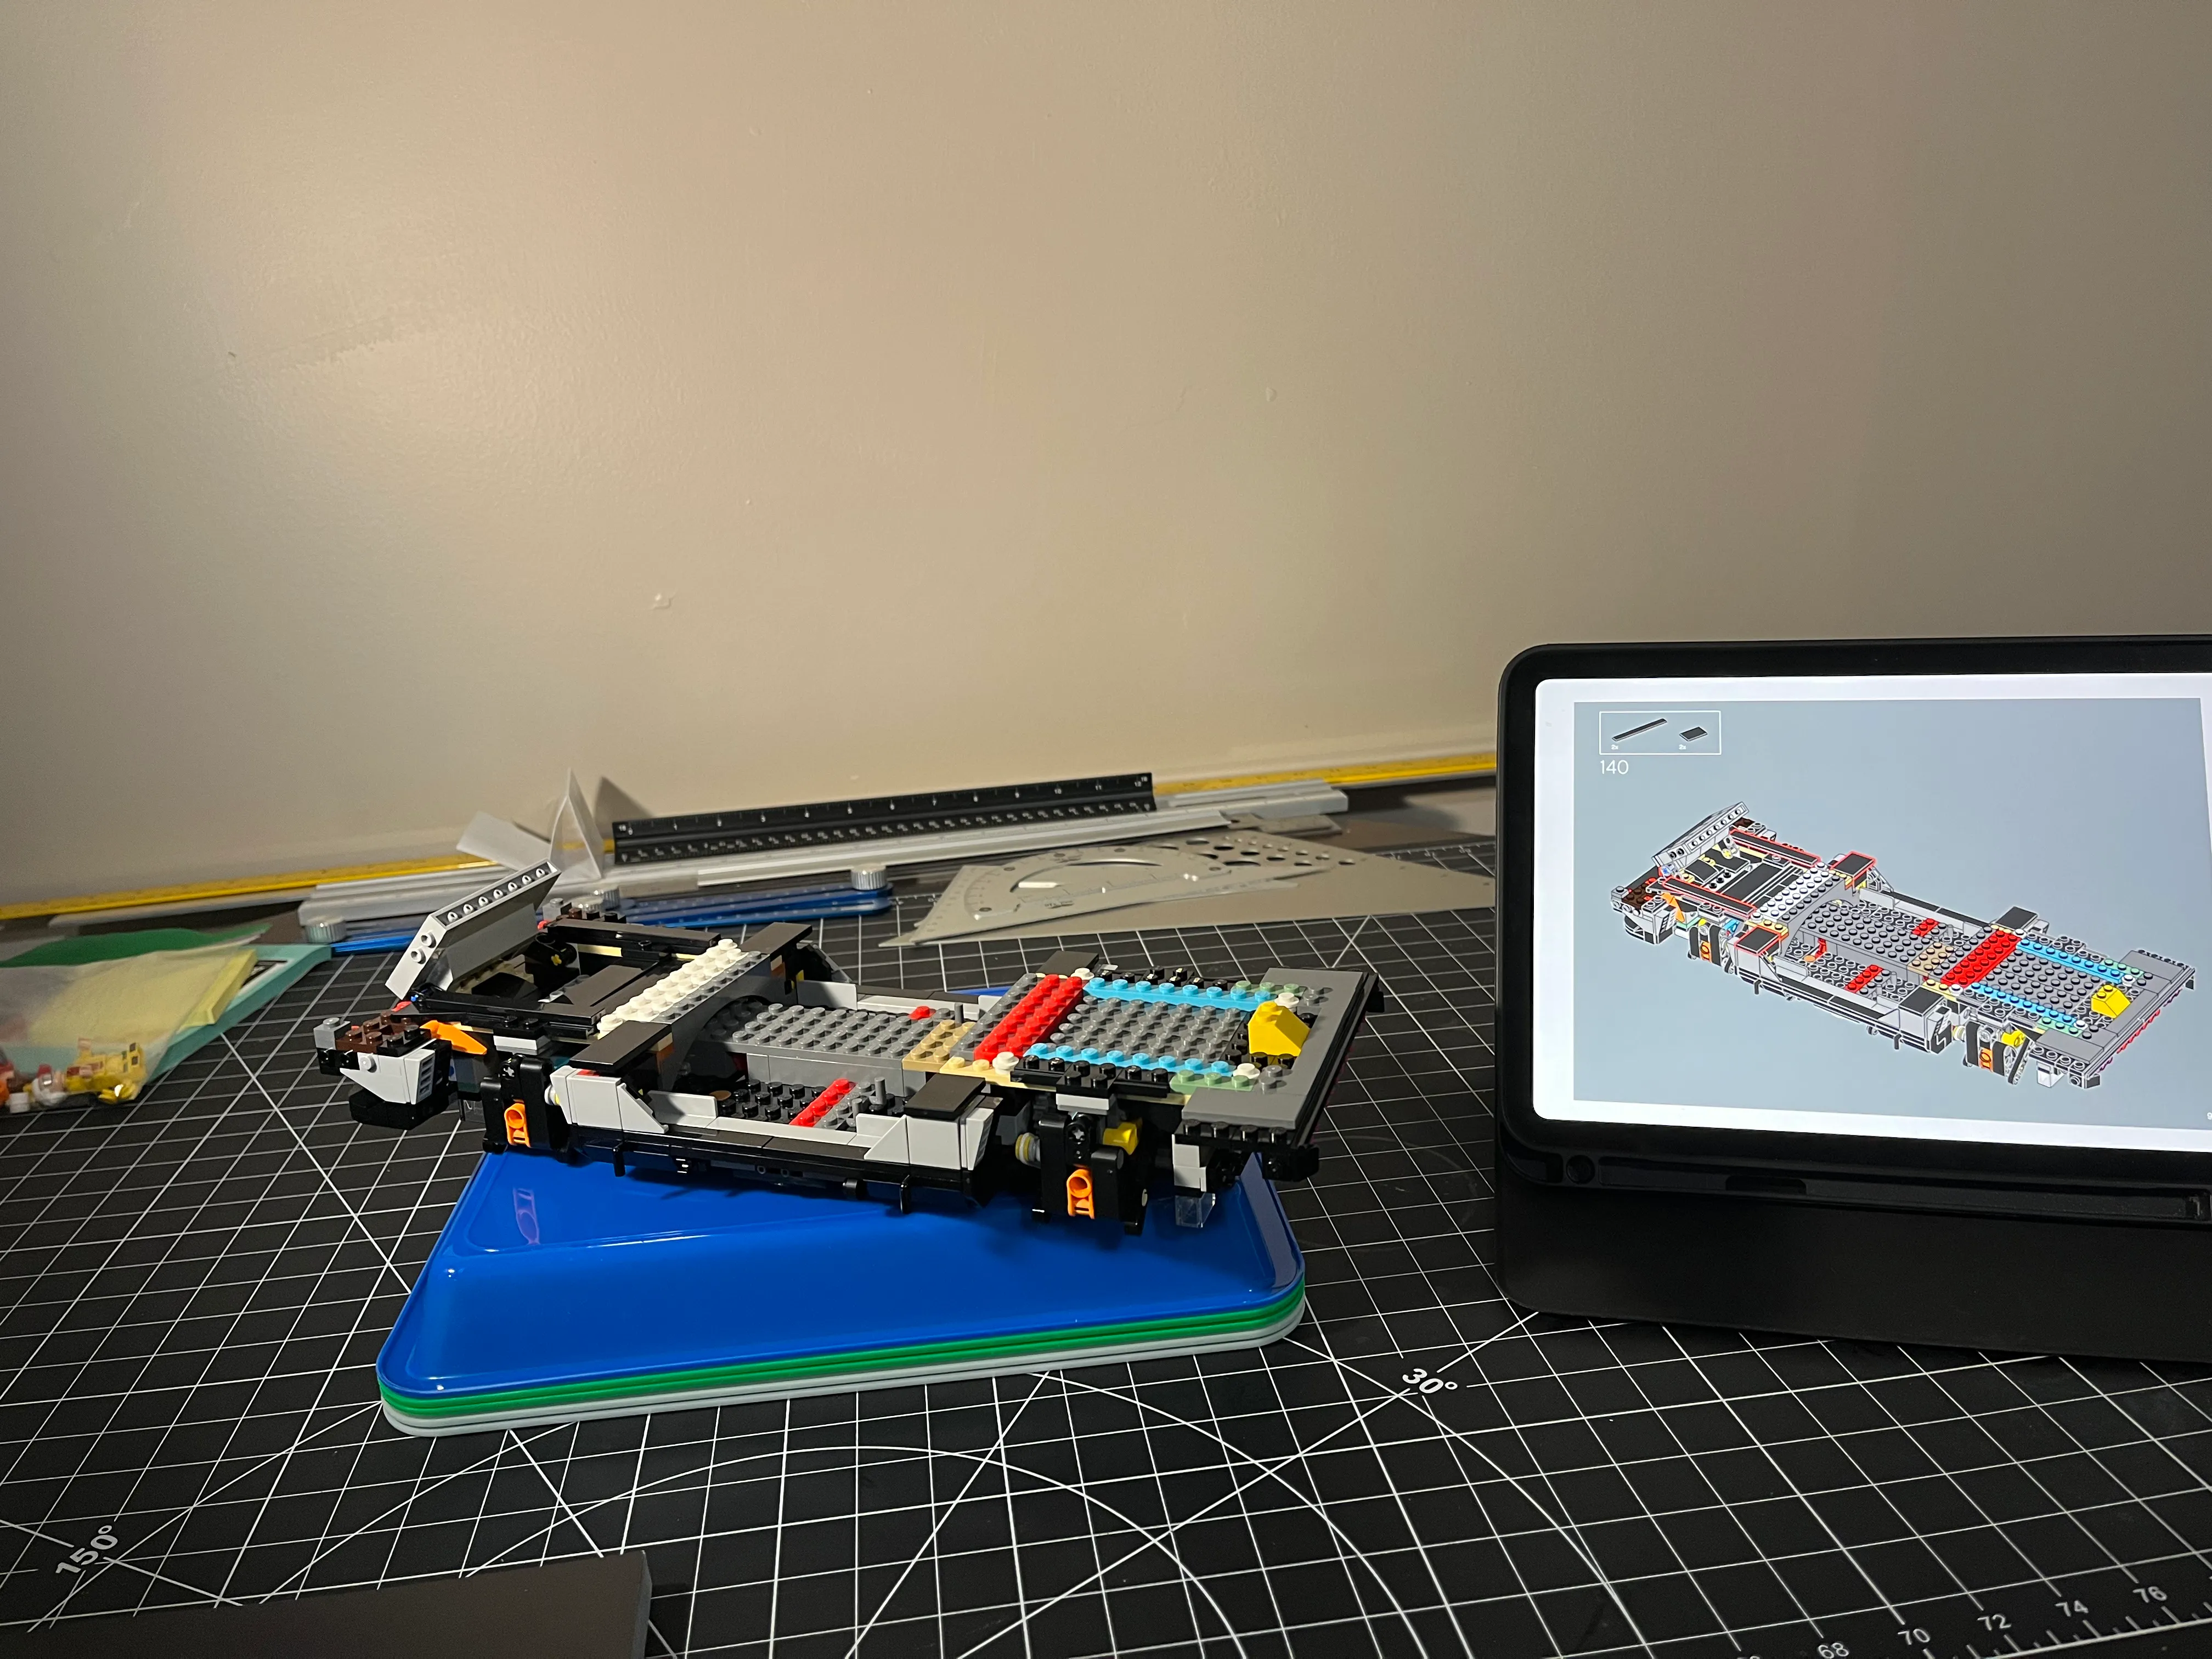
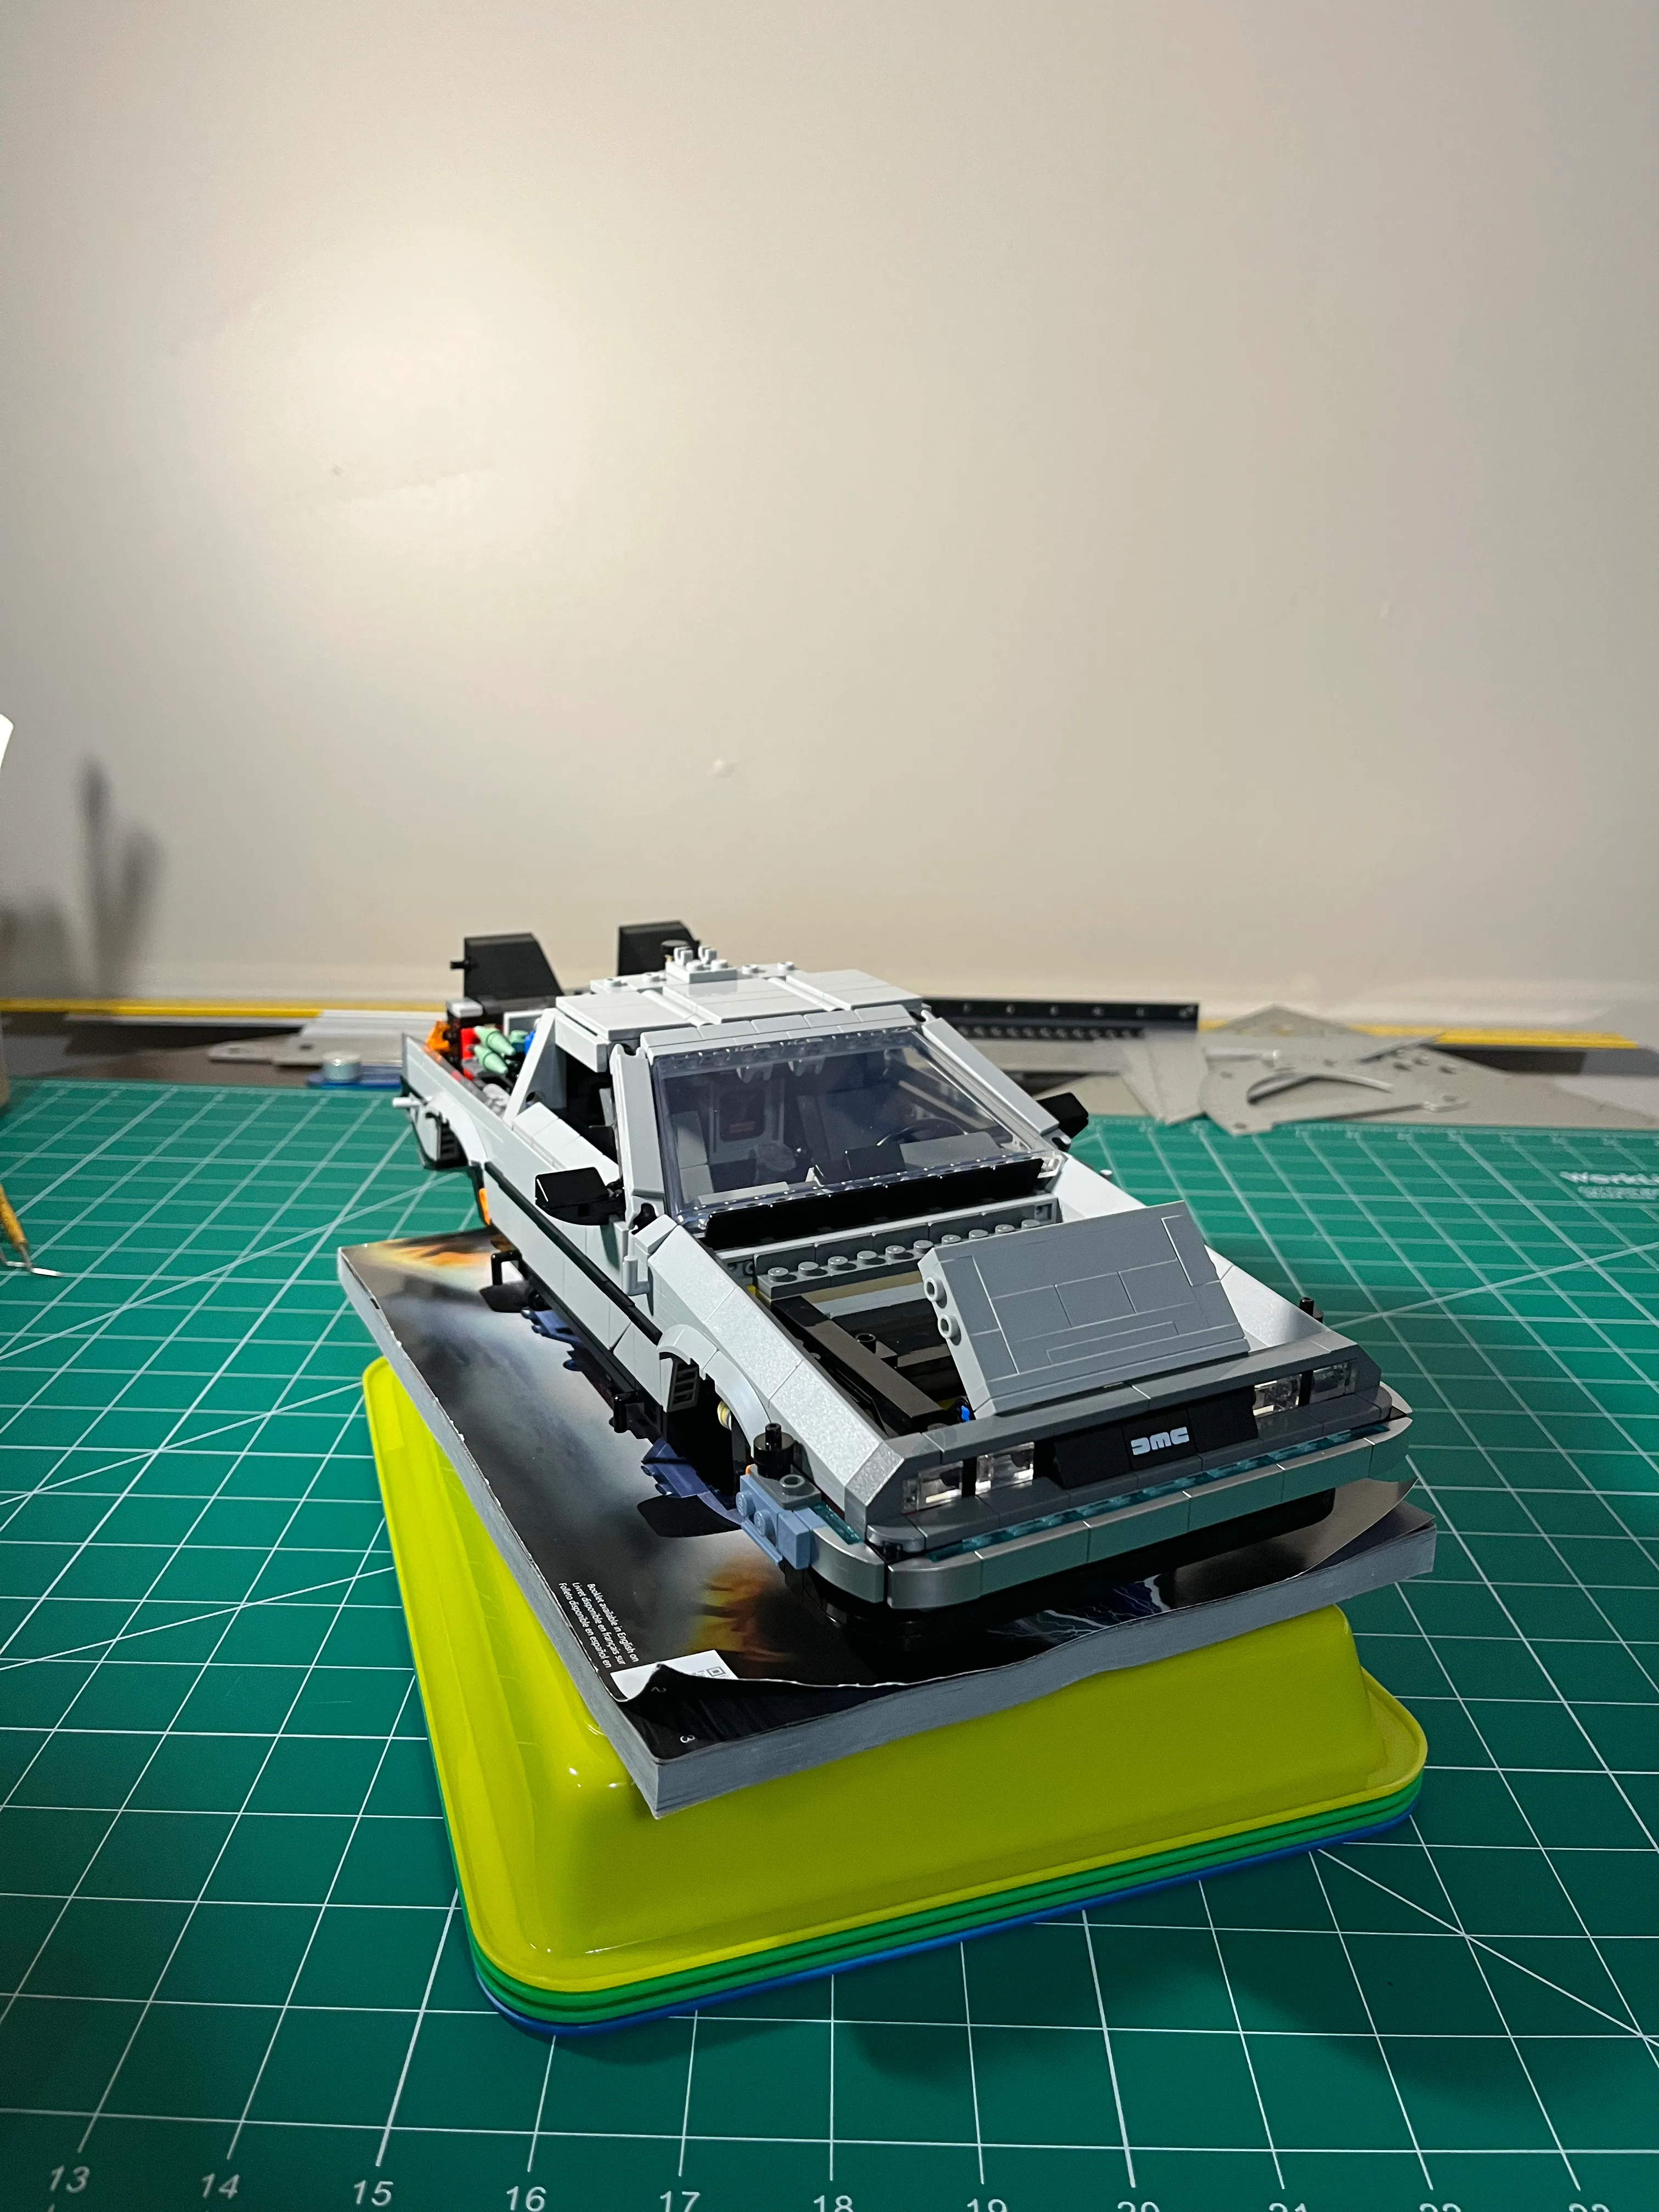
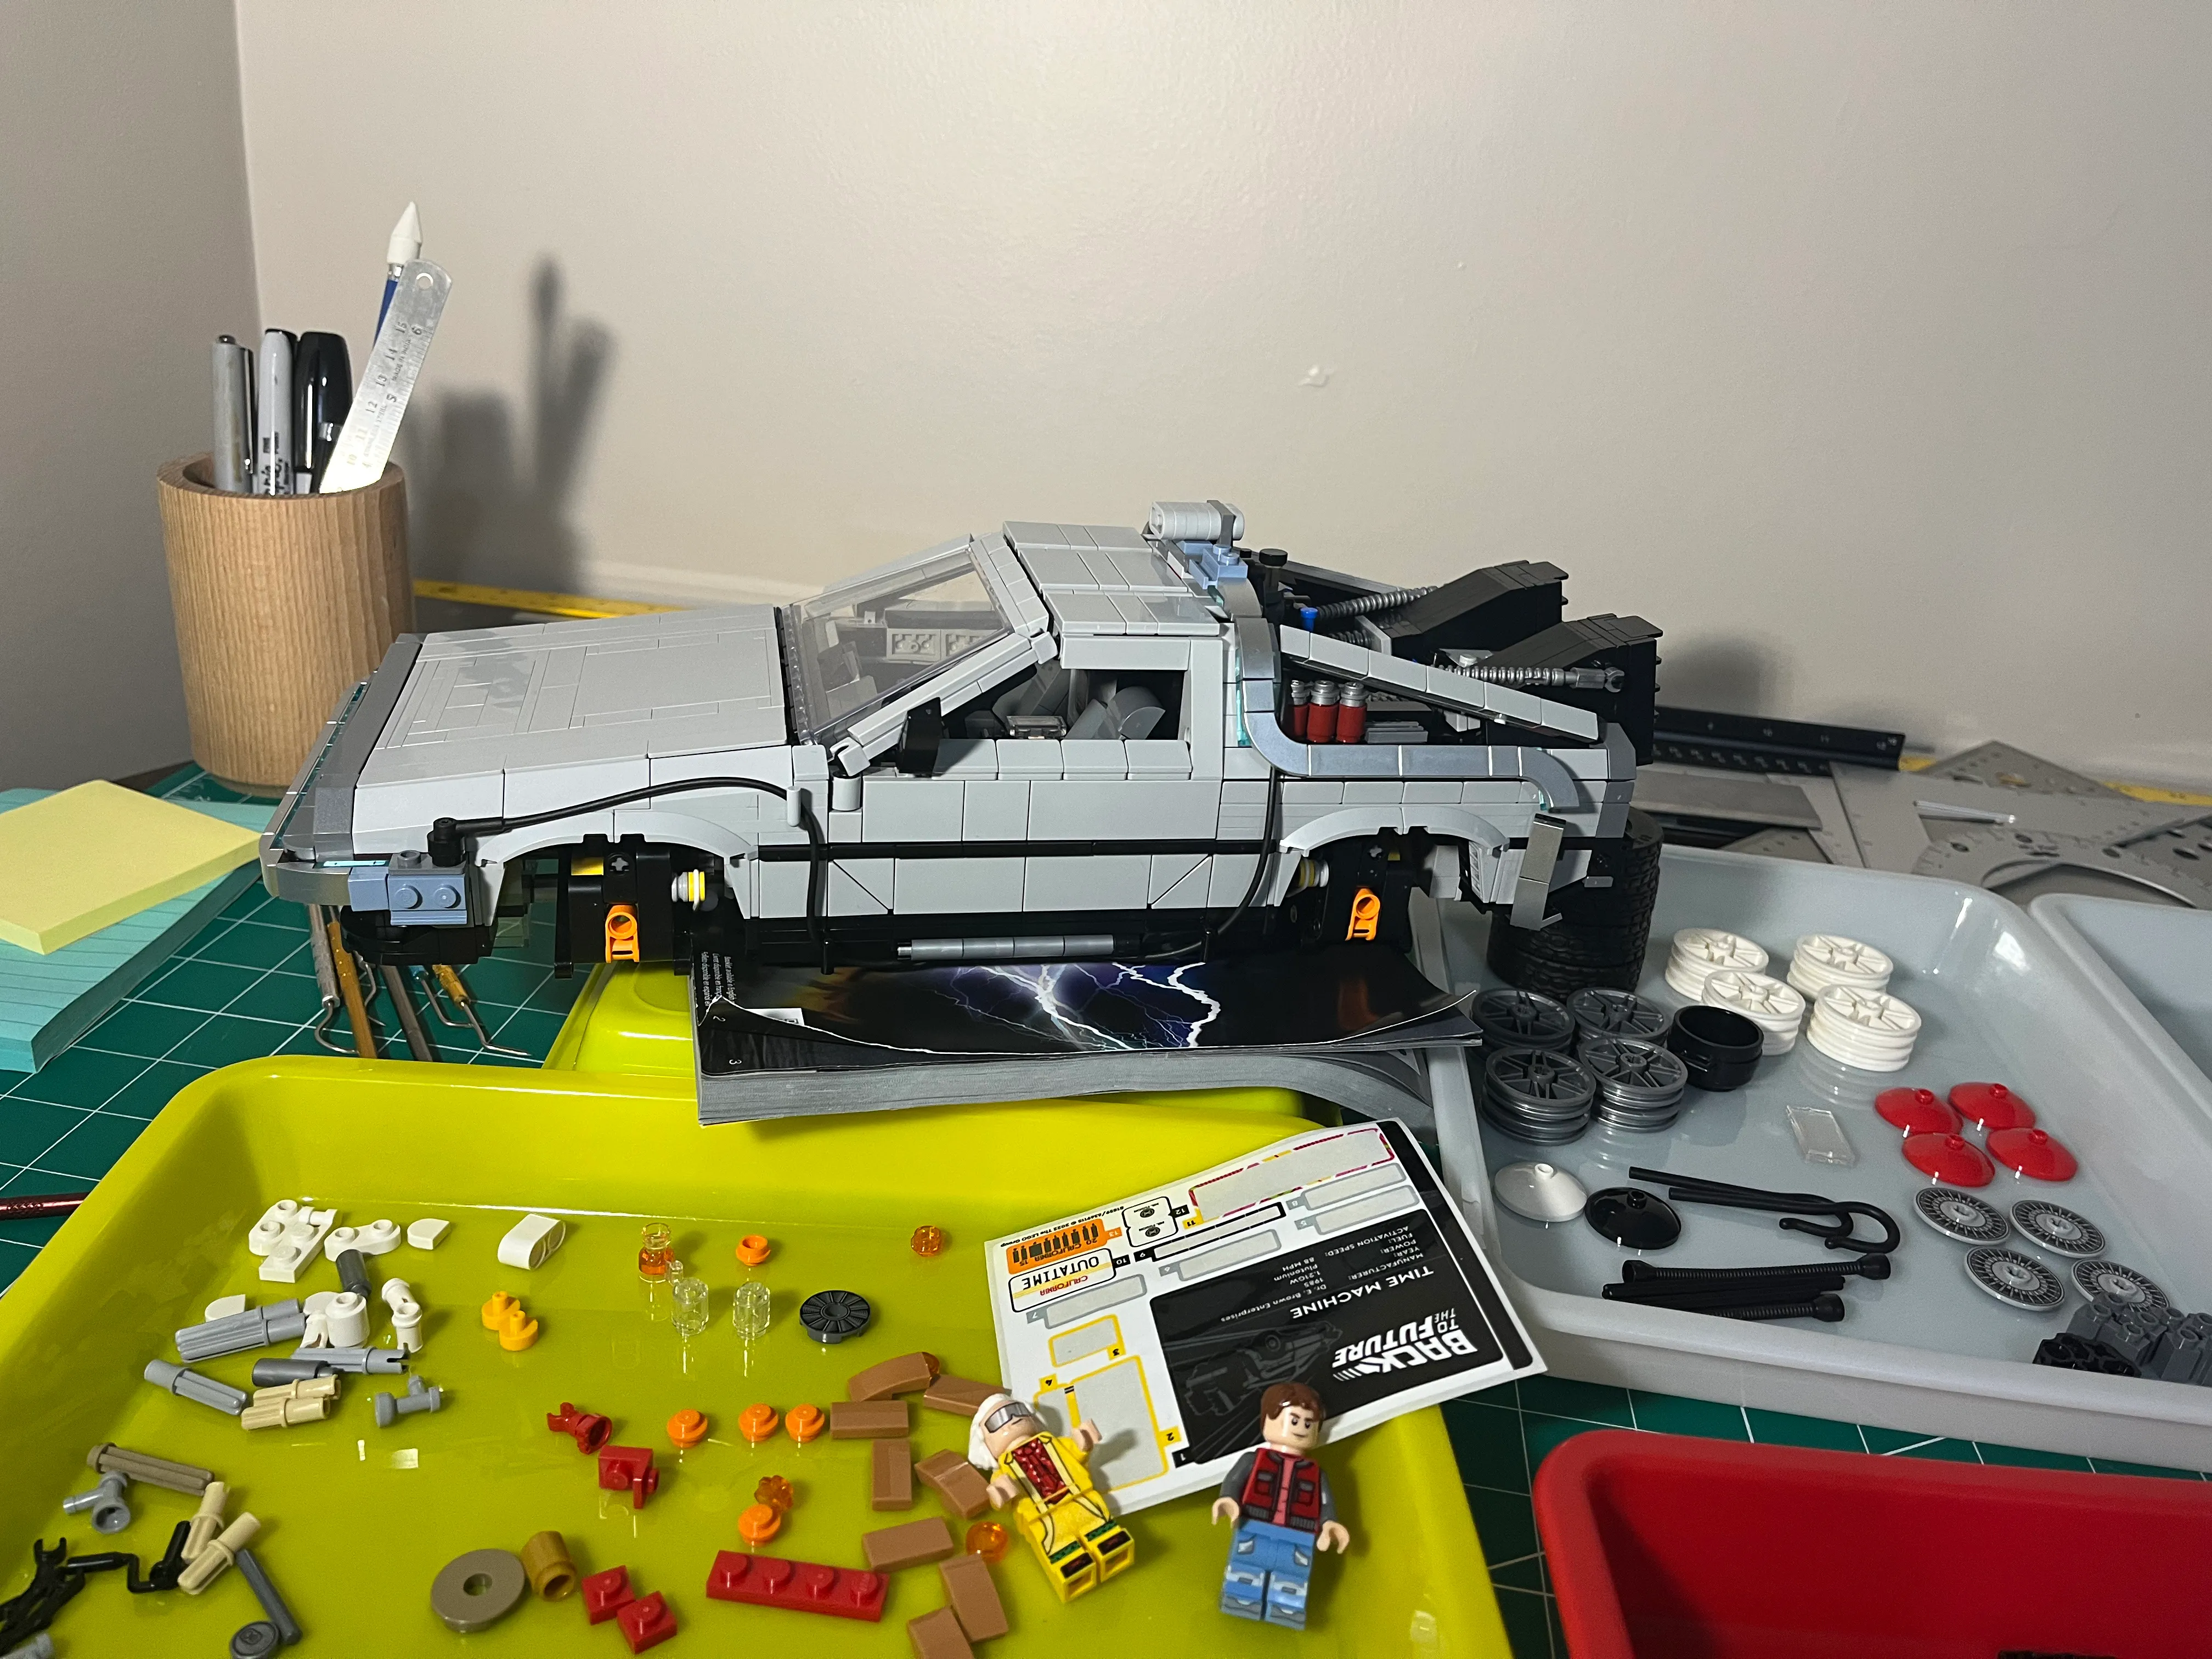
This is the front clip of the DeLorean. The distinct DeLorean shape starts to emerge here.
Bag #6
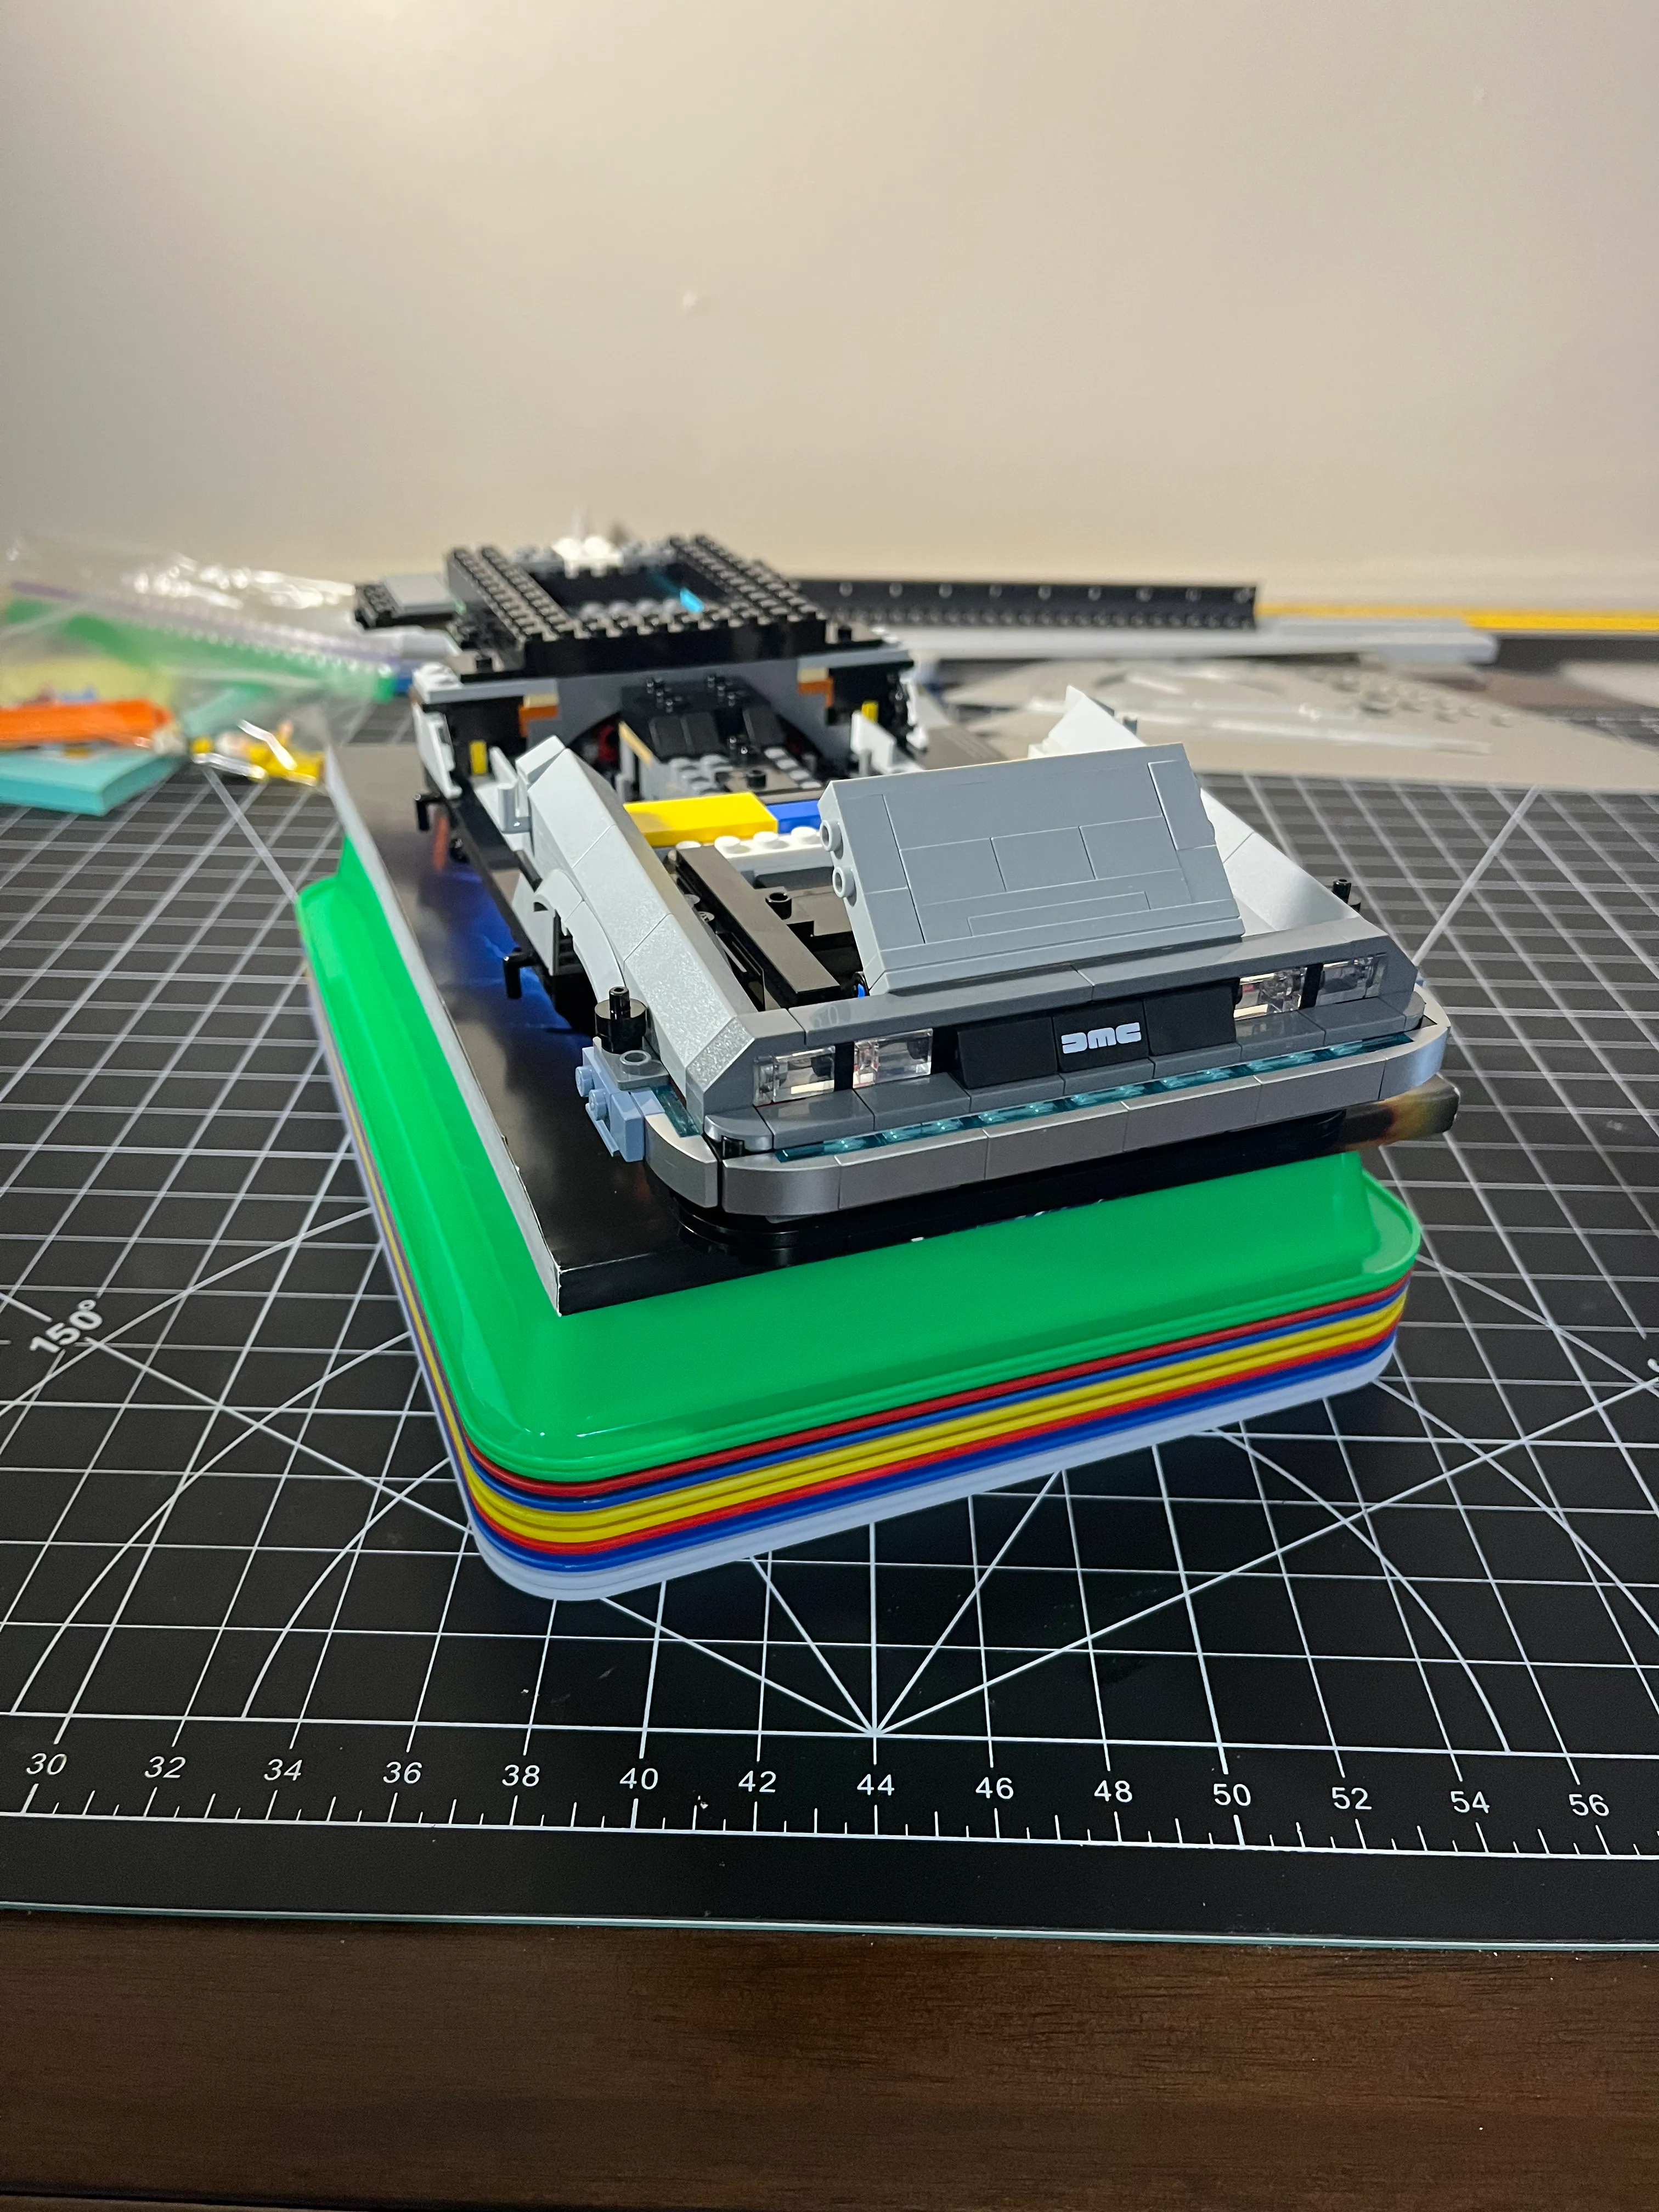
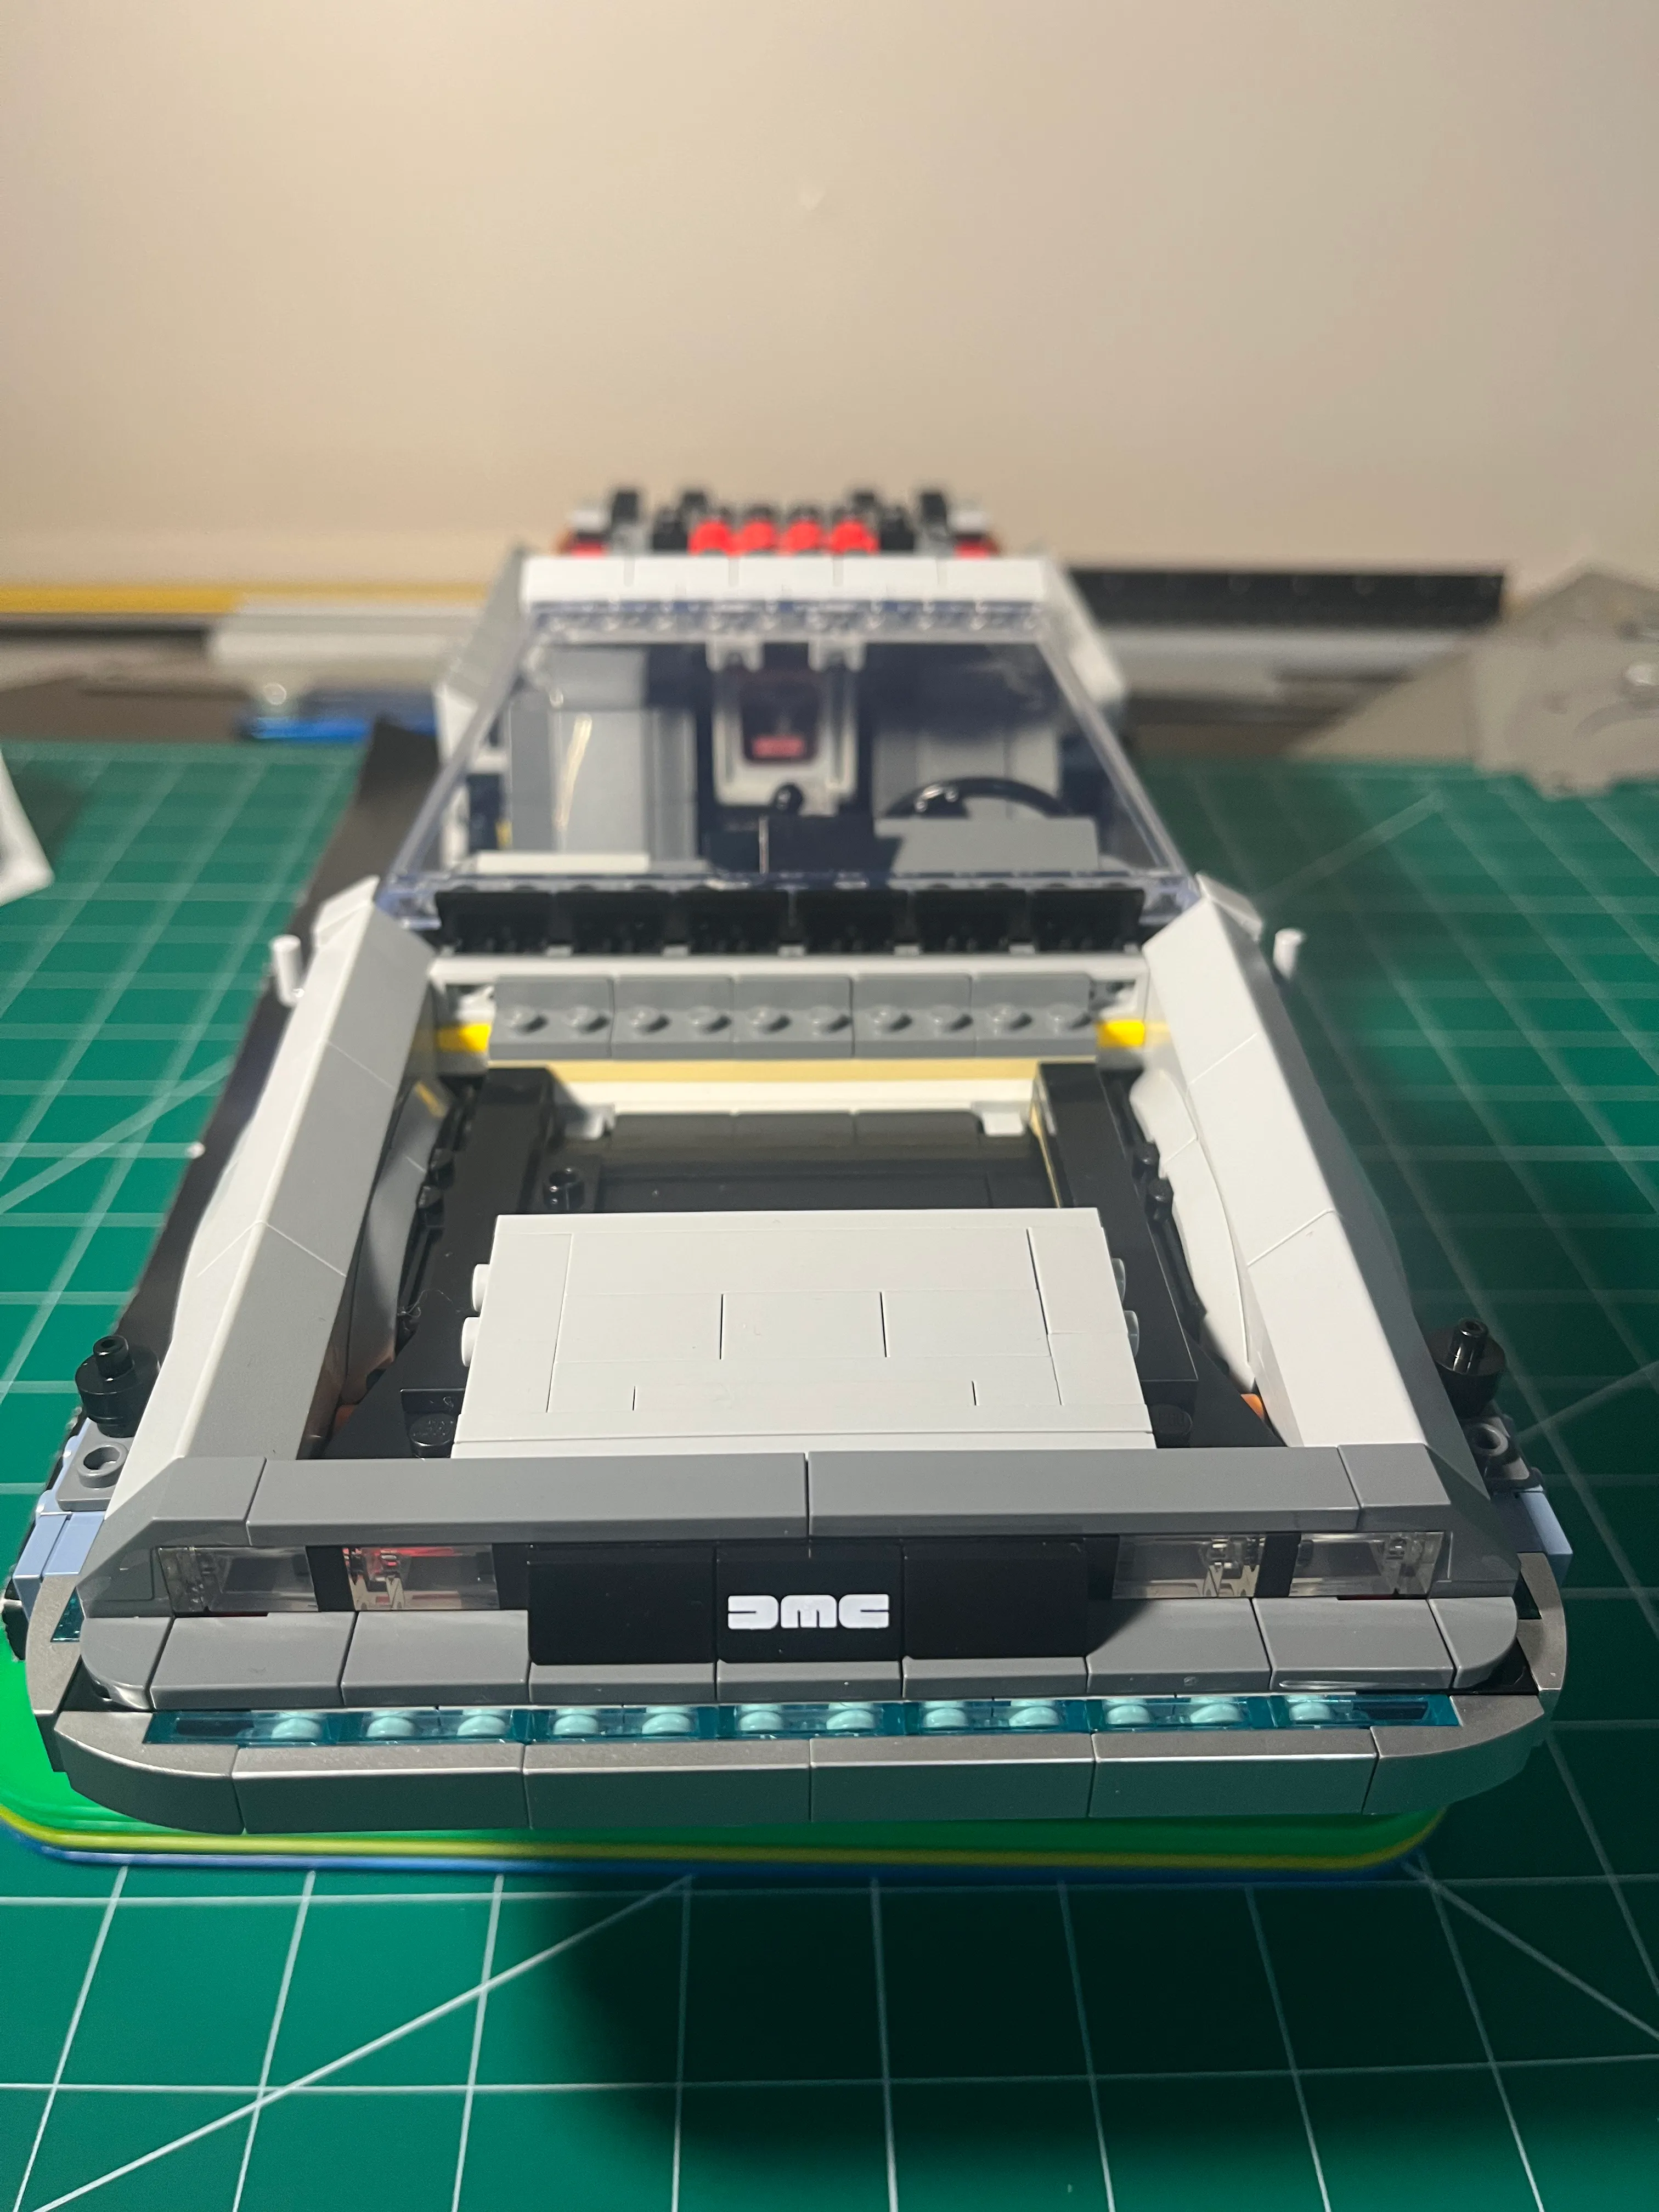
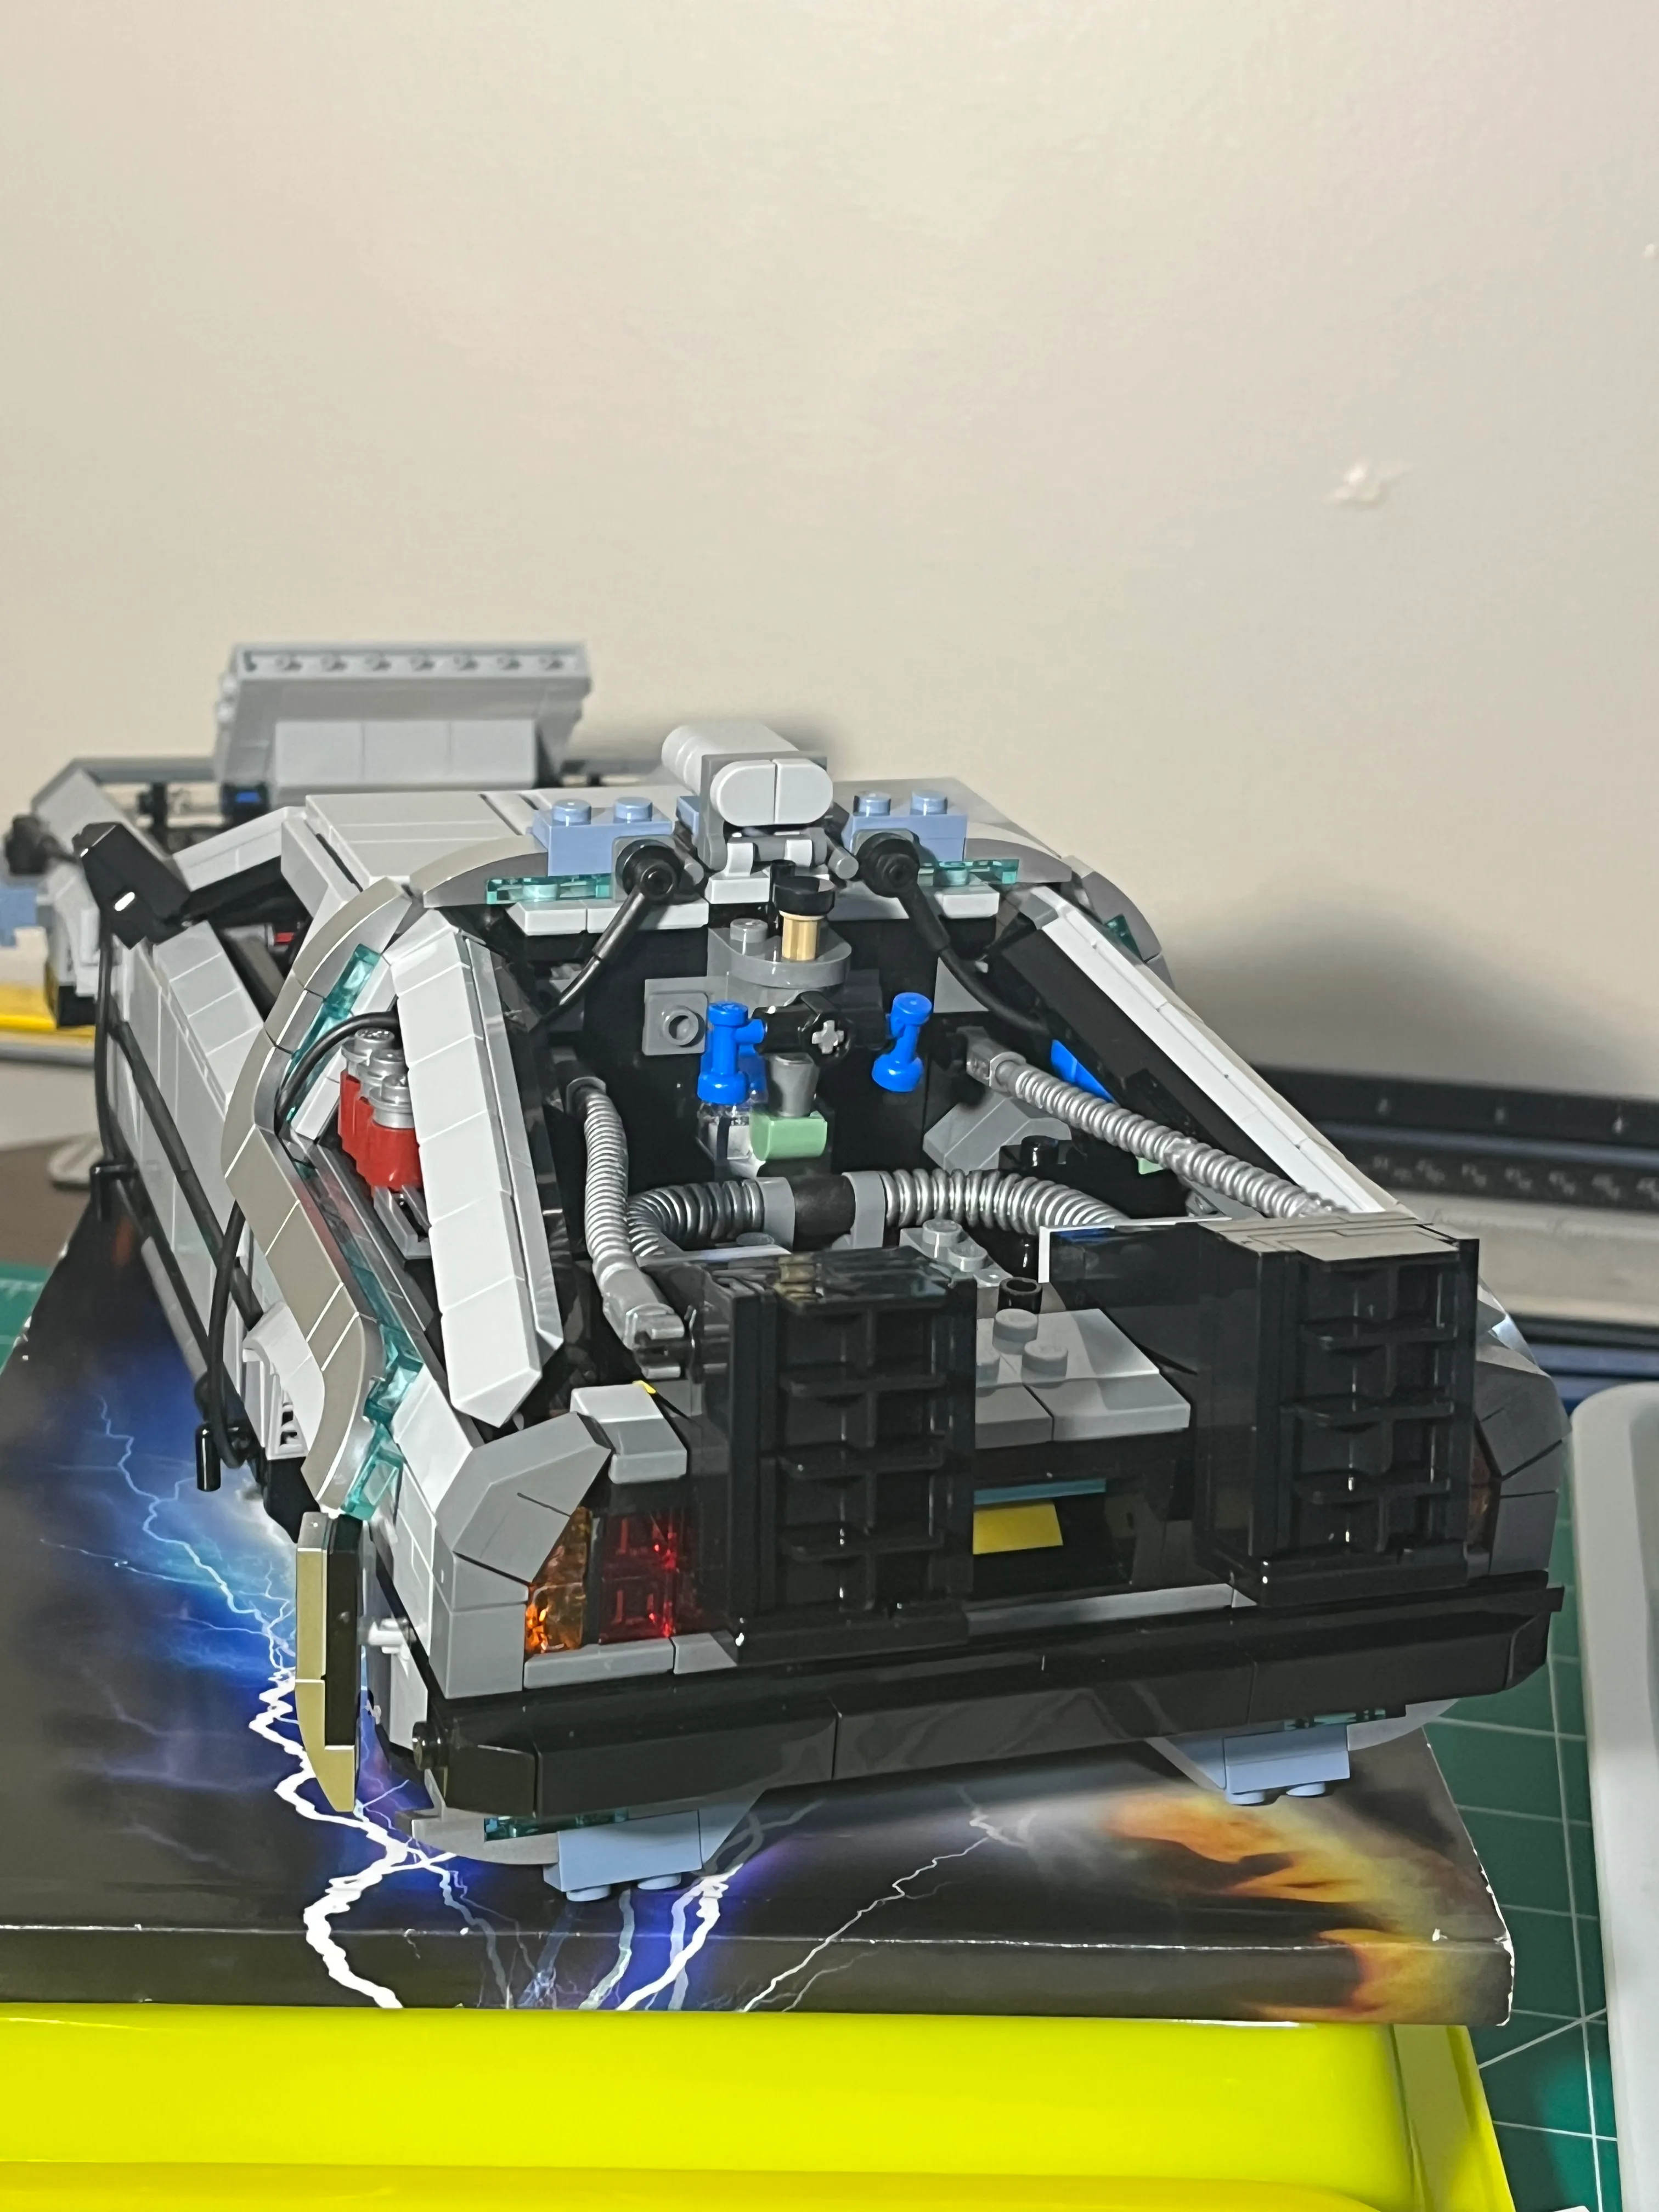
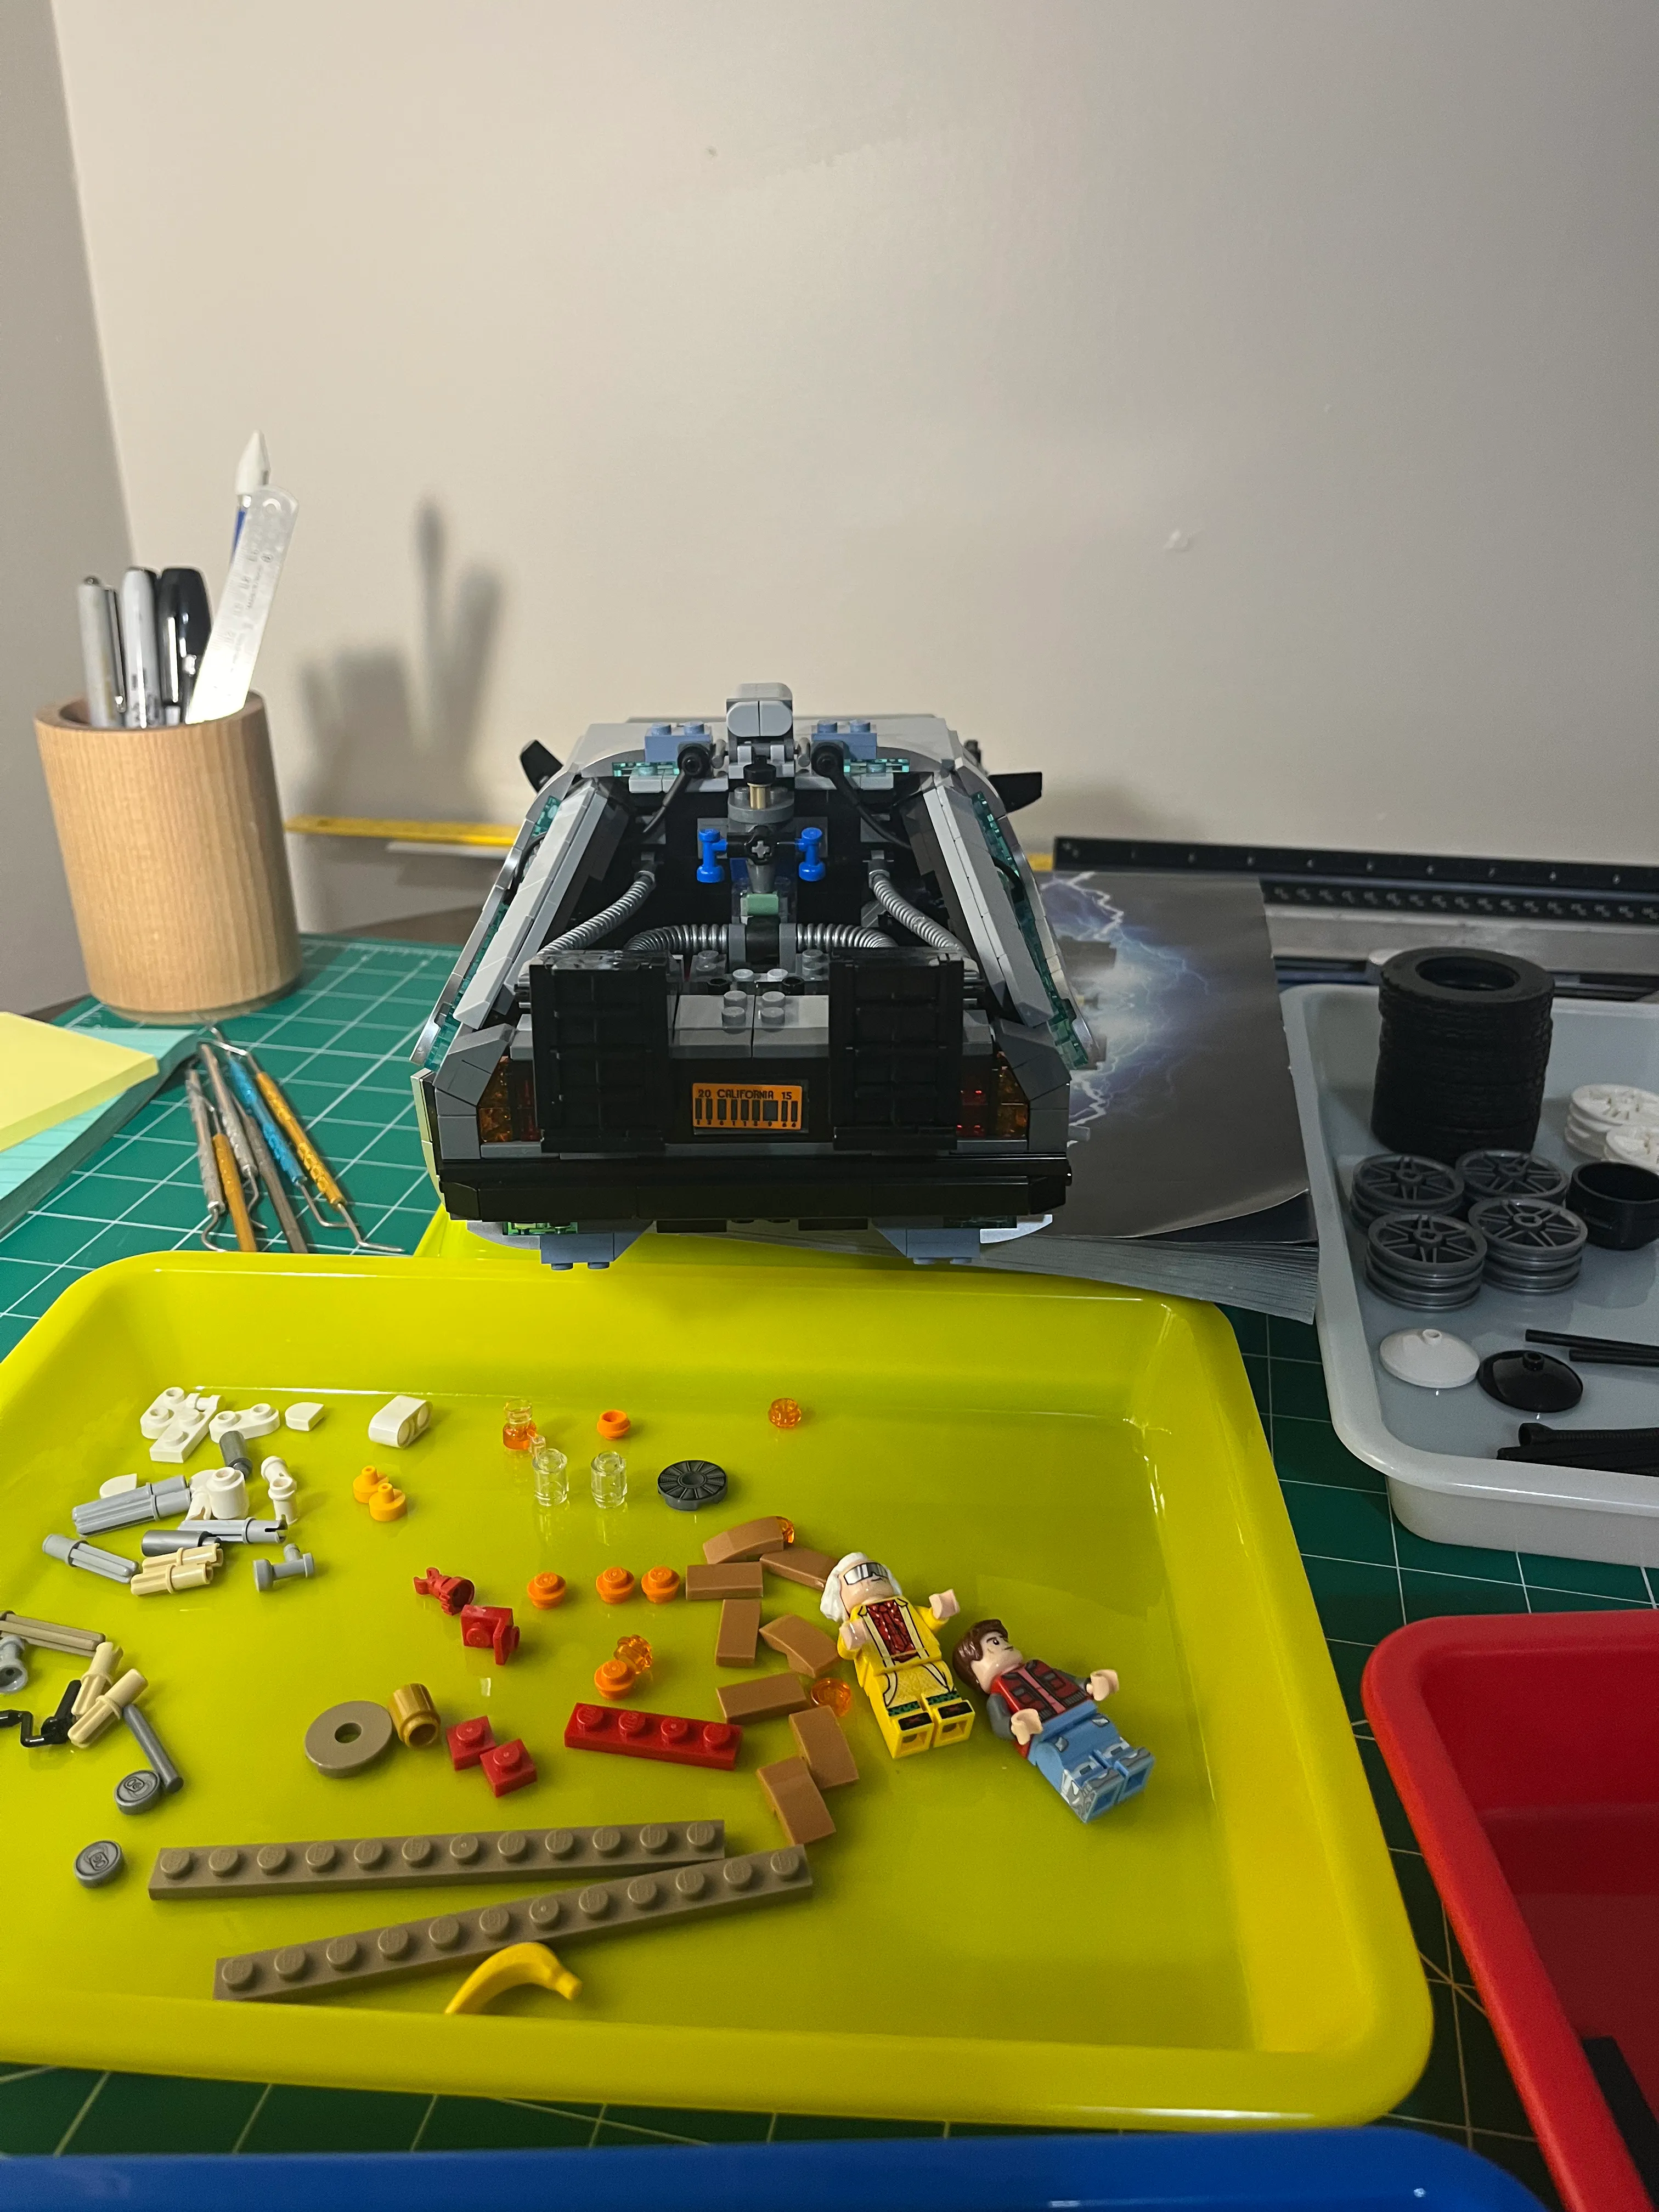
The is the back end of the DeLorean: tail lights, bumper, and quarter panels.


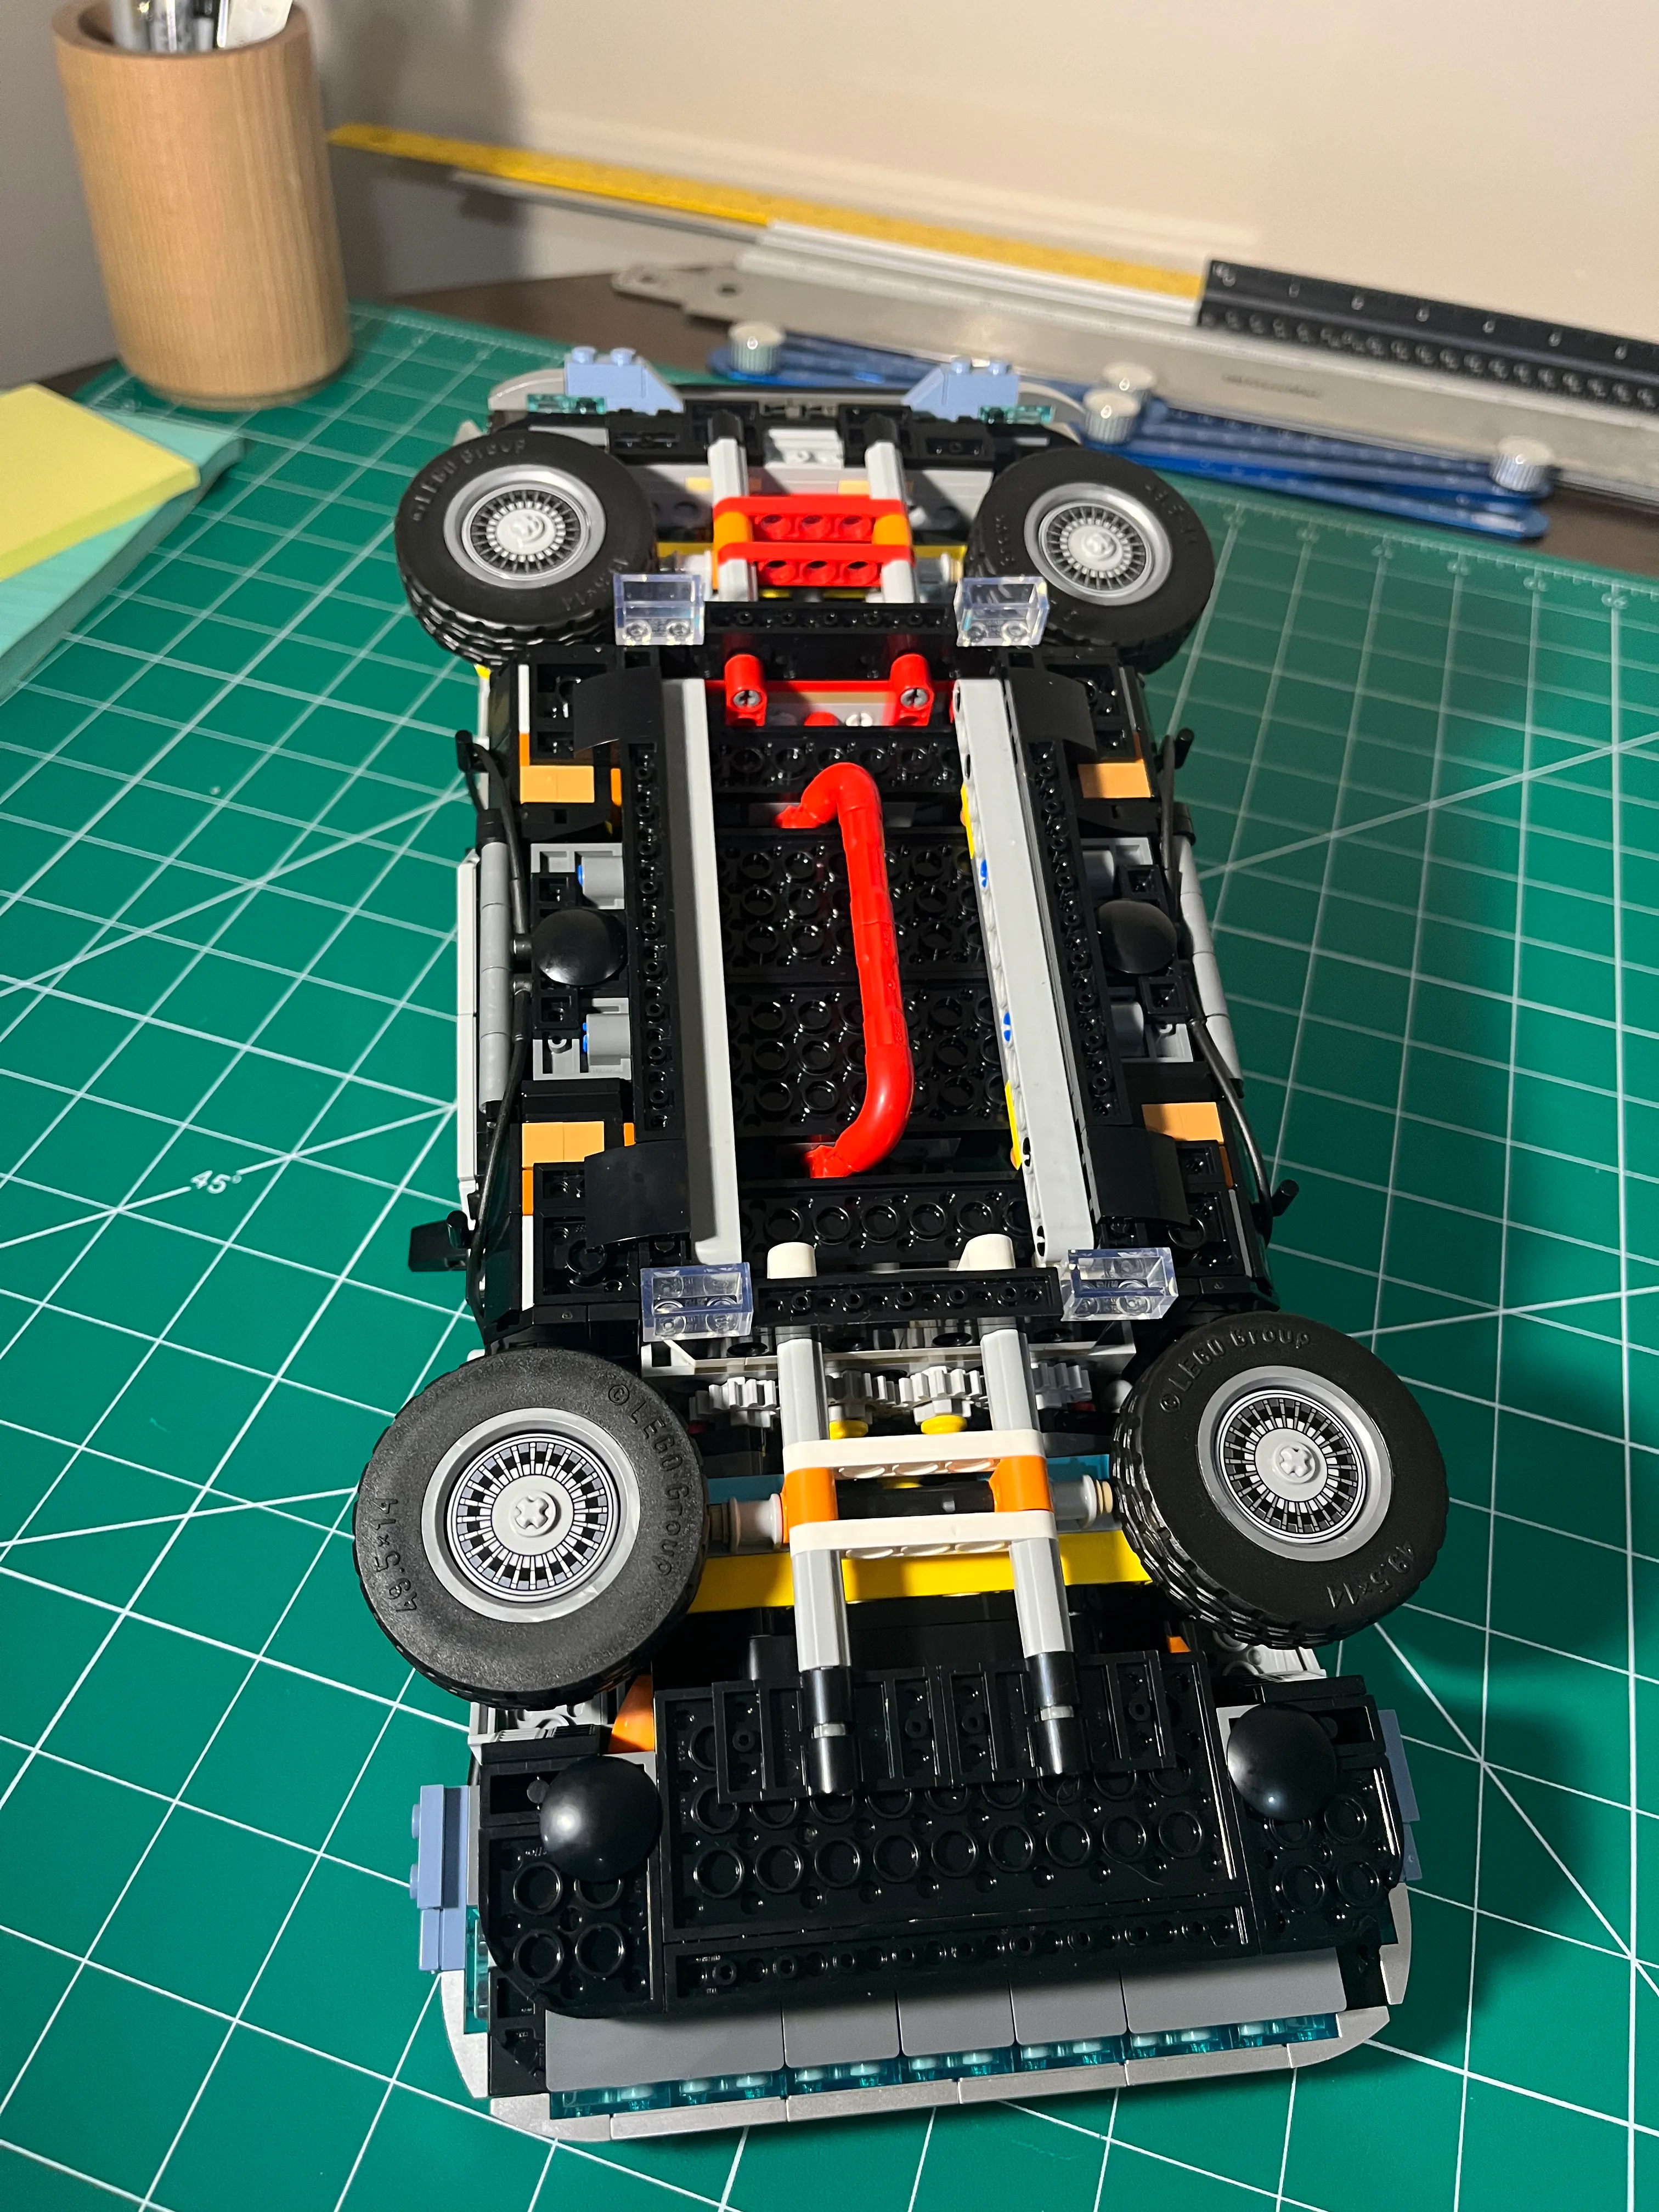
Suspension Problems
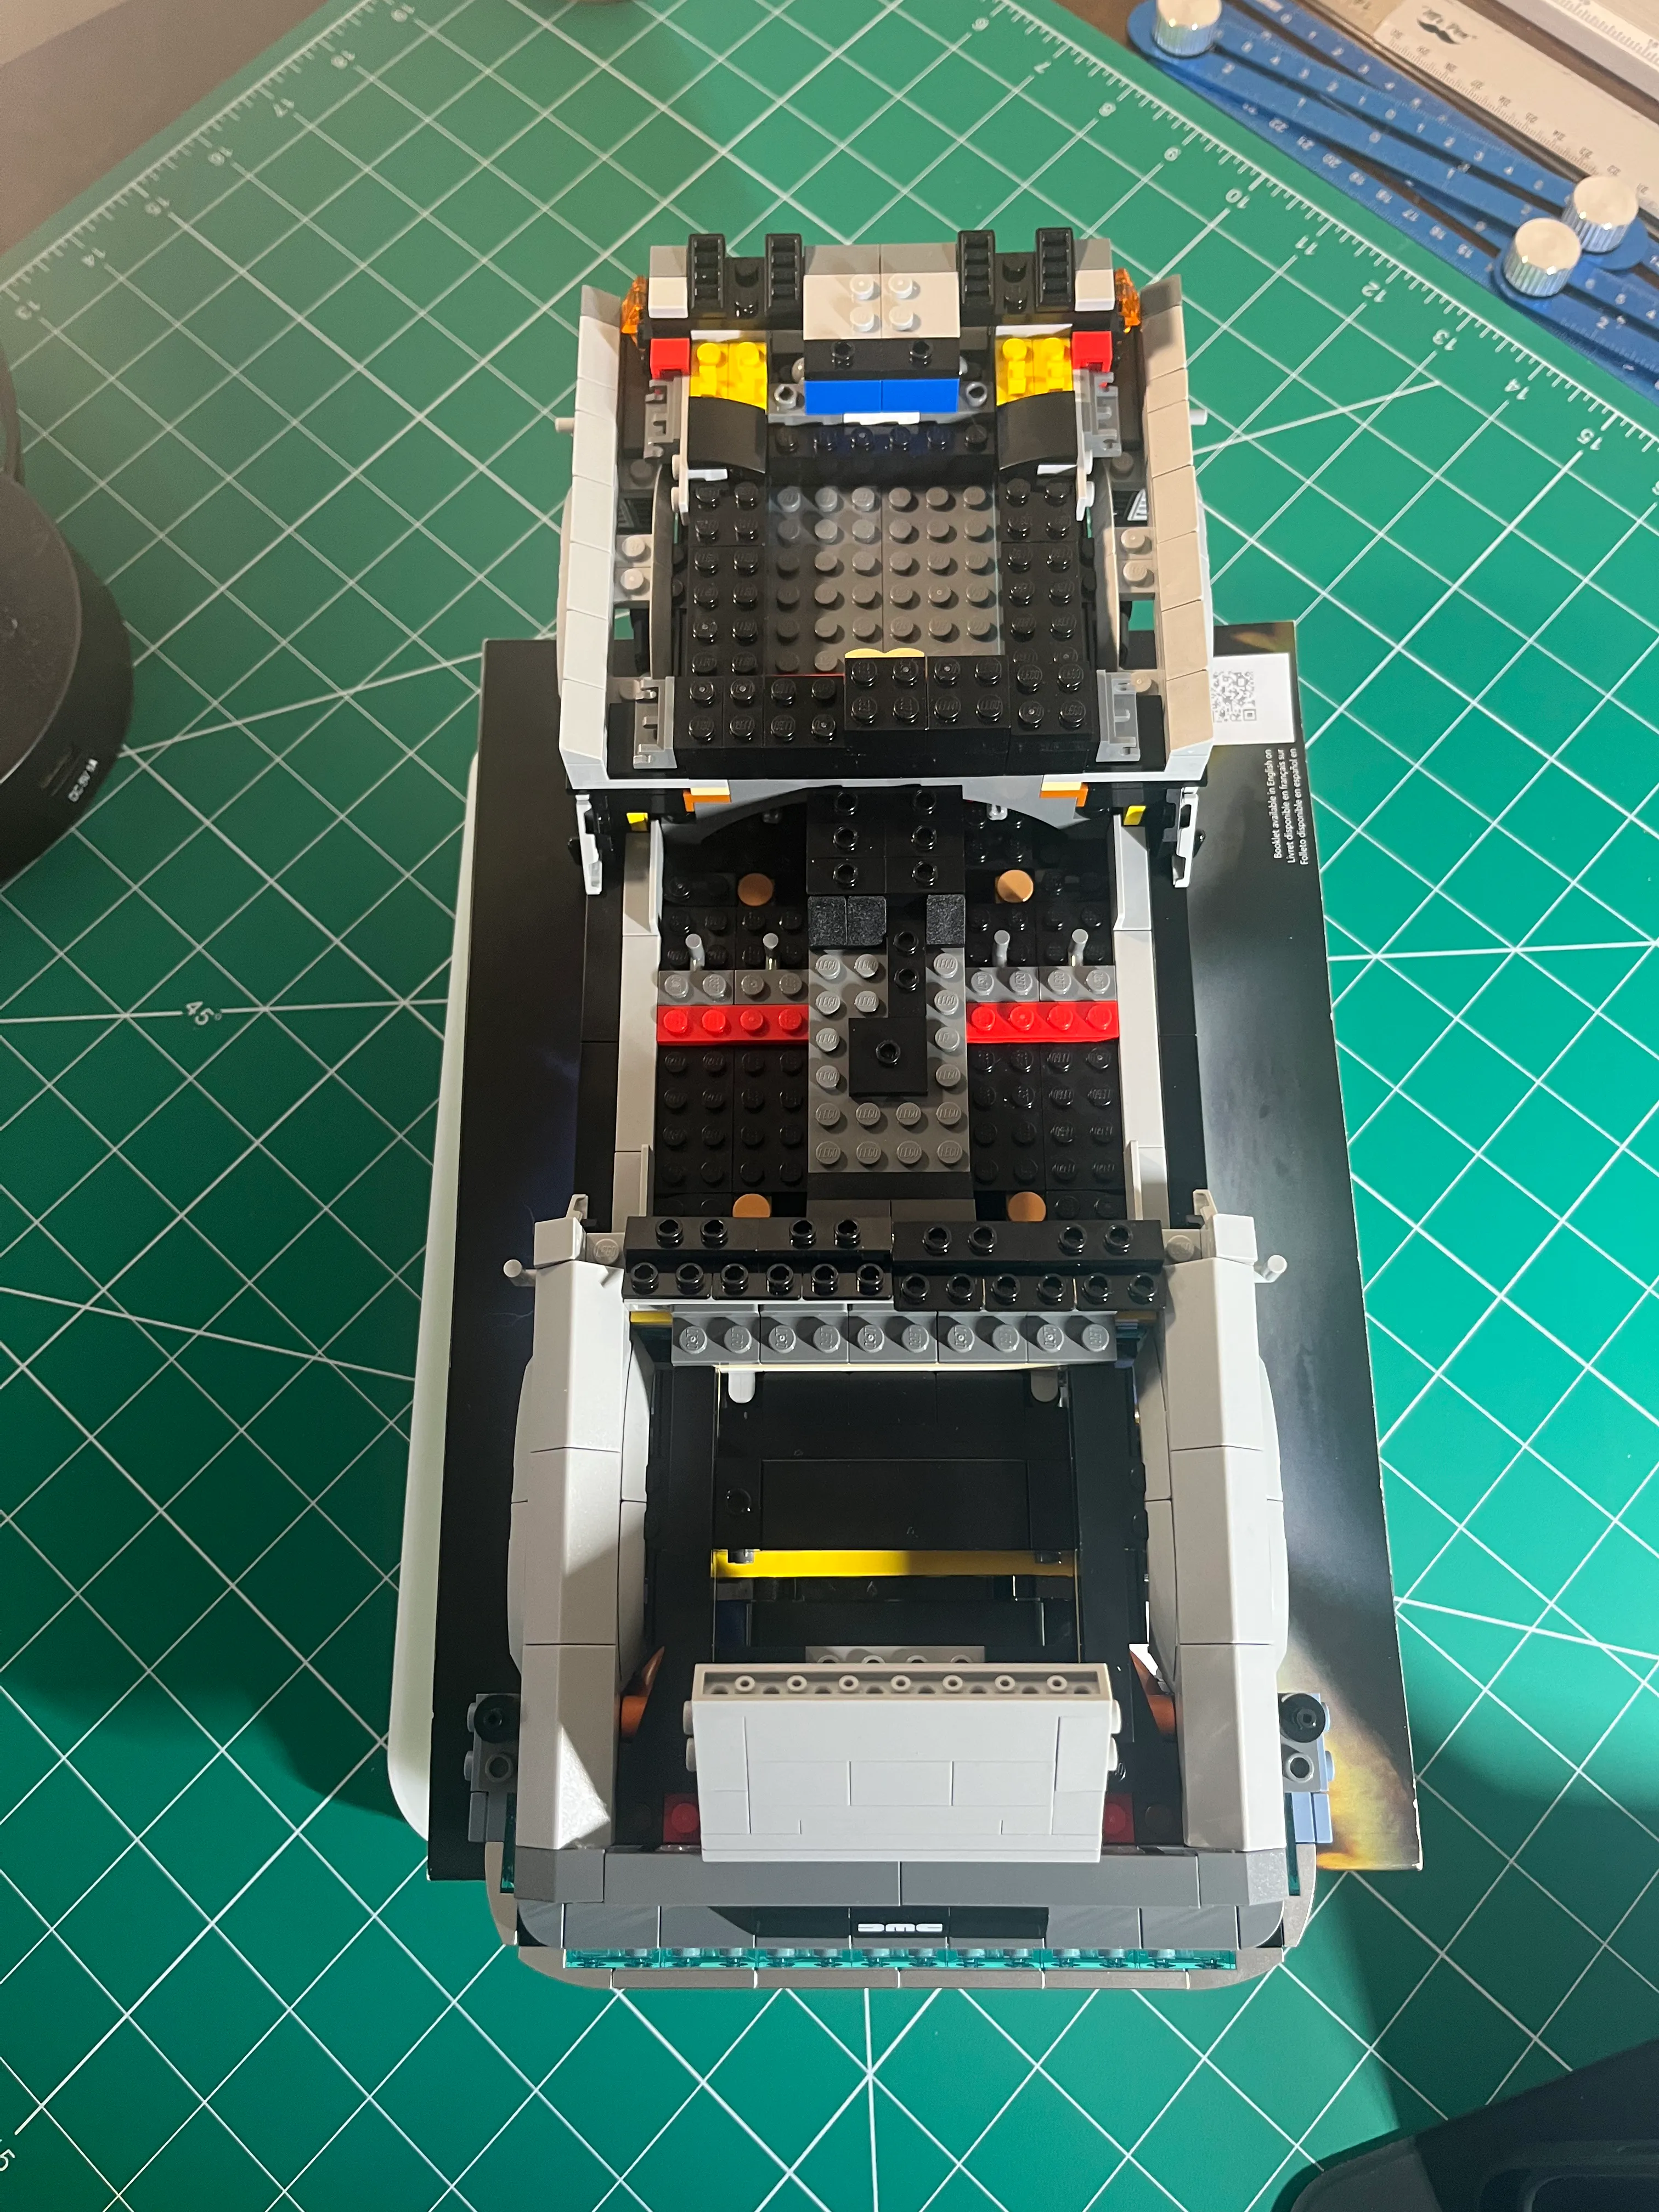
Bag #3 contained the suspension, and I made mistakes during that part of the build. I took these pictures for reference before I started tearing apart the bottom of the car. There’s no repair procedure for this, so I had to improvise to solve the suspension geometry issue.
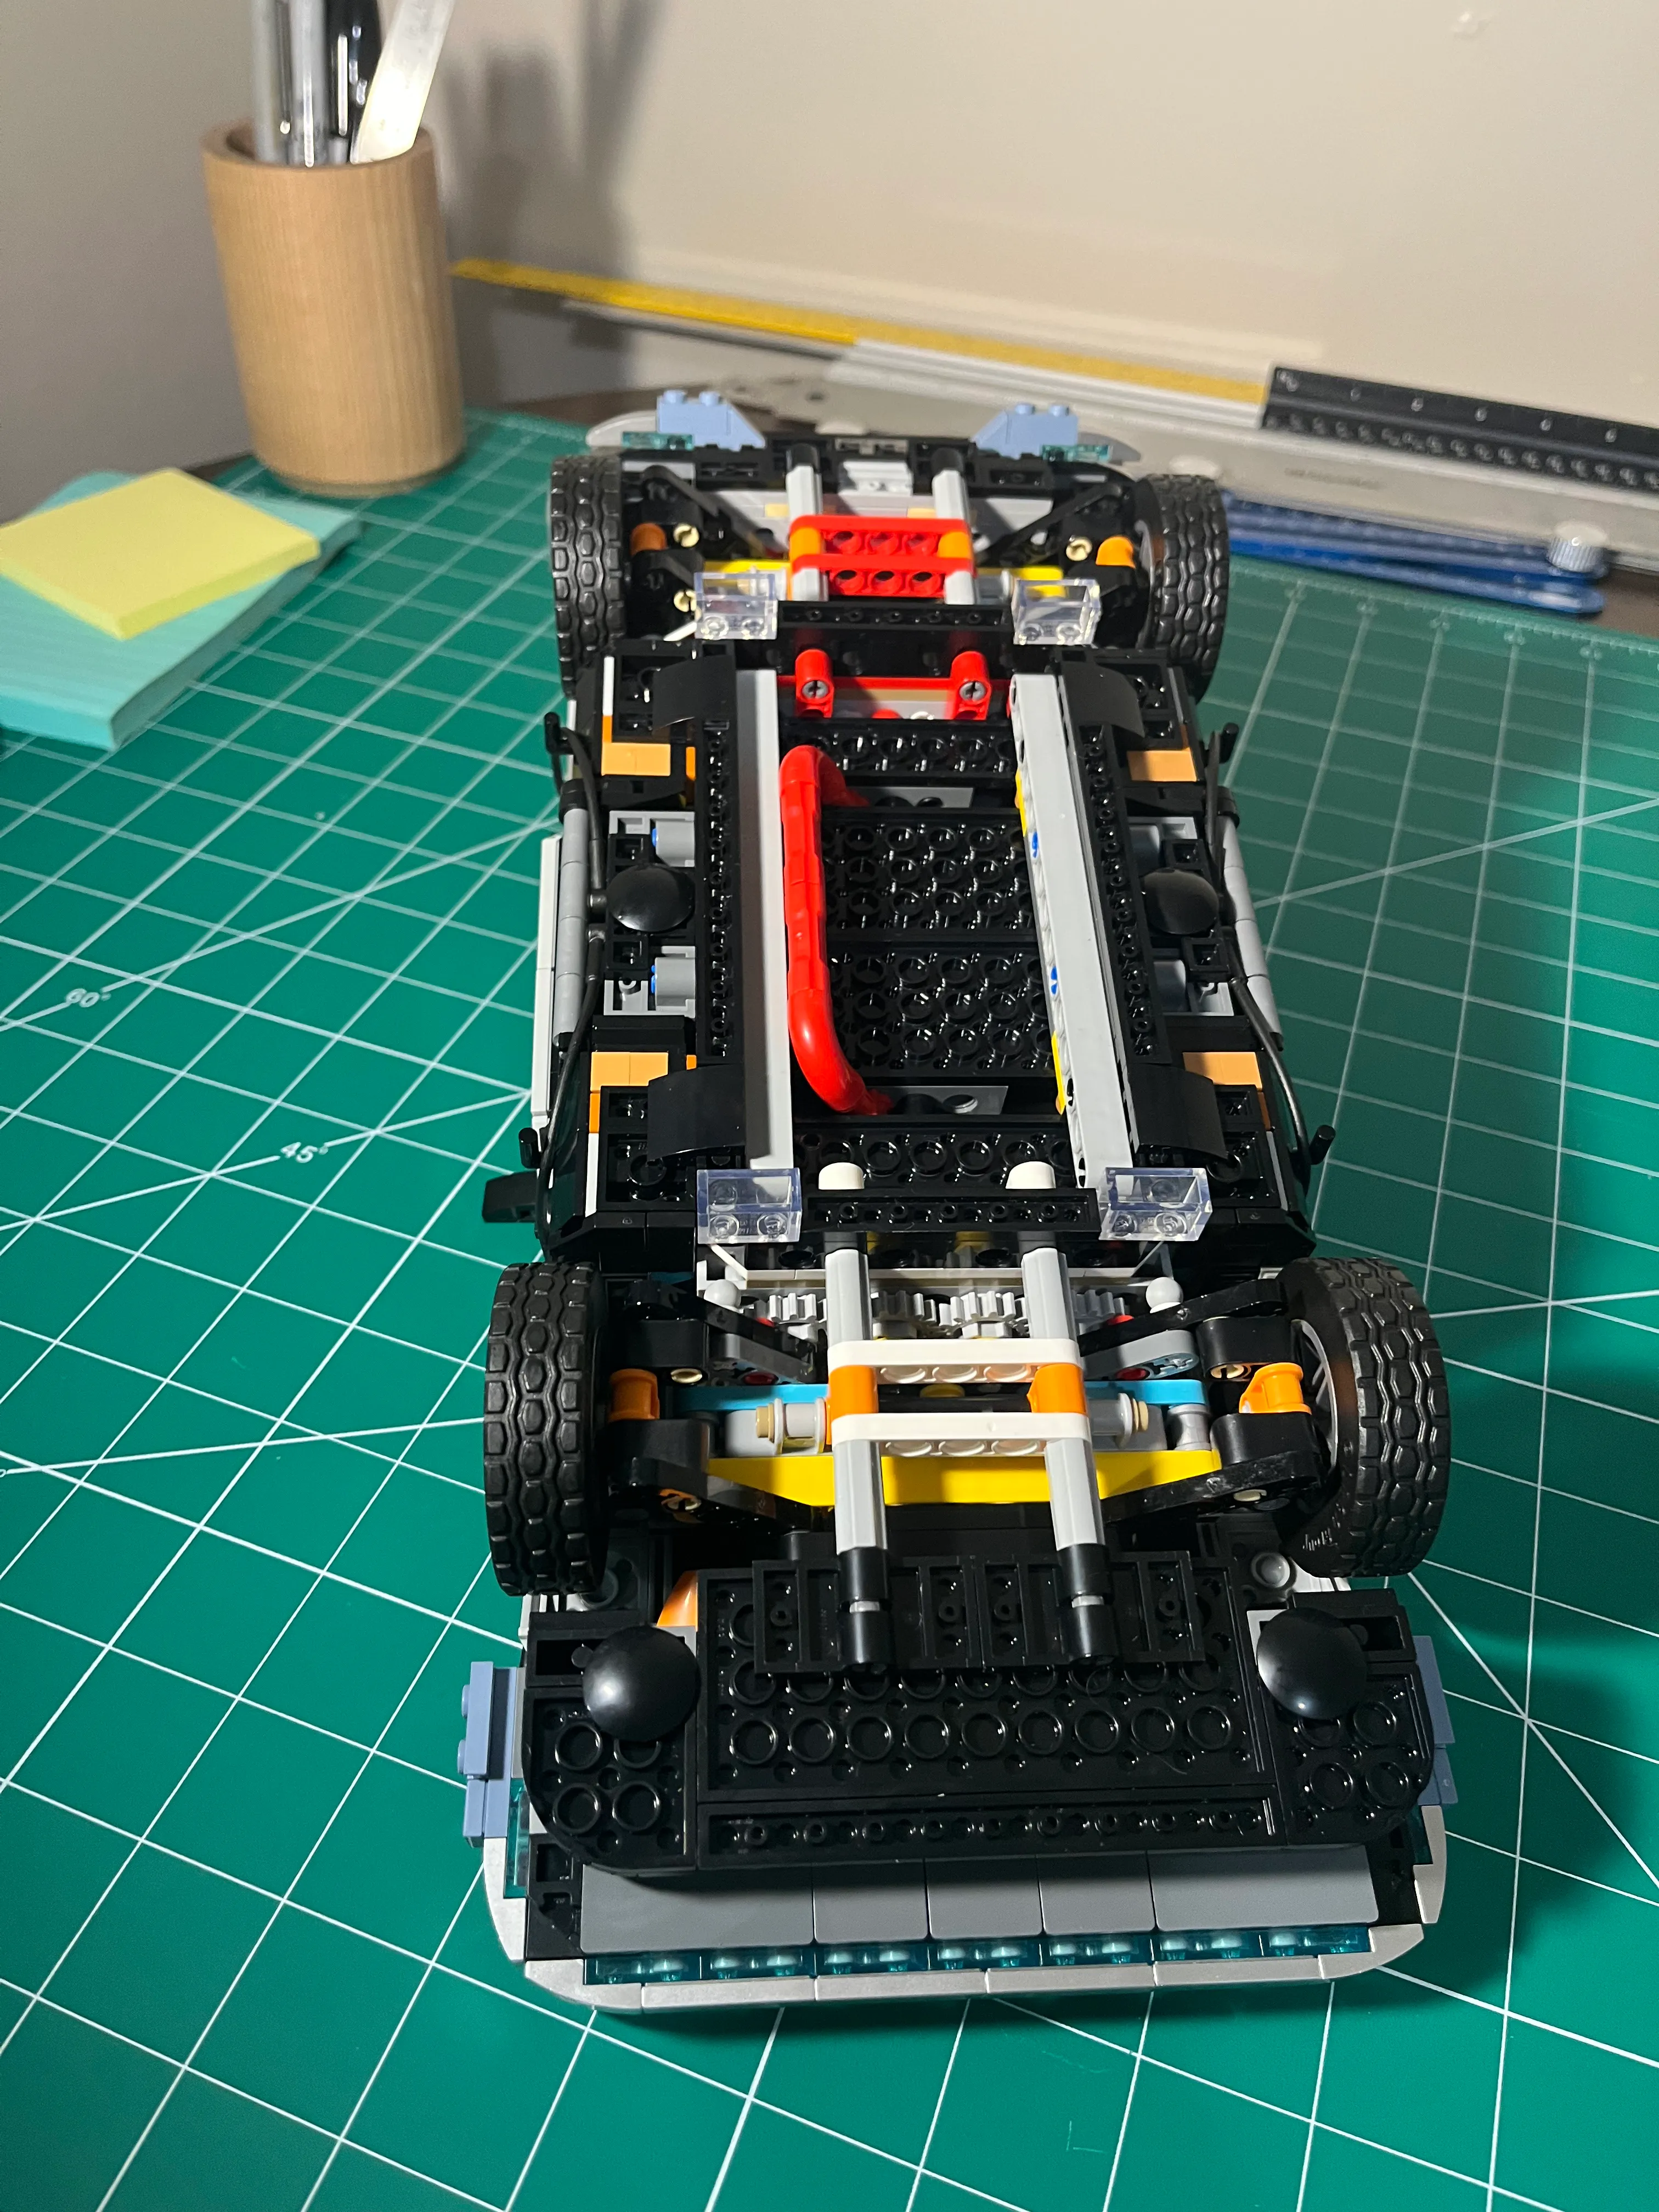
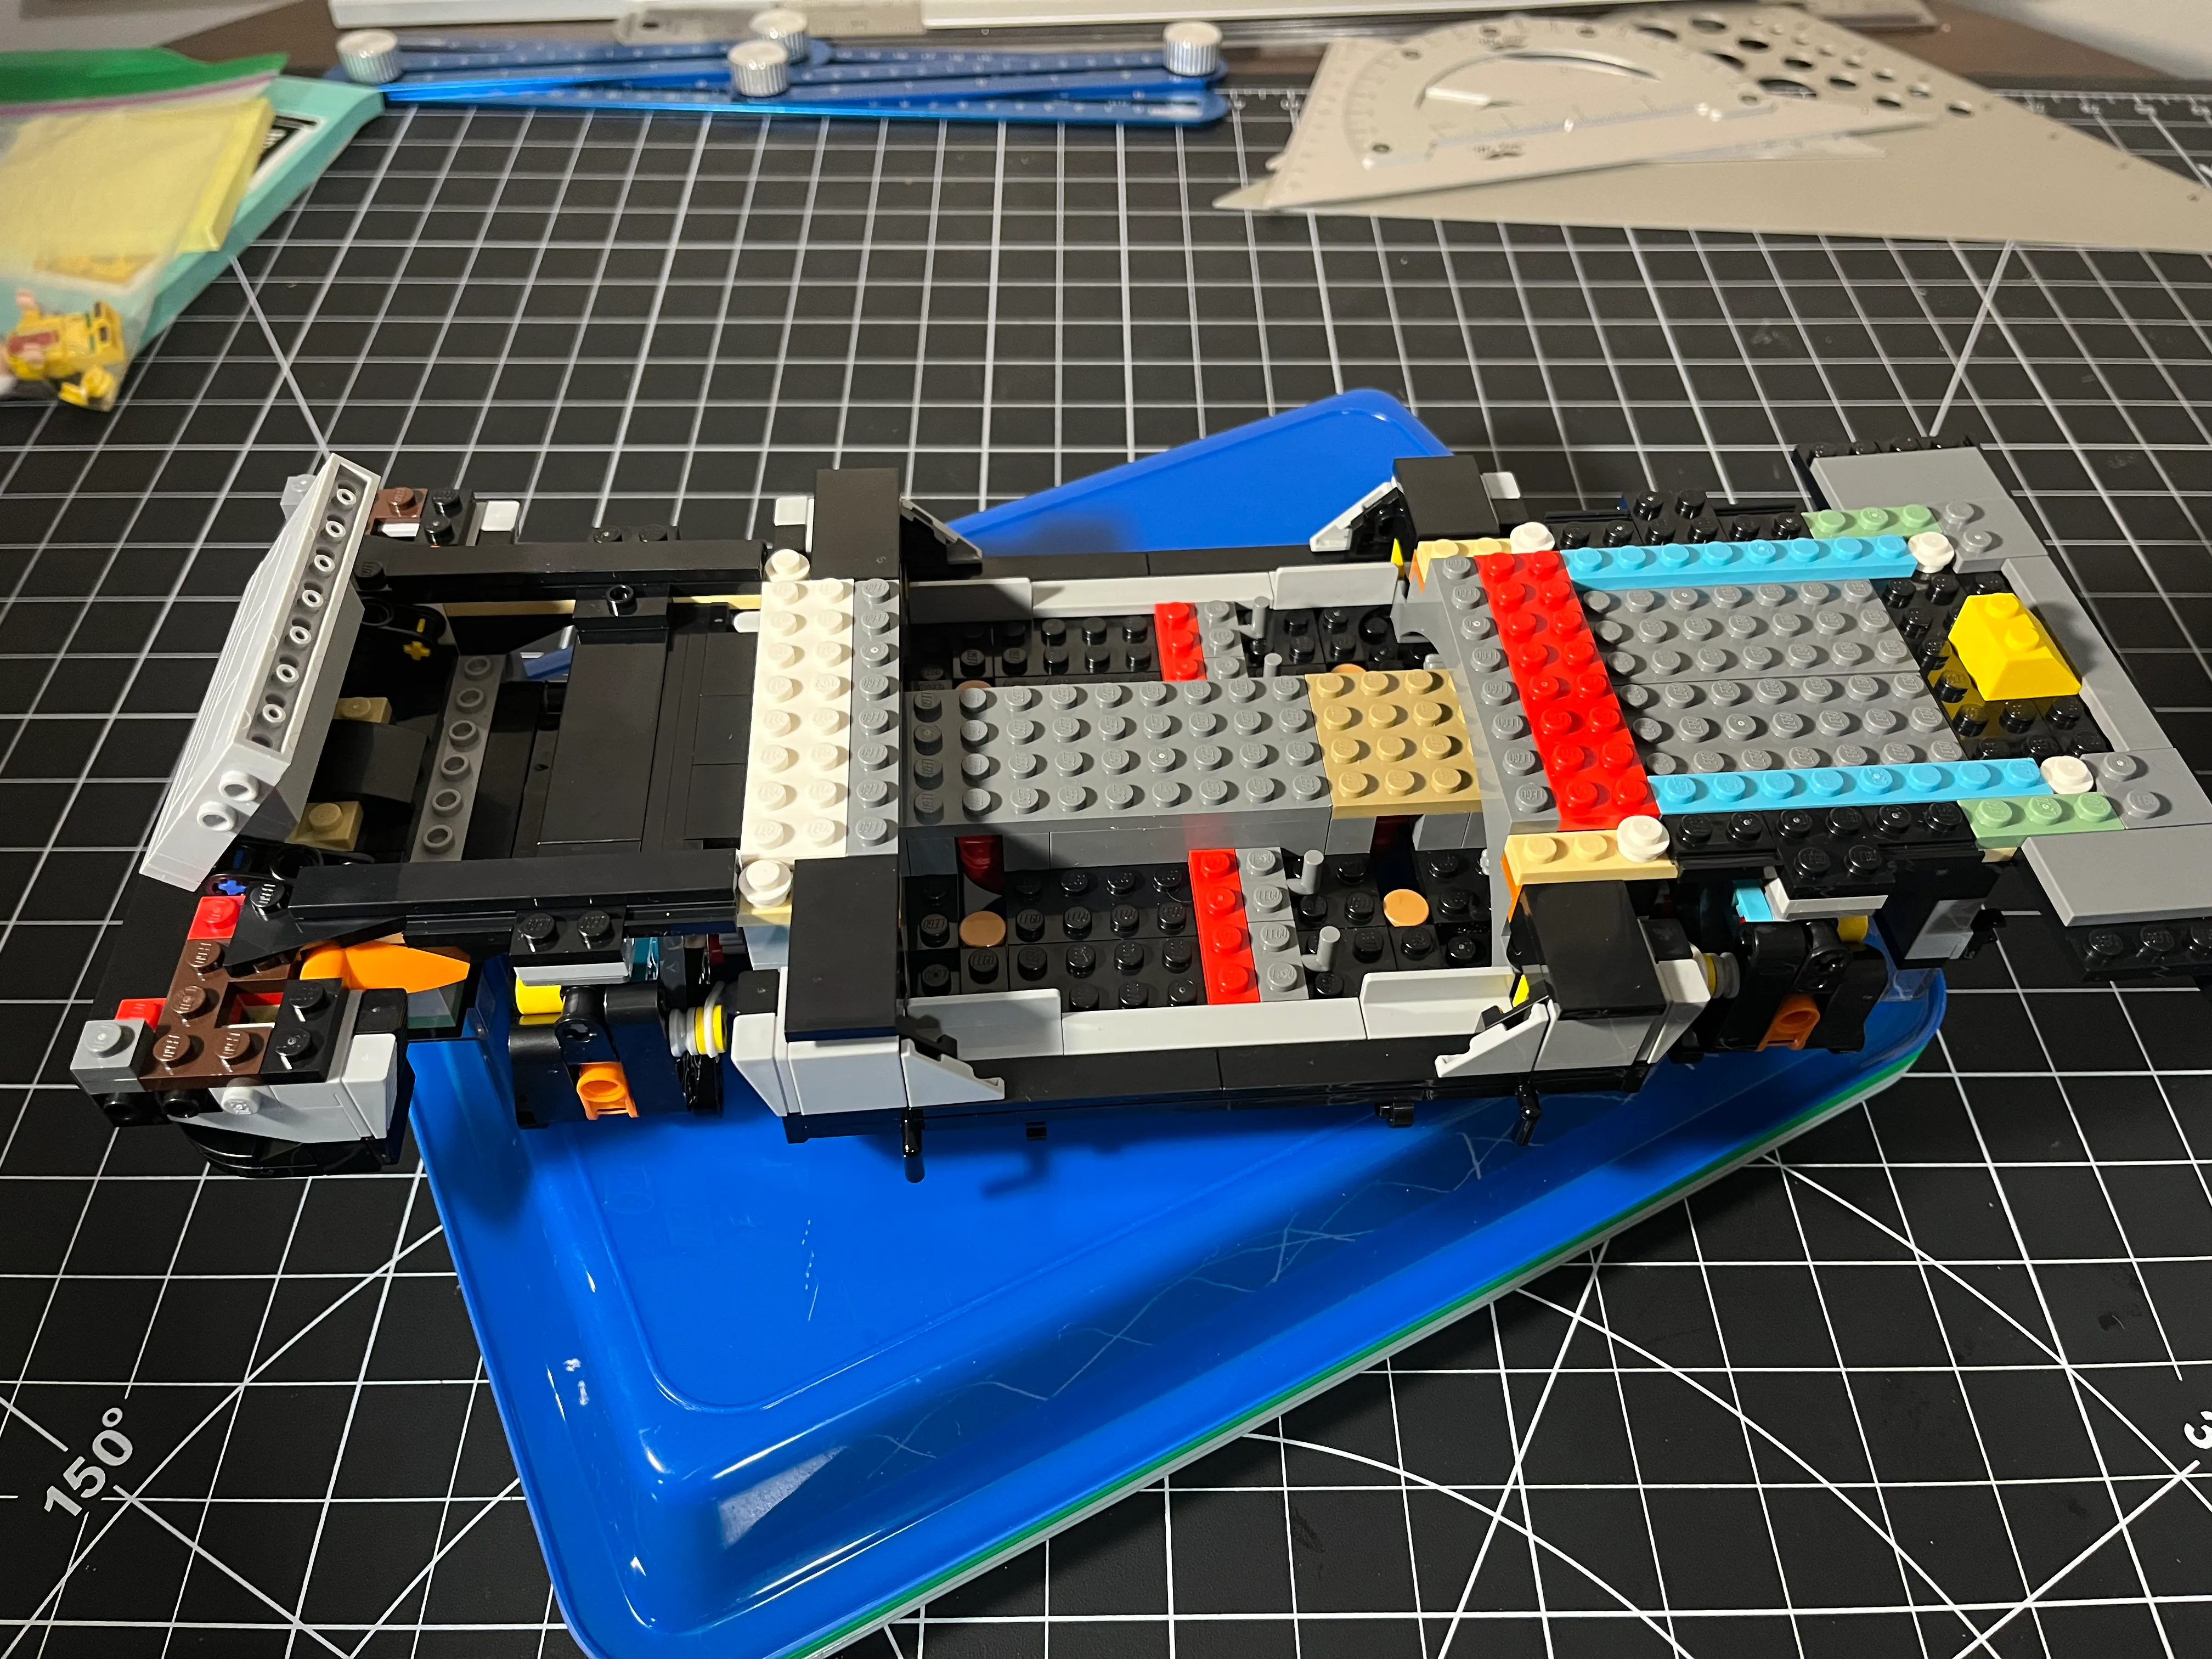
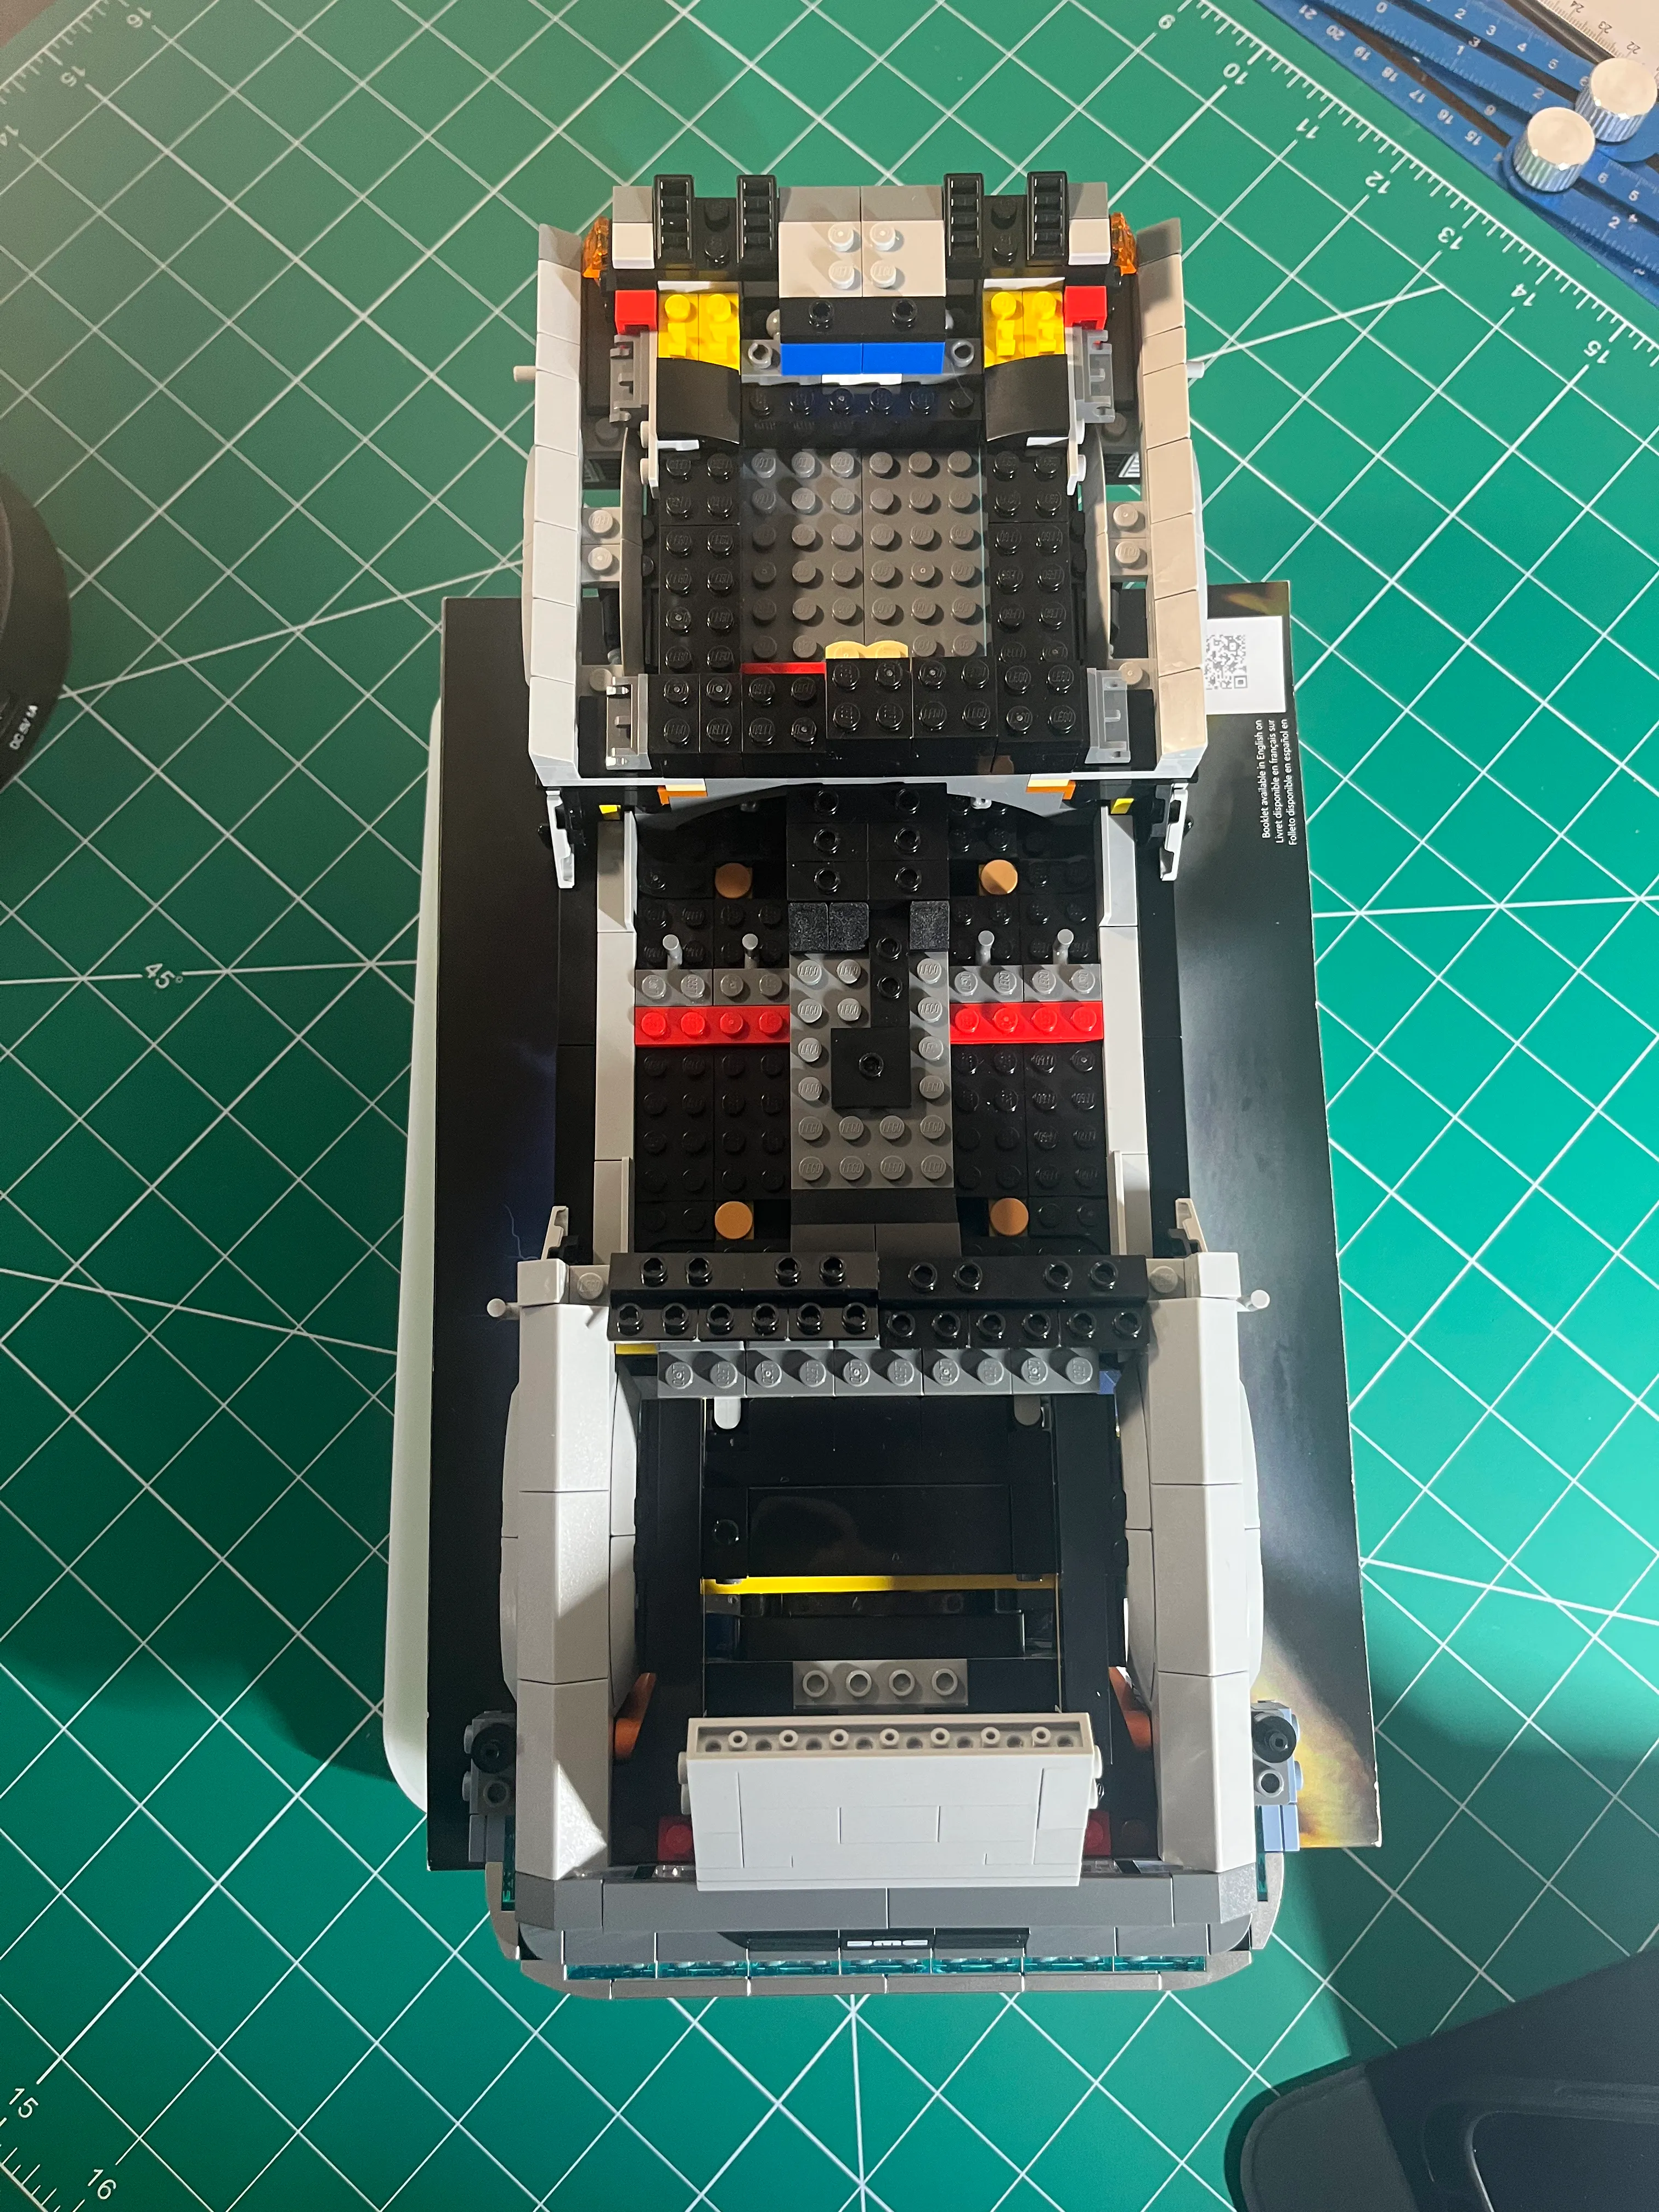
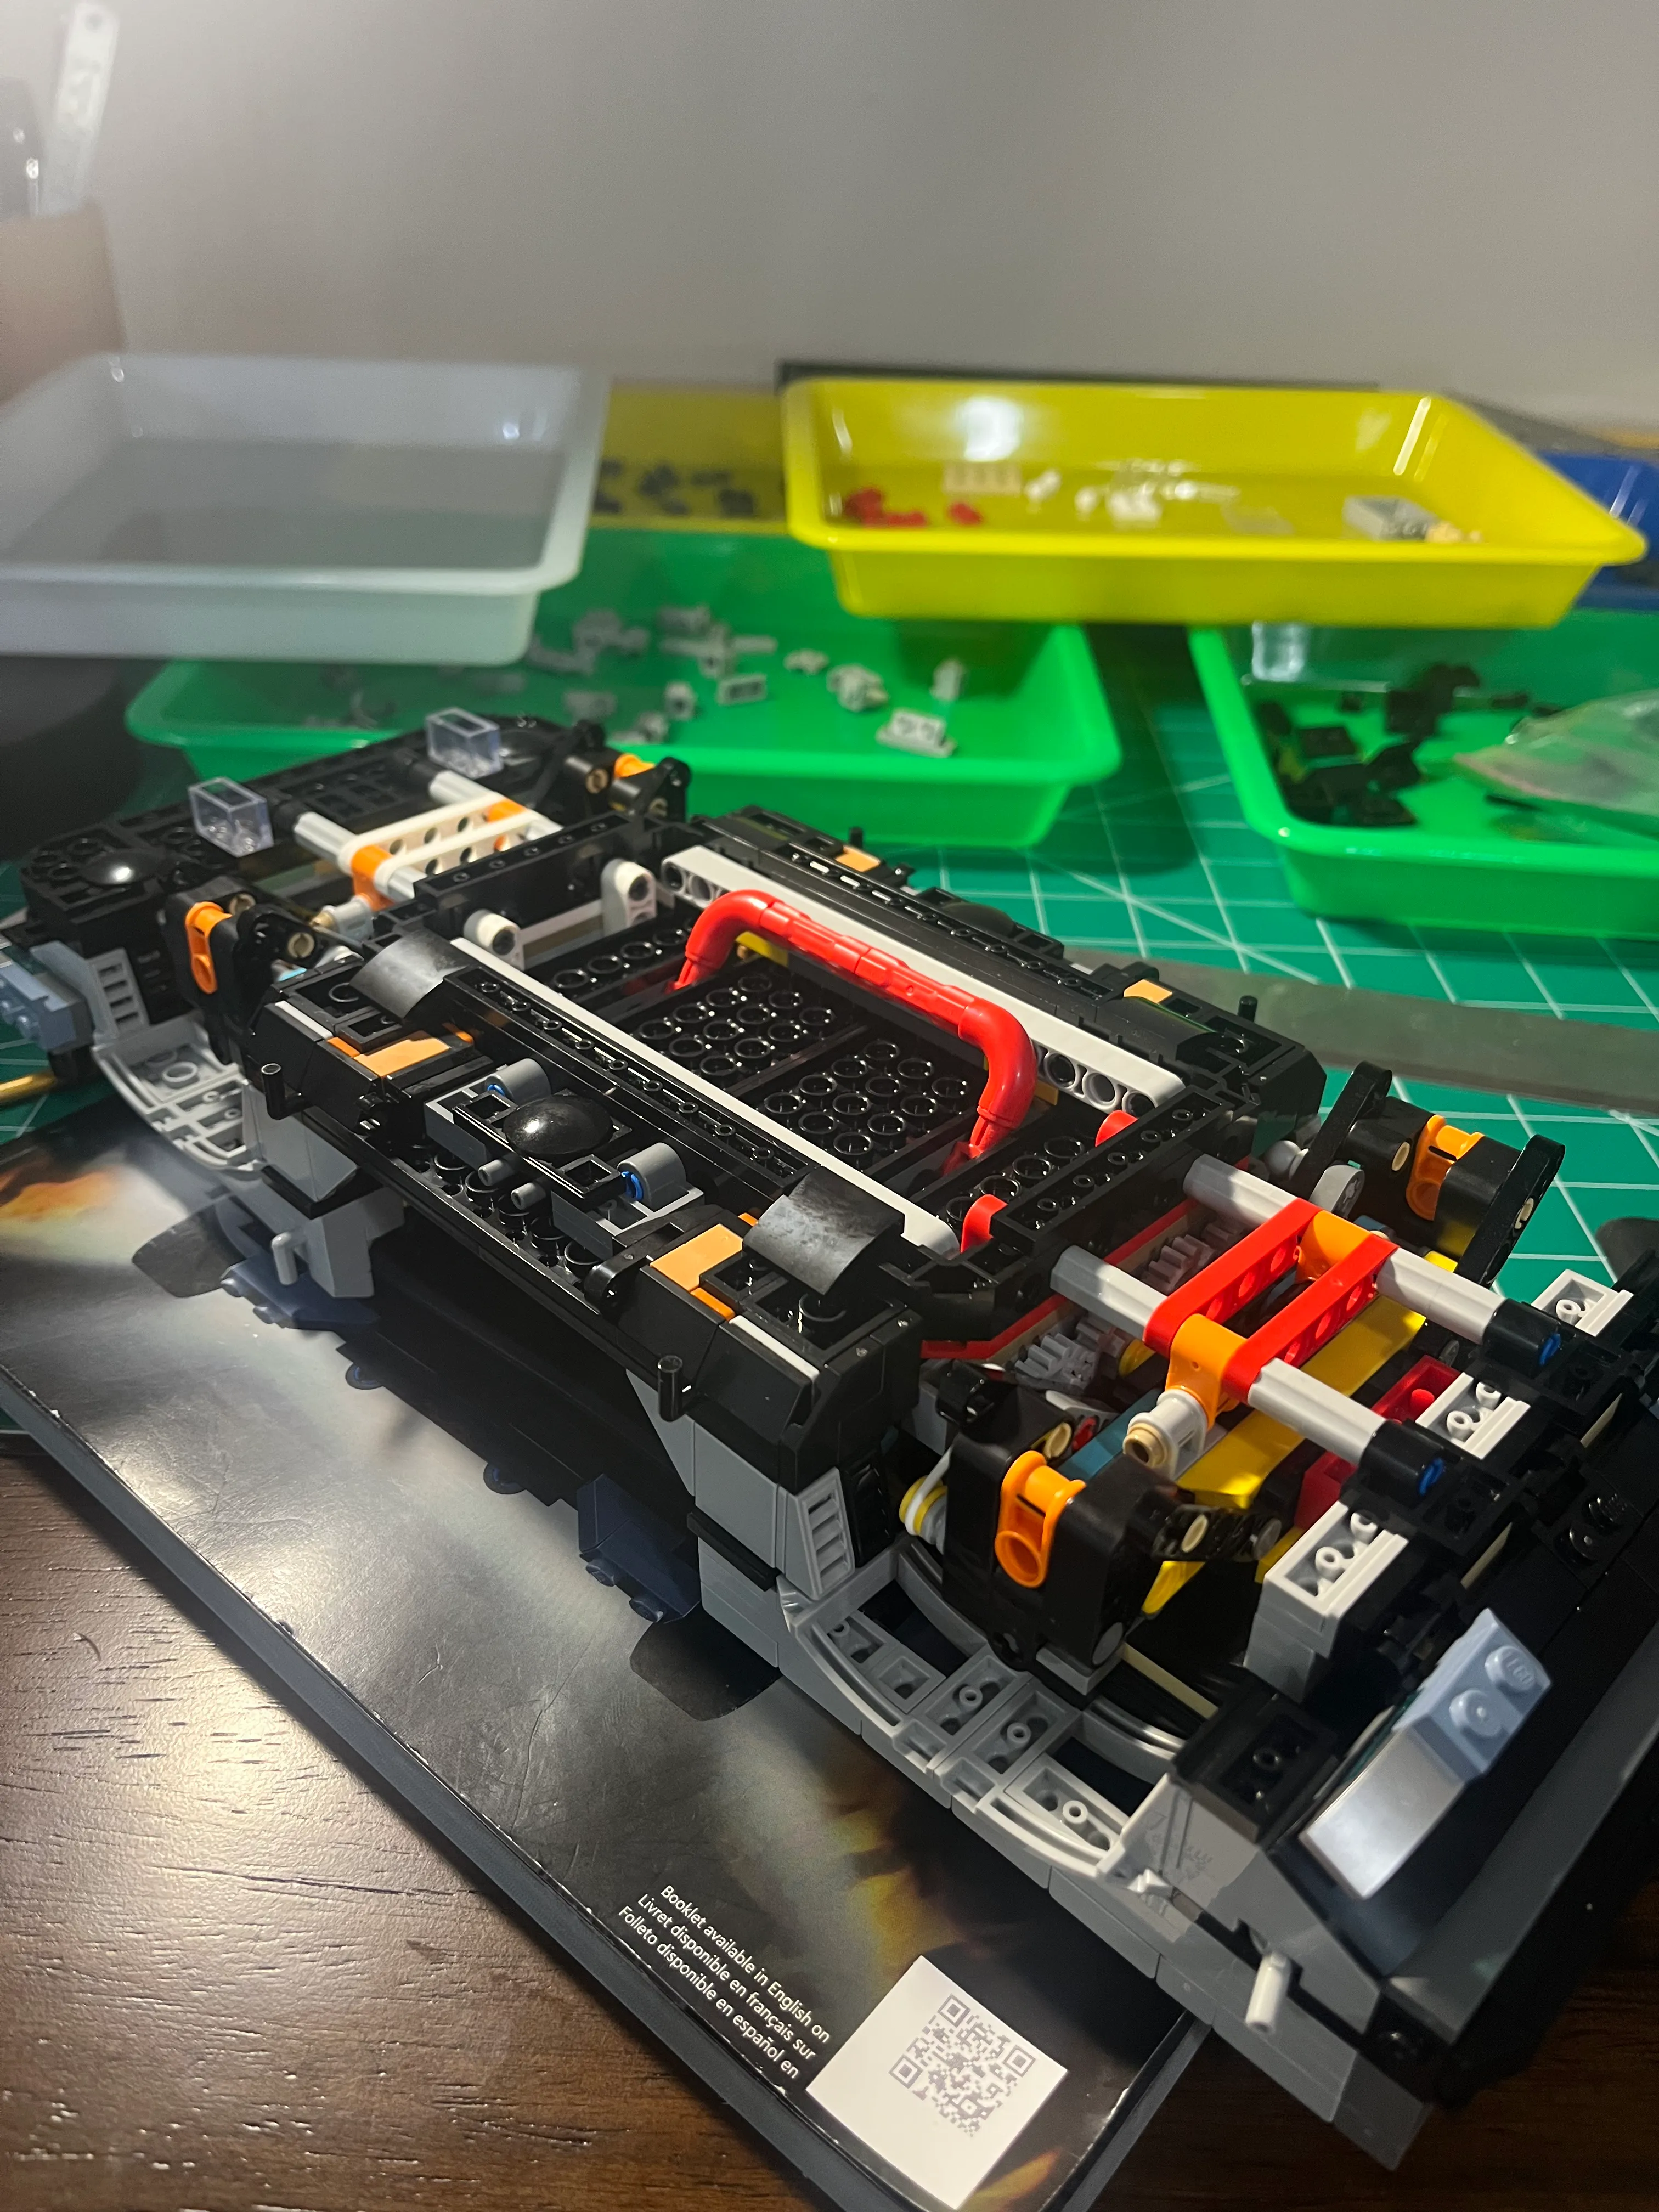
This is the rear suspension. I can tell by red bricks at the rear end of the vehicle. The front end uses white, so it’s
easy to tell during assembly which direction the car is facing. I’ve removed a few bricks to start the tear down, to
get access to the rear suspension.
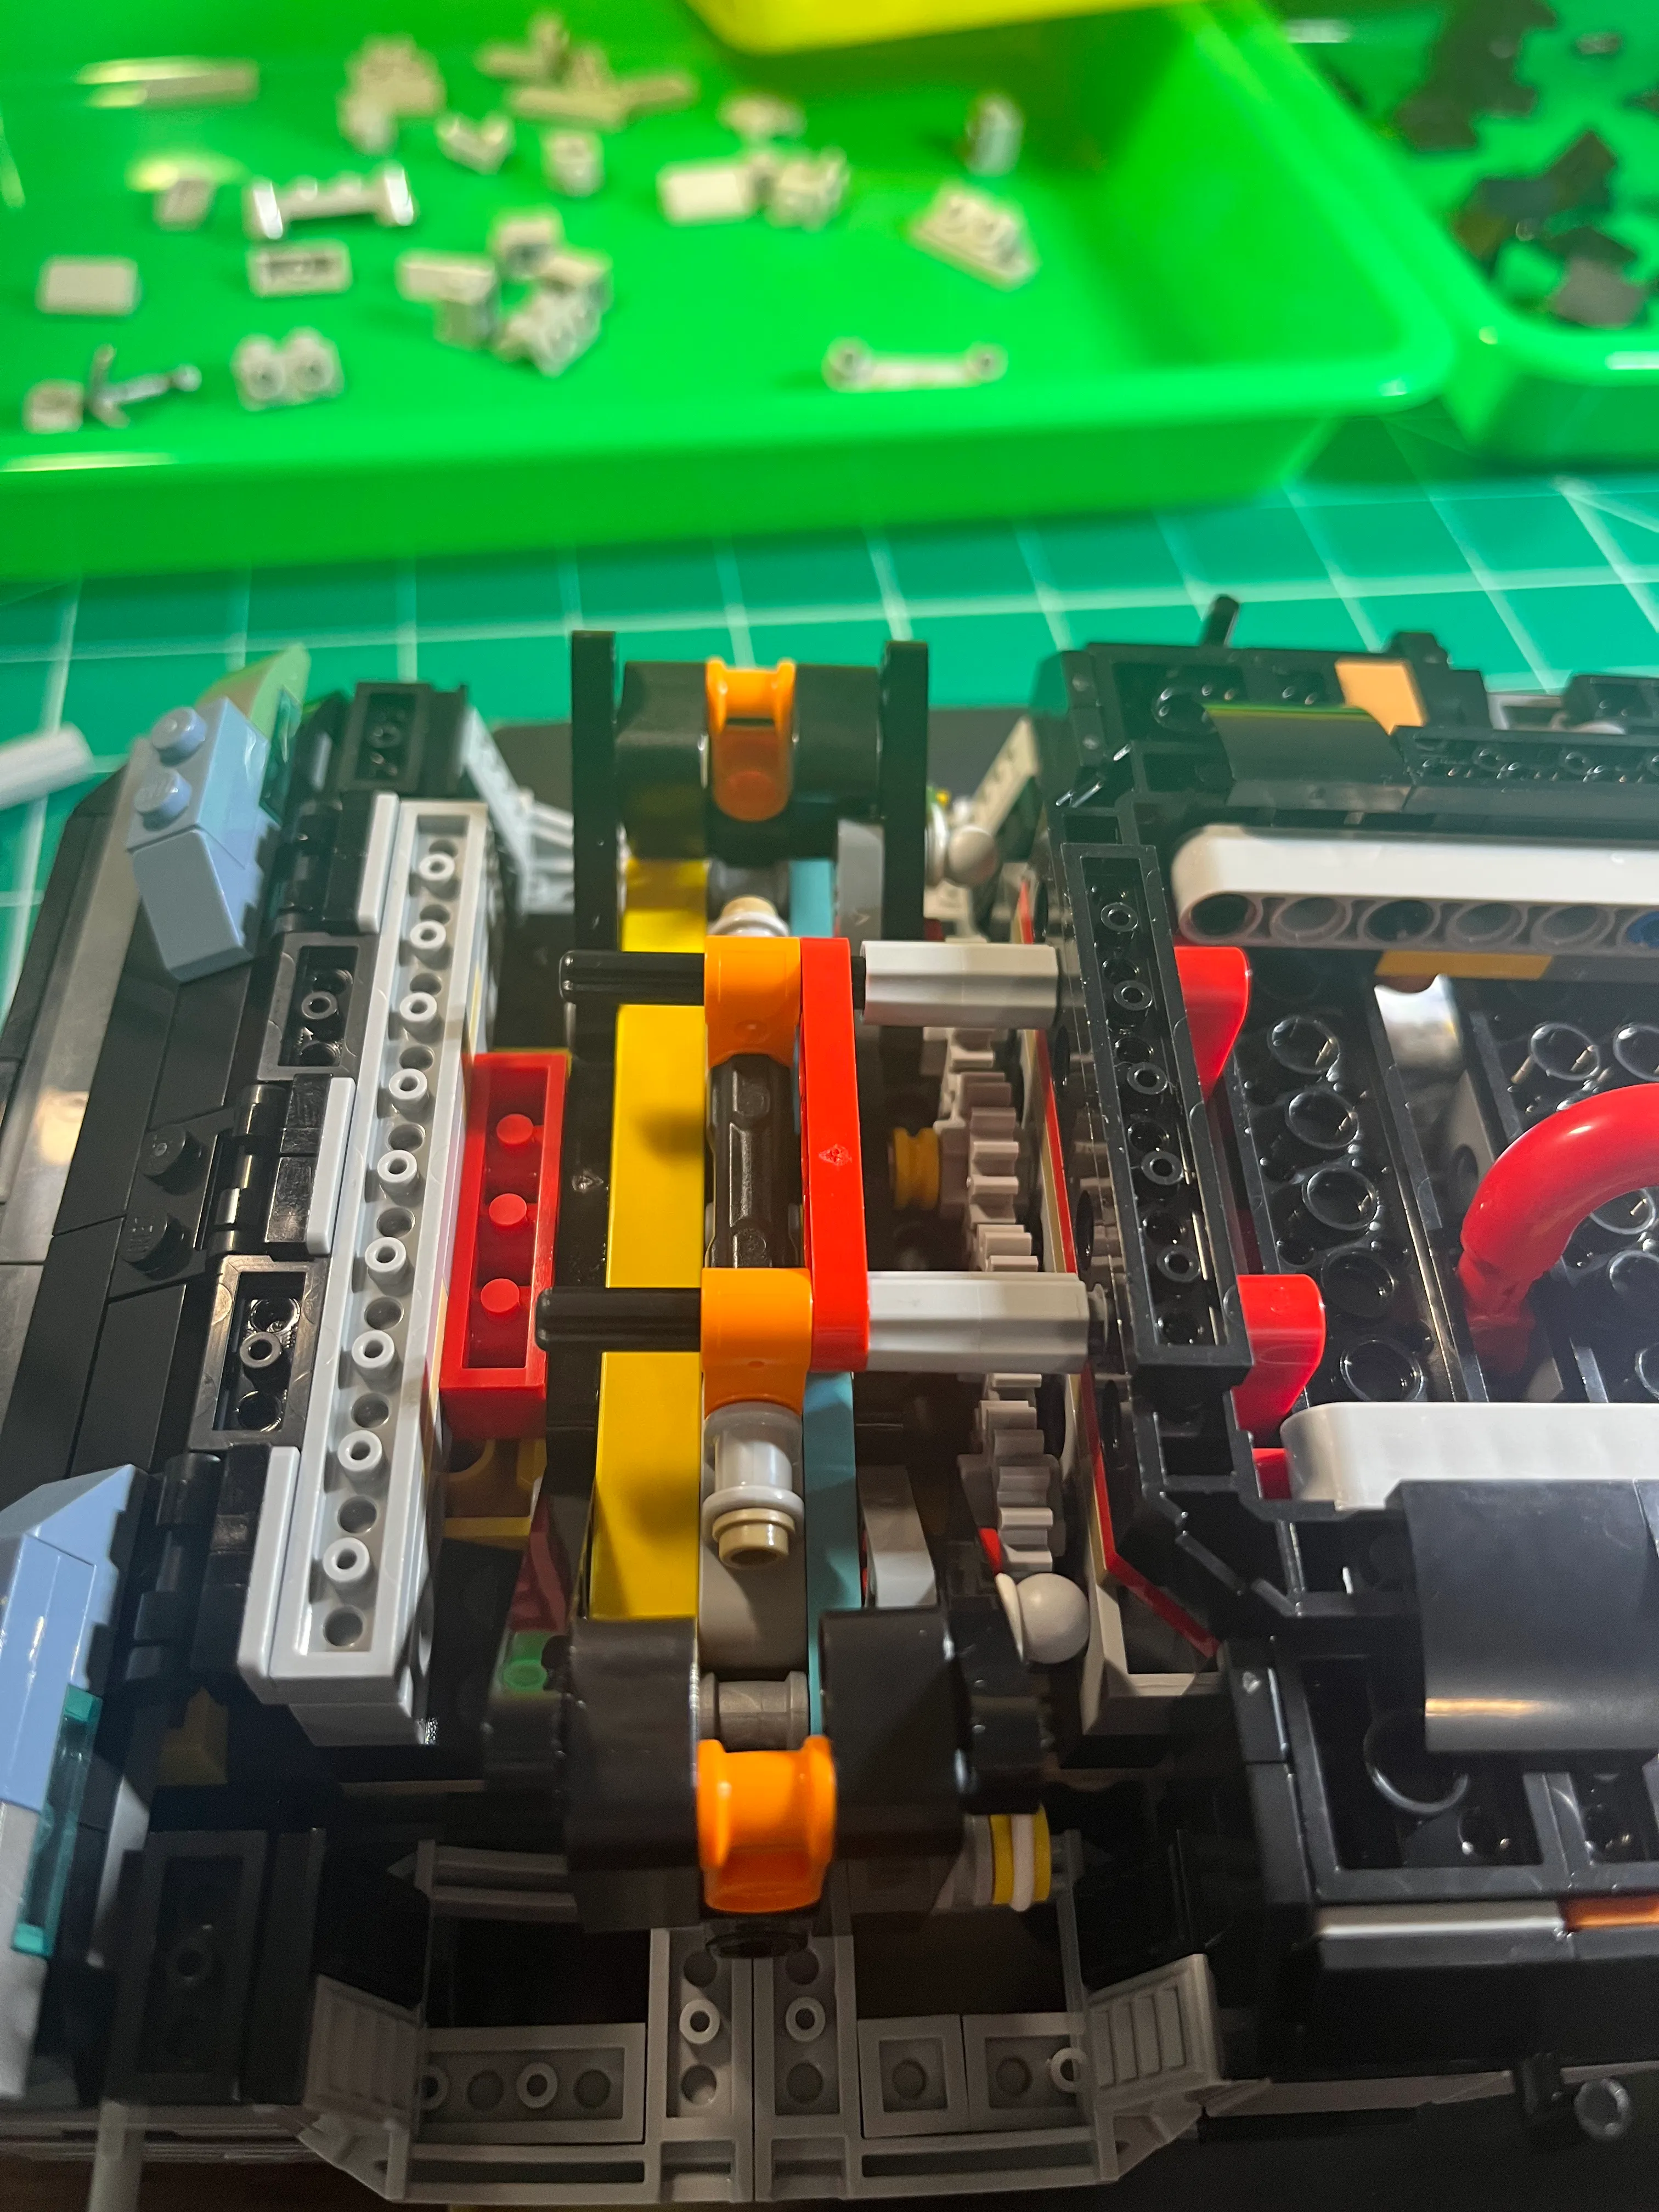
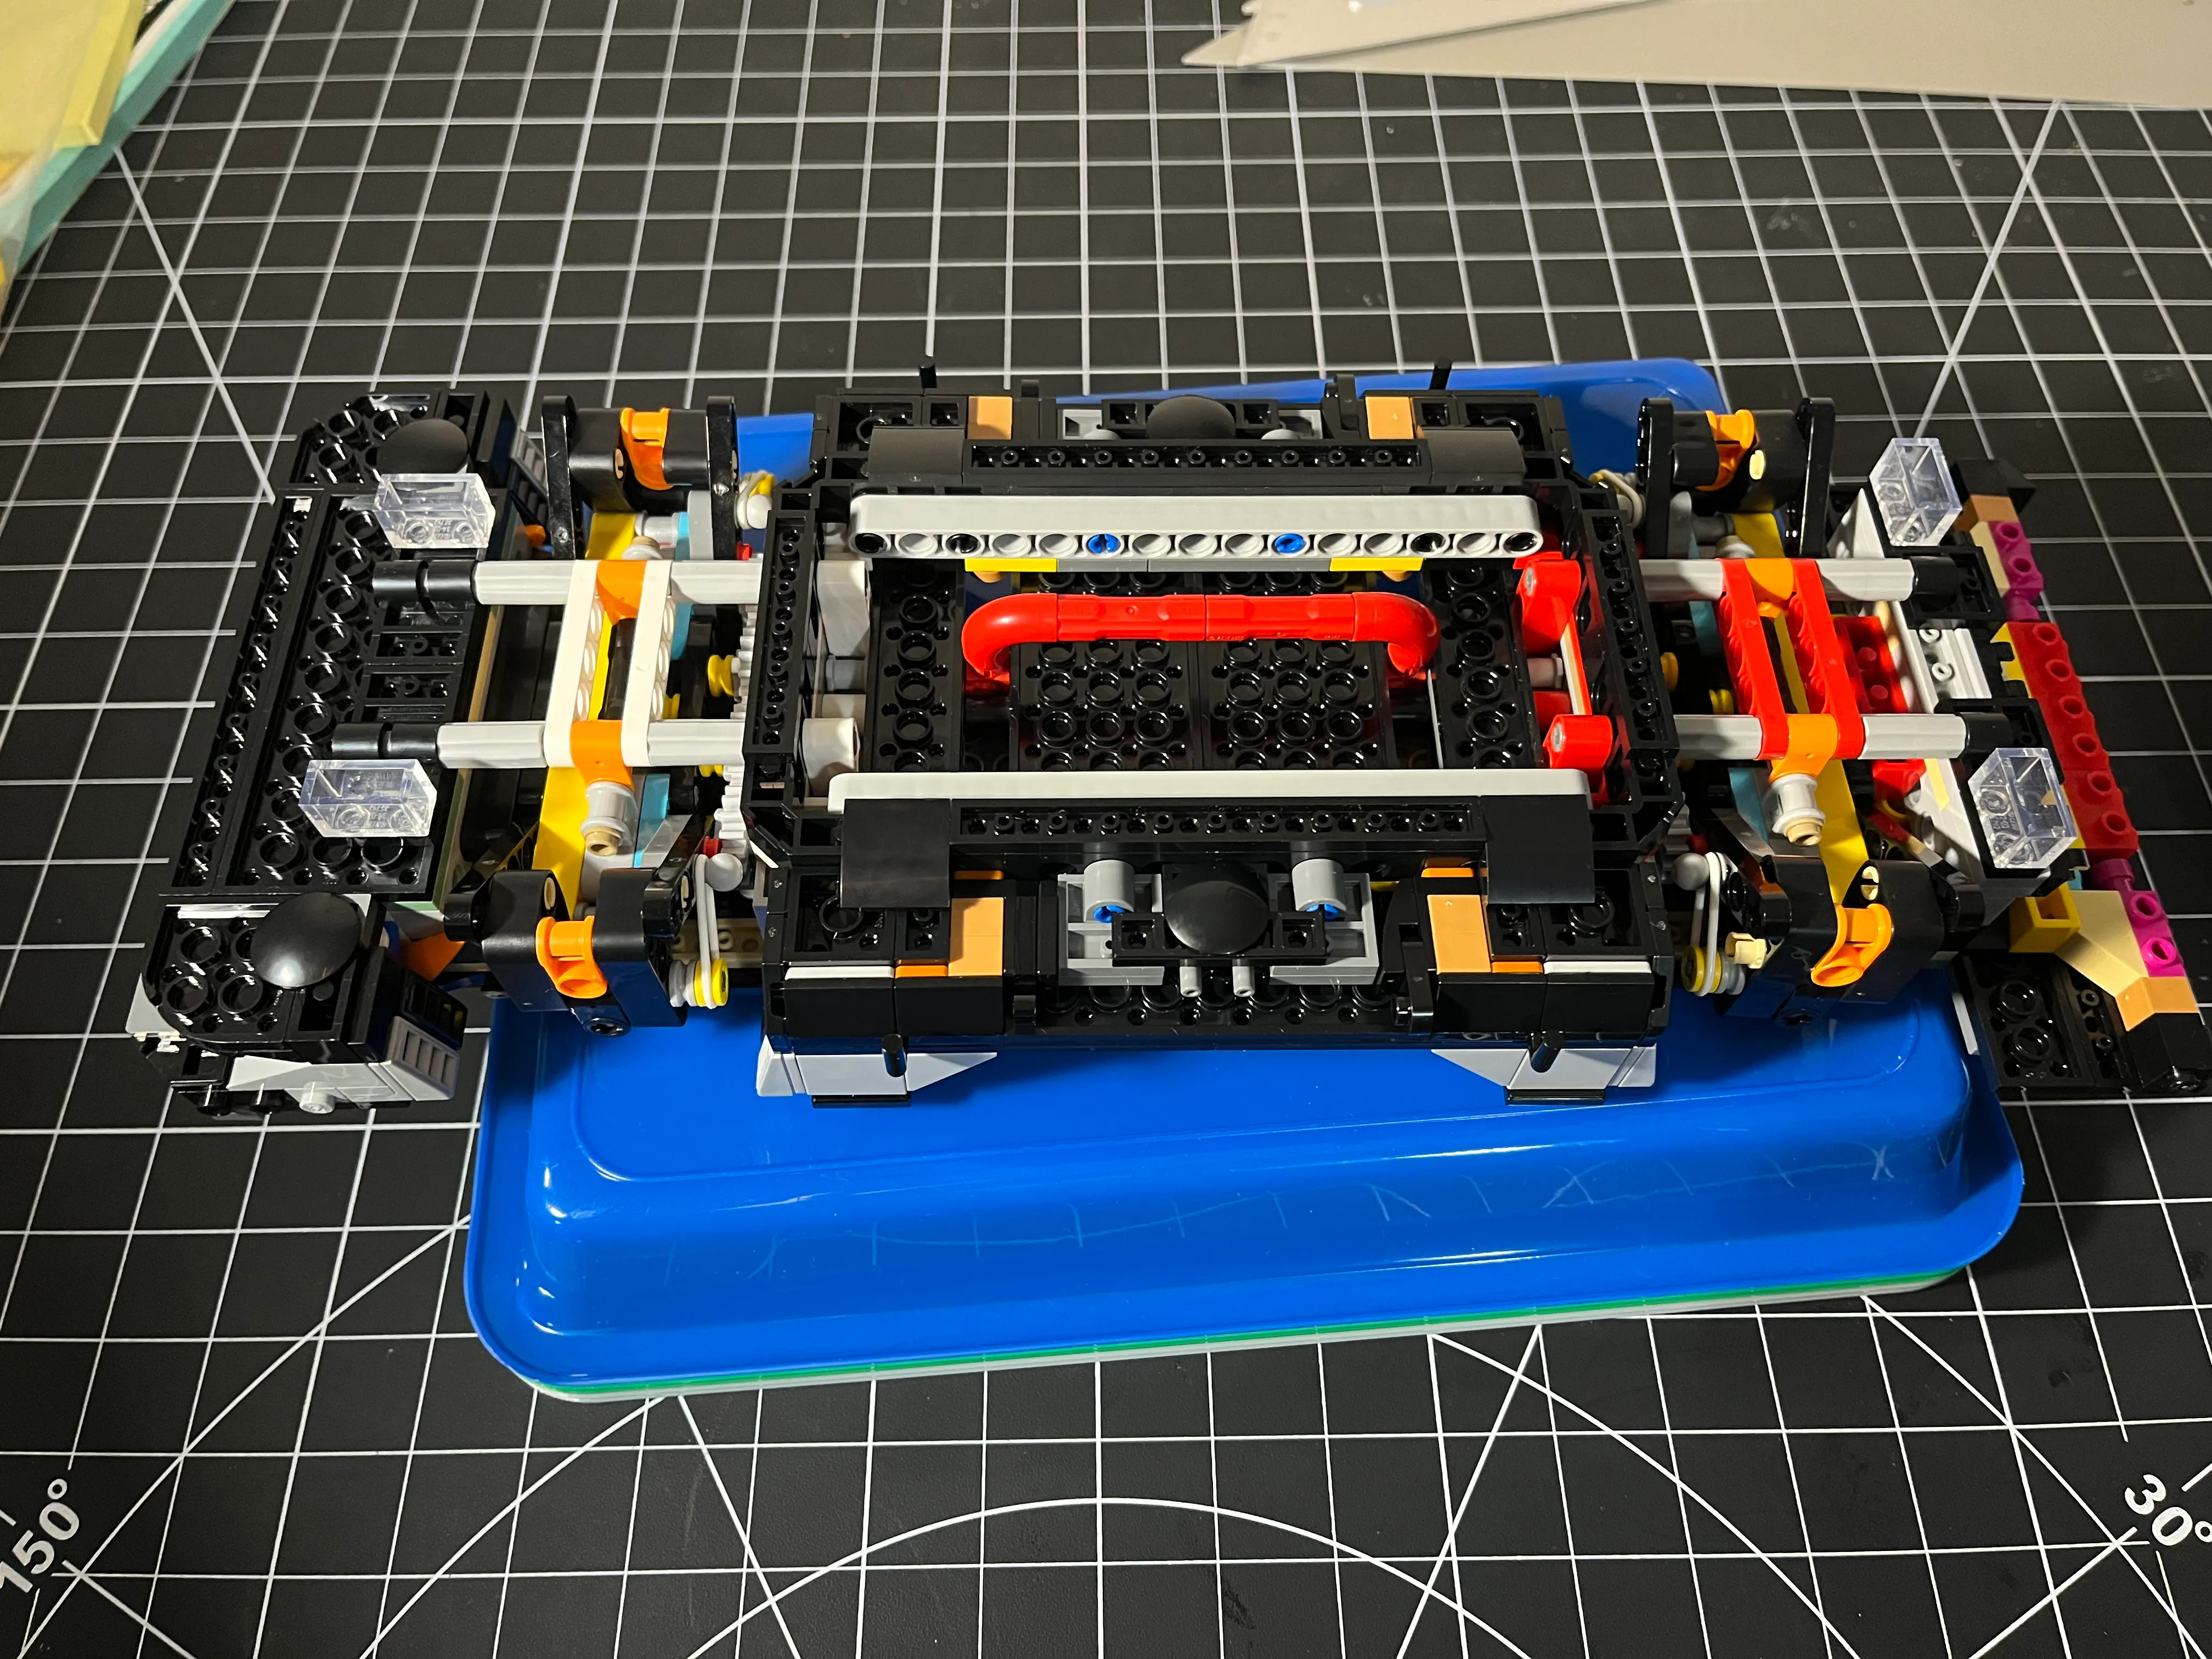
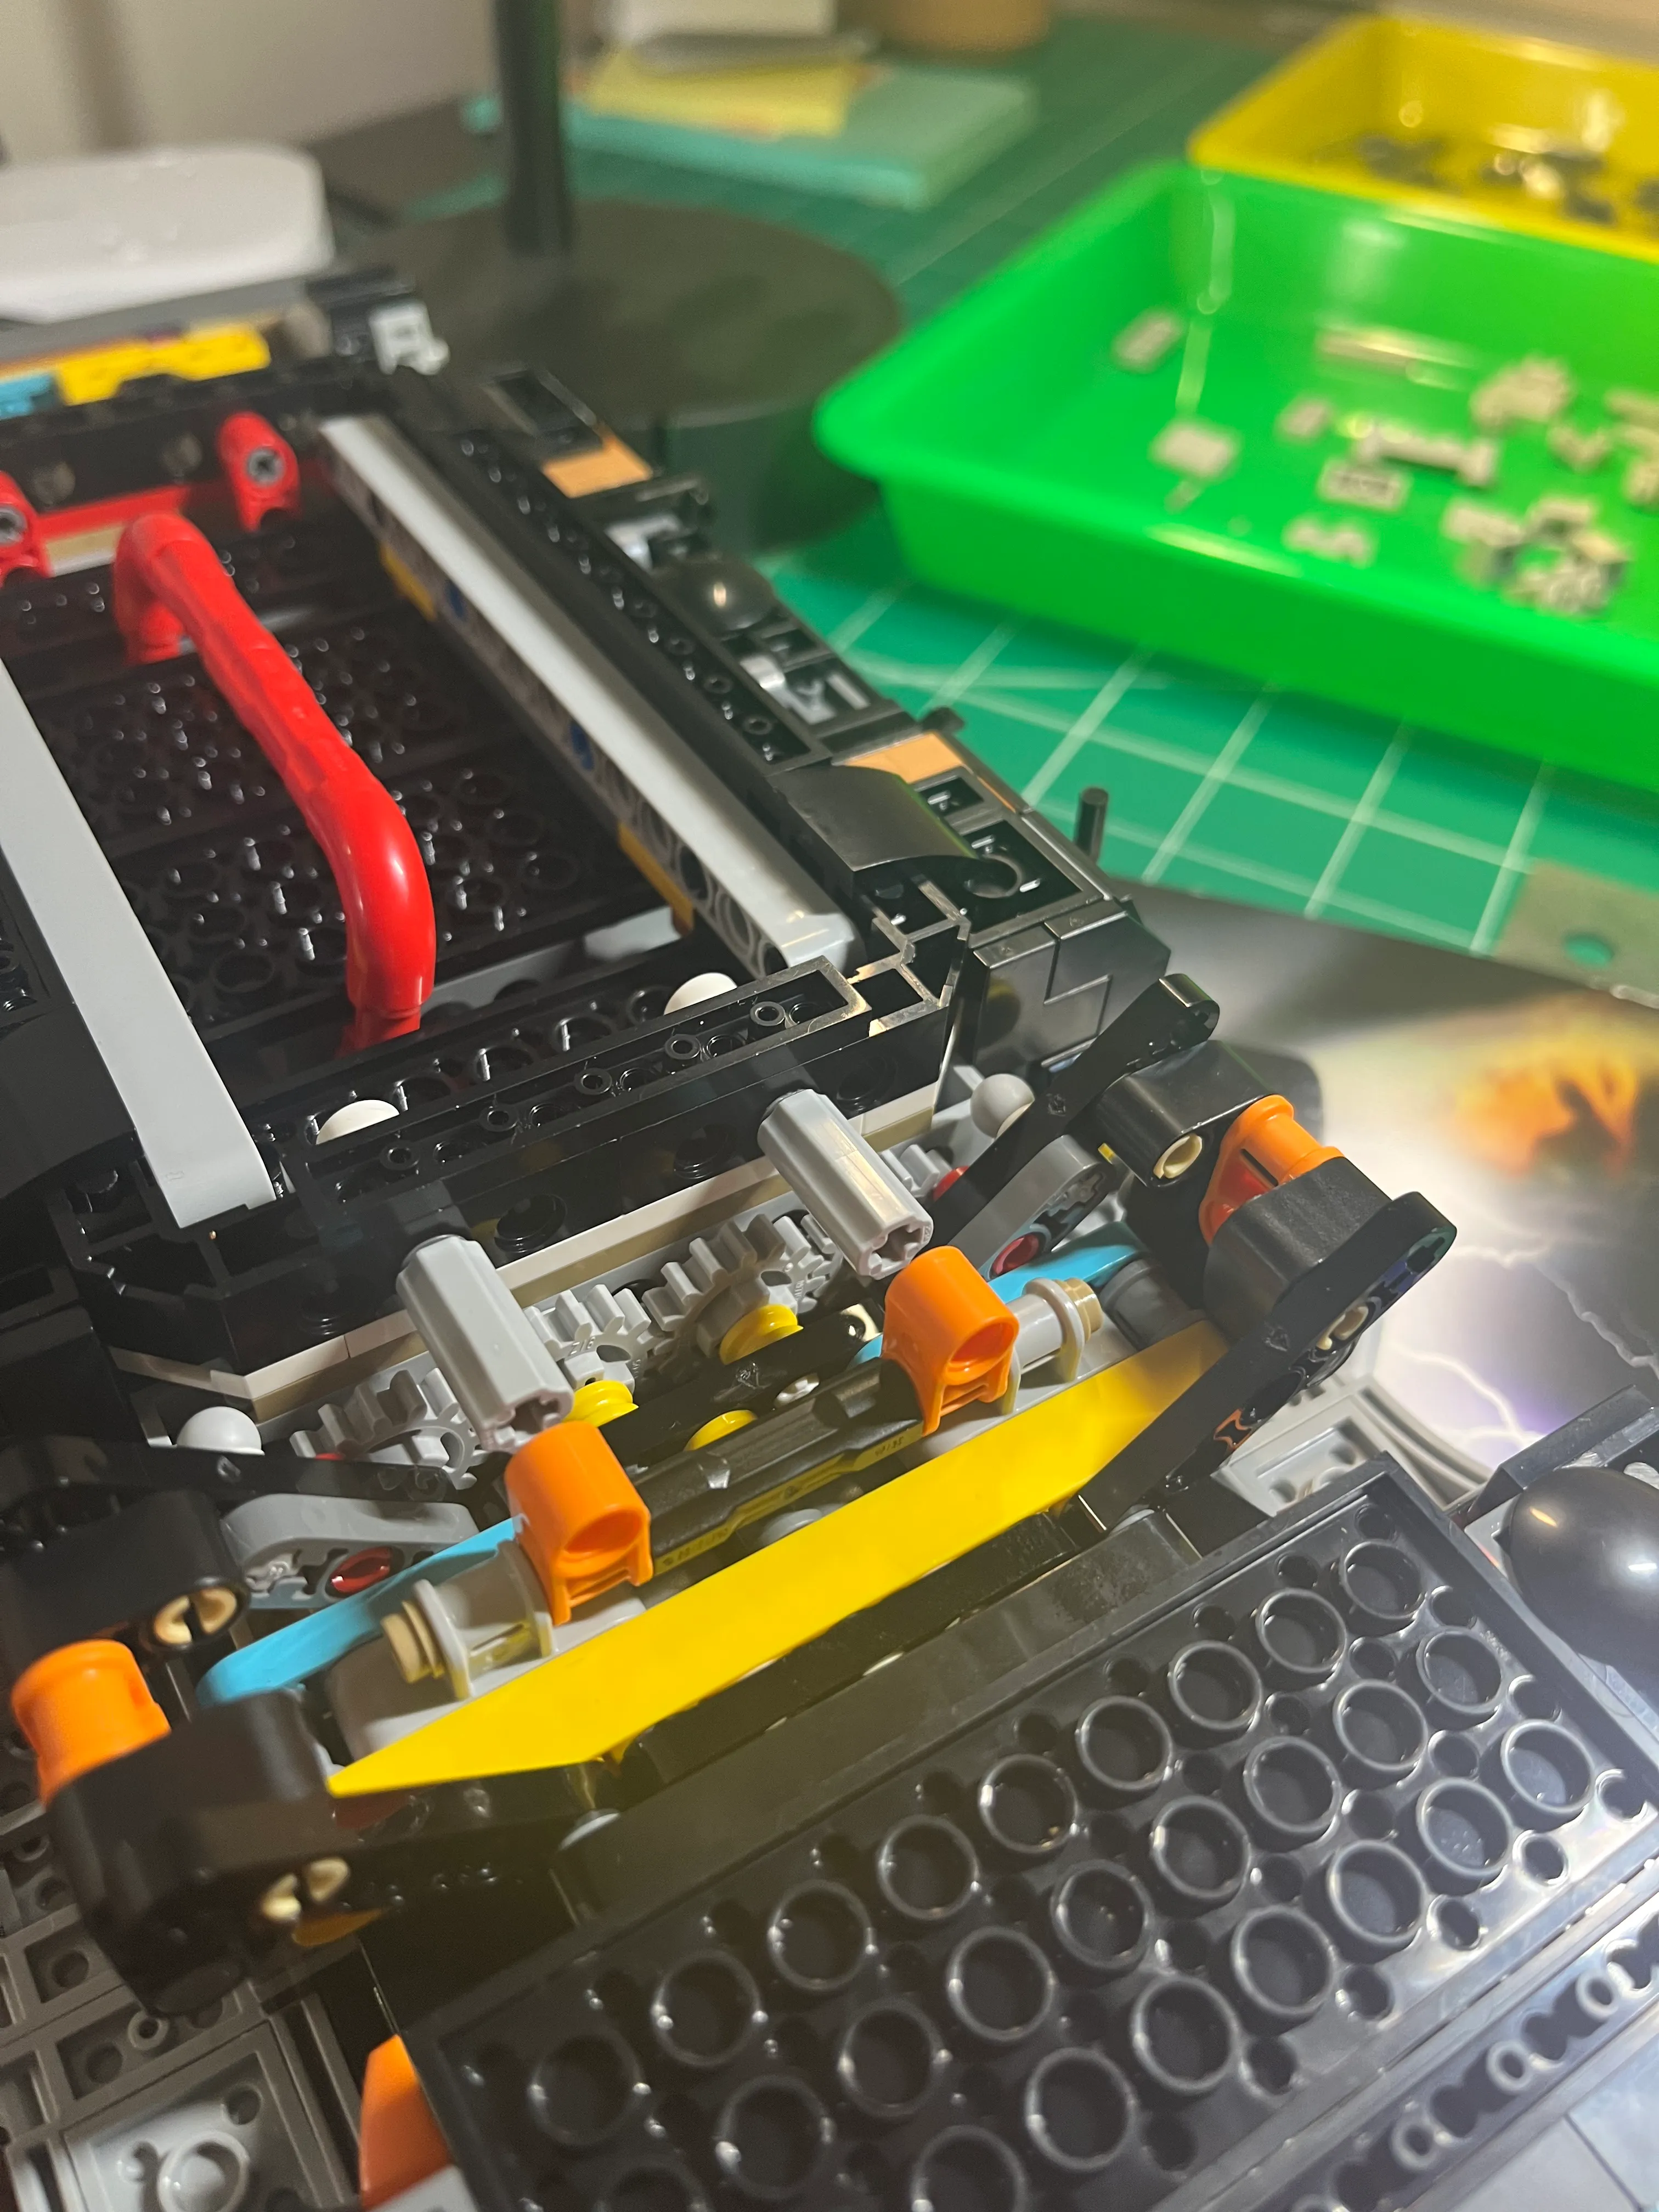
Now we have a good look at the 4 gears at the rear of the vehicle that are part of the wheel rotation mechanism. If I
remember correctly, the 4 black bars that at 45 degrees in the picture were not attached to the suspension properly.
I had forgotten to install one of the beige dowels that holds the suspension together and allows it to pivot. This was
the main issue. I still needed to tear down more to get access to remove the suspension.
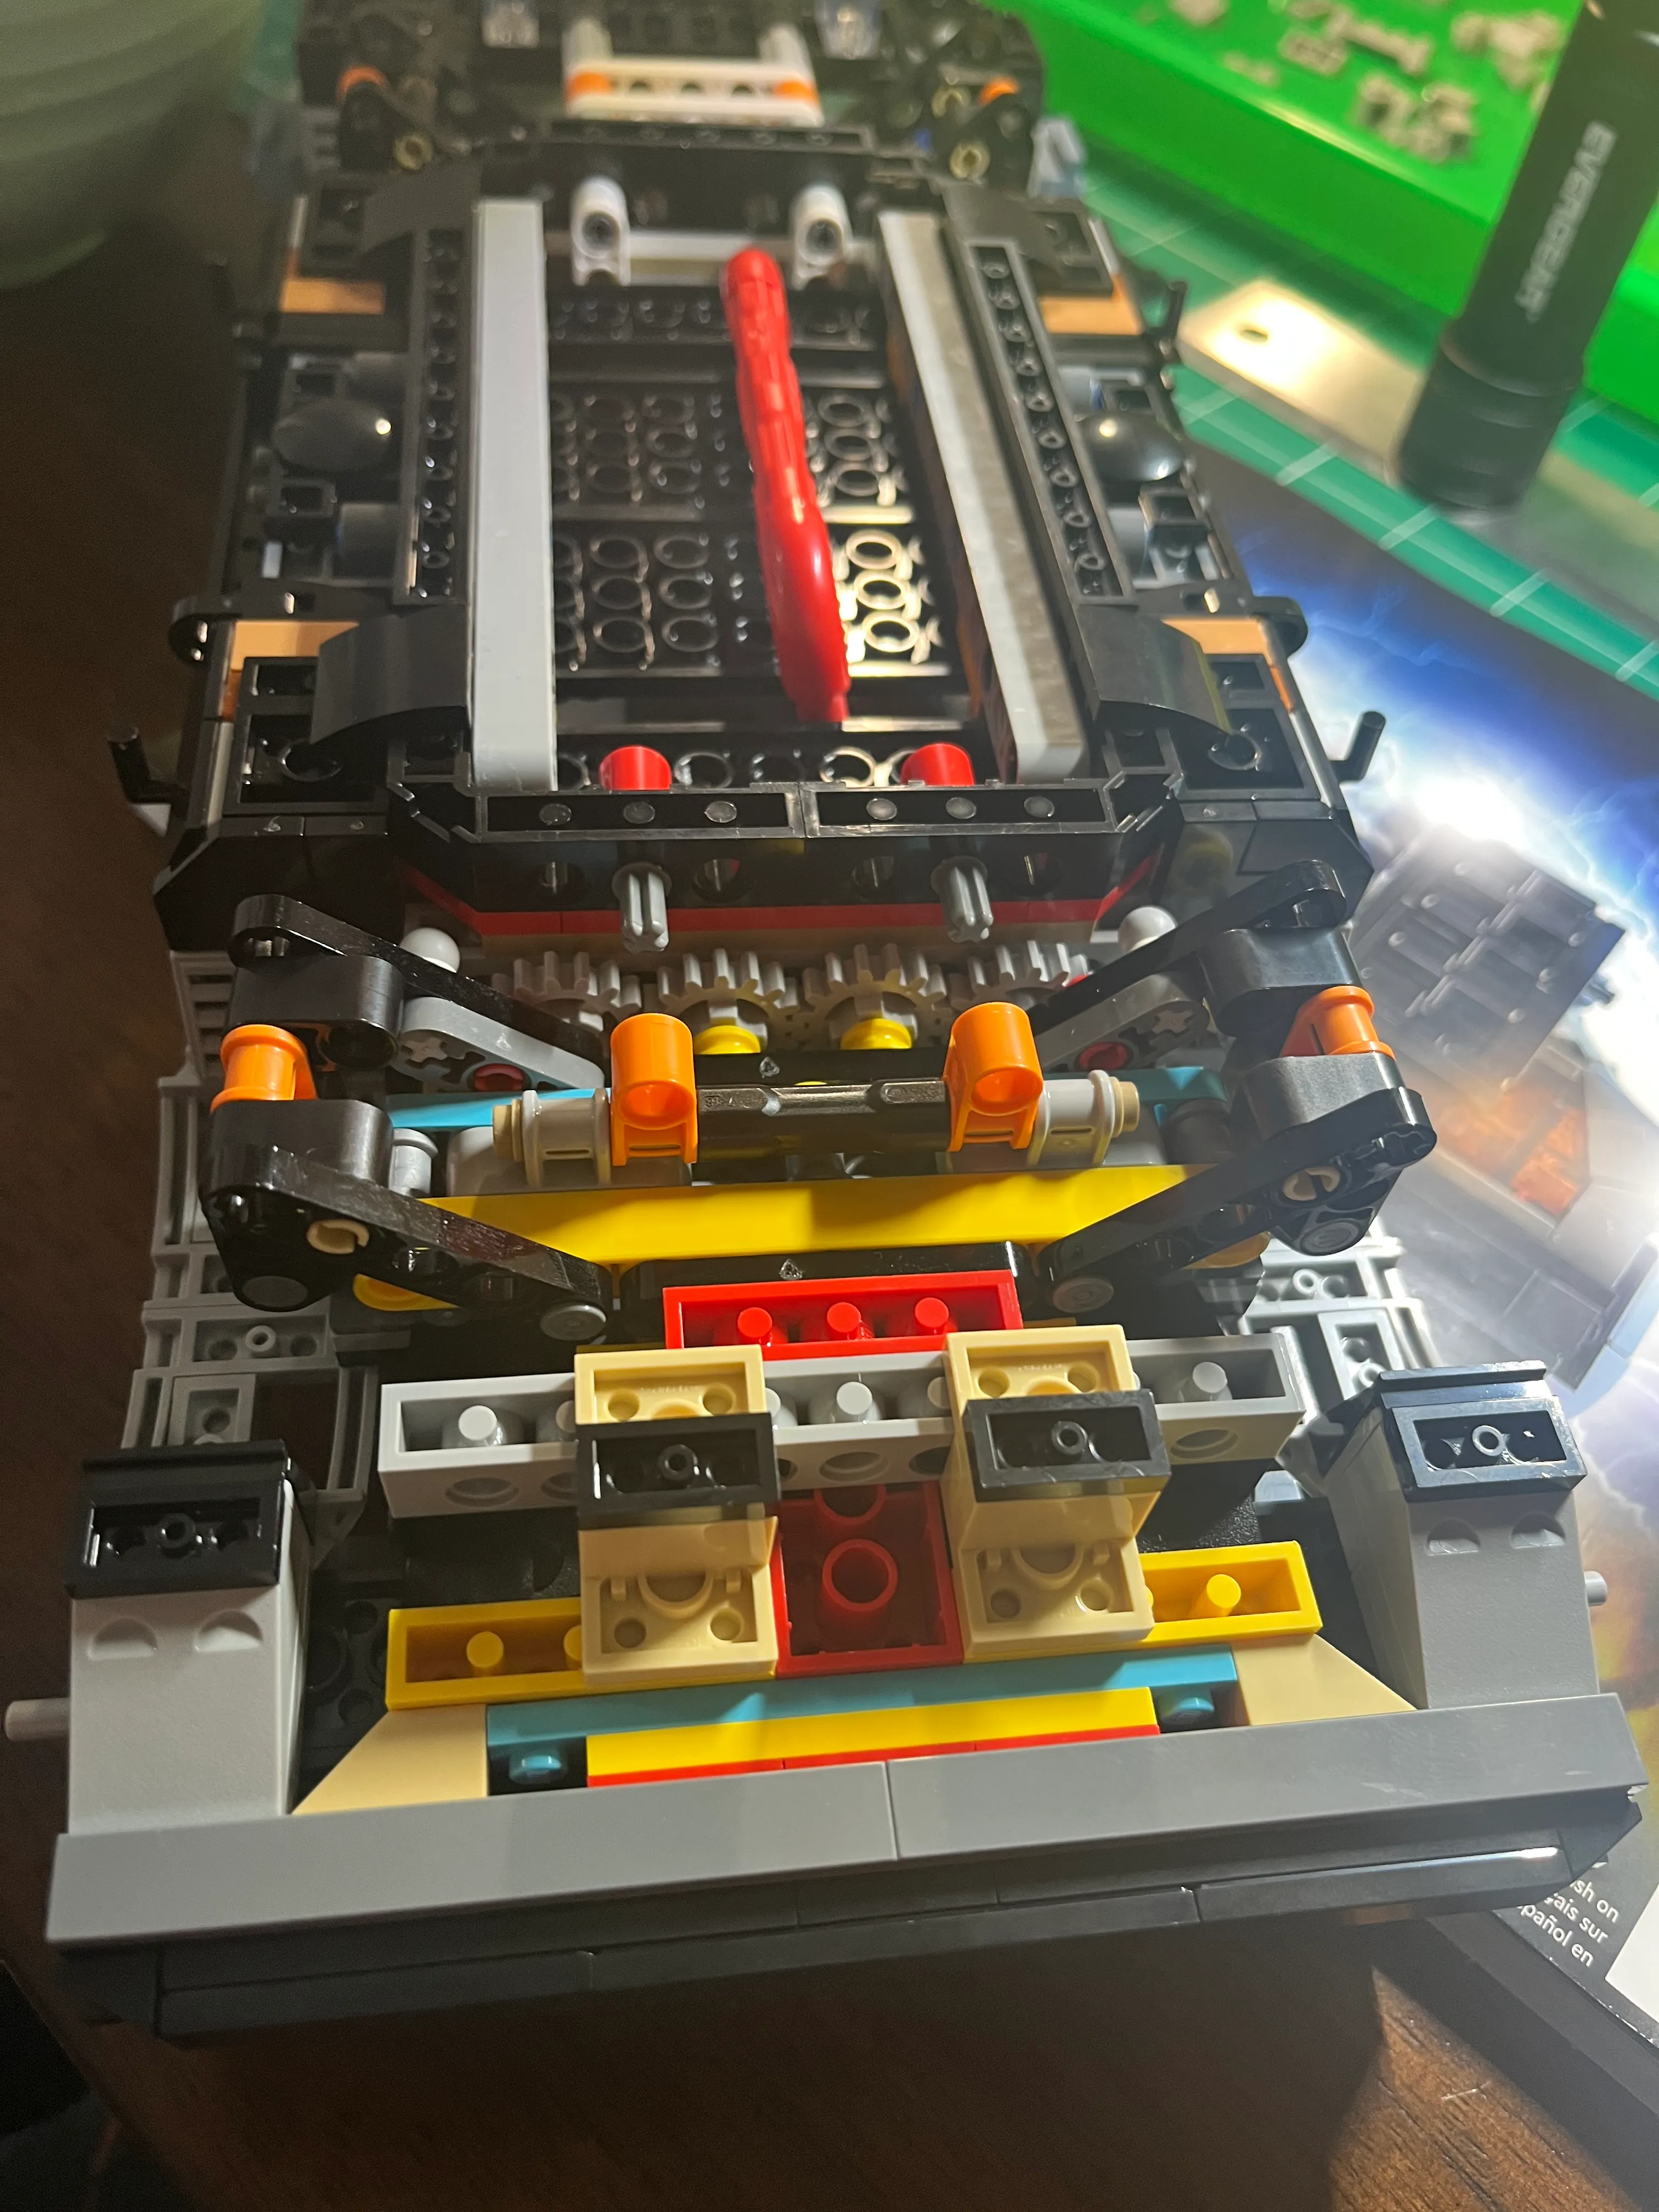
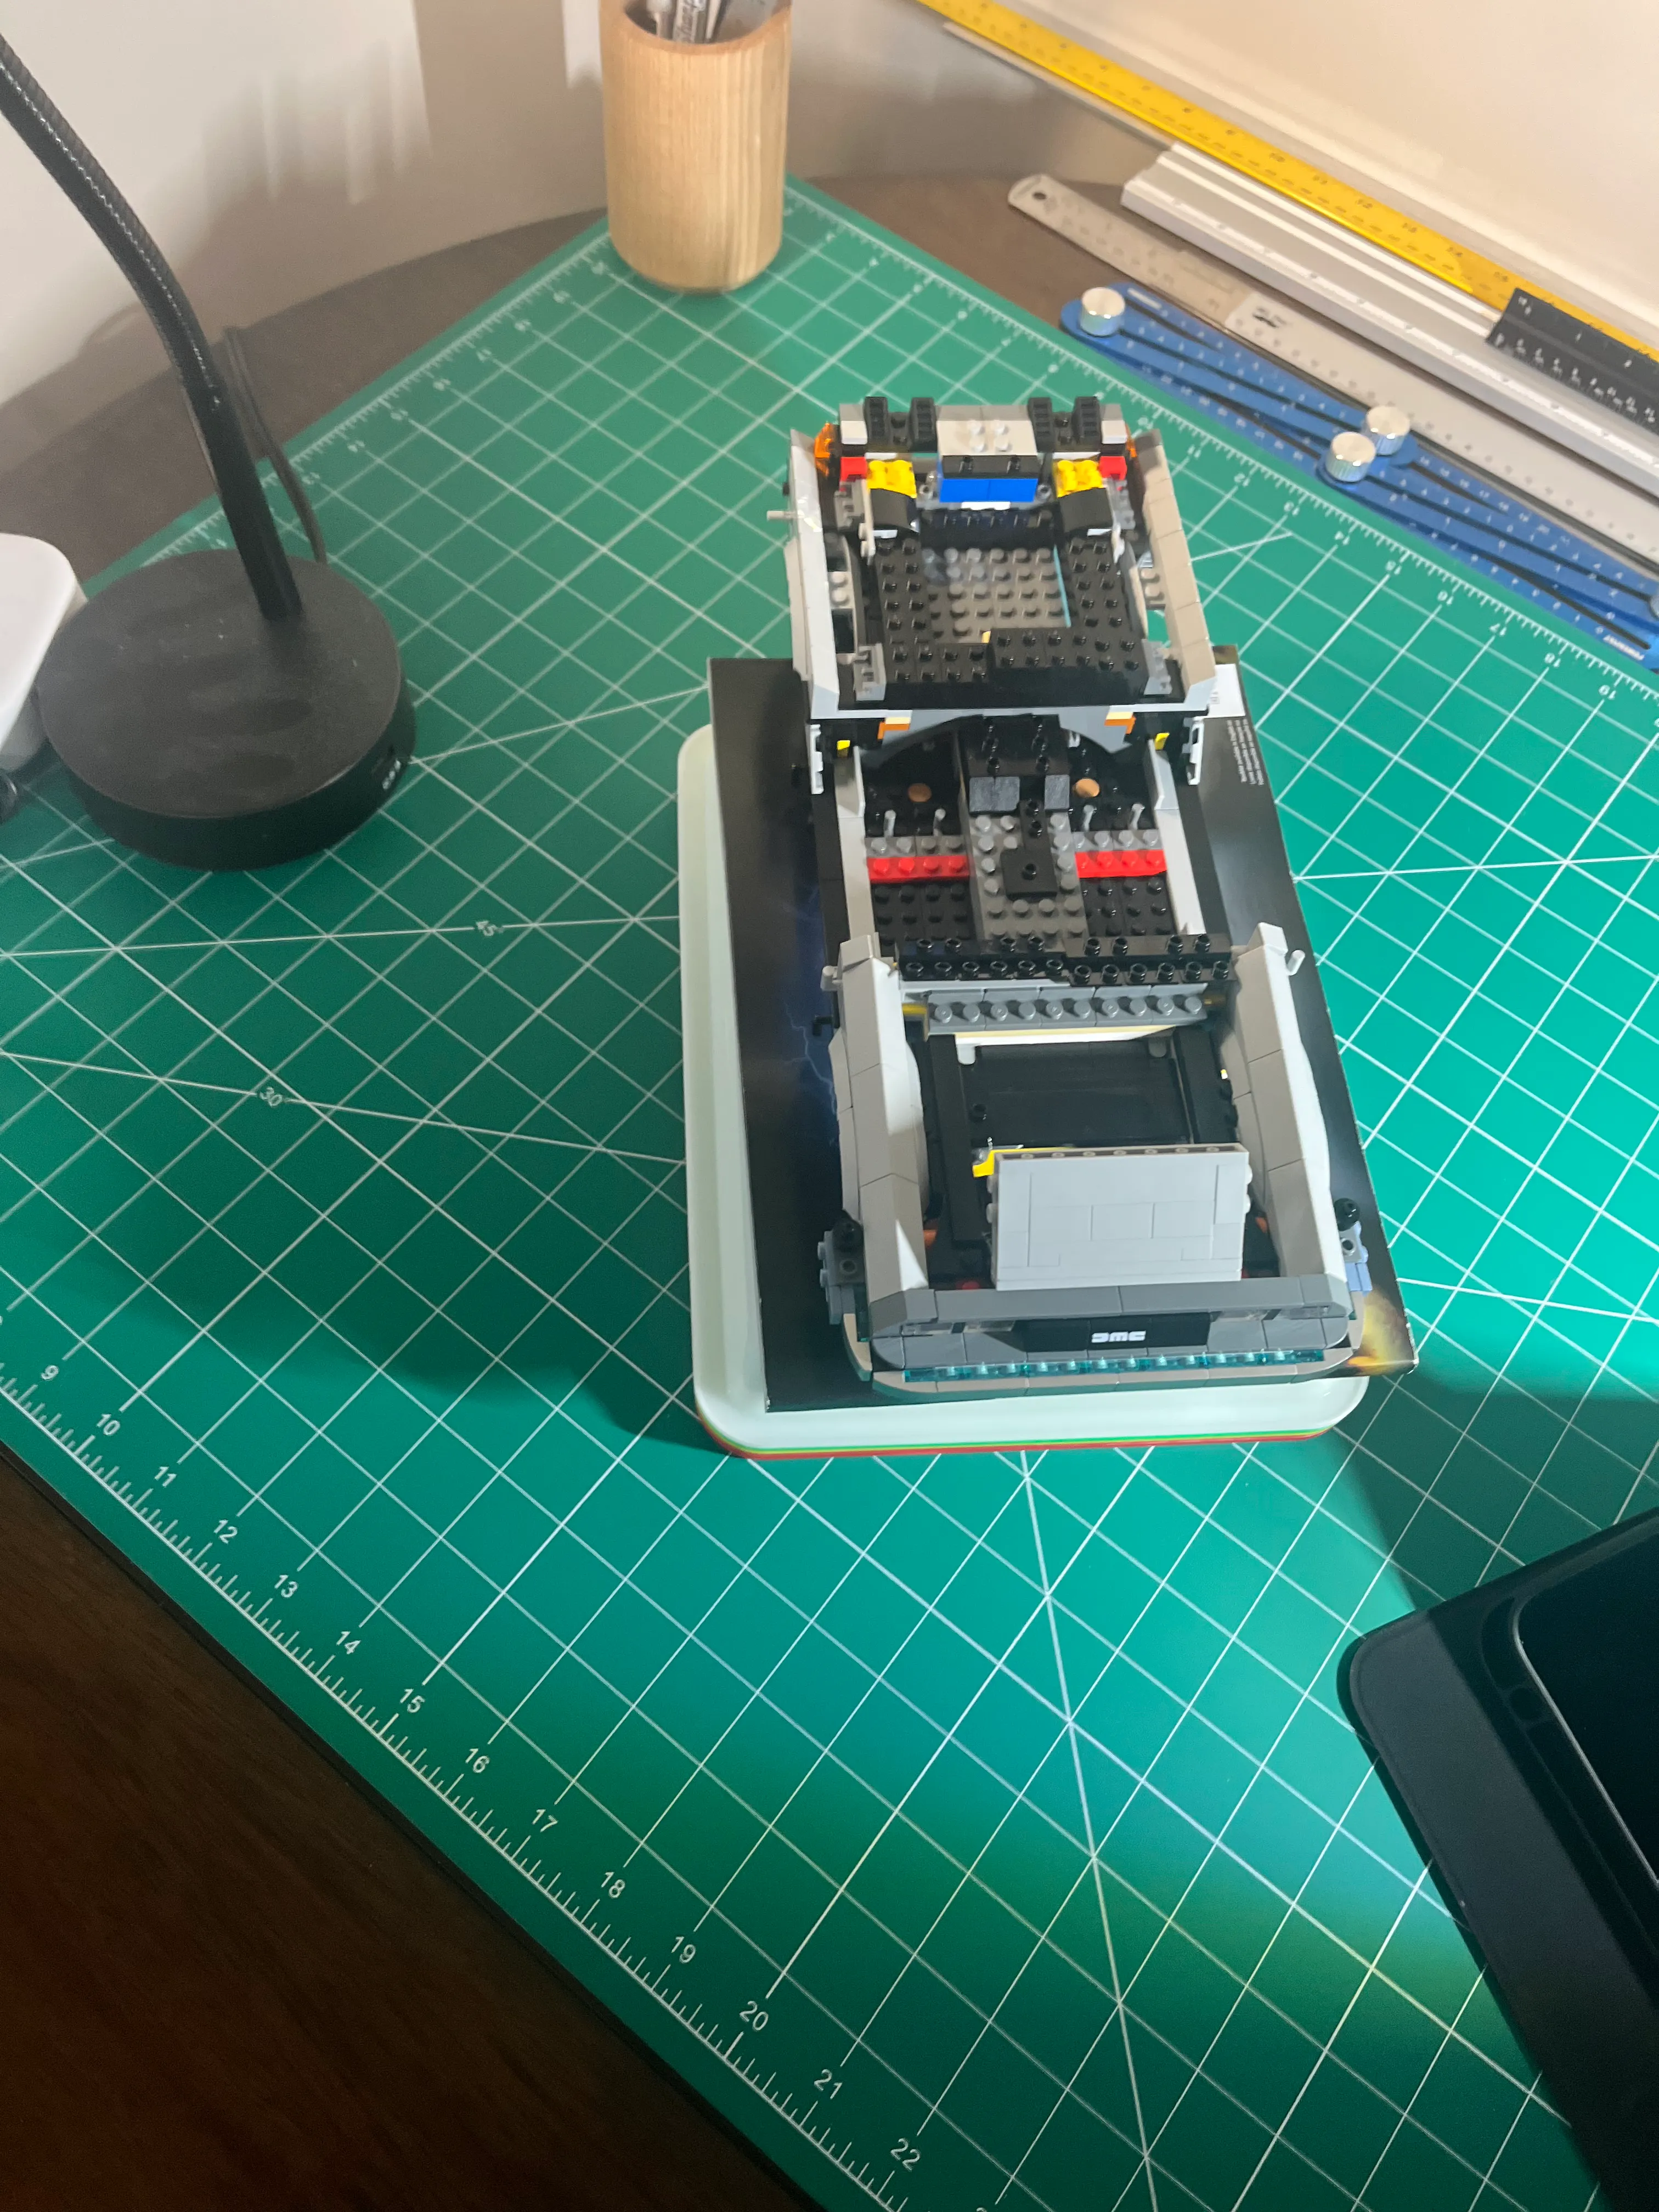
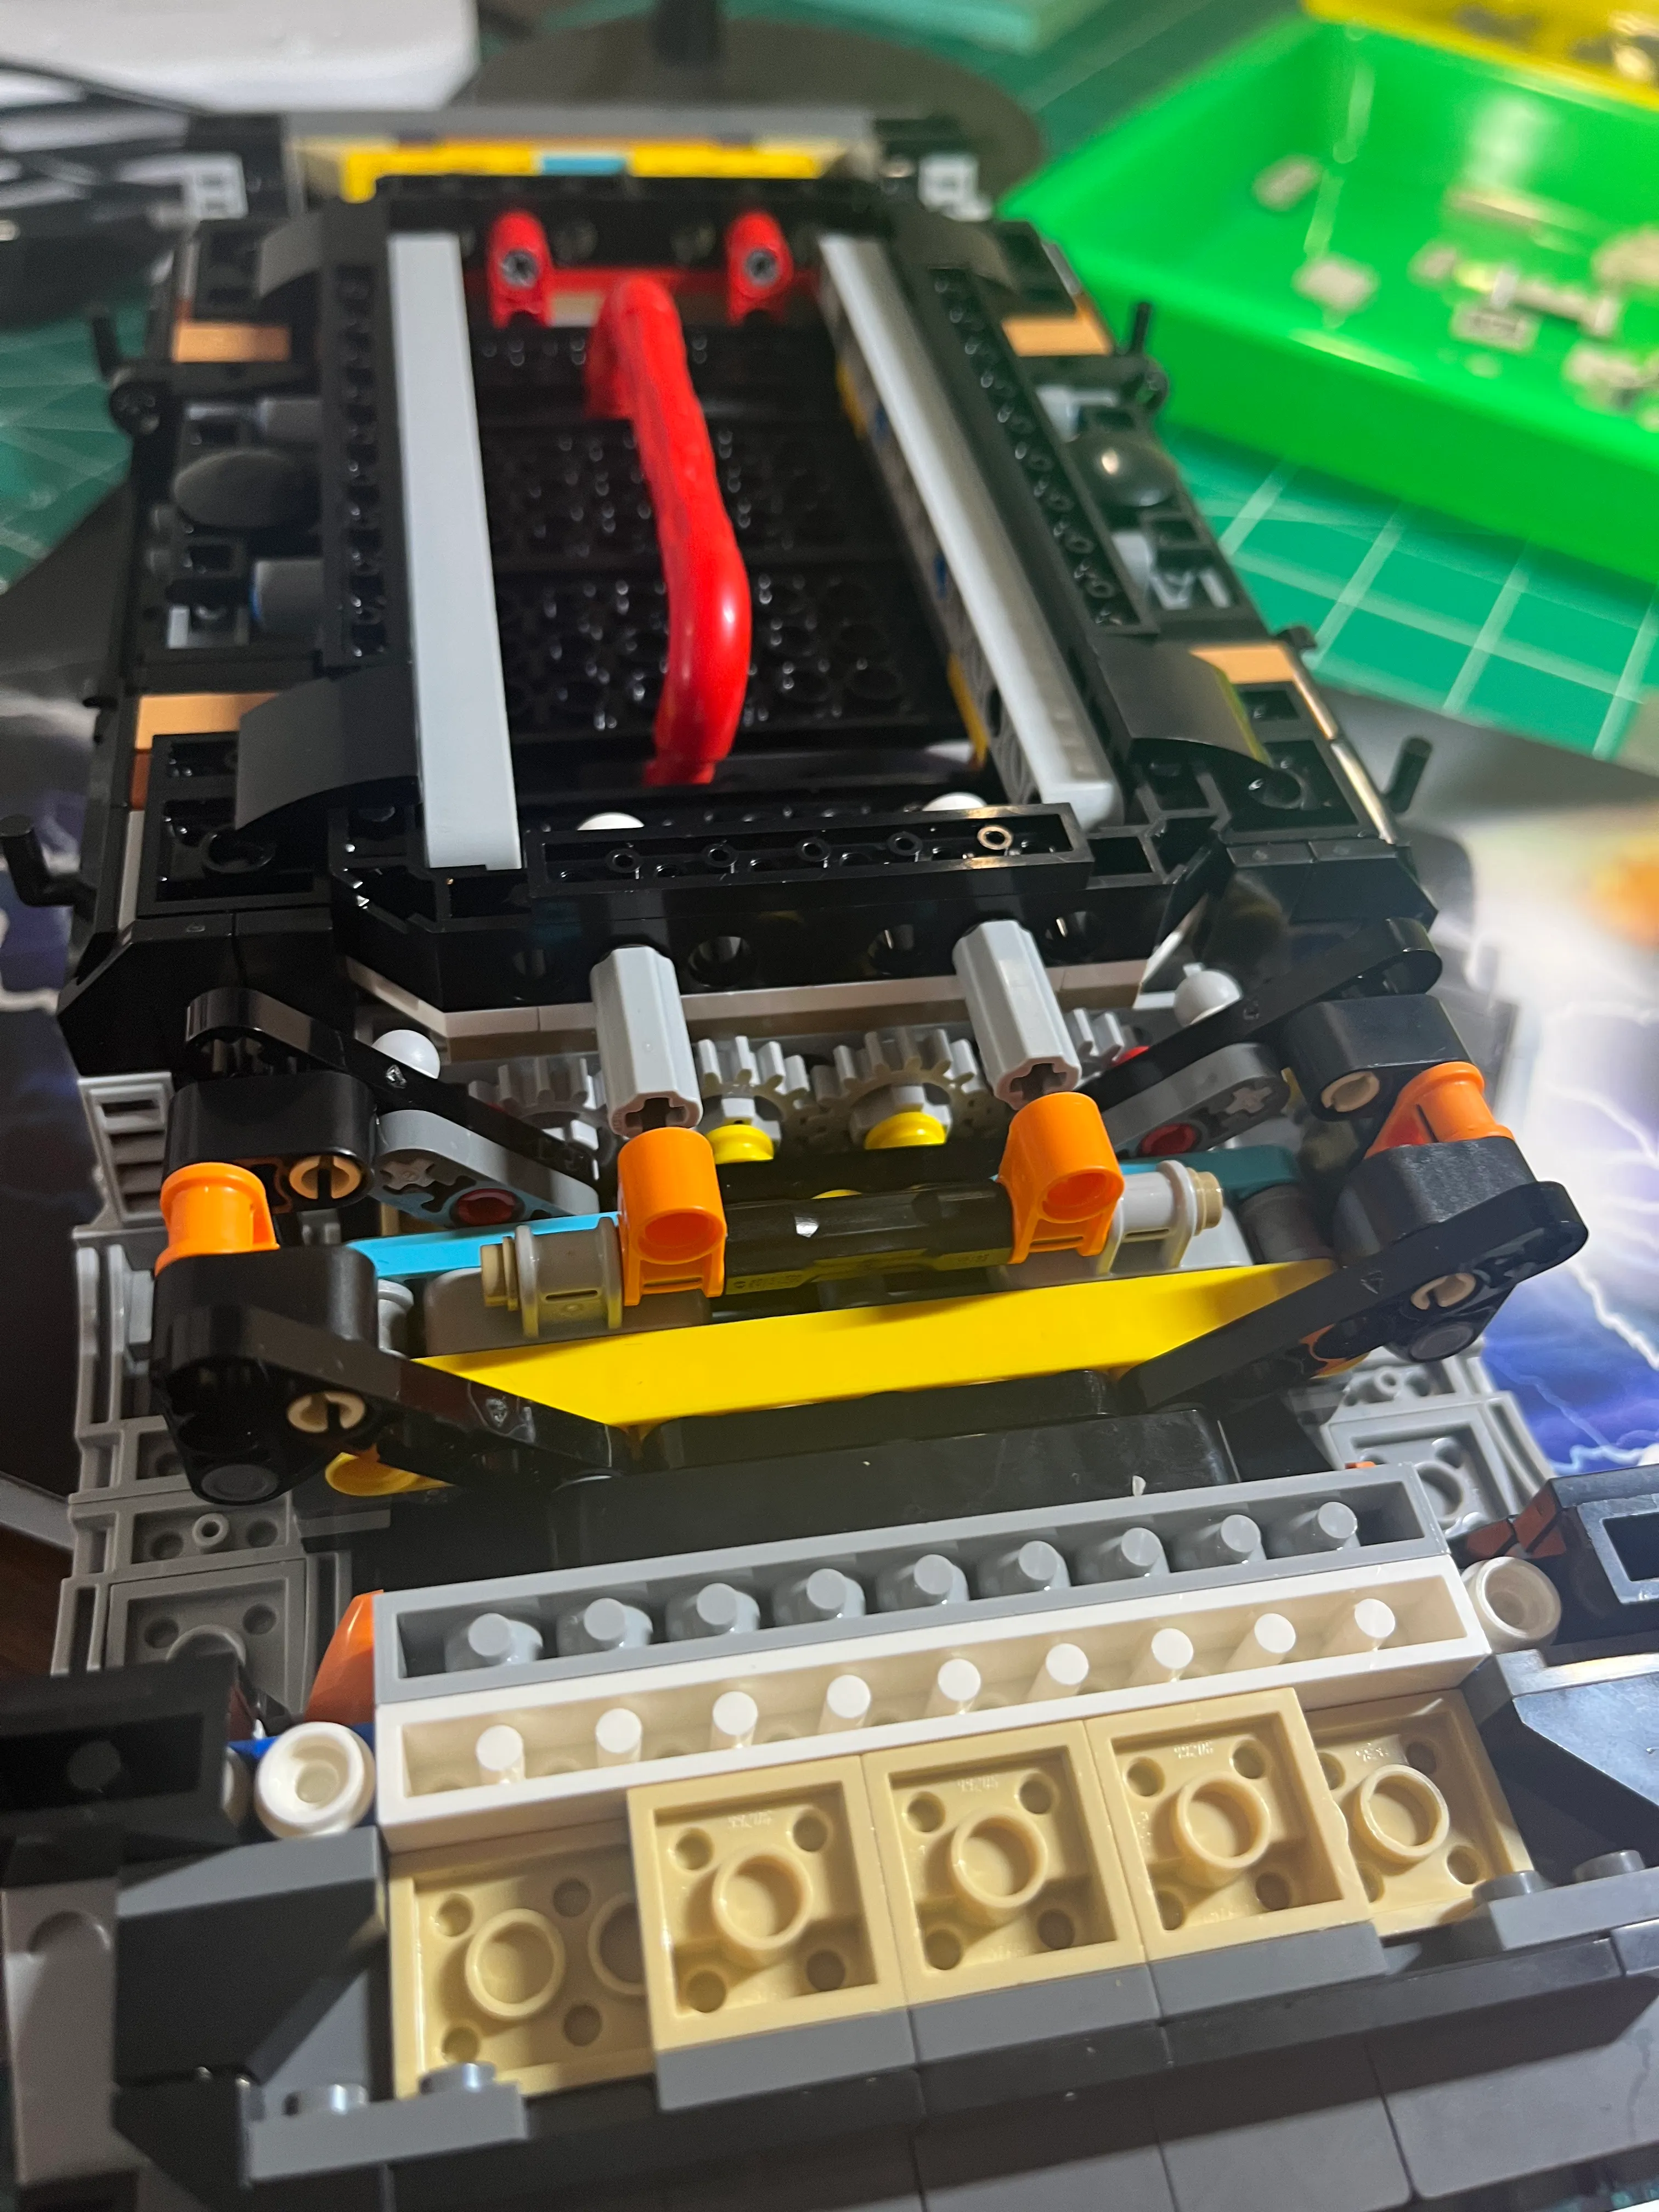
Finally, rear suspension removed. Notice the red bar is still vertical! That means the front suspension is still
binding. I decided to leave the rear suspension disassembled and start disassembling the front suspension.

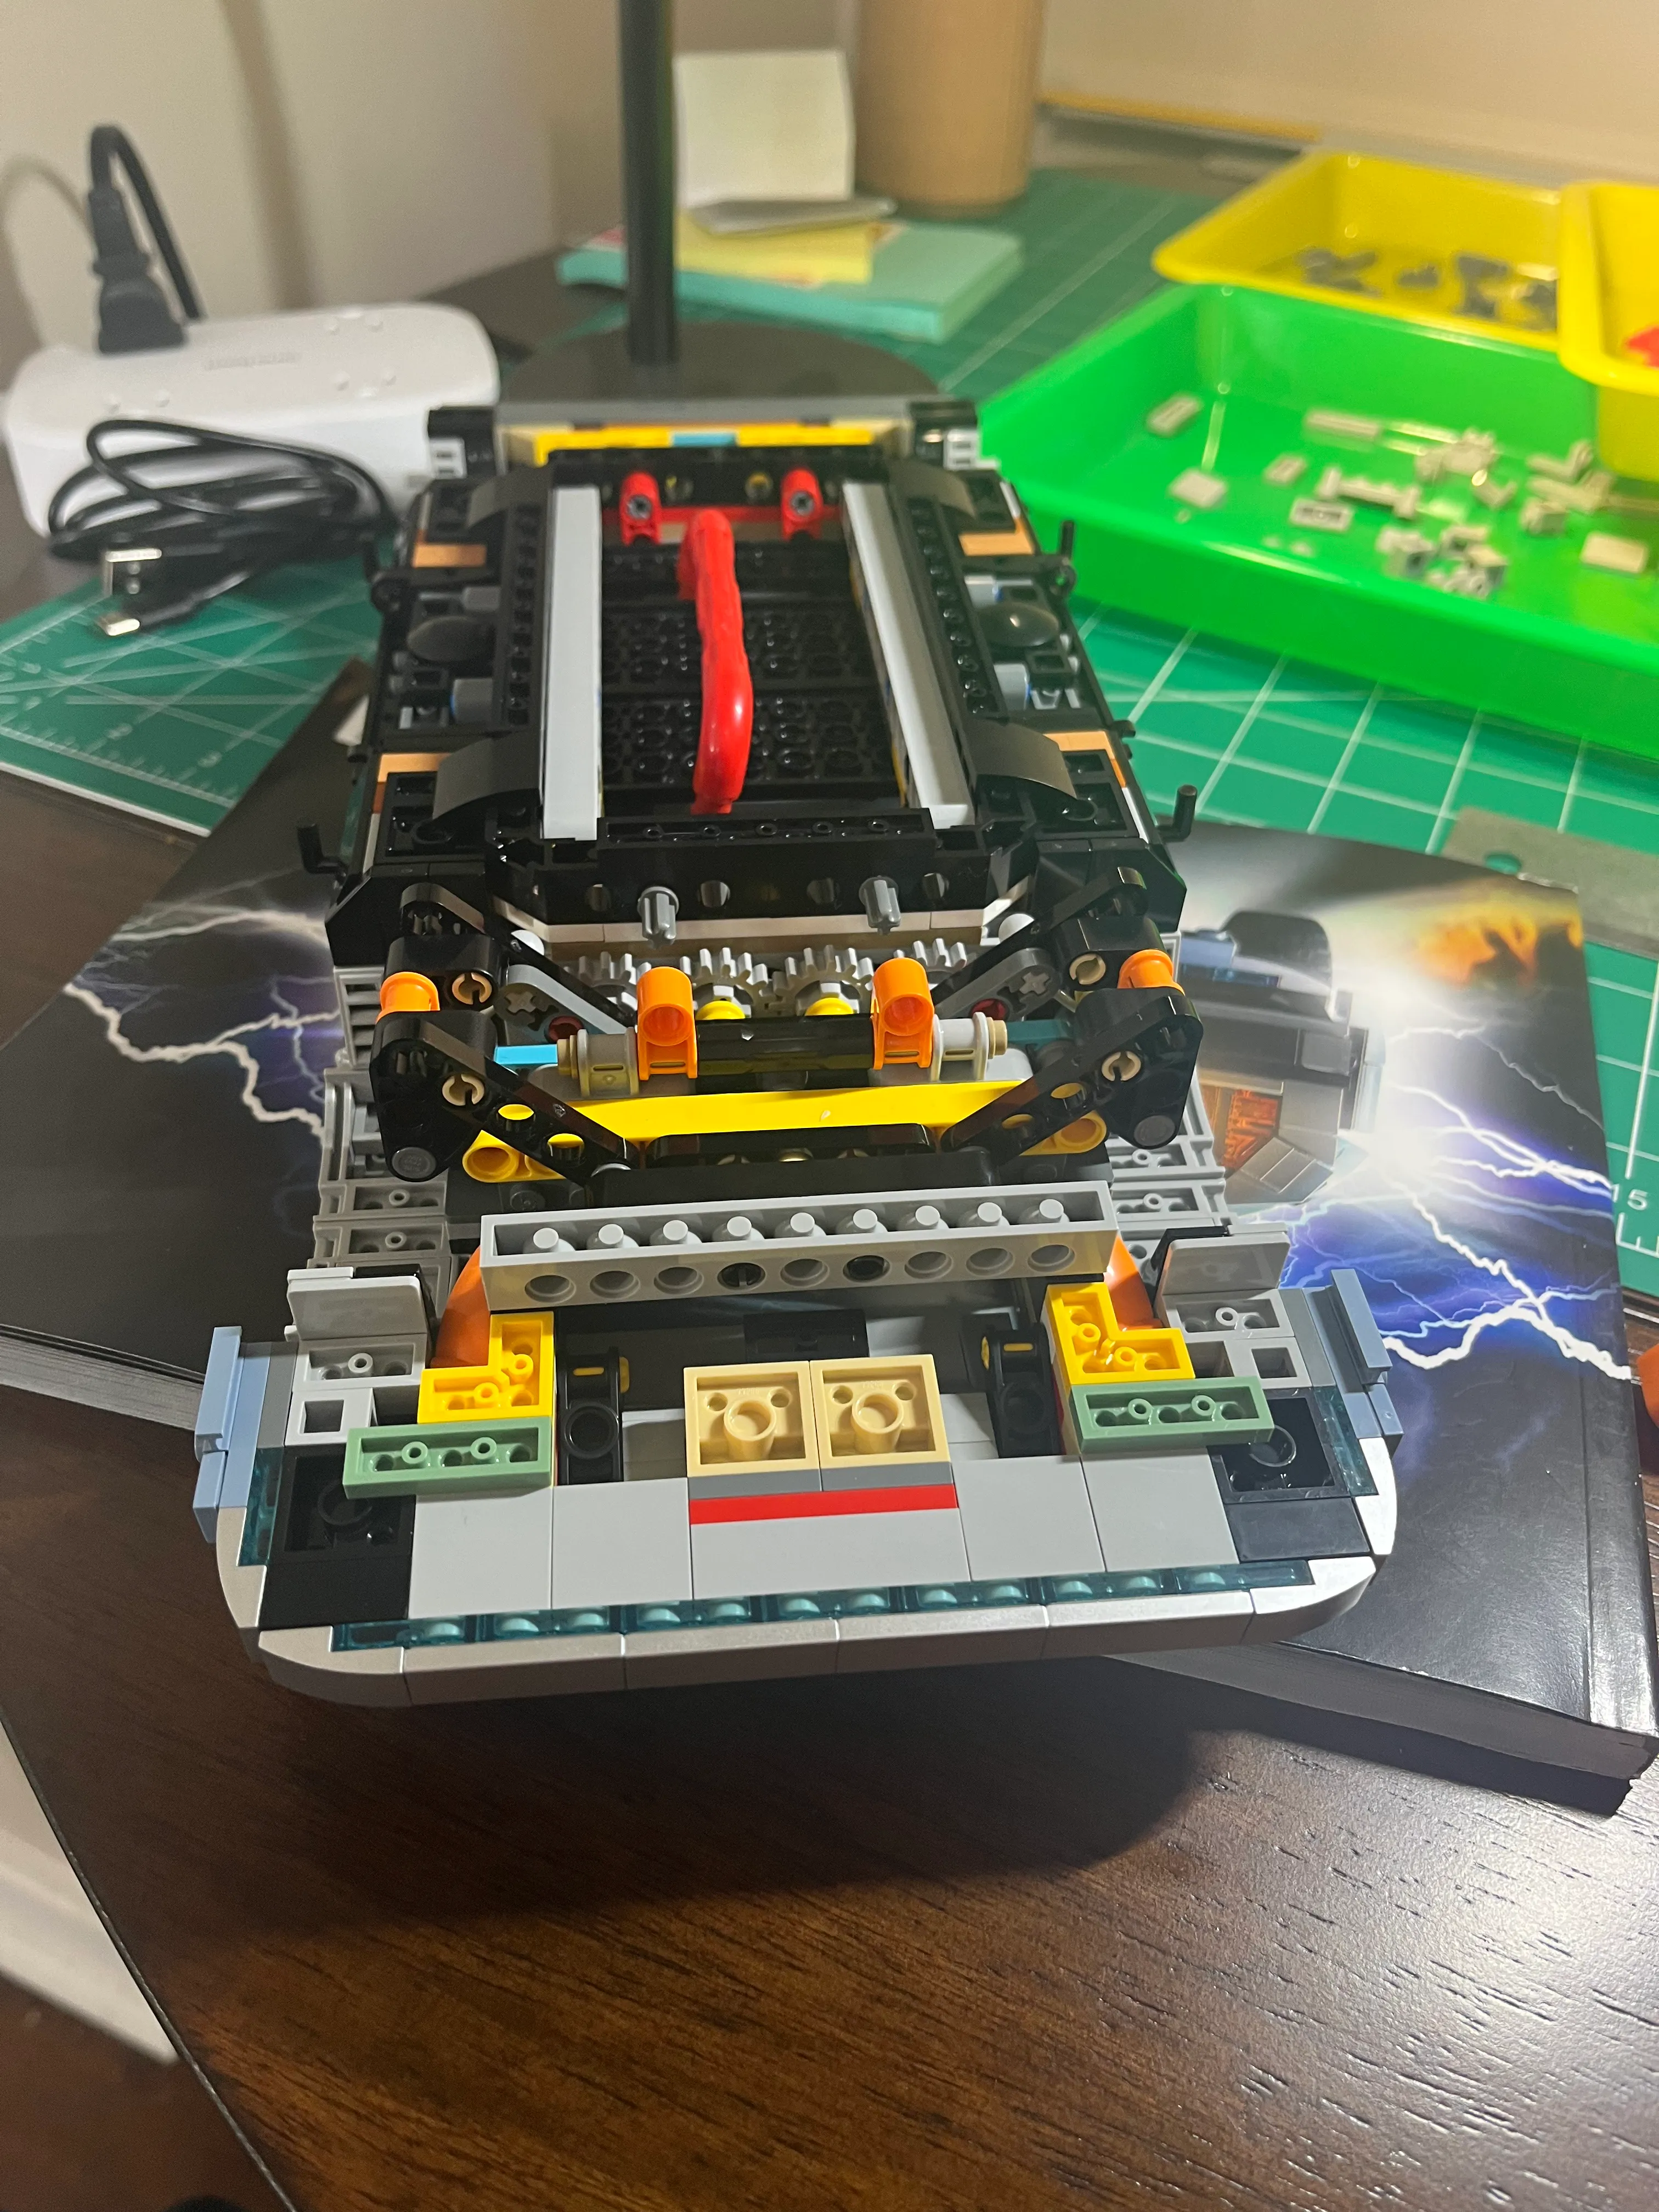
Picture of the front suspension before disassembly. Notice the white bars in the front, in the middle of the
suspension? This picture was for reference so I could see how it all fit together.
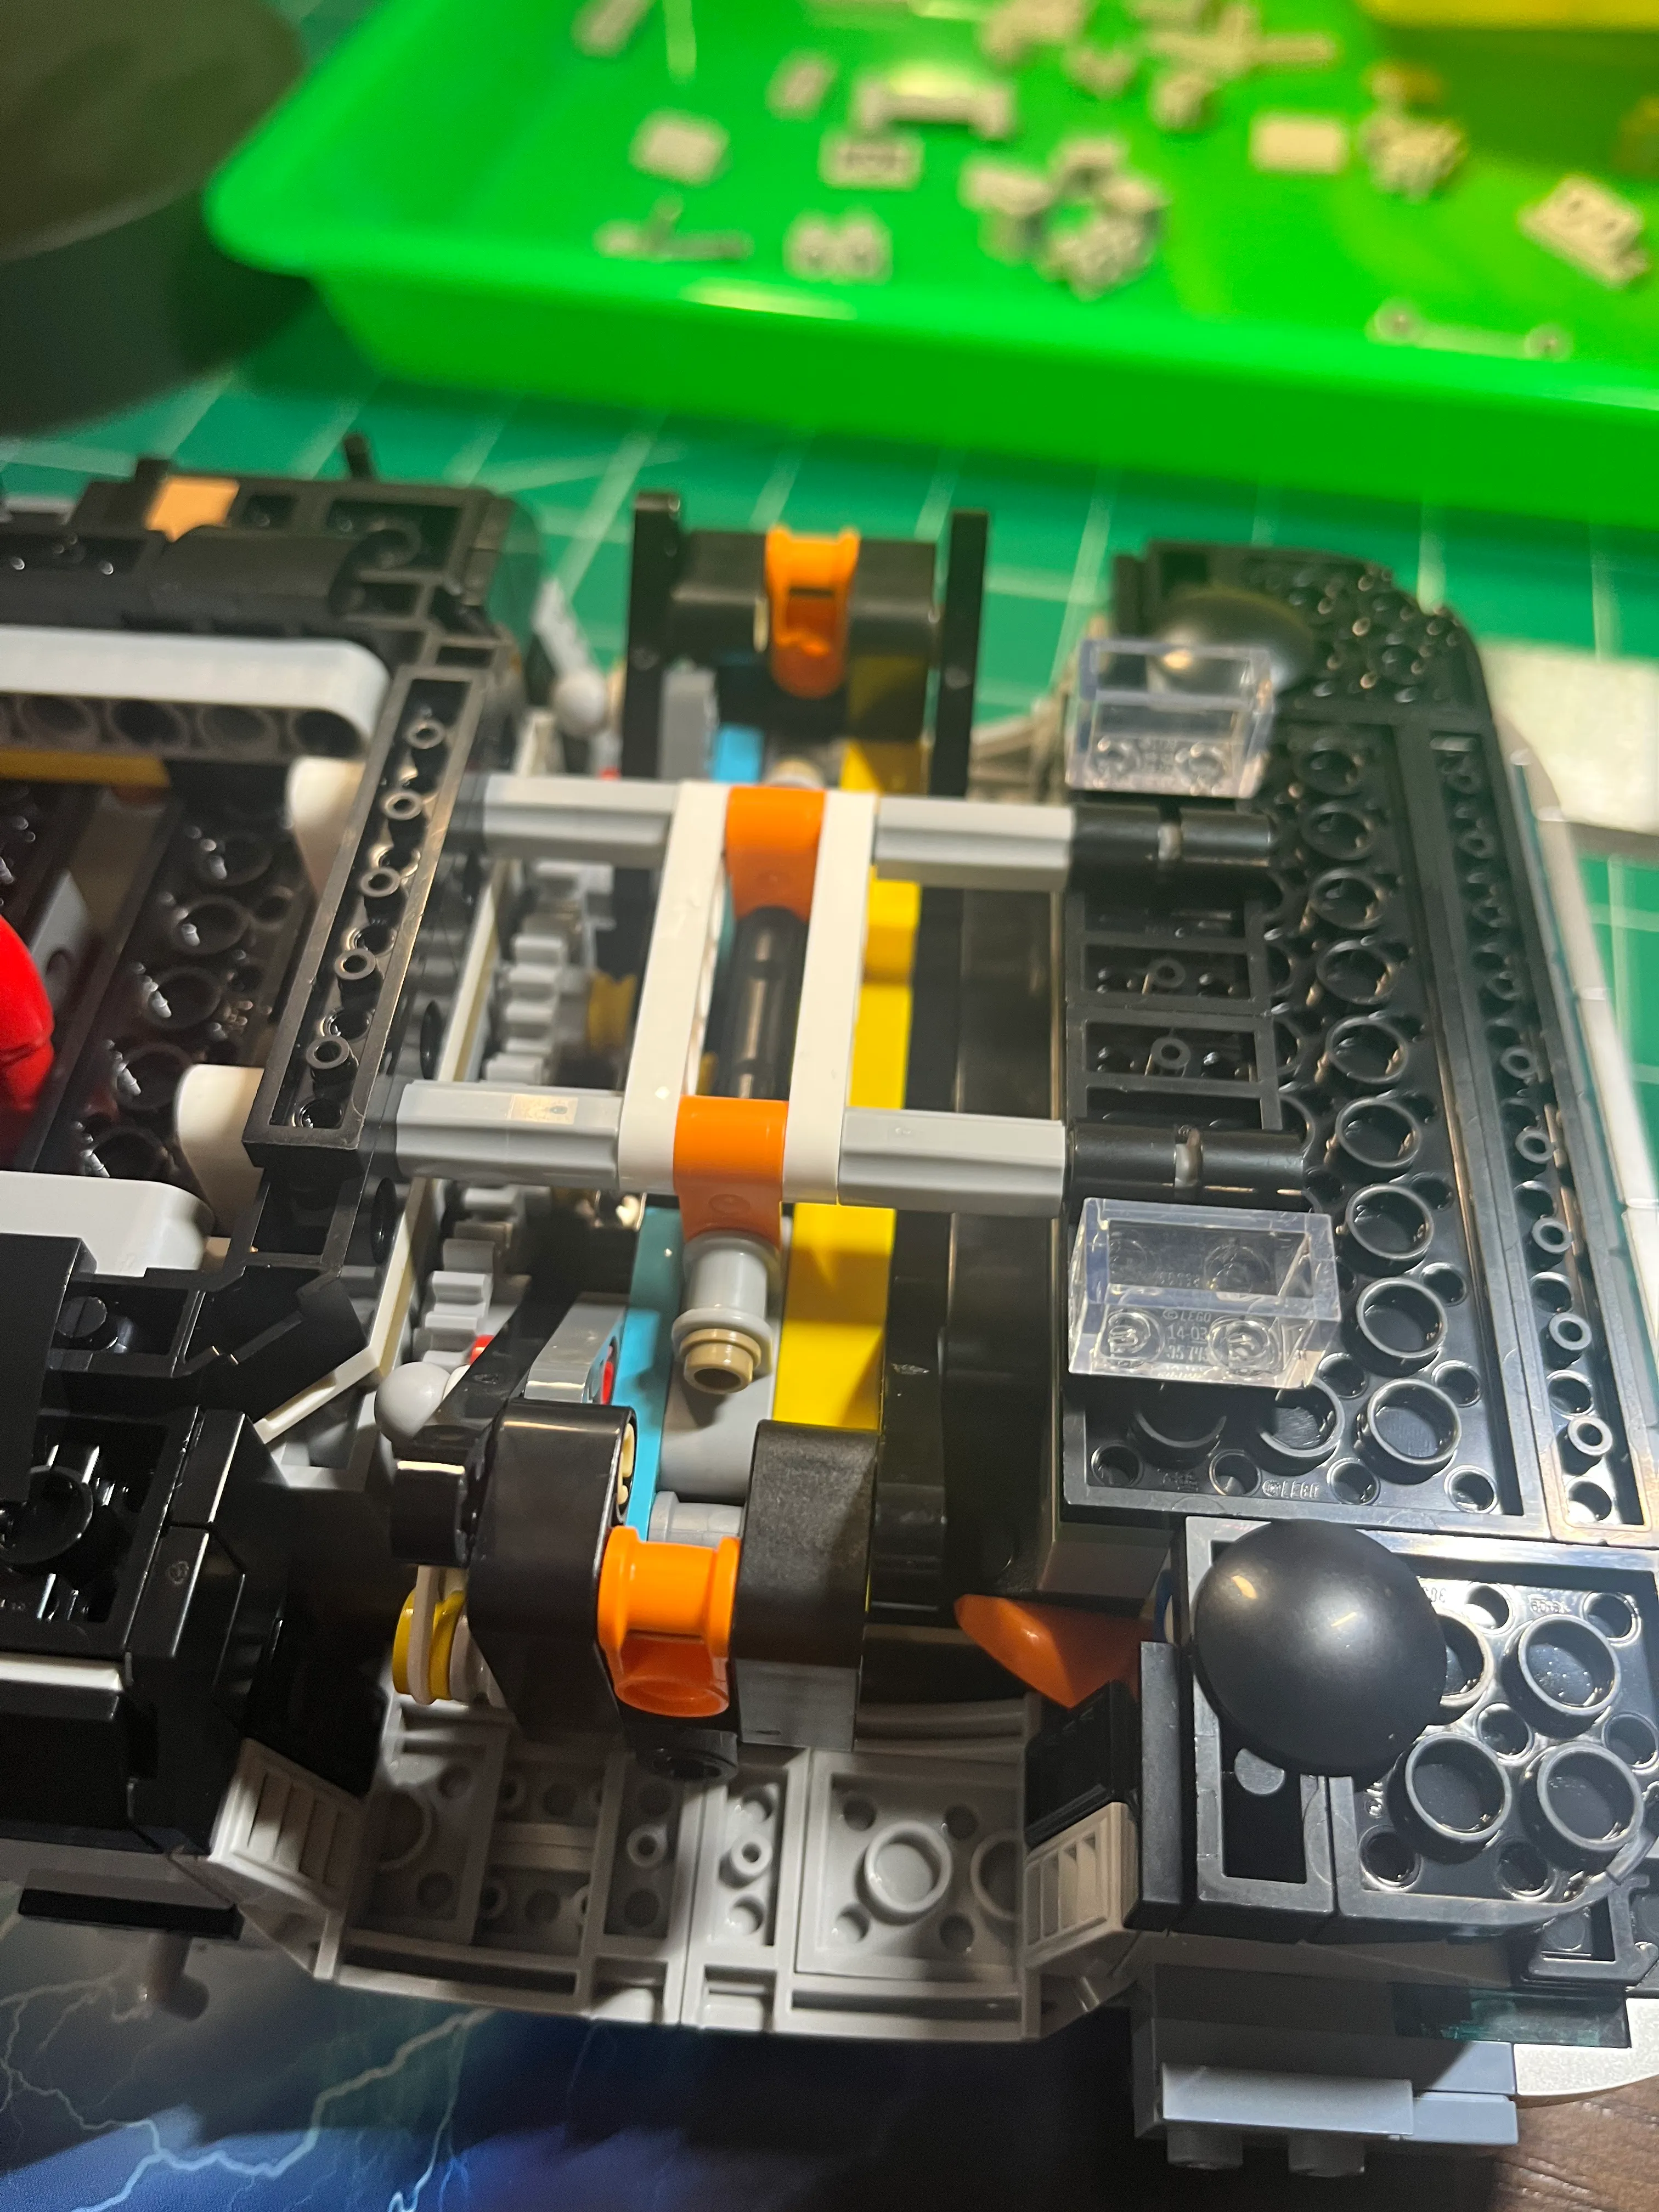
After more disassembly, we have a clear look at the front suspension and the 4 front gears.
Lots of components in the front of the vehicle were blocking access to the front suspension. Repairing the front
suspension was the harder of the two. The front of the vehicle isn’t as rigid as the rear, so applying a little too
much force caused problems during reassembly.

More disassembly. Whenever I hear the word disassemble, it reminds me of the movie “Short Circuit”.
No Disassemble!
Now I think I finally have access to remove the front suspension. Yikes!
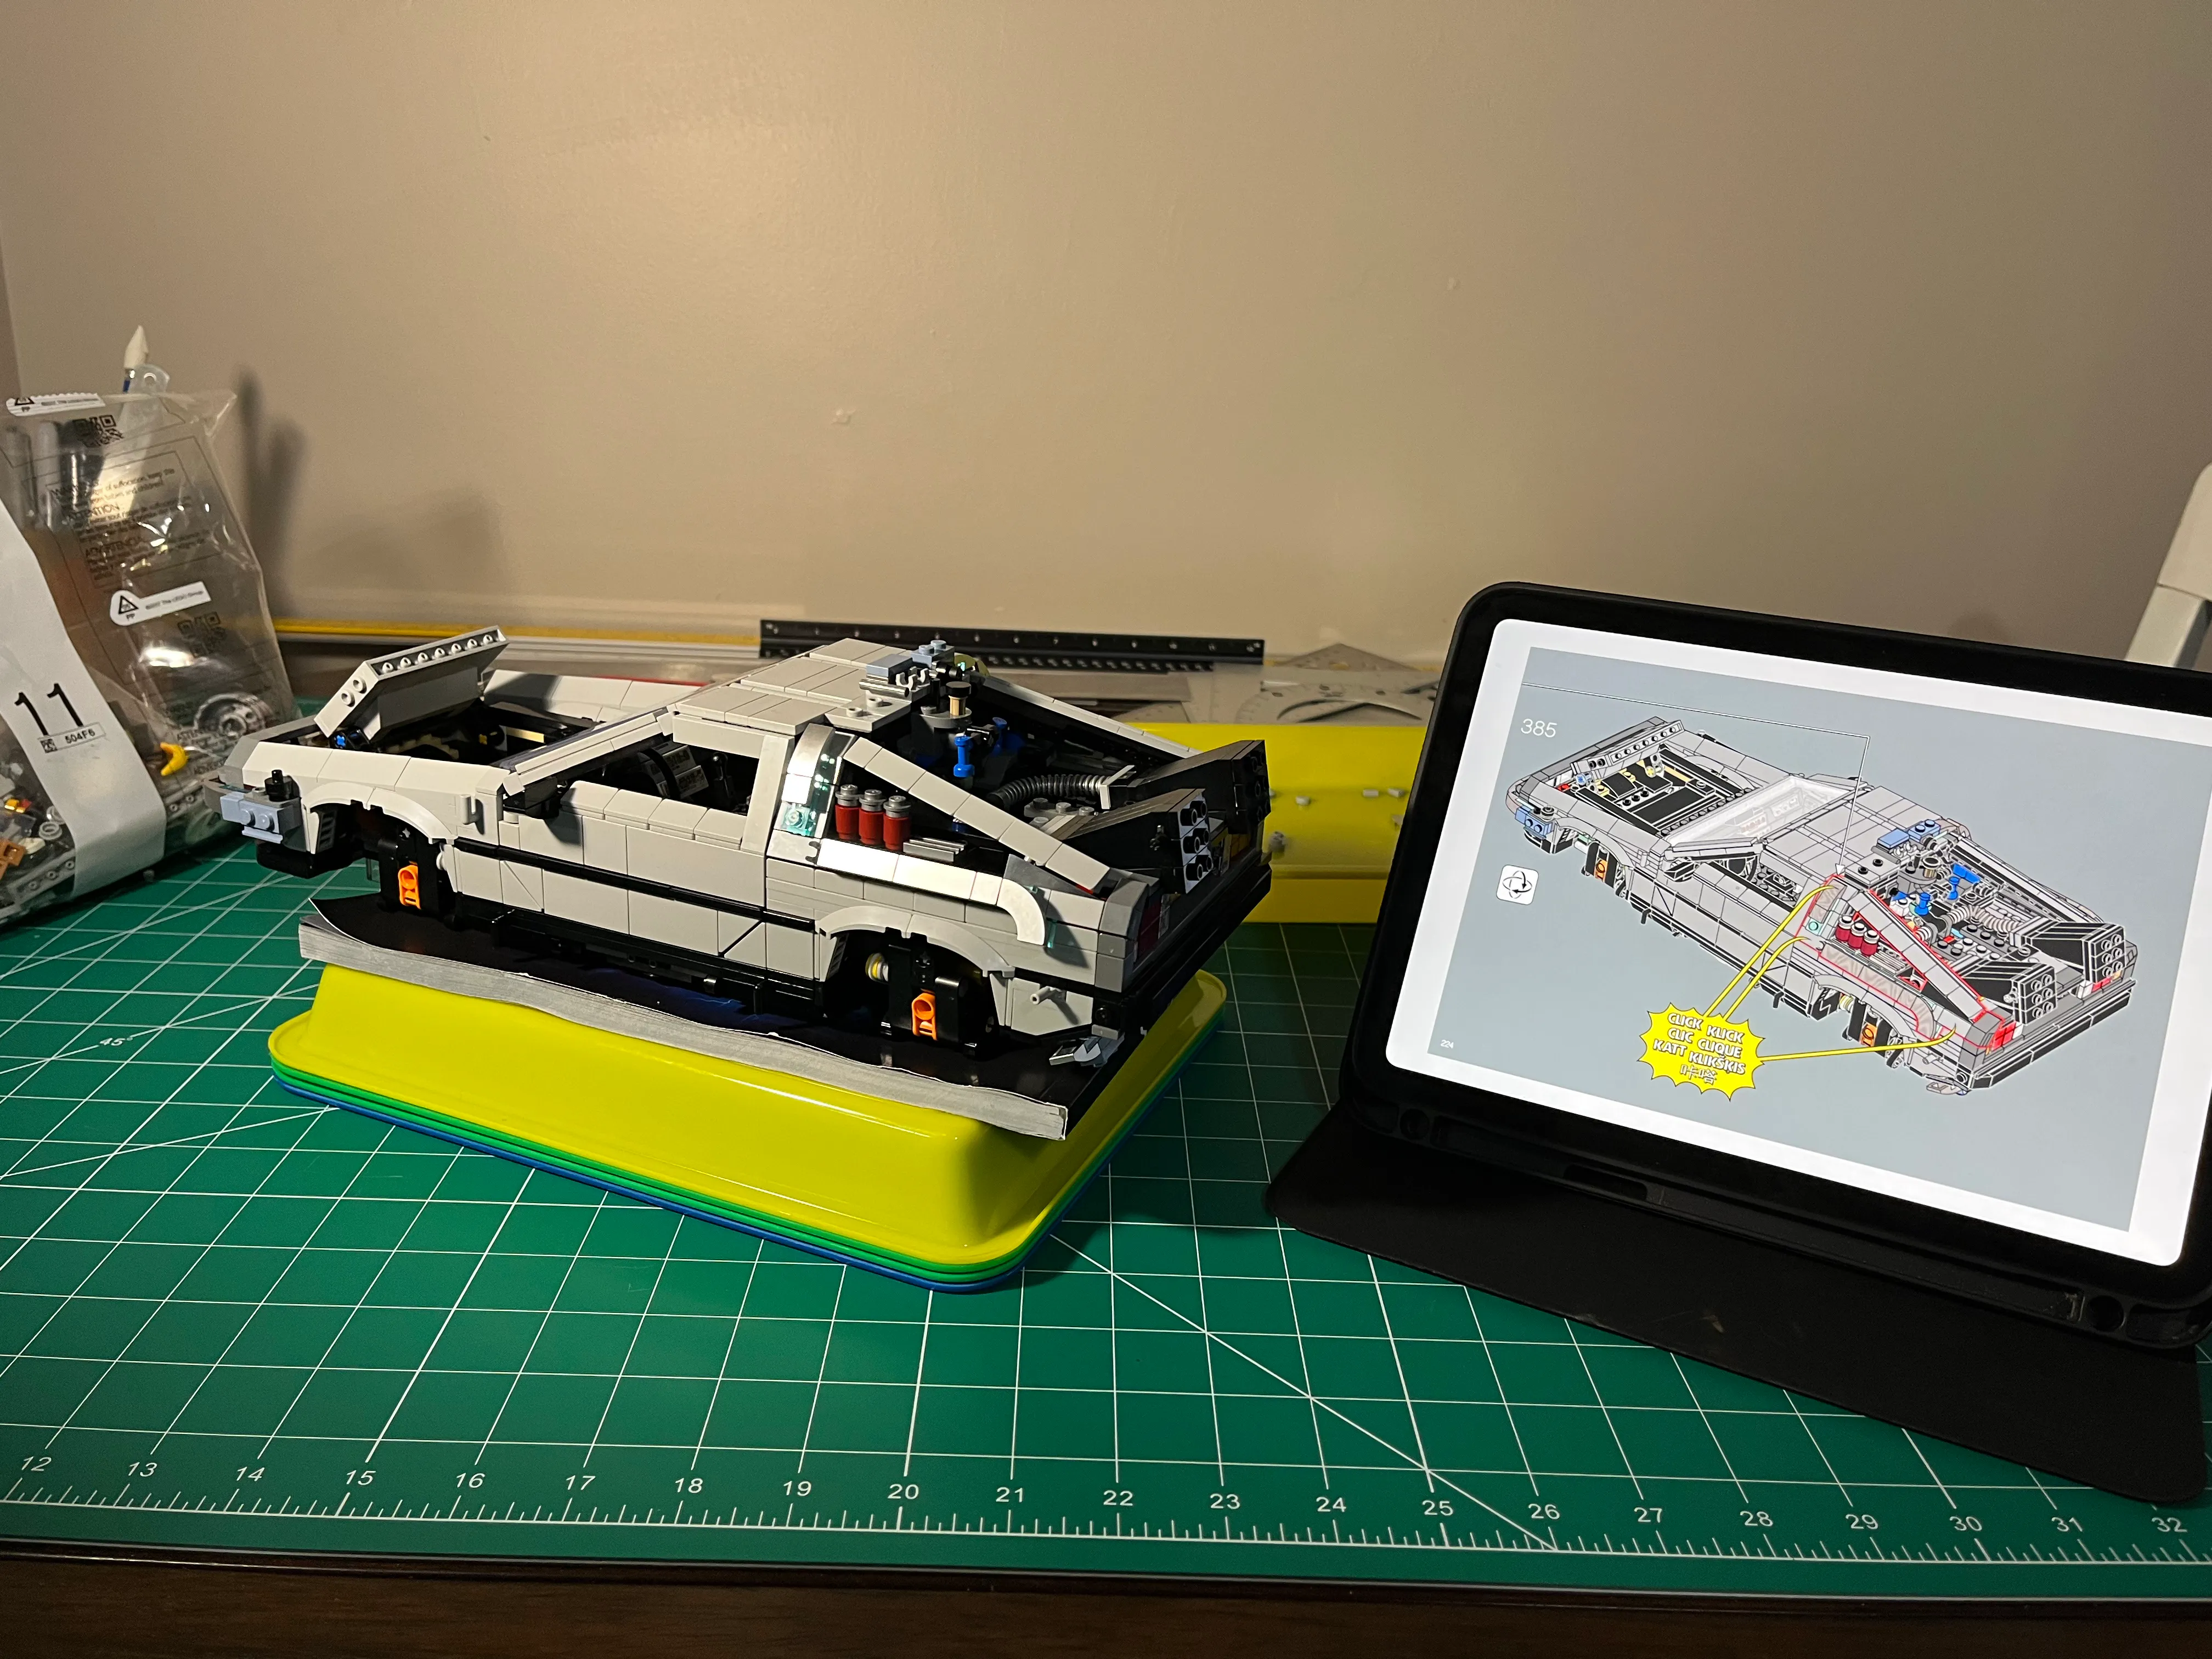
Suspension Fixed
After several hours of surgery, the suspension was finally working again. I made sure to follow the instructions from bag #3 closely and make sure the suspension fully articulated before moving on.
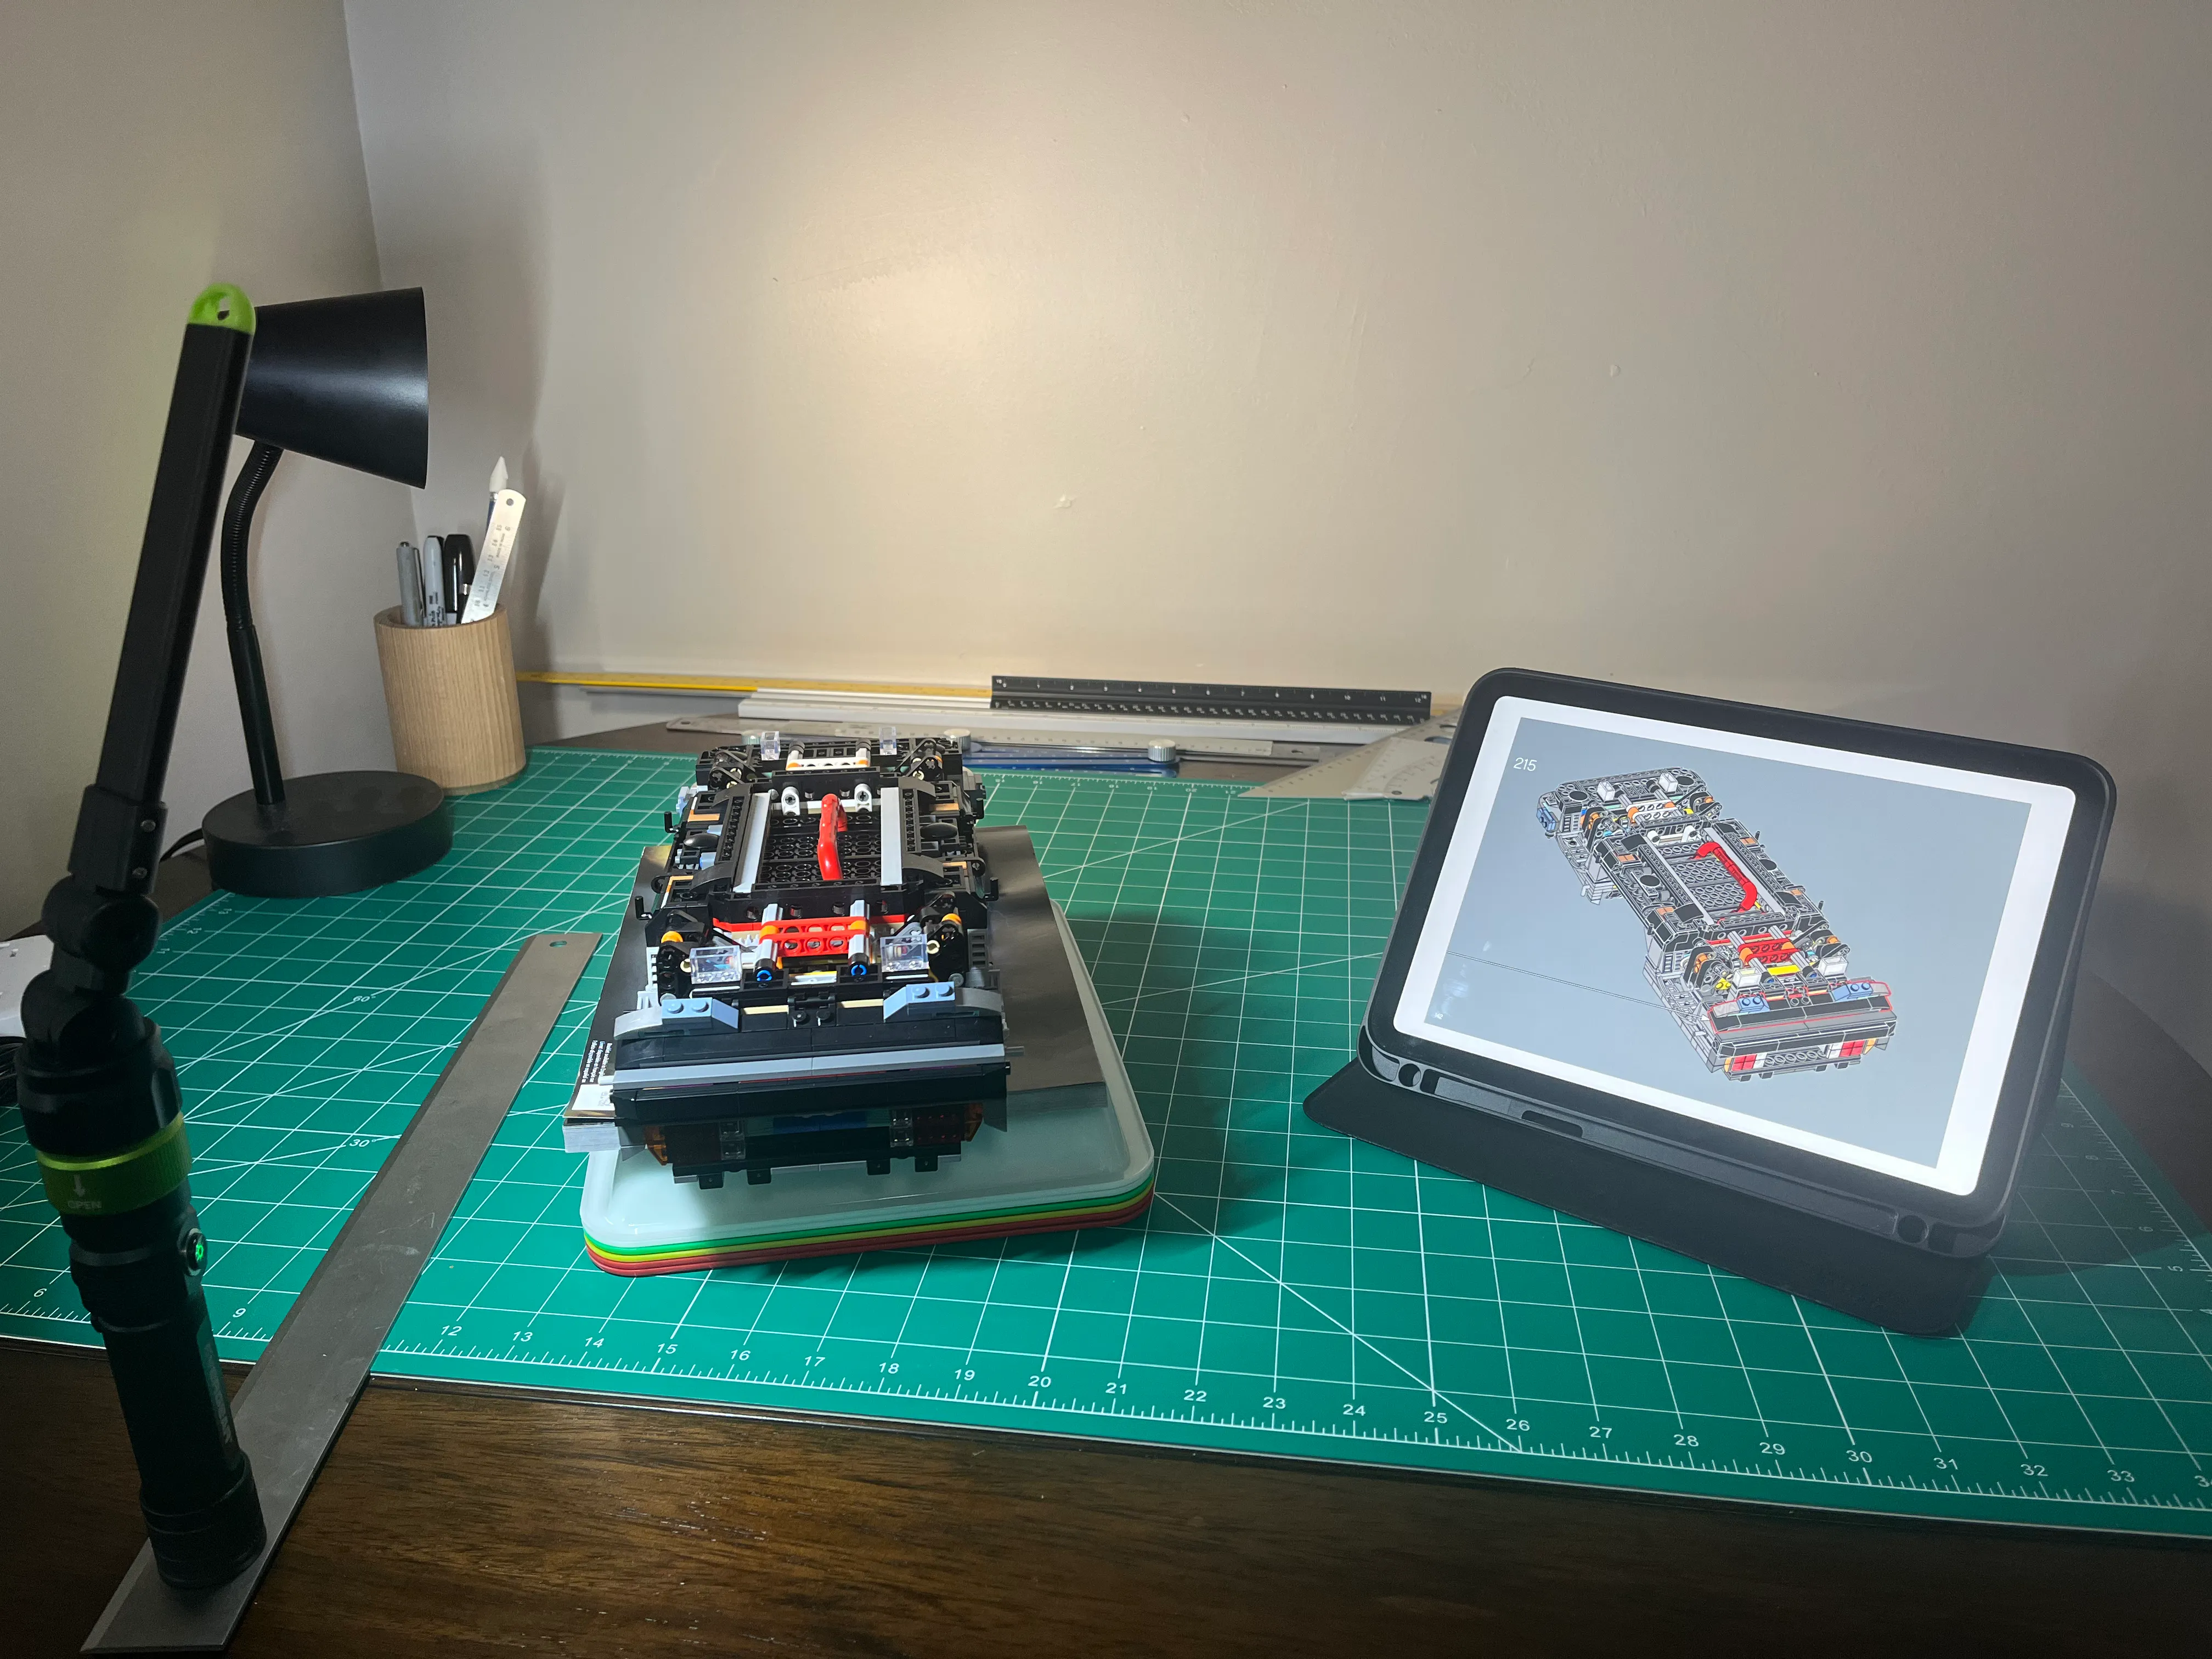
Here’s the suspension after the repairs, with the wheels in the driving position.
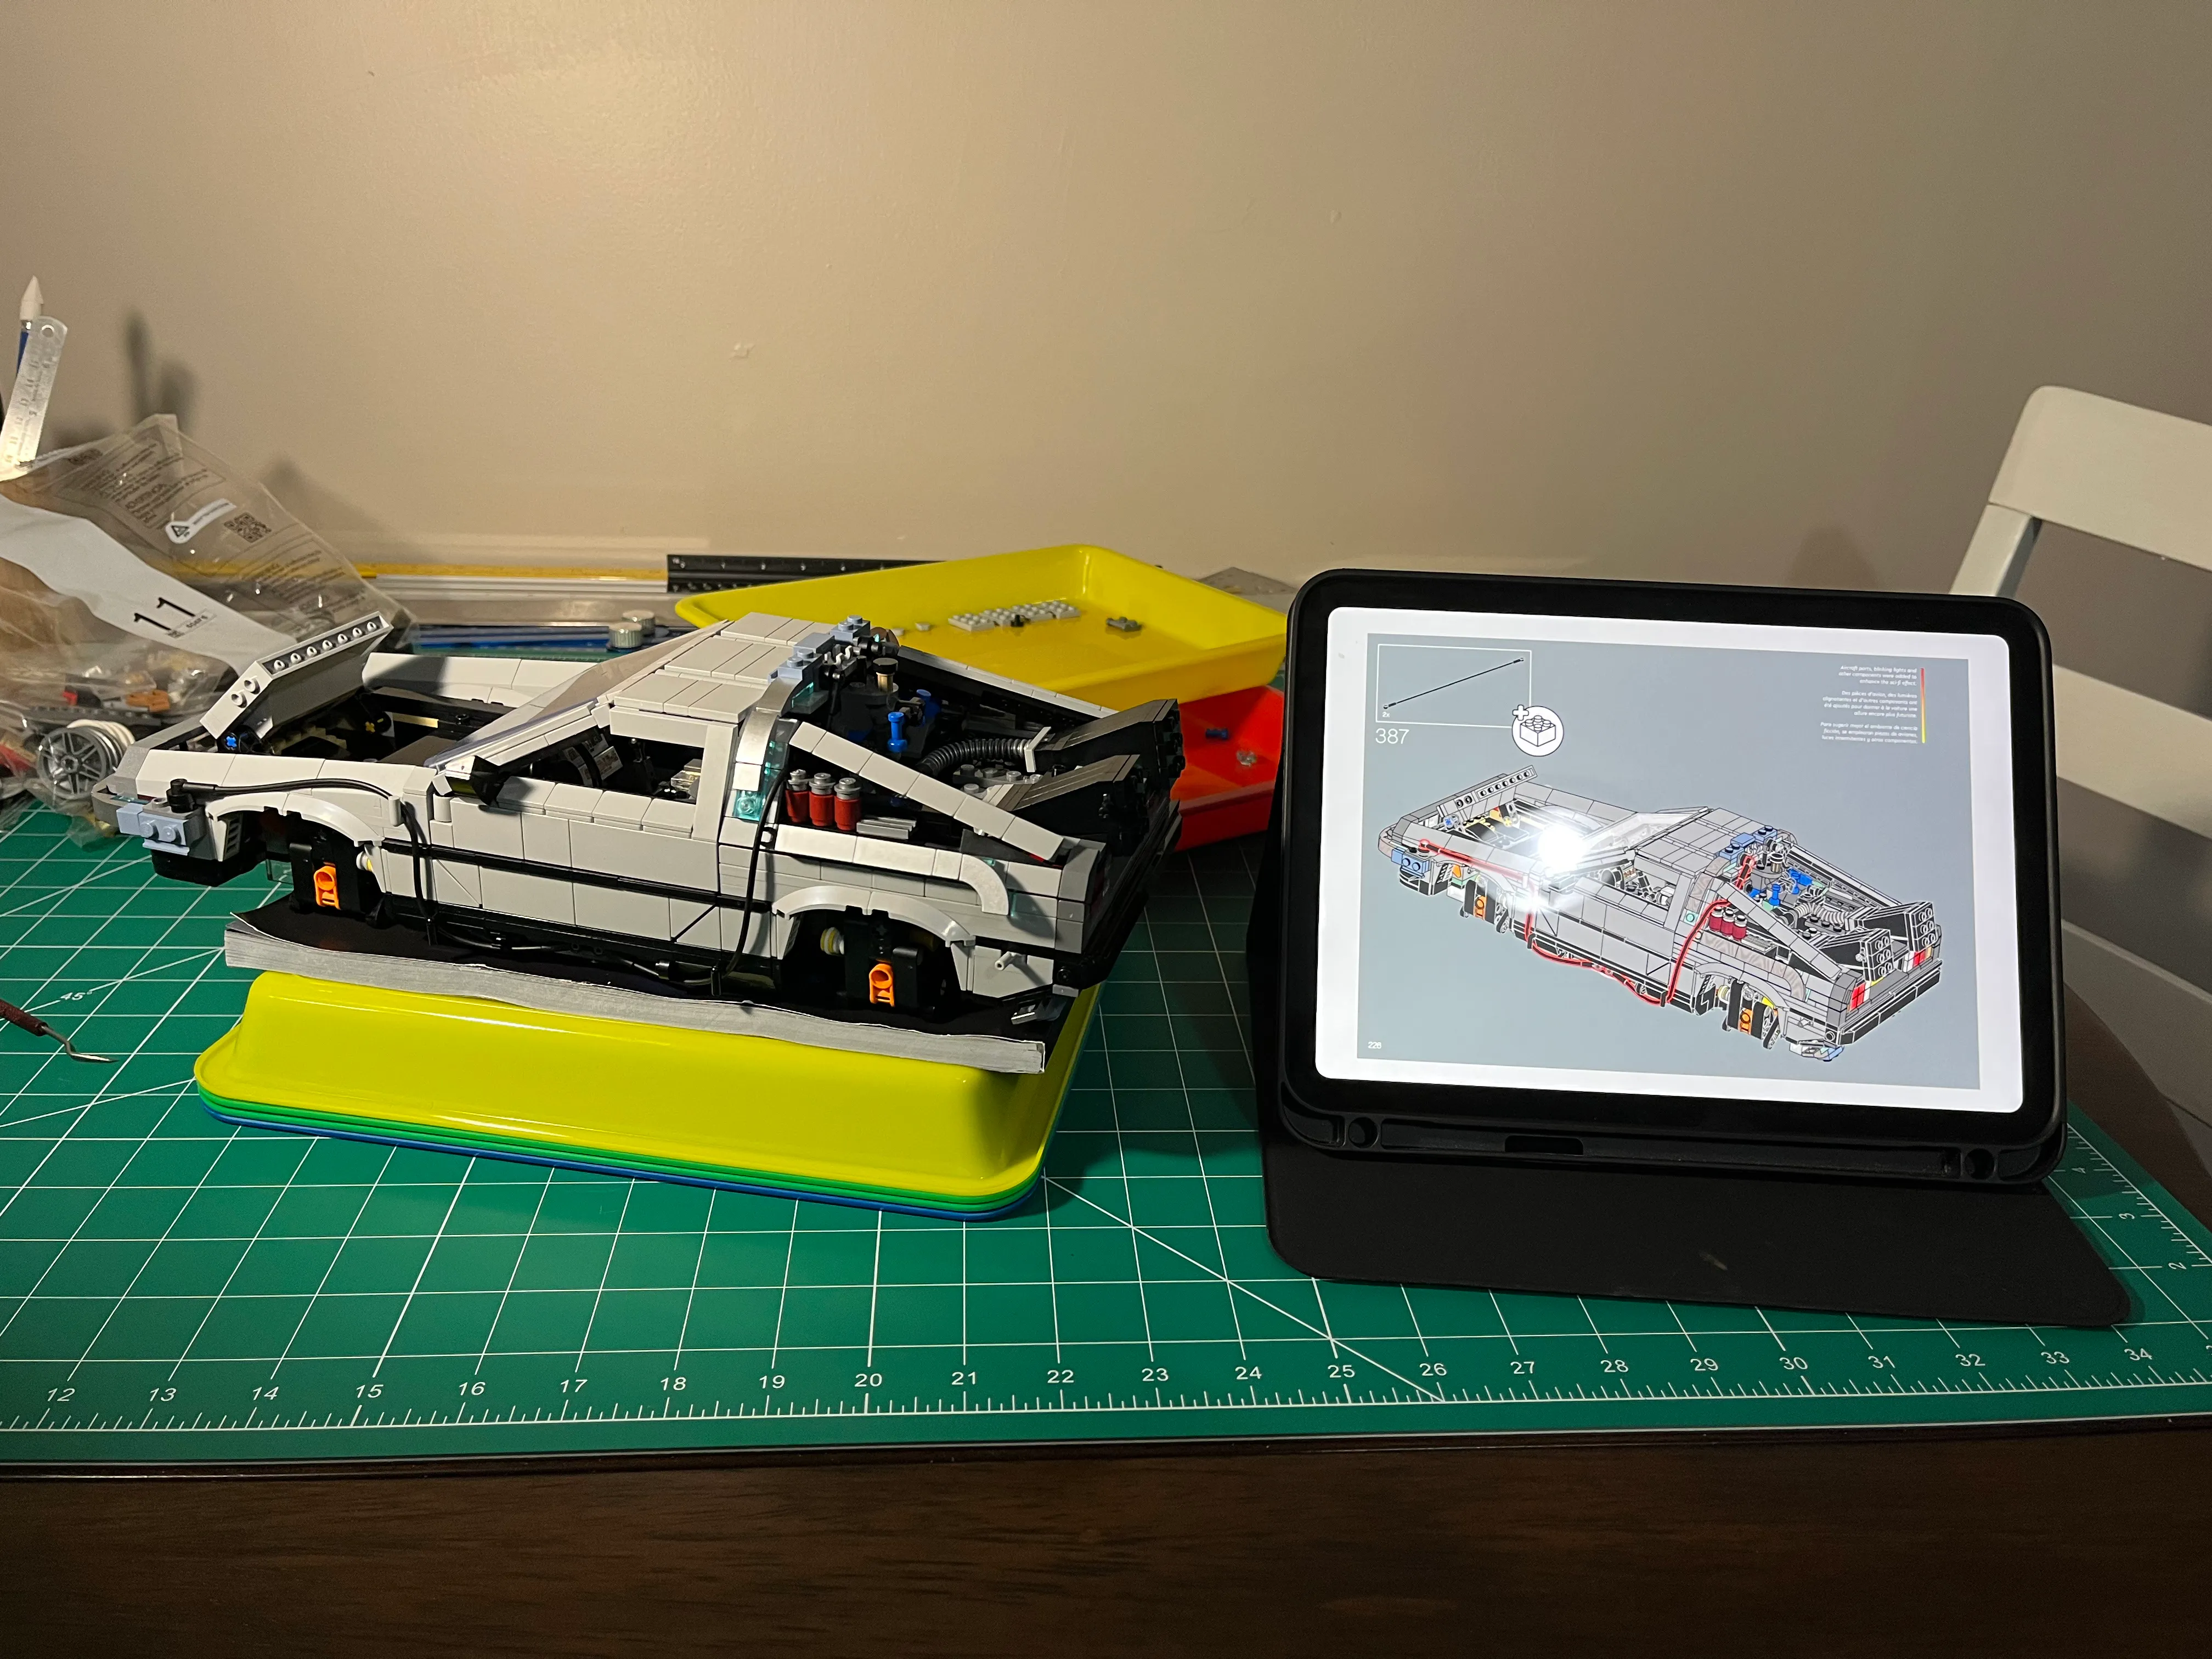
And here’s the suspension with the wheels in the flying position, locked into place underneath the vehicle! Nice the
travel of the red bar from the driving mode to the flying mode? And it also “snaps” into place. That’s what the action
is supposed to look like.
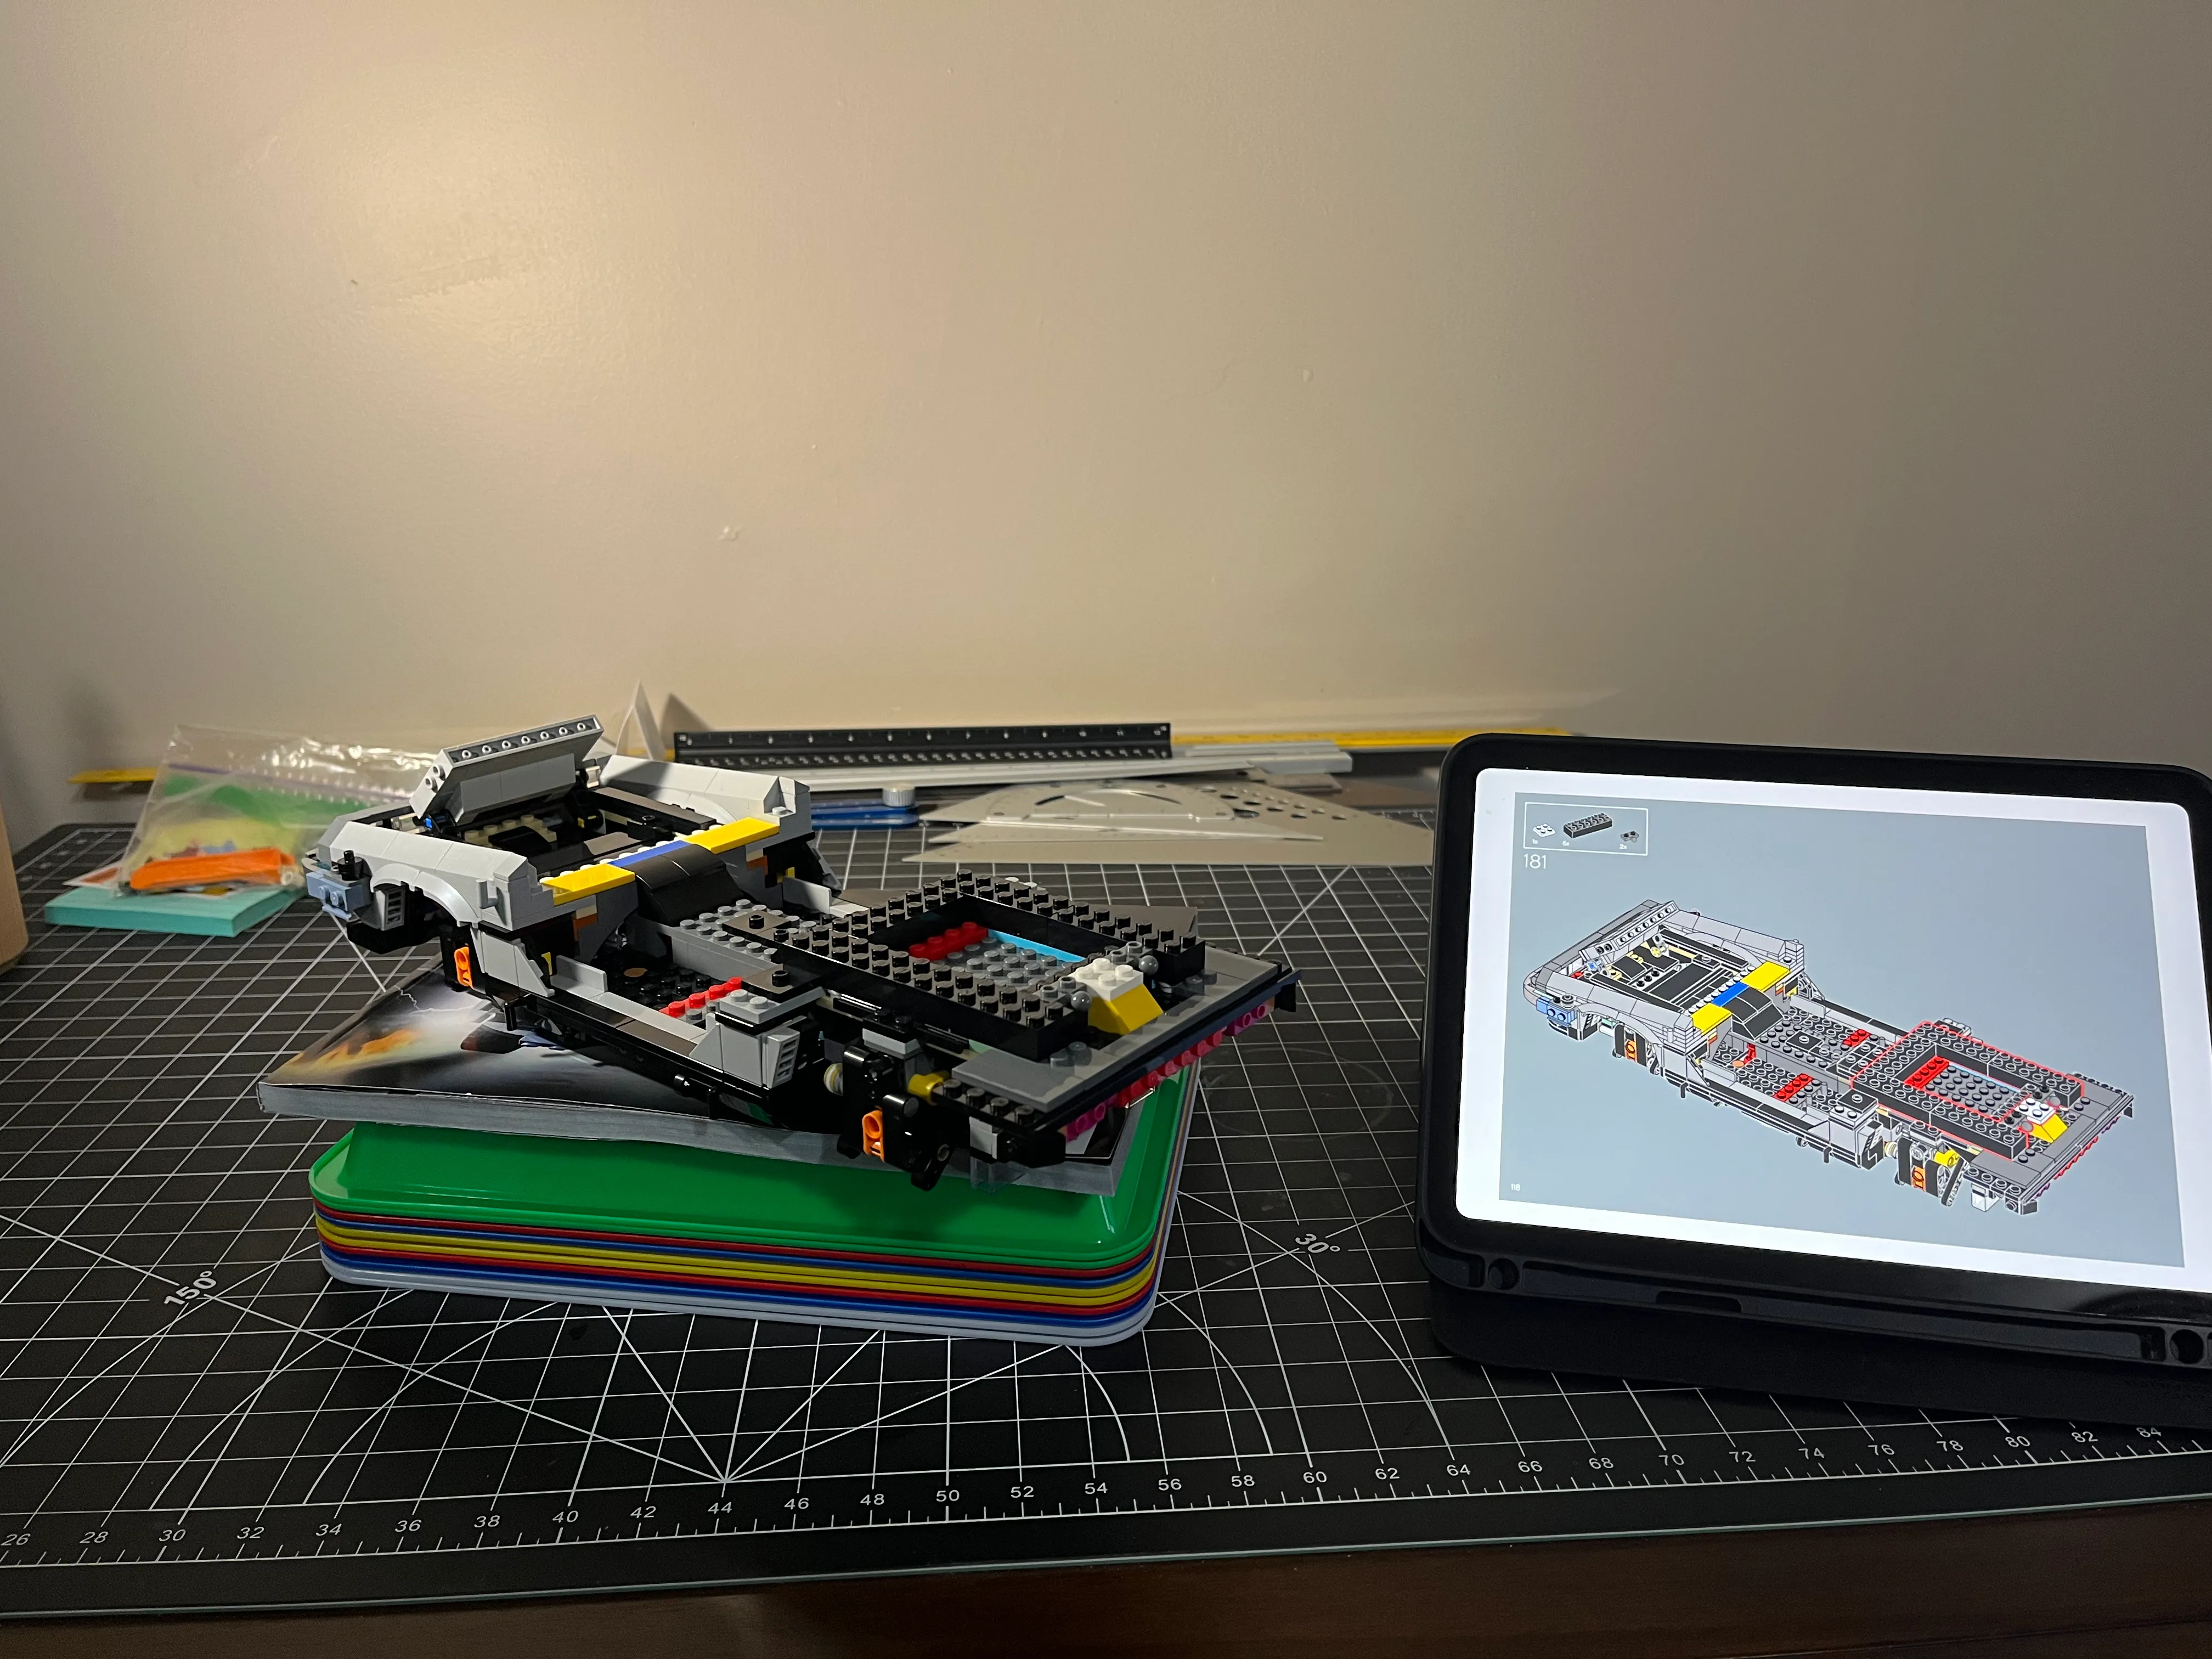
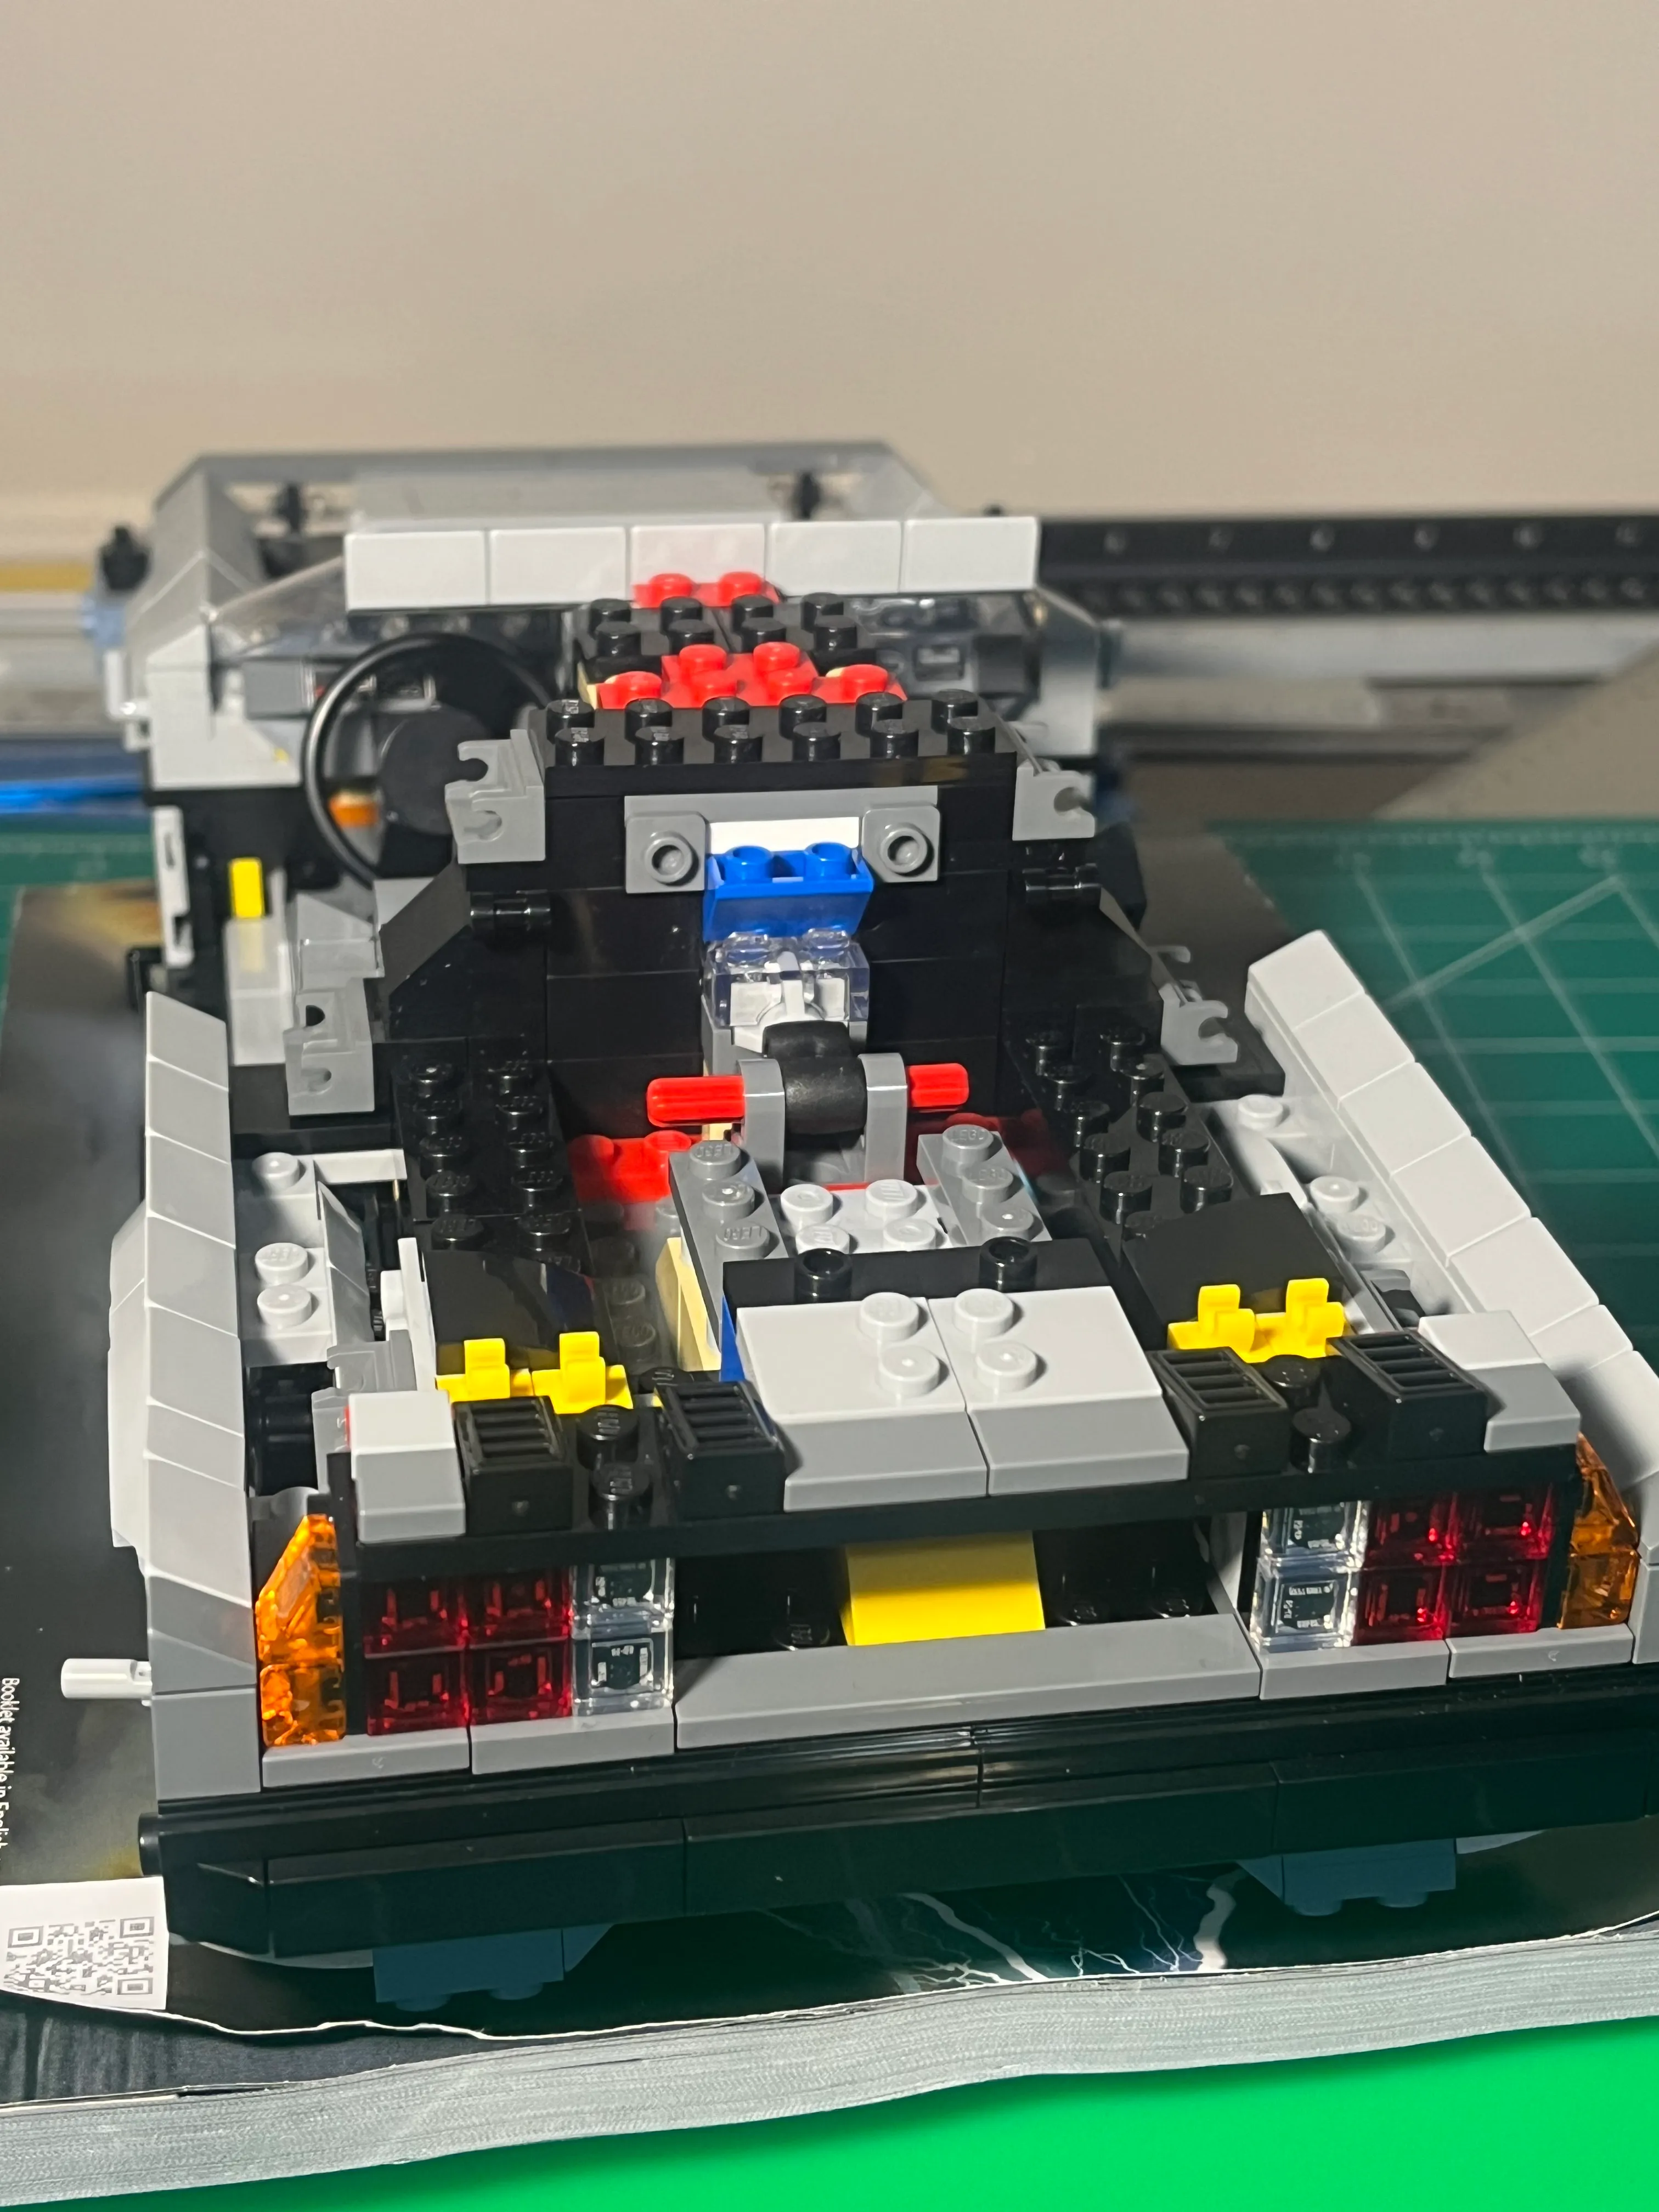
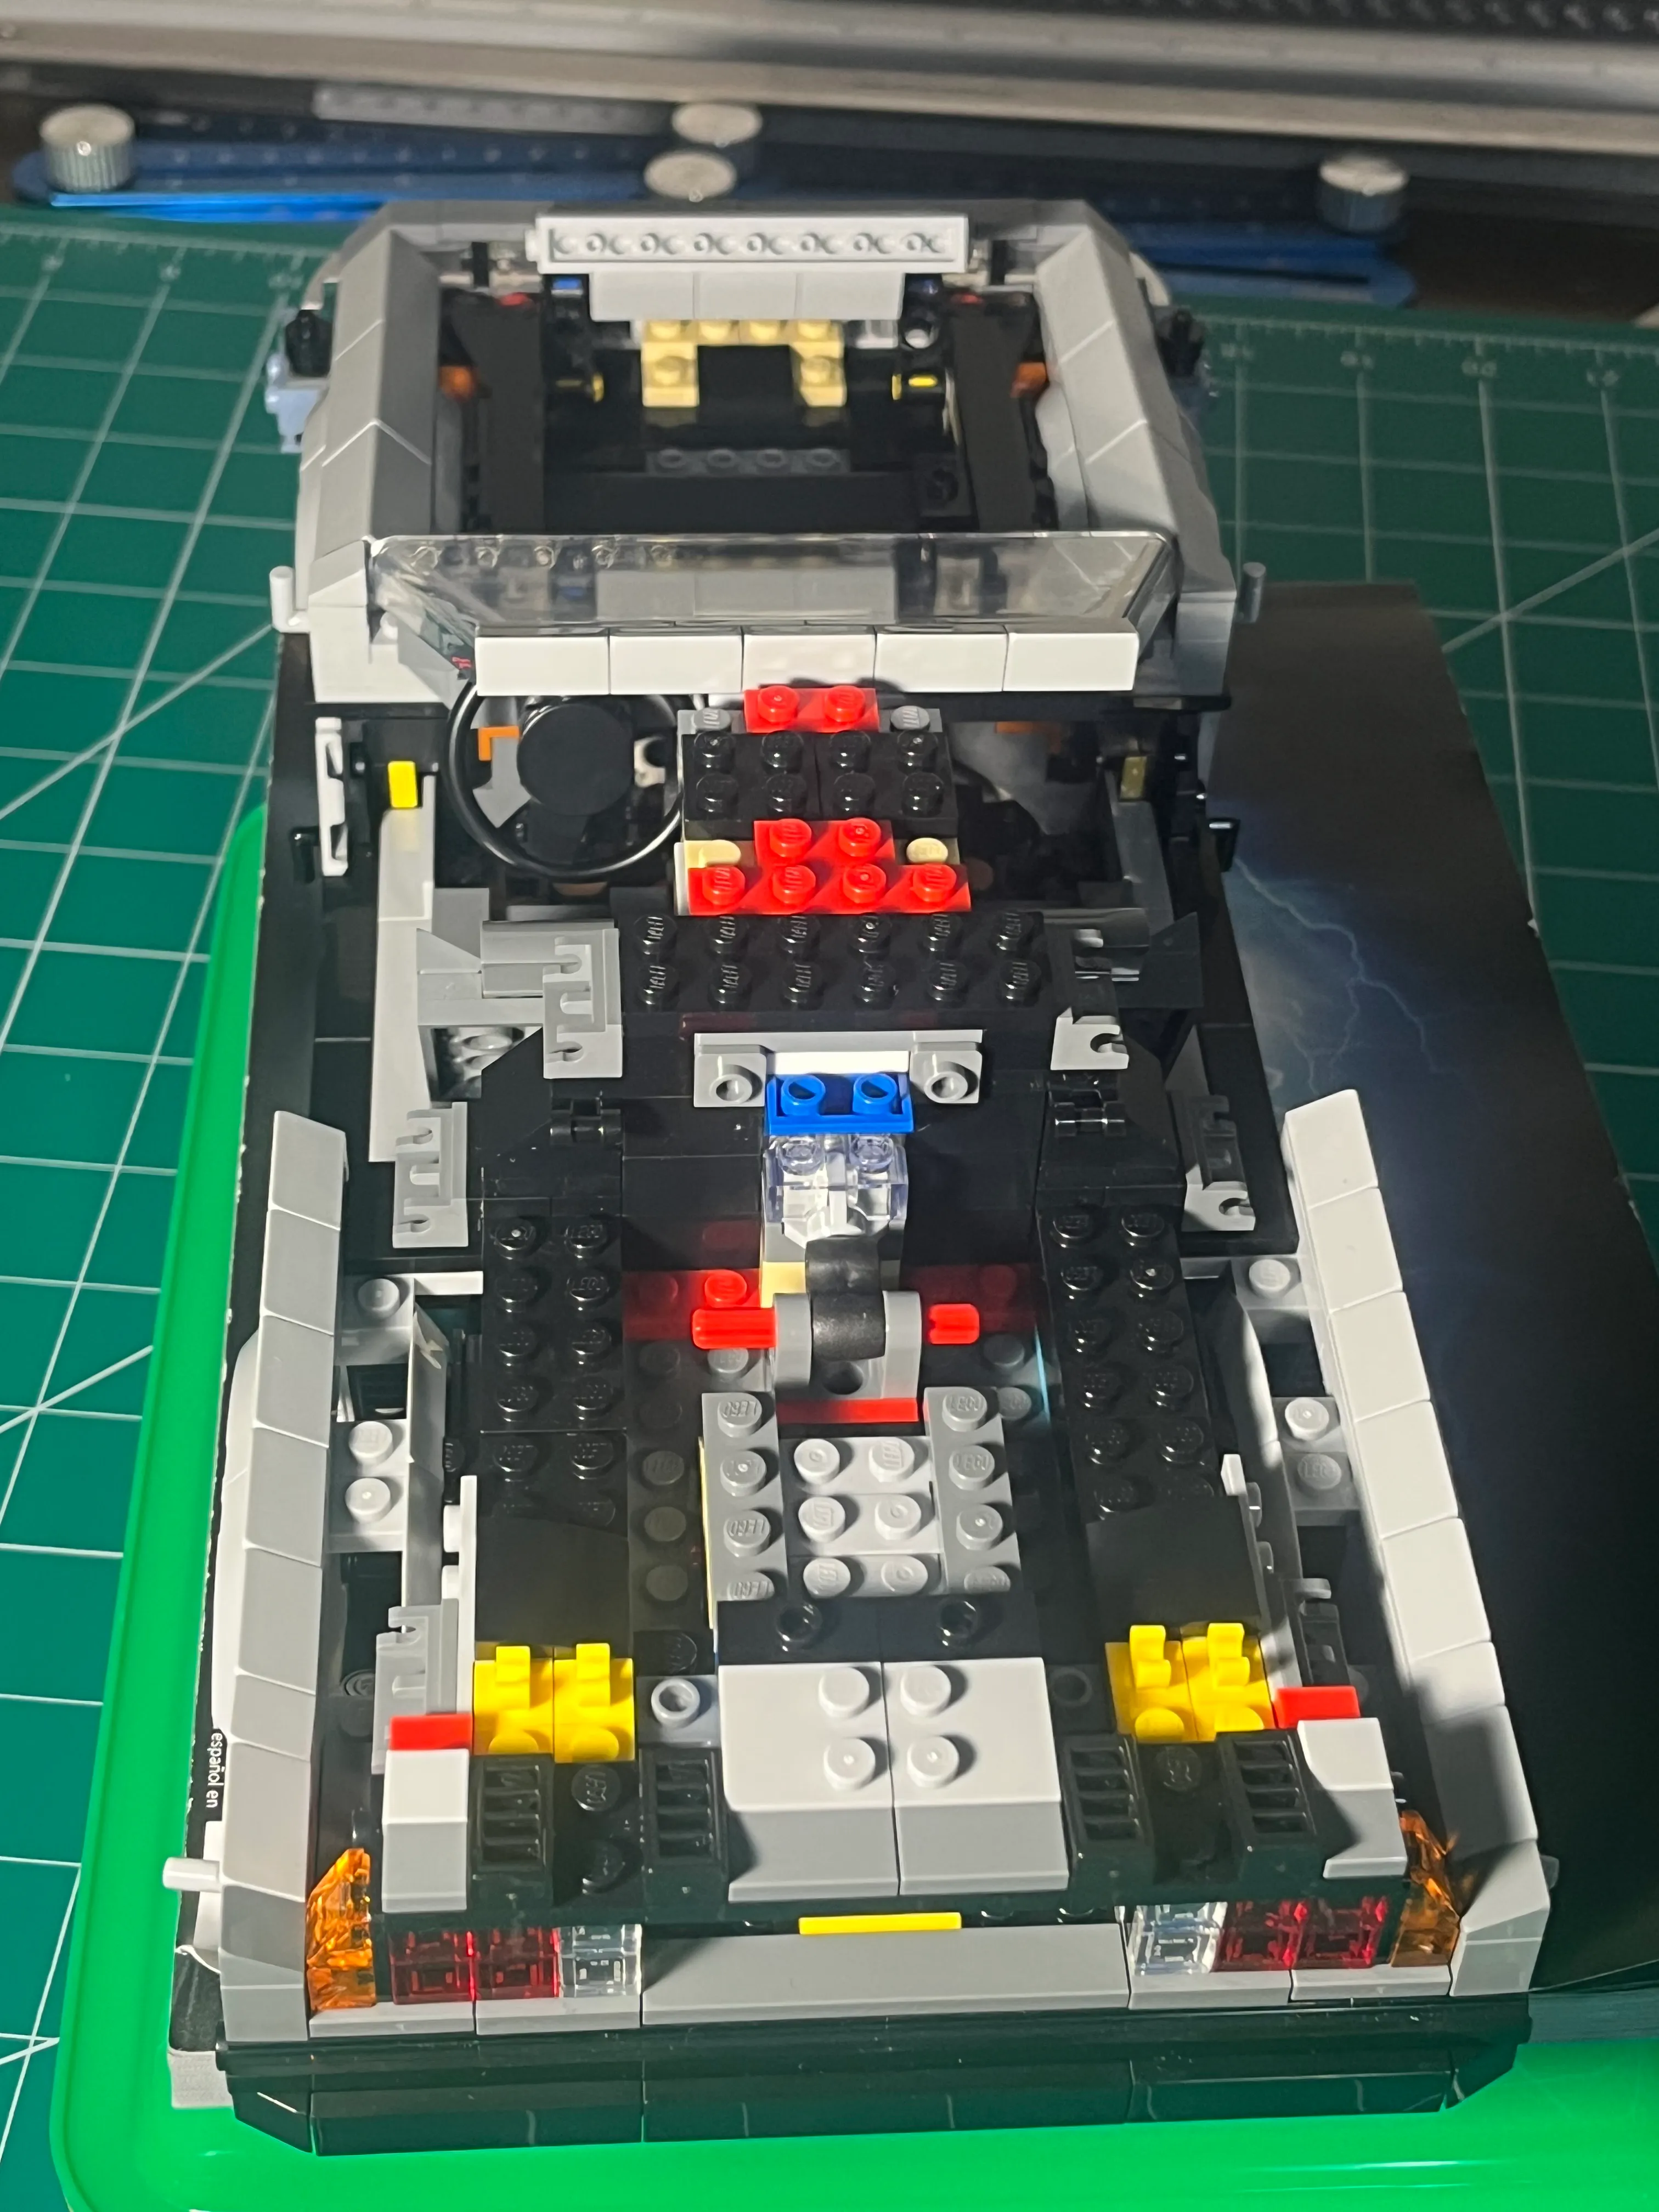
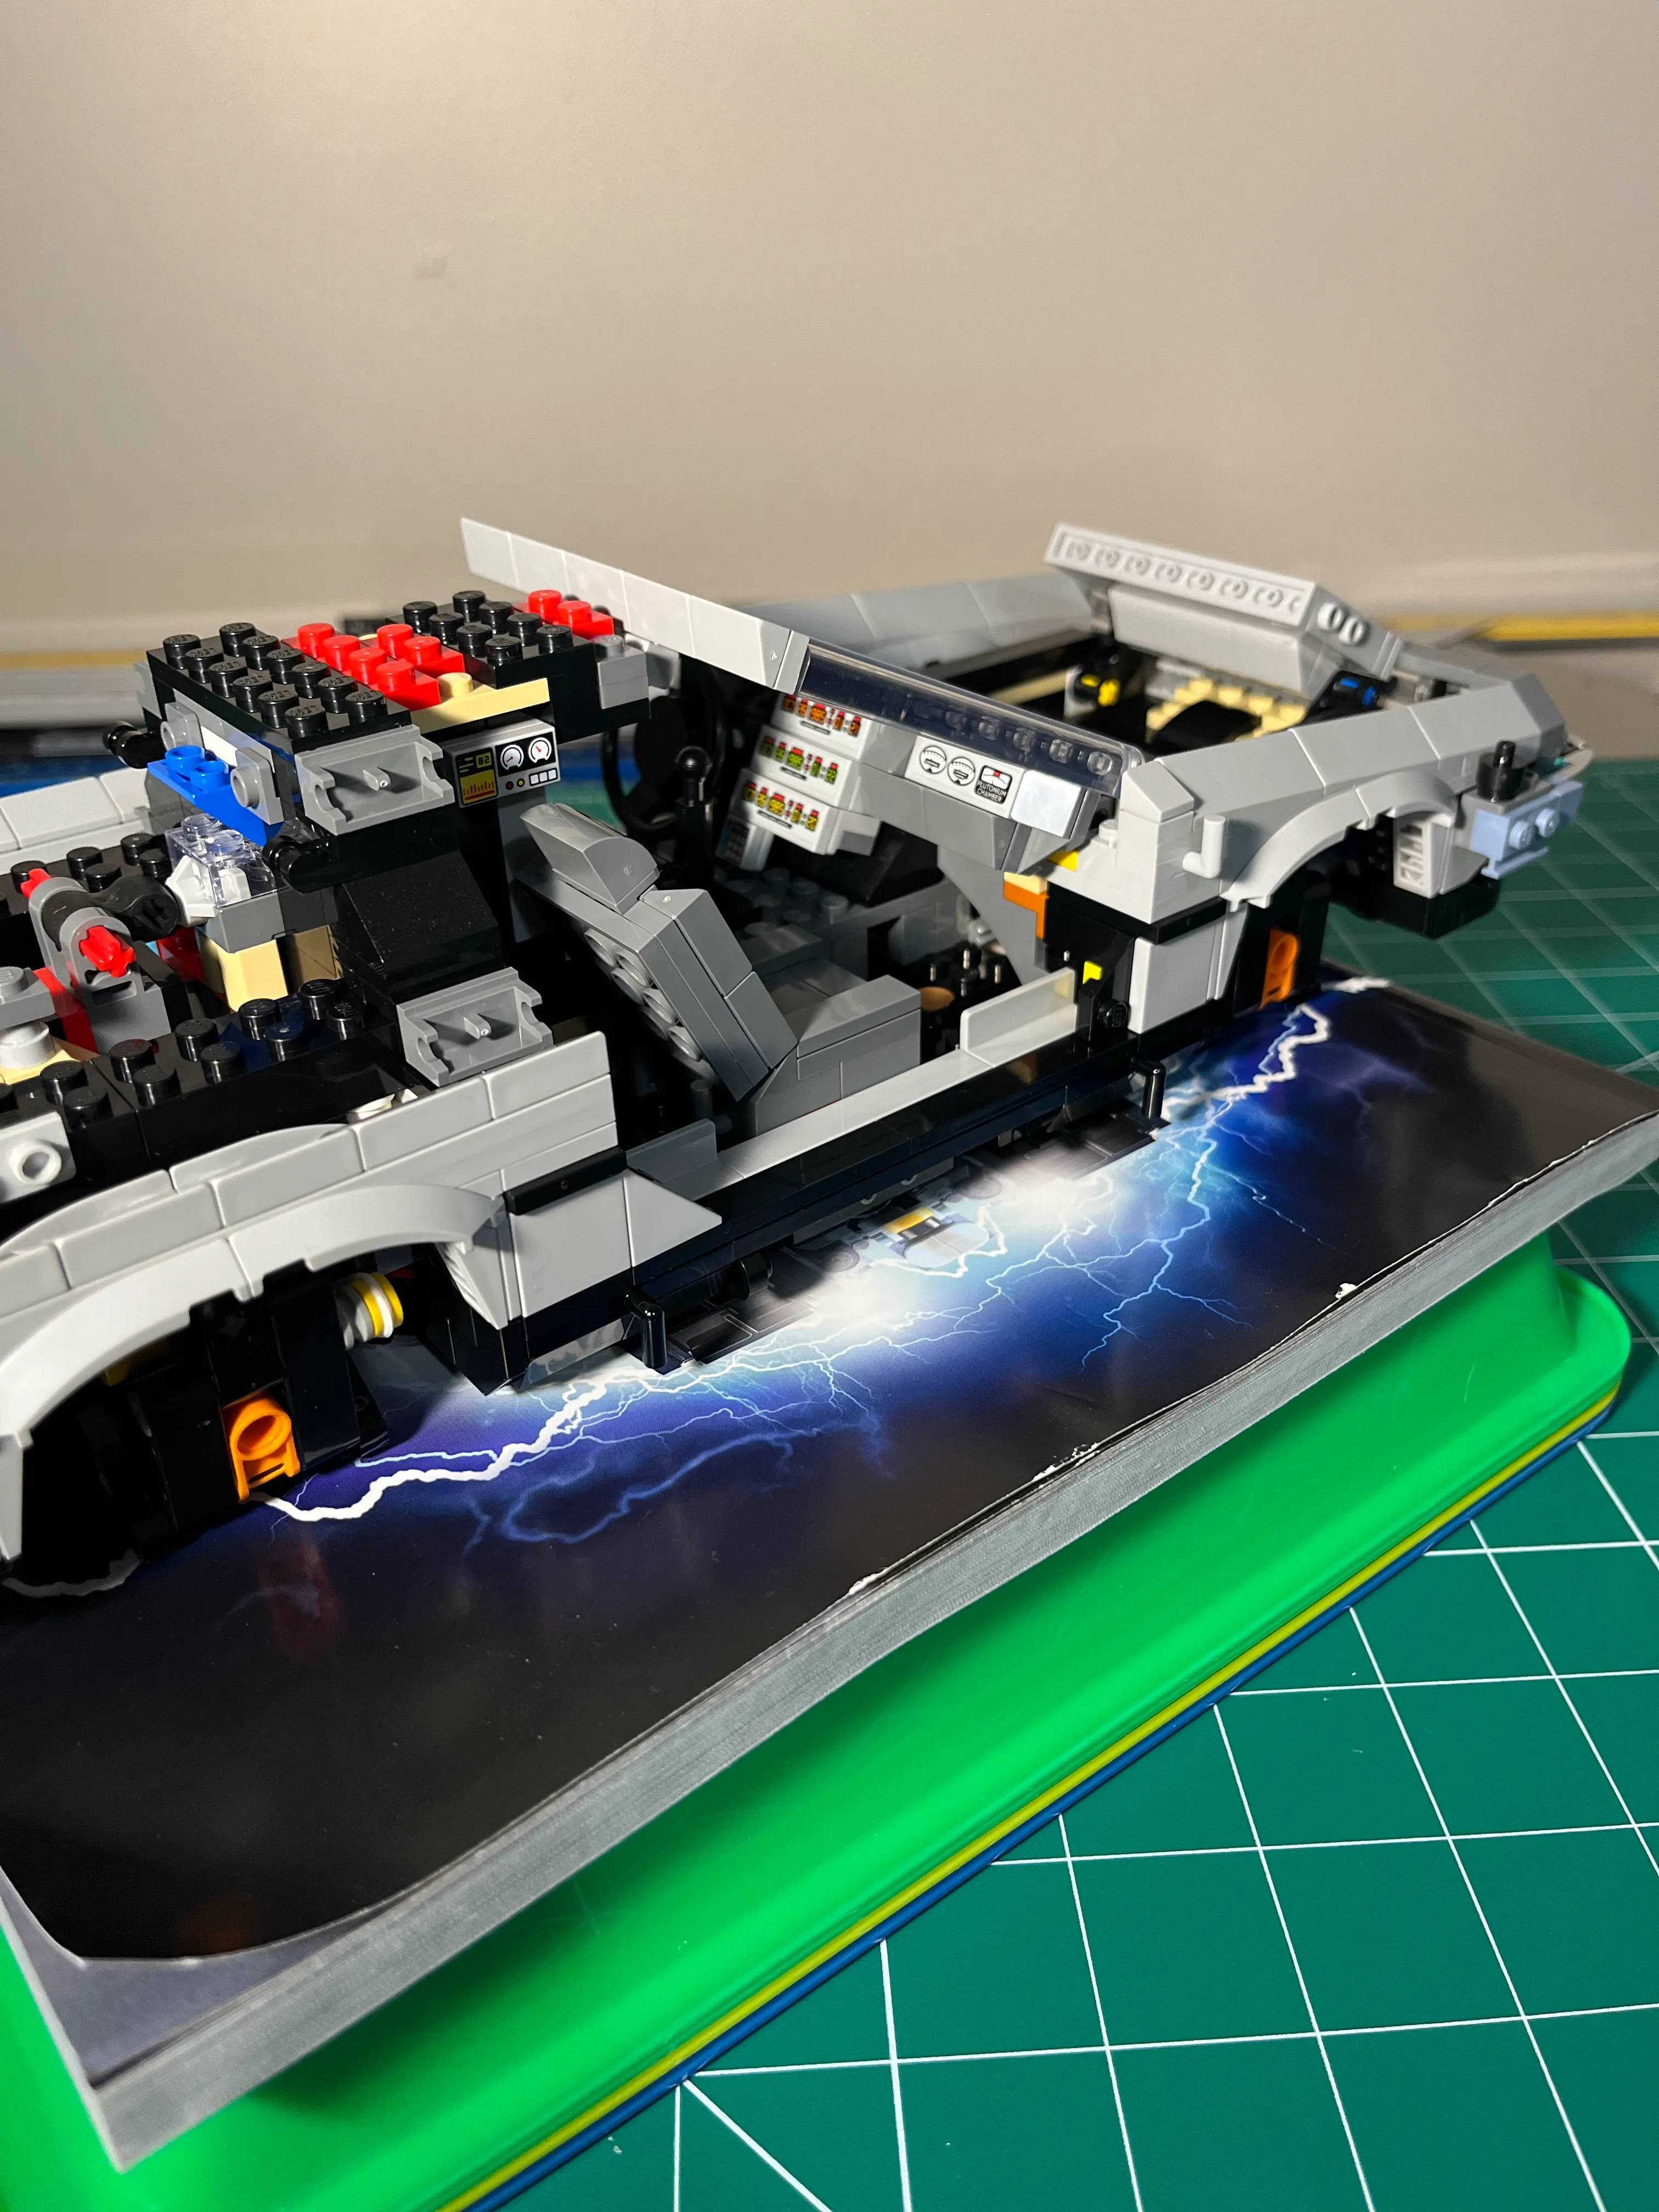
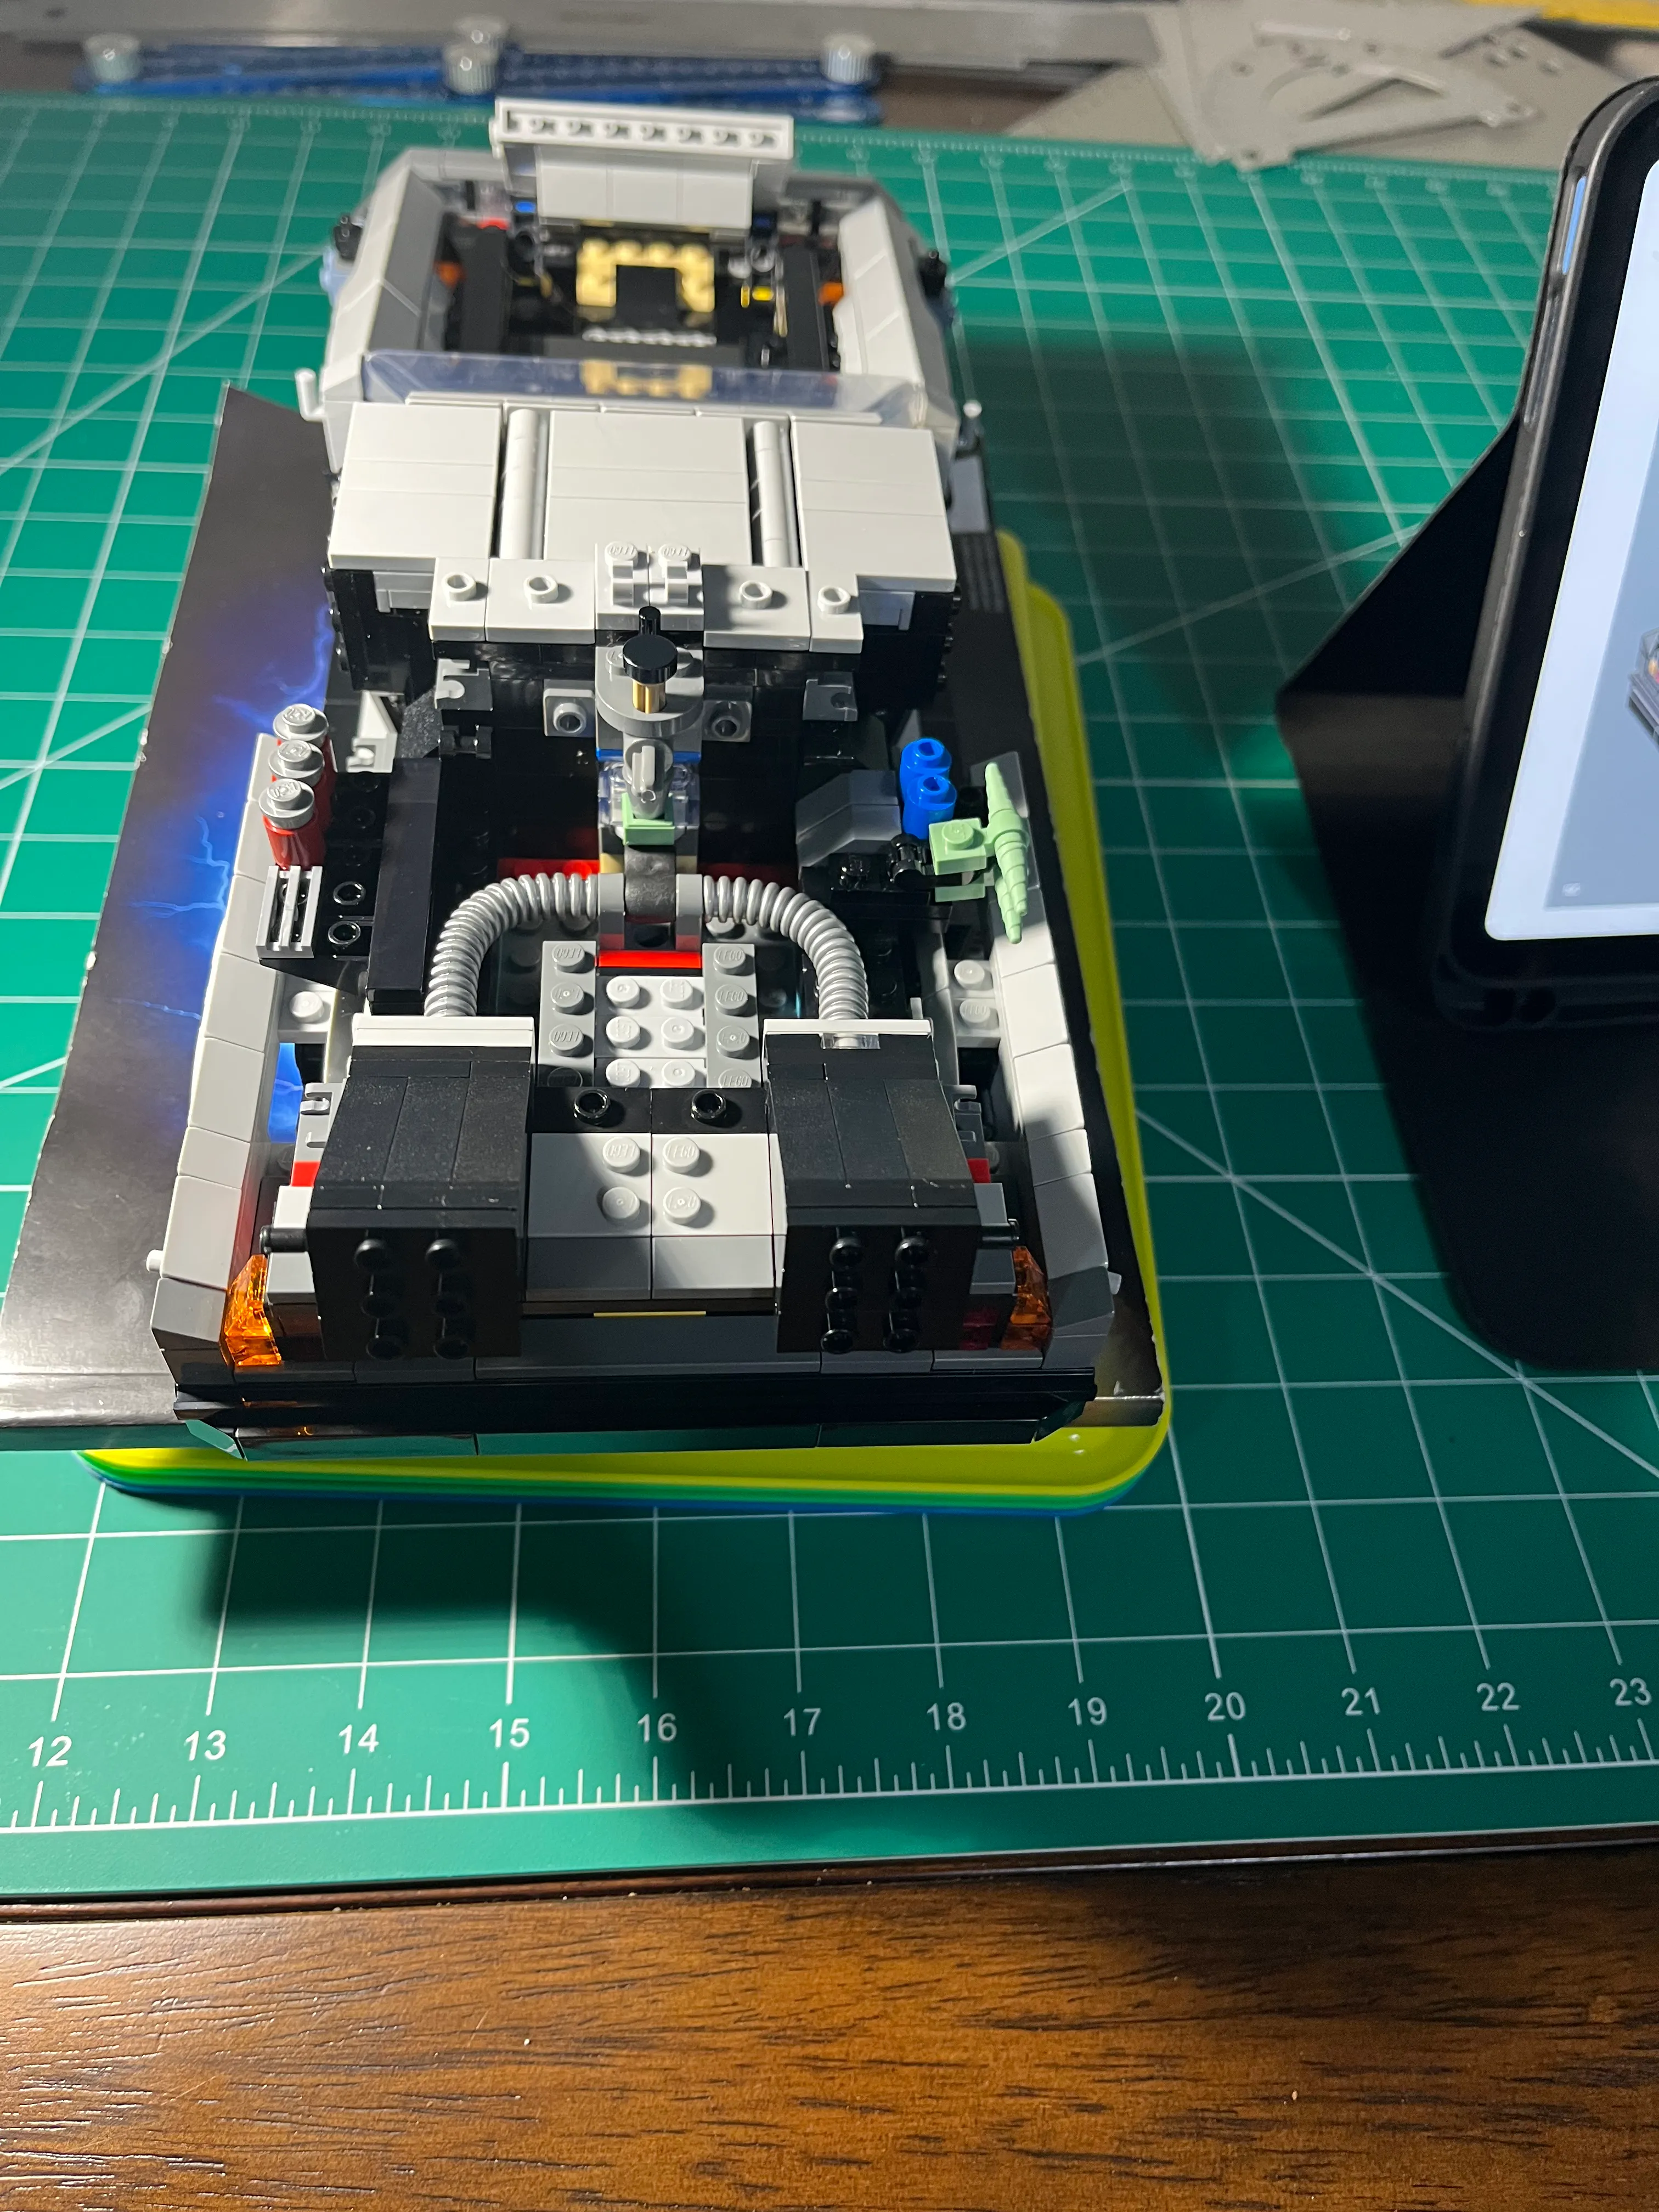
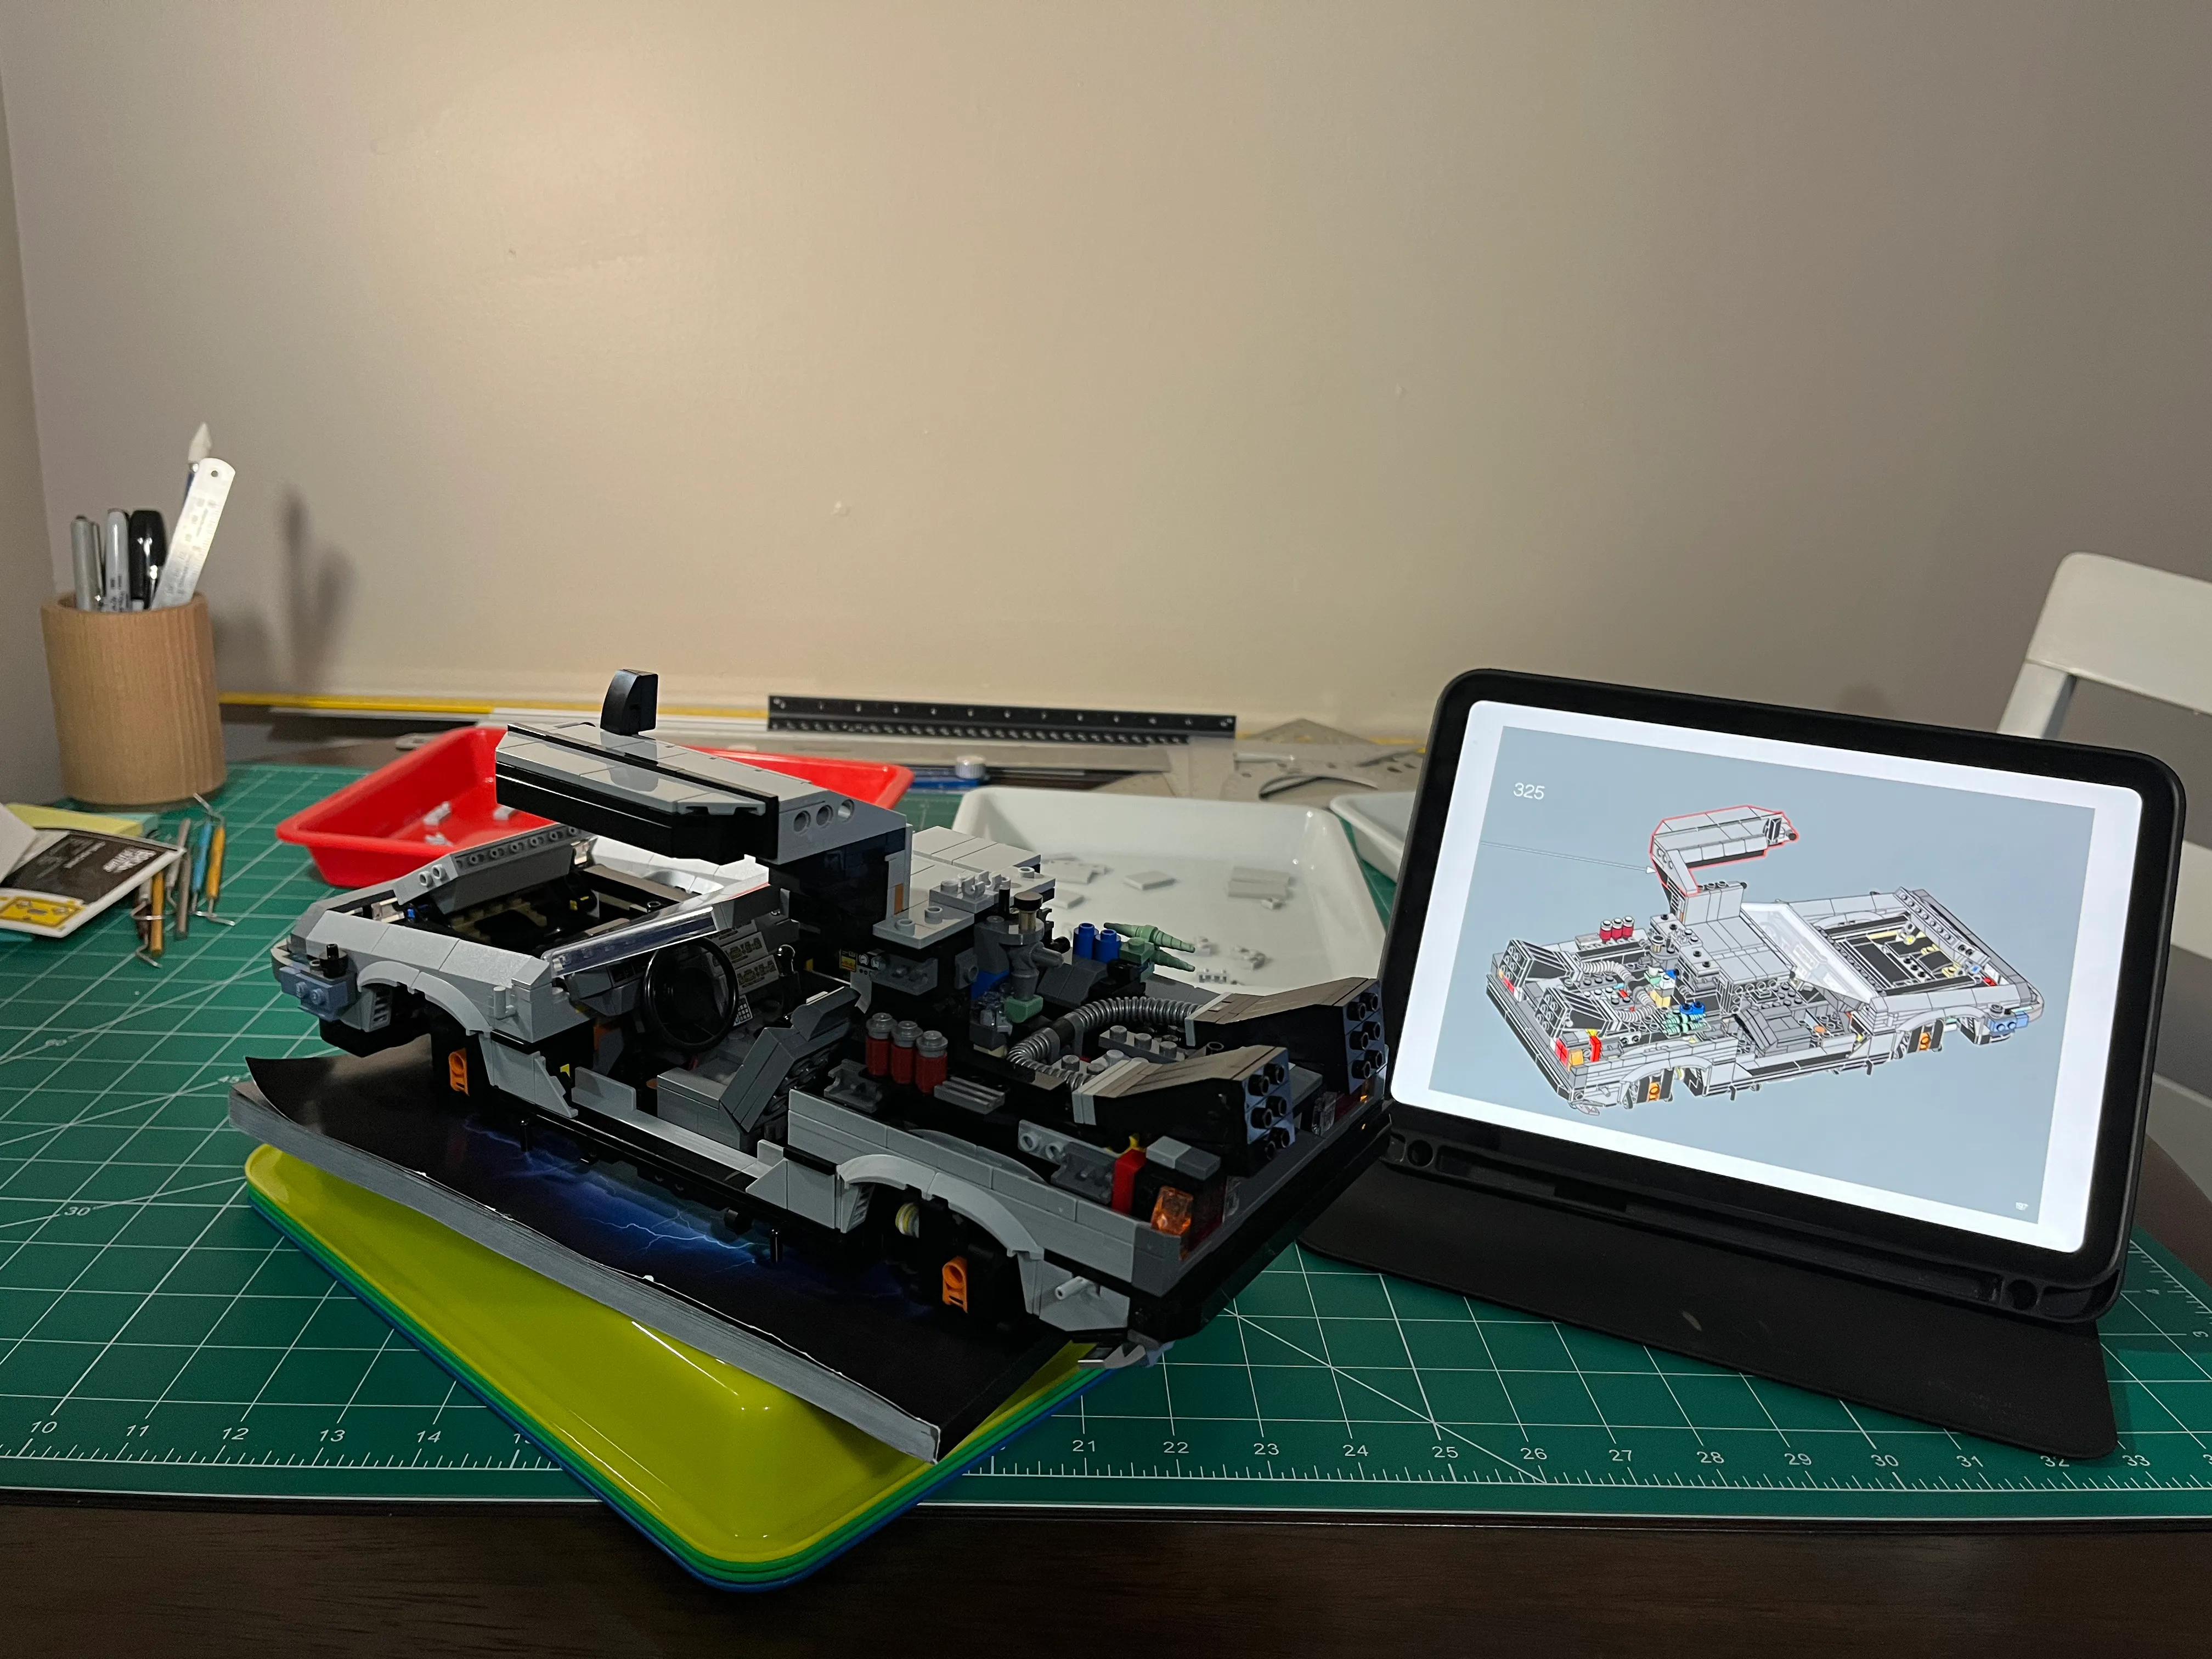
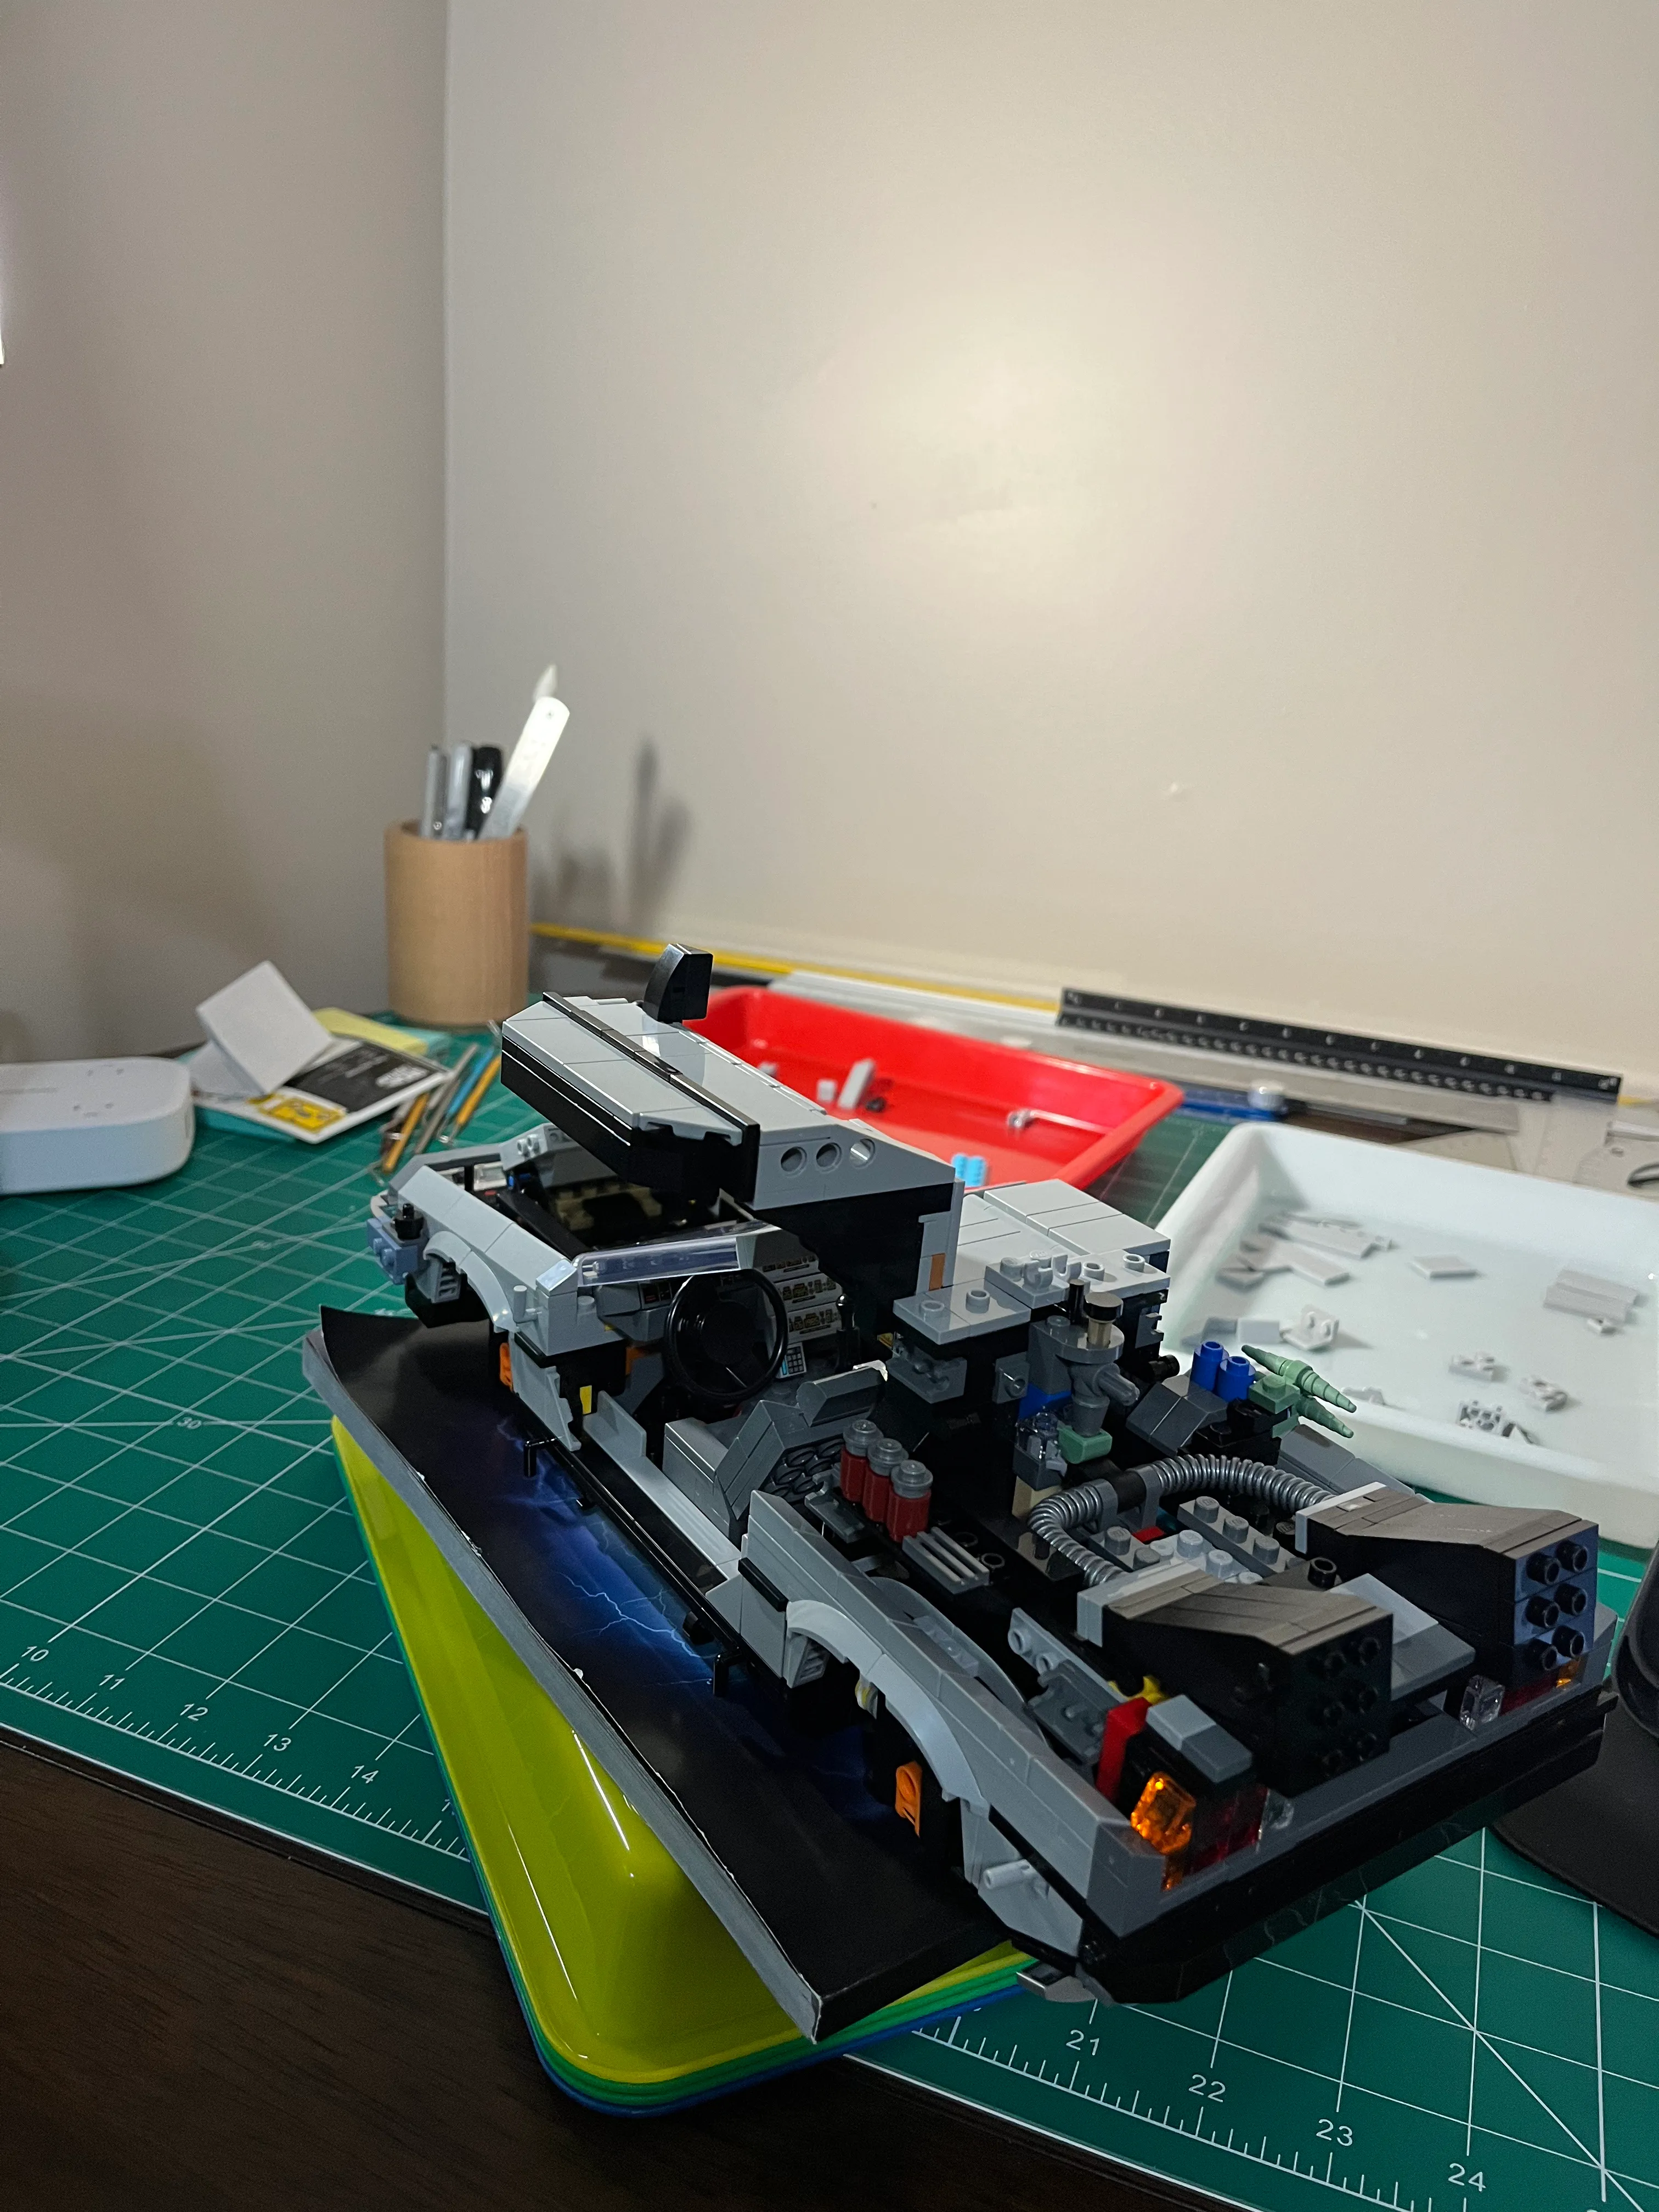
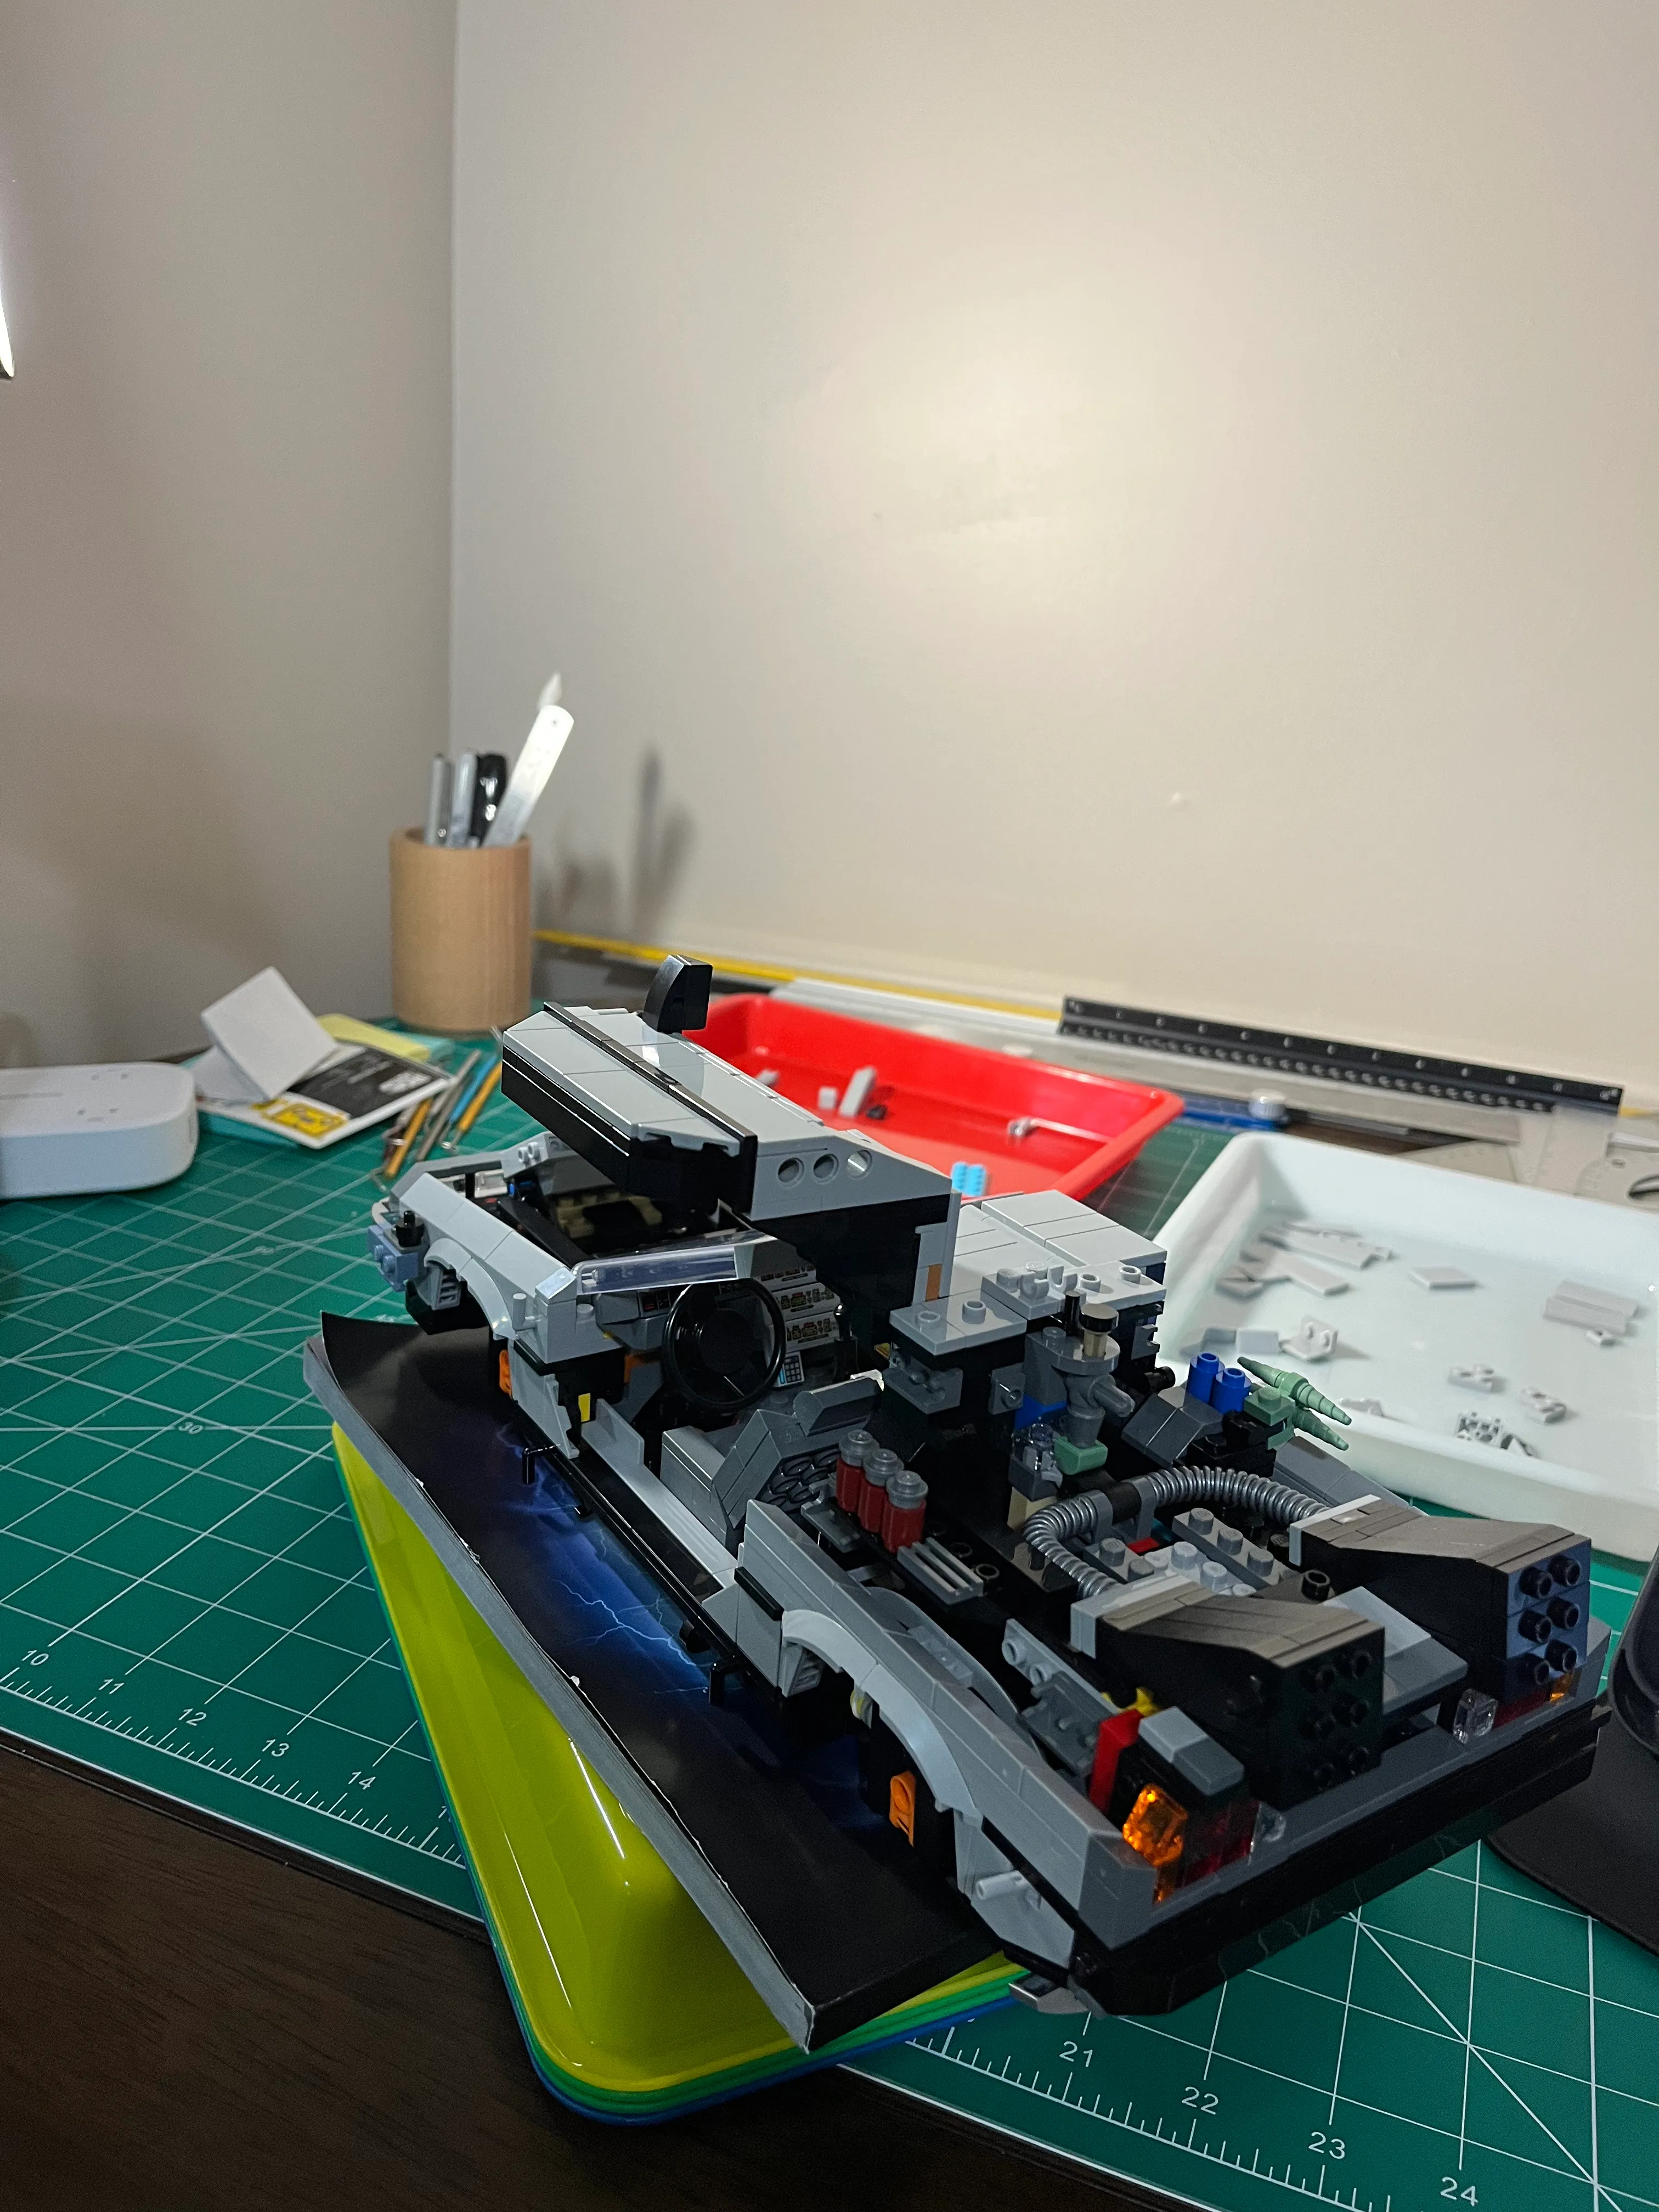
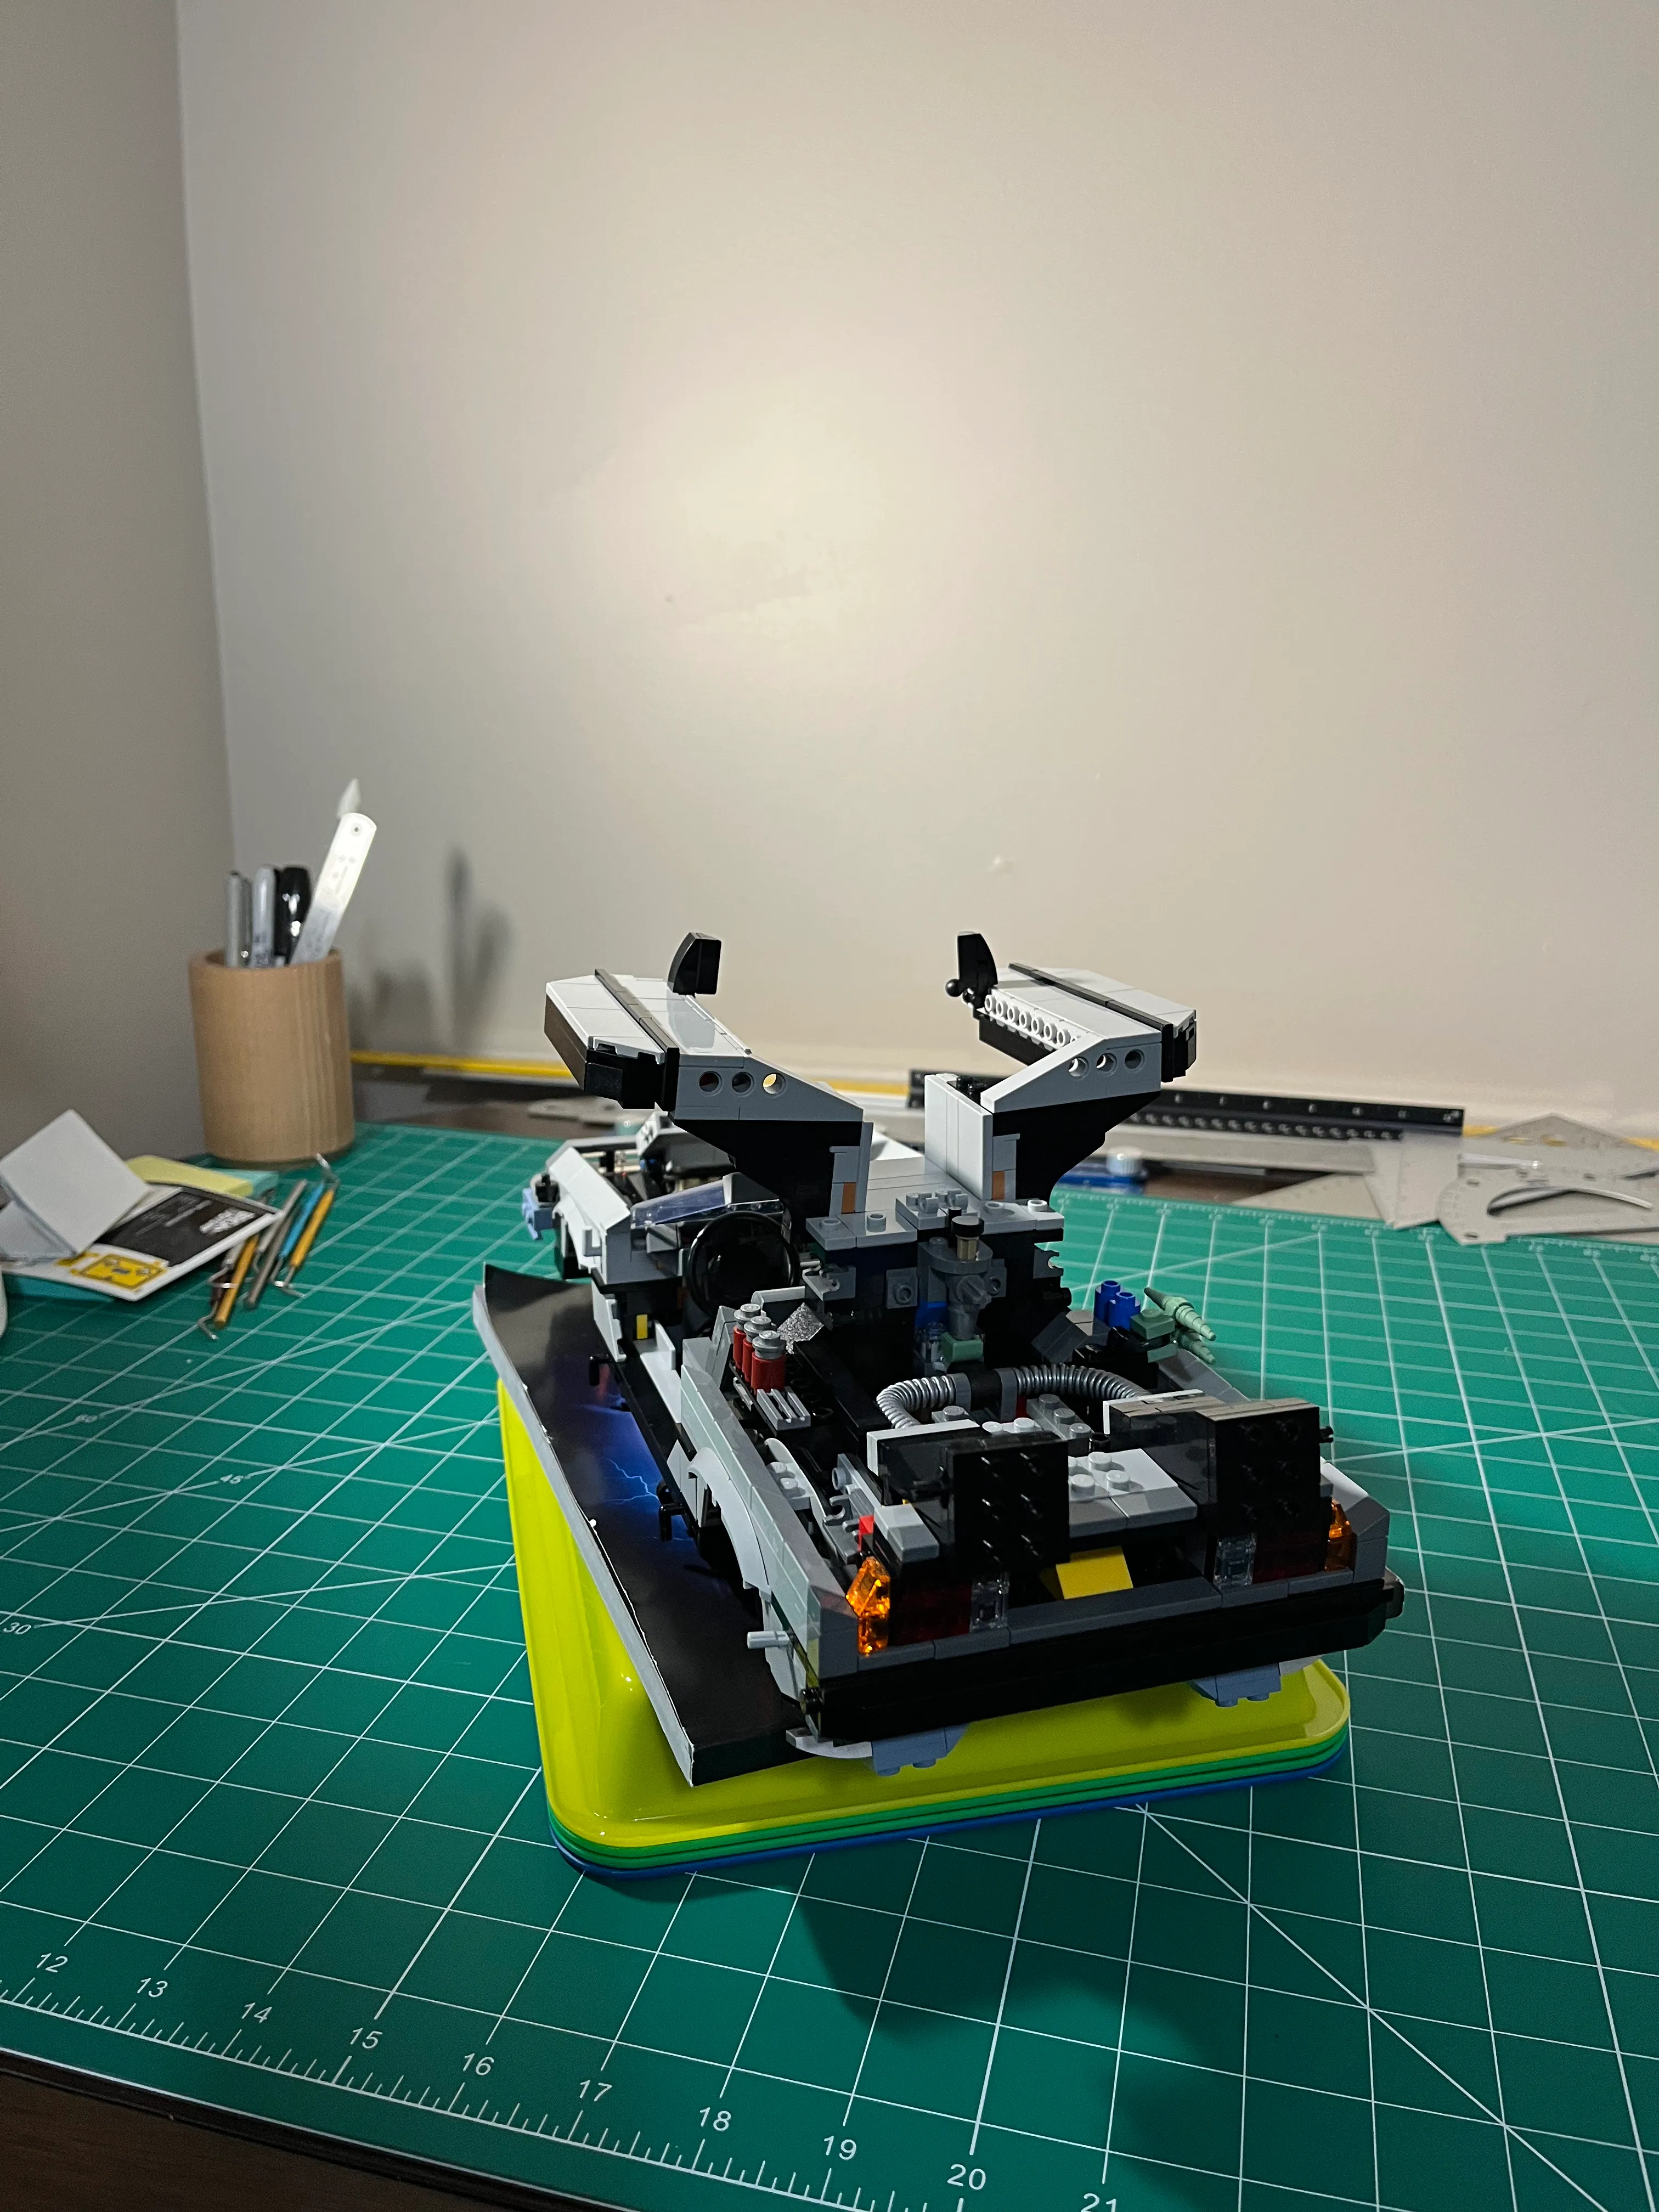
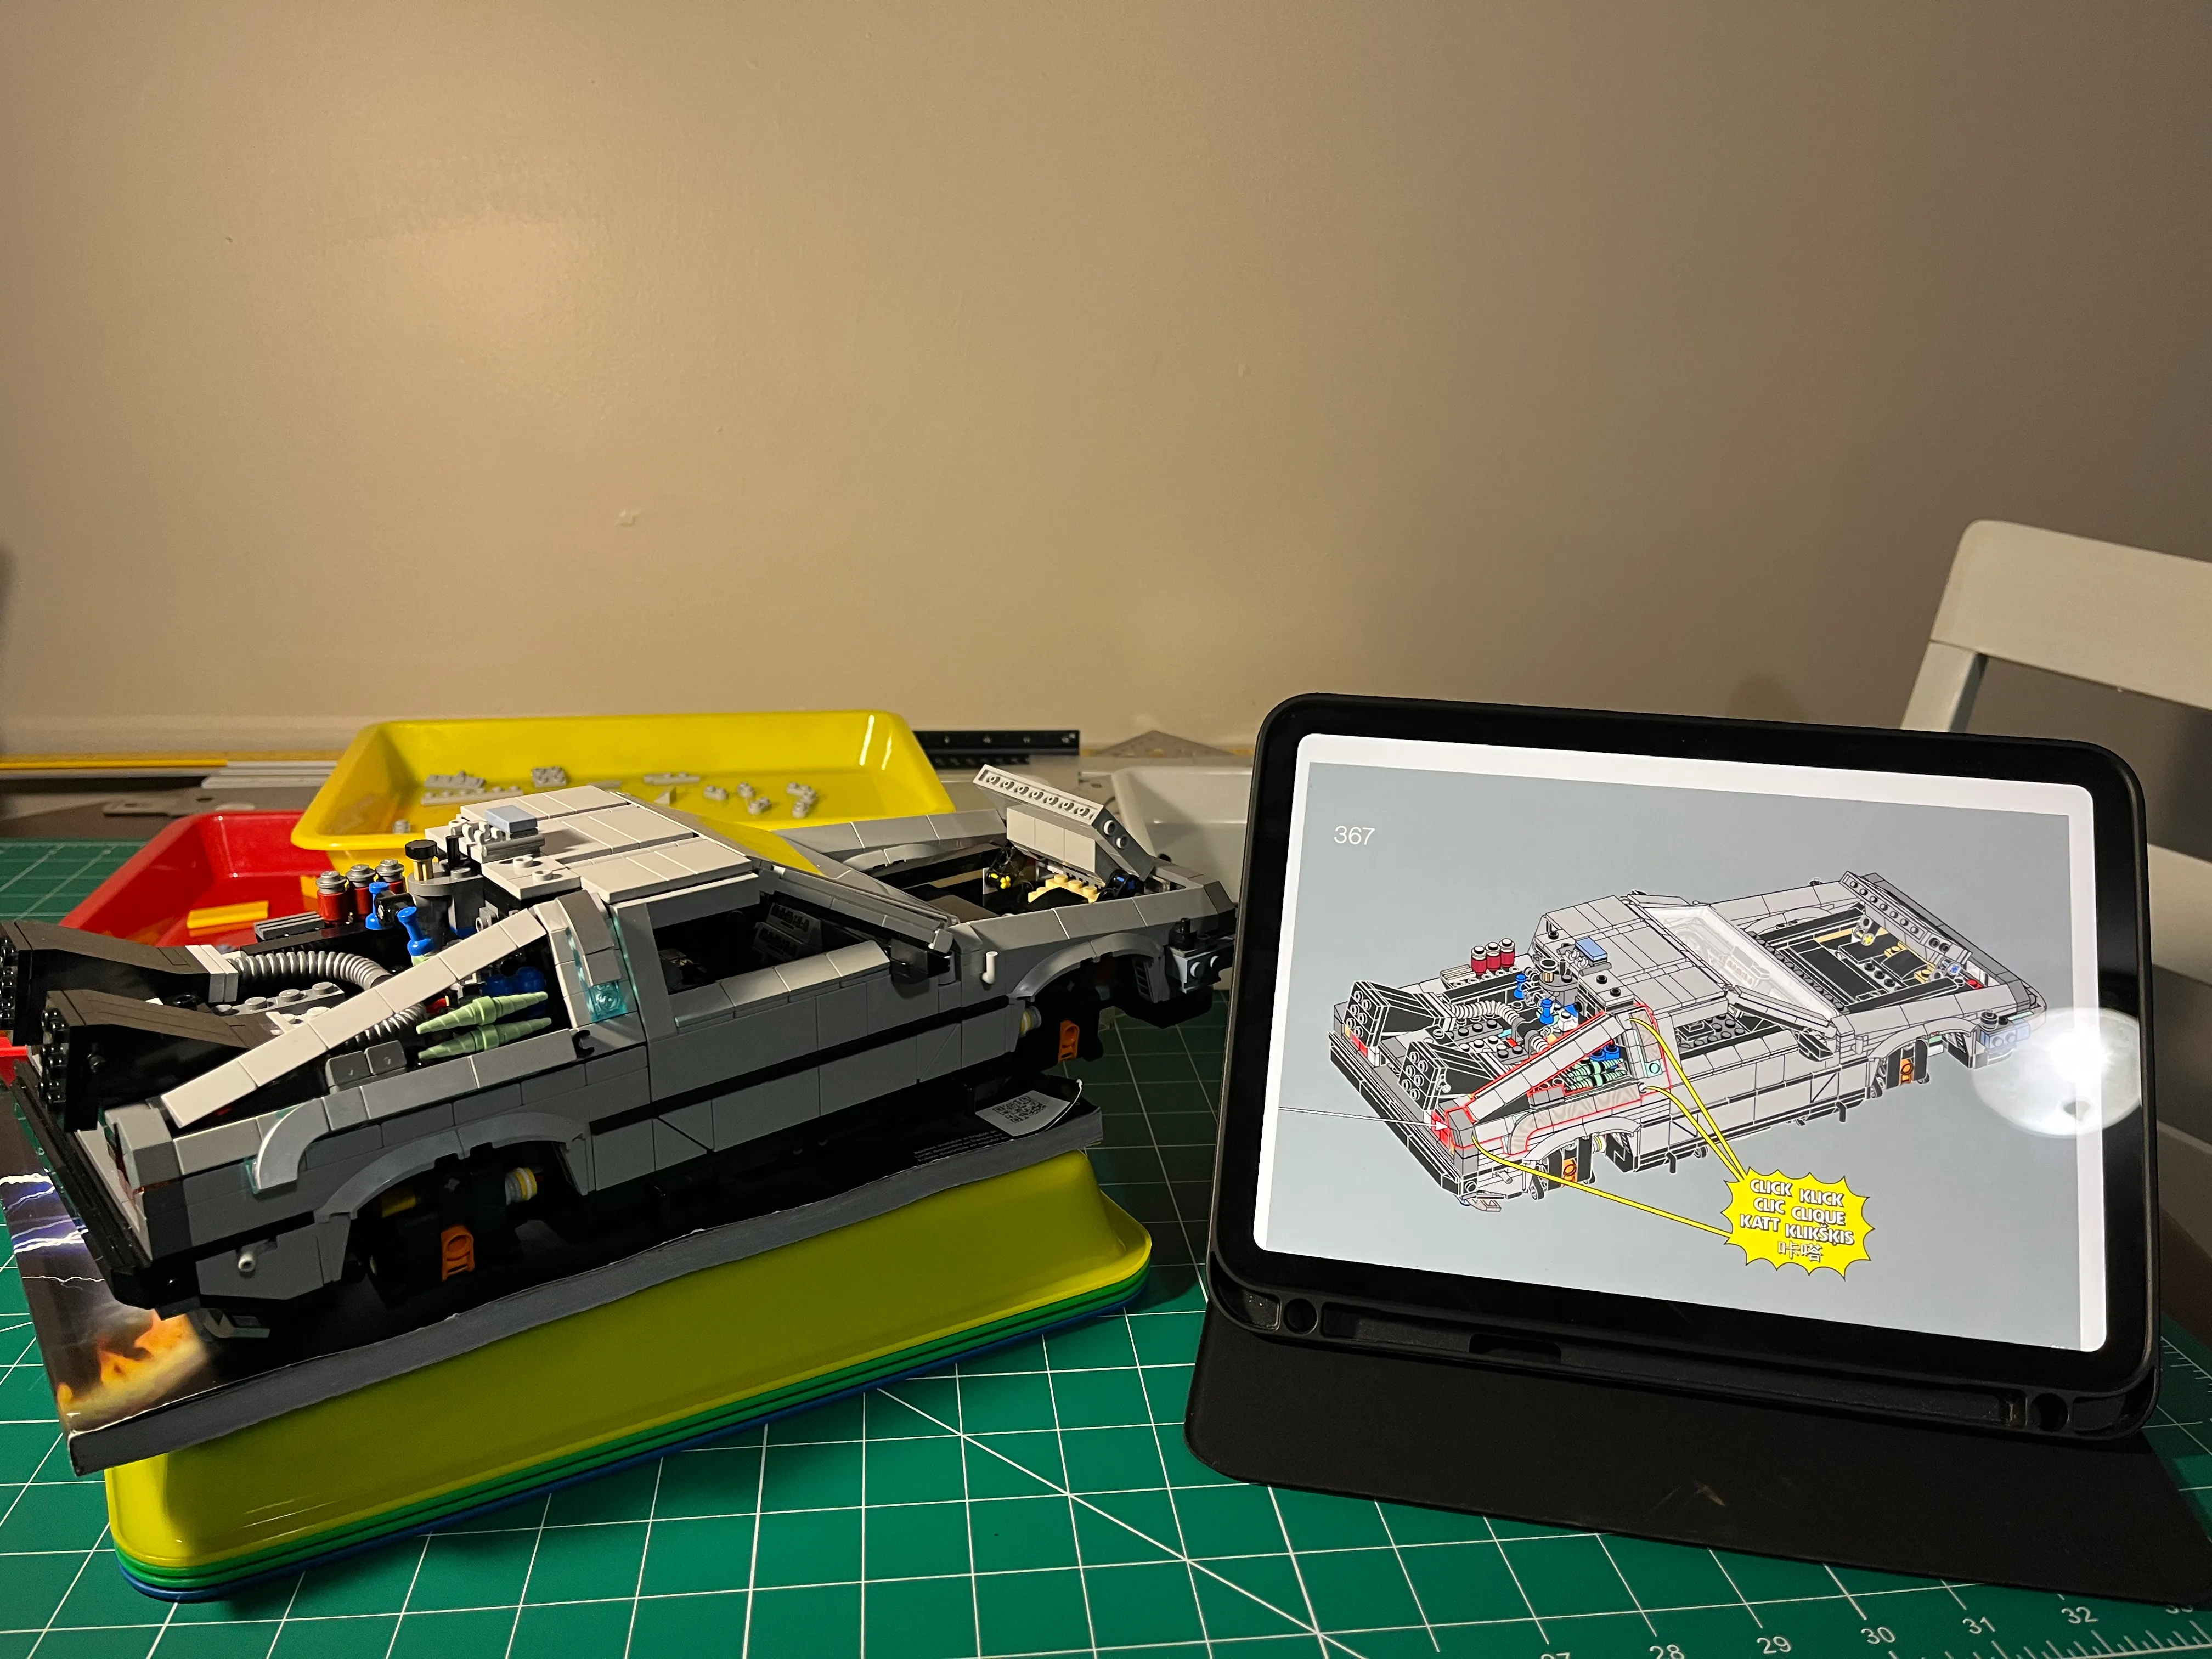
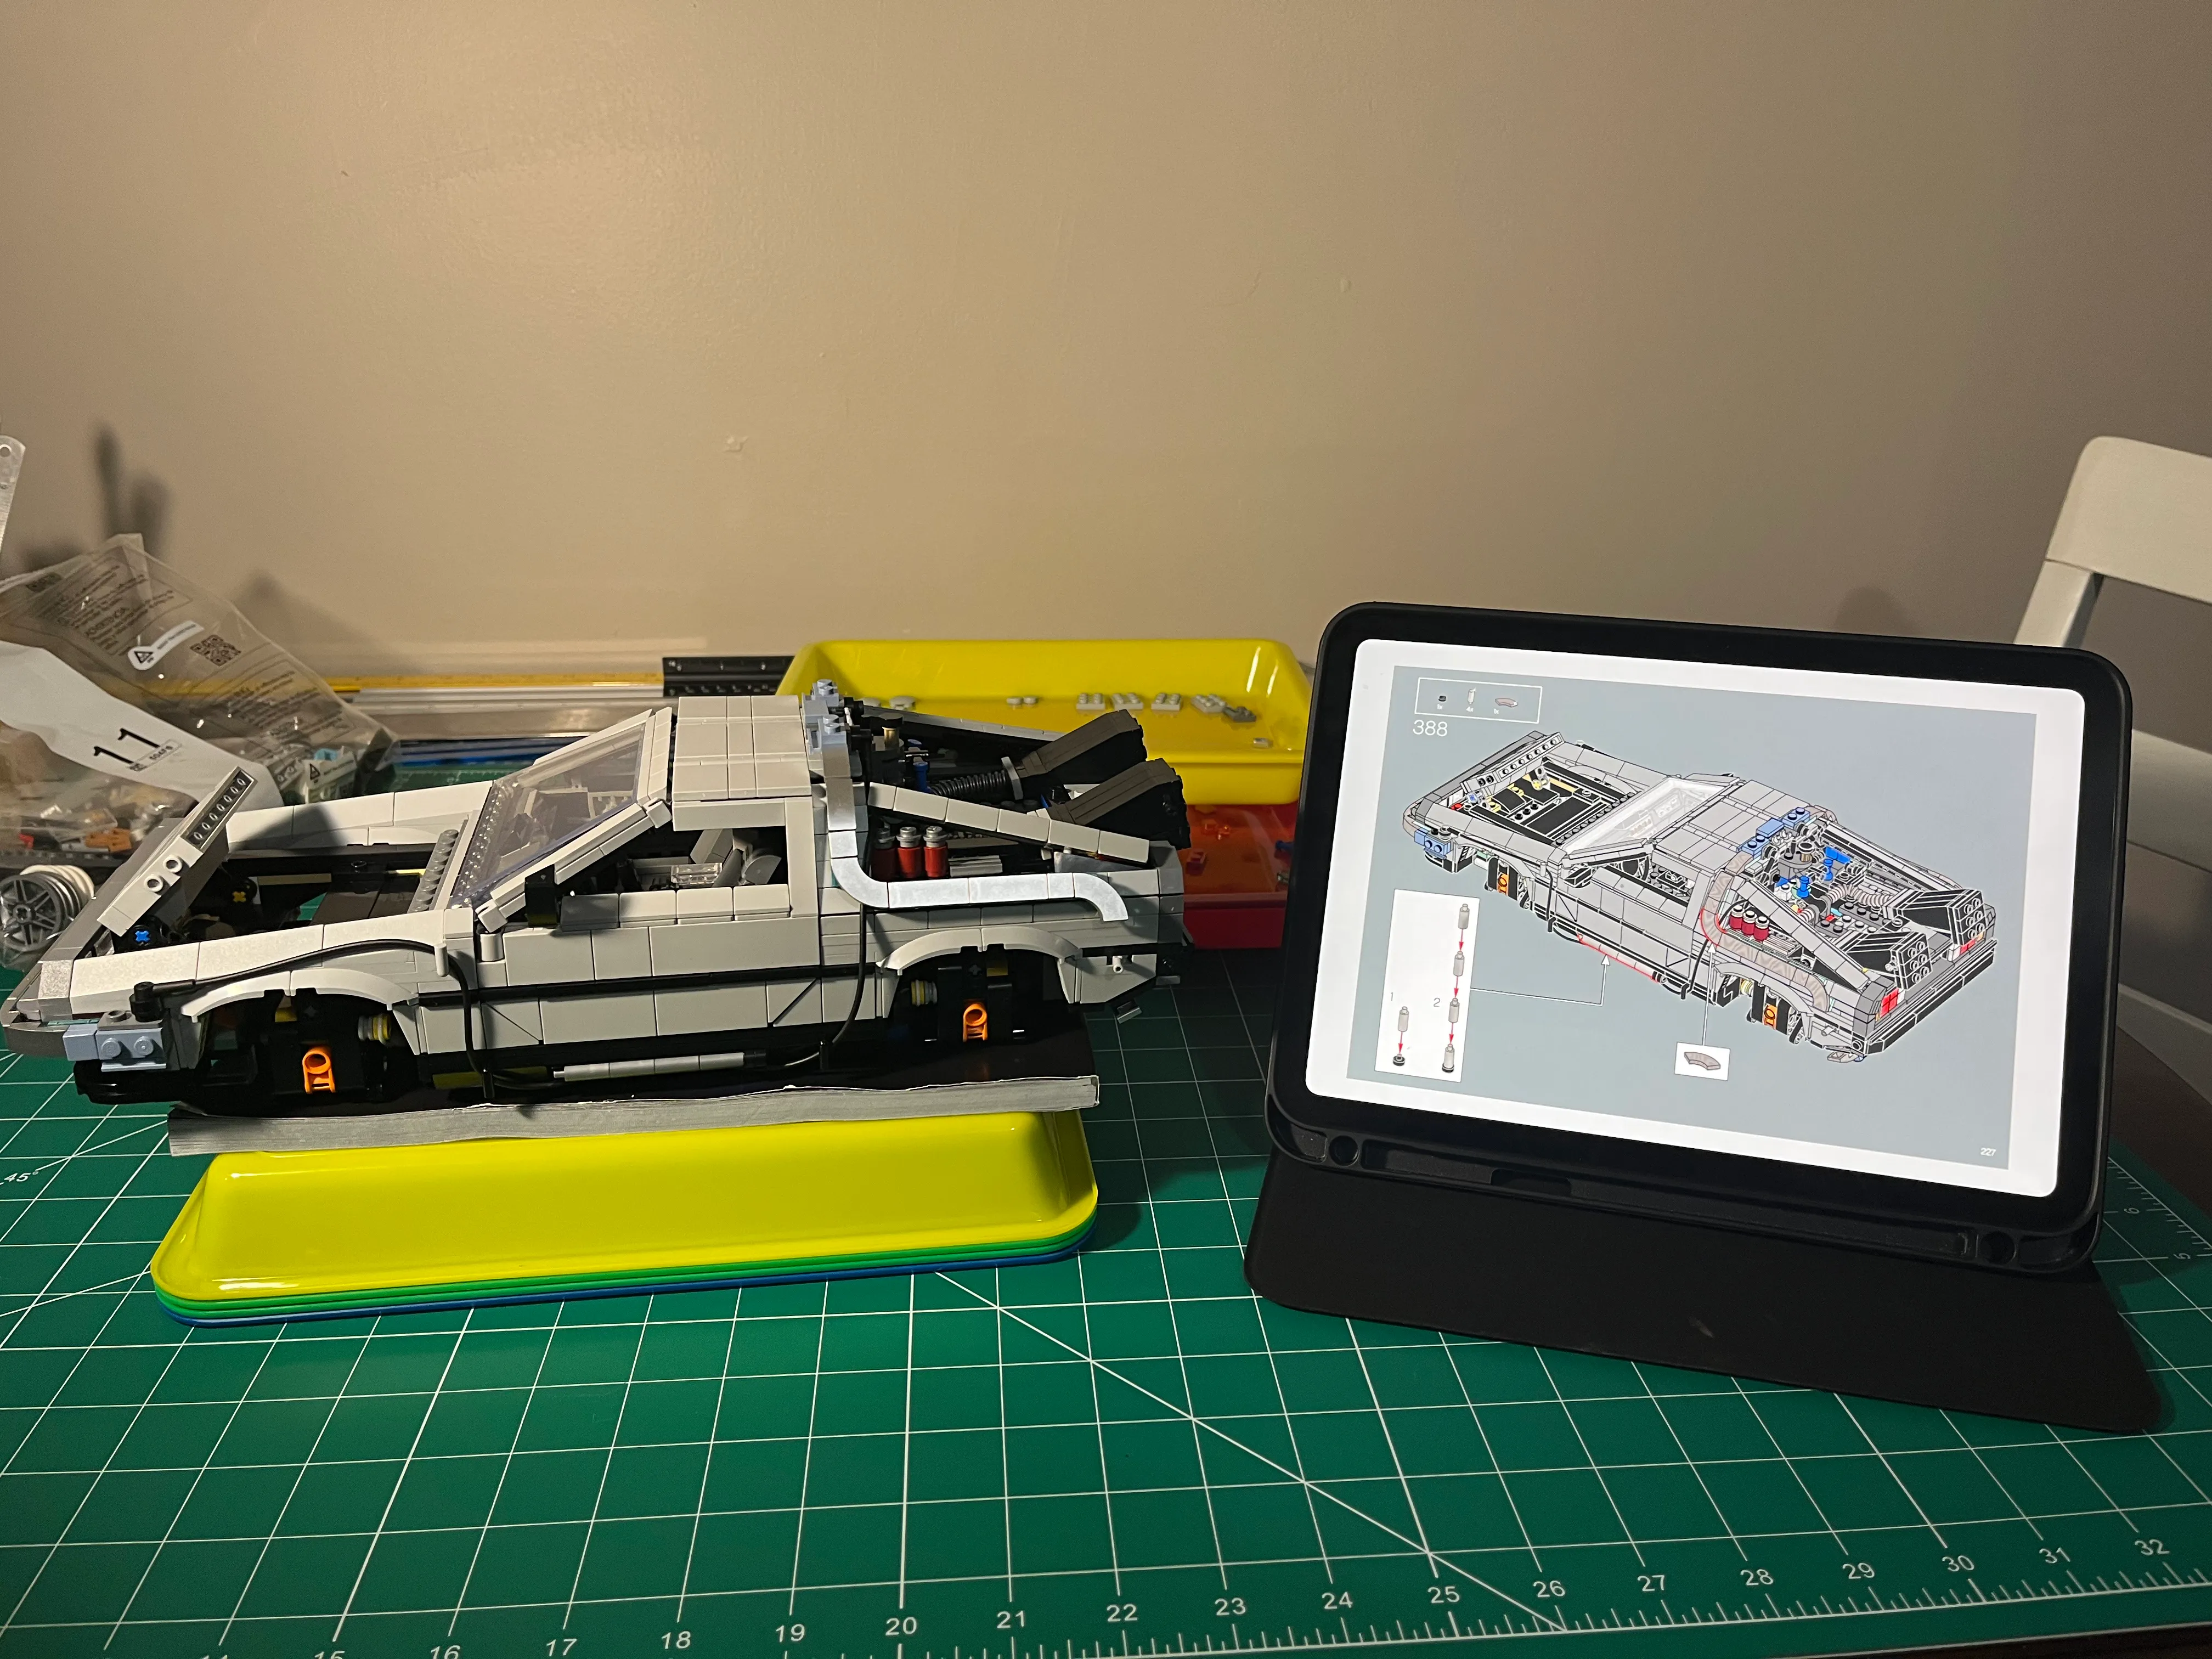
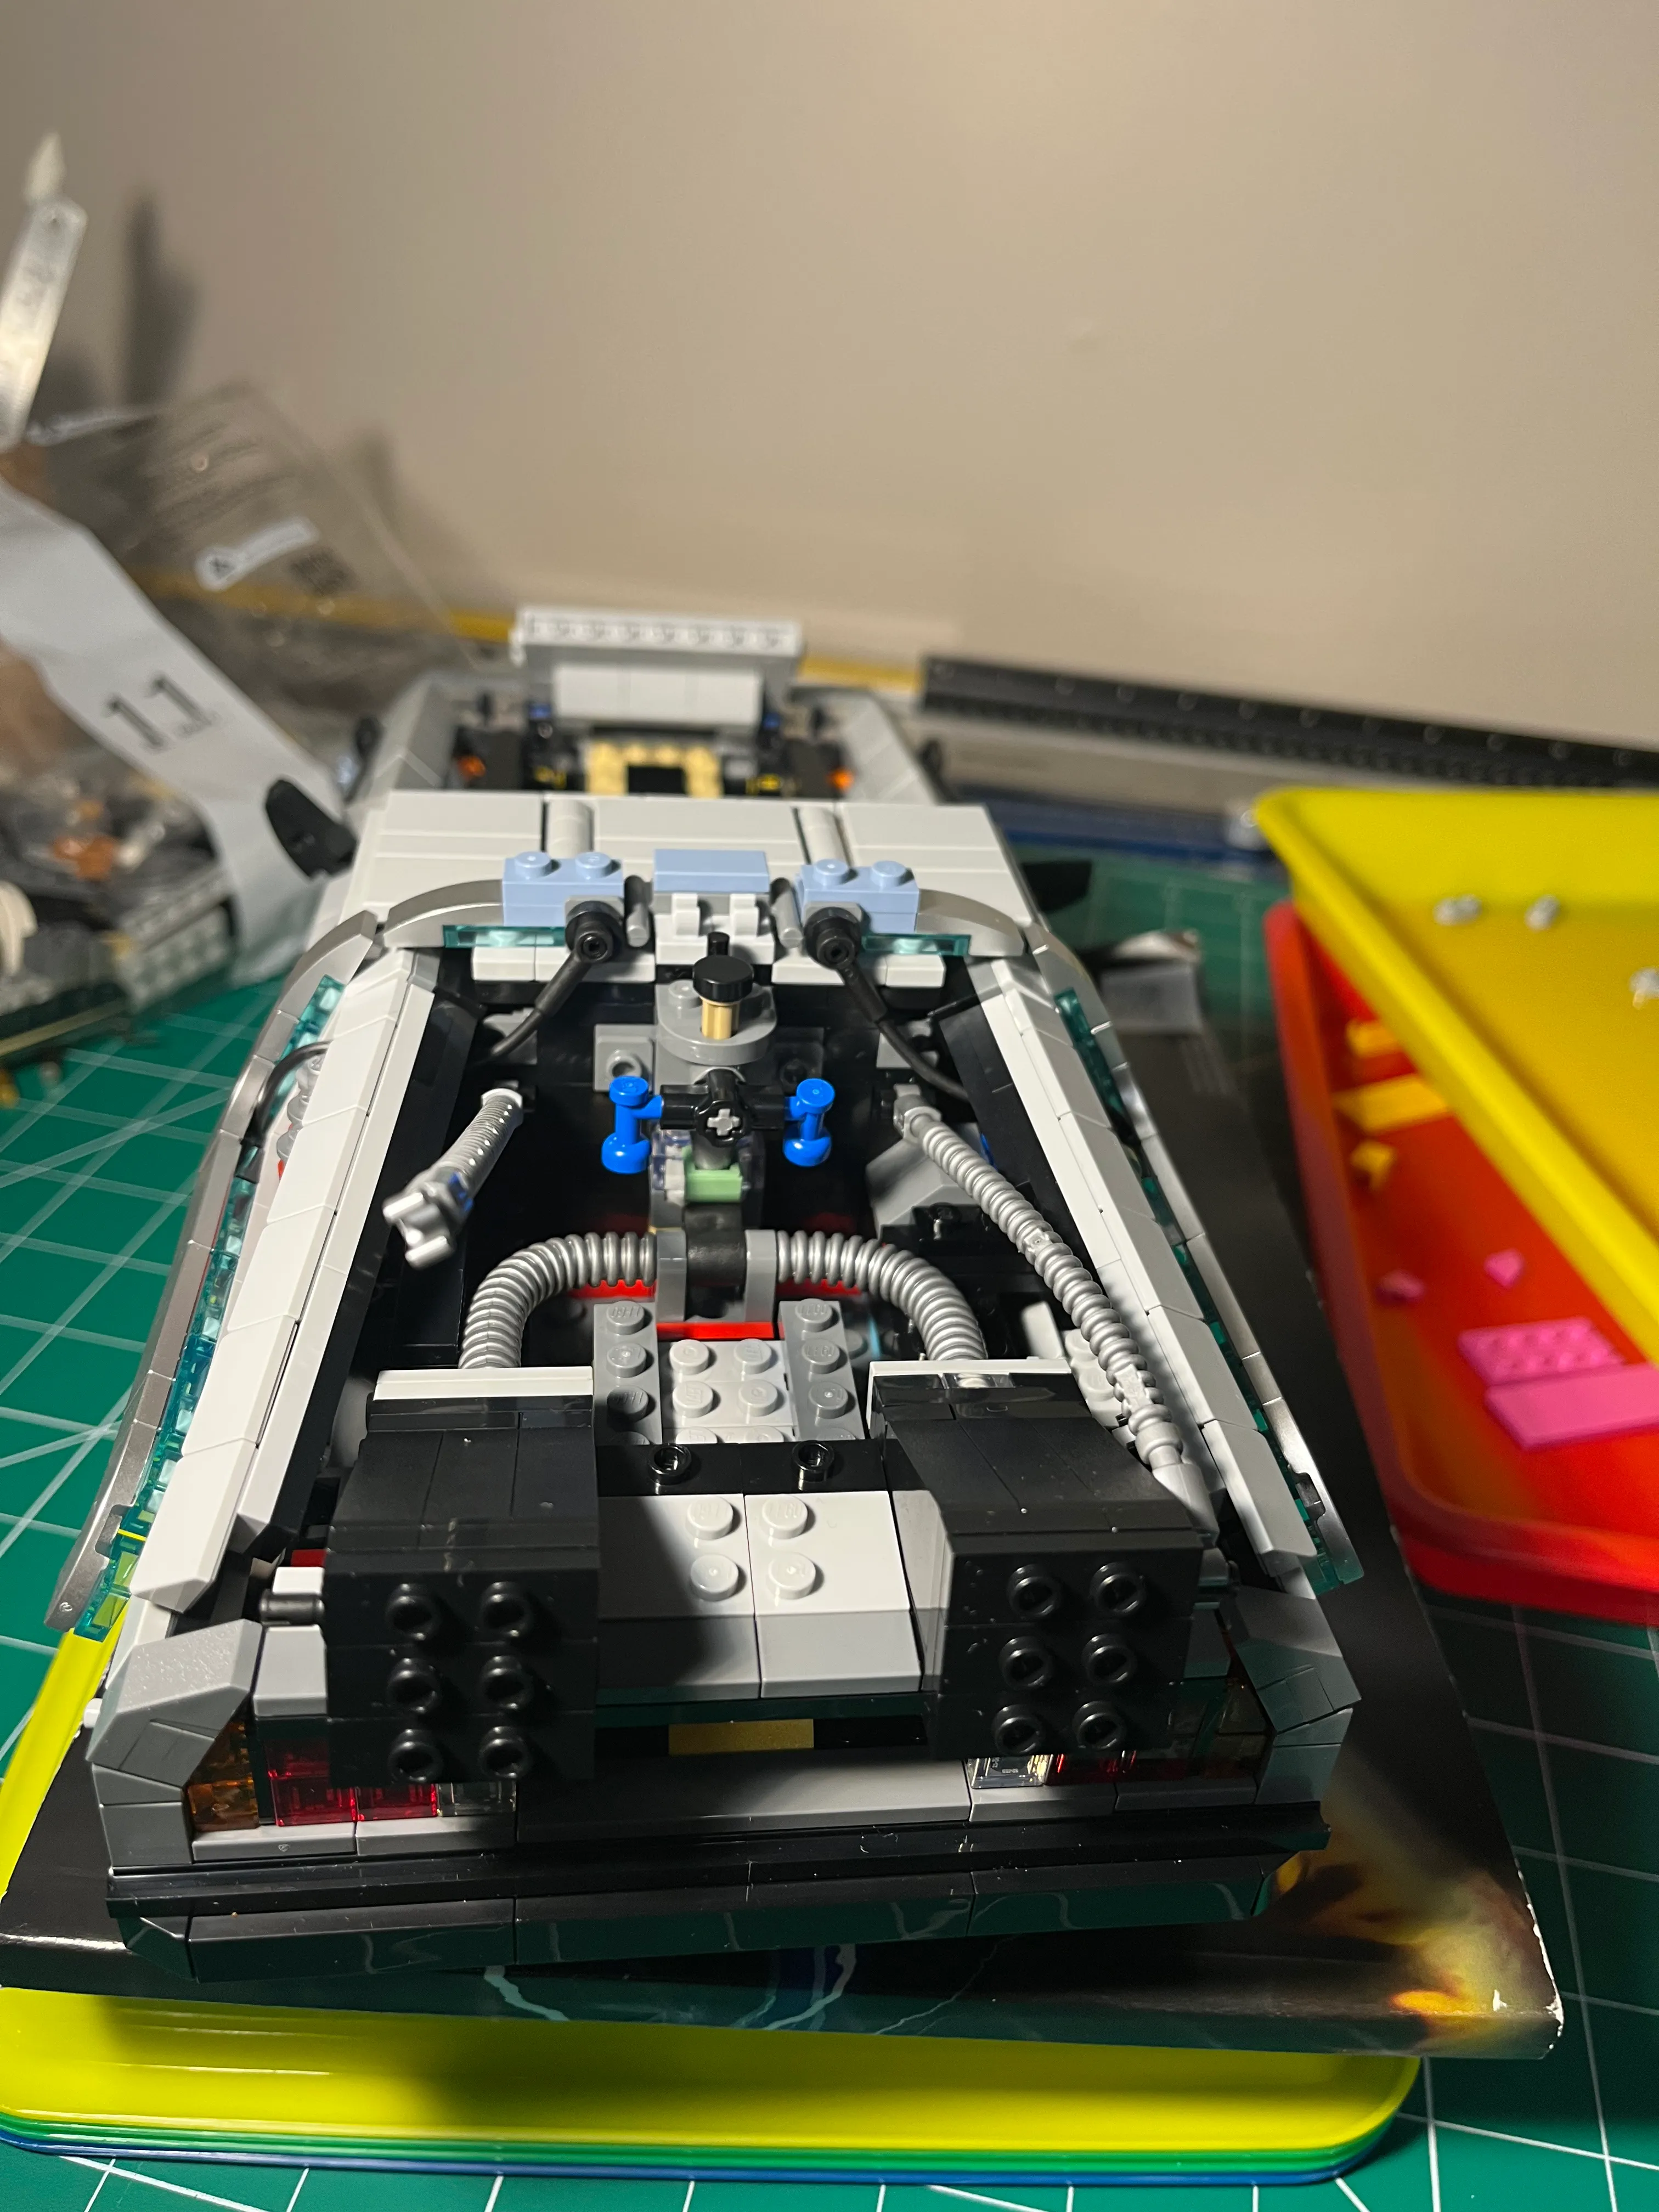
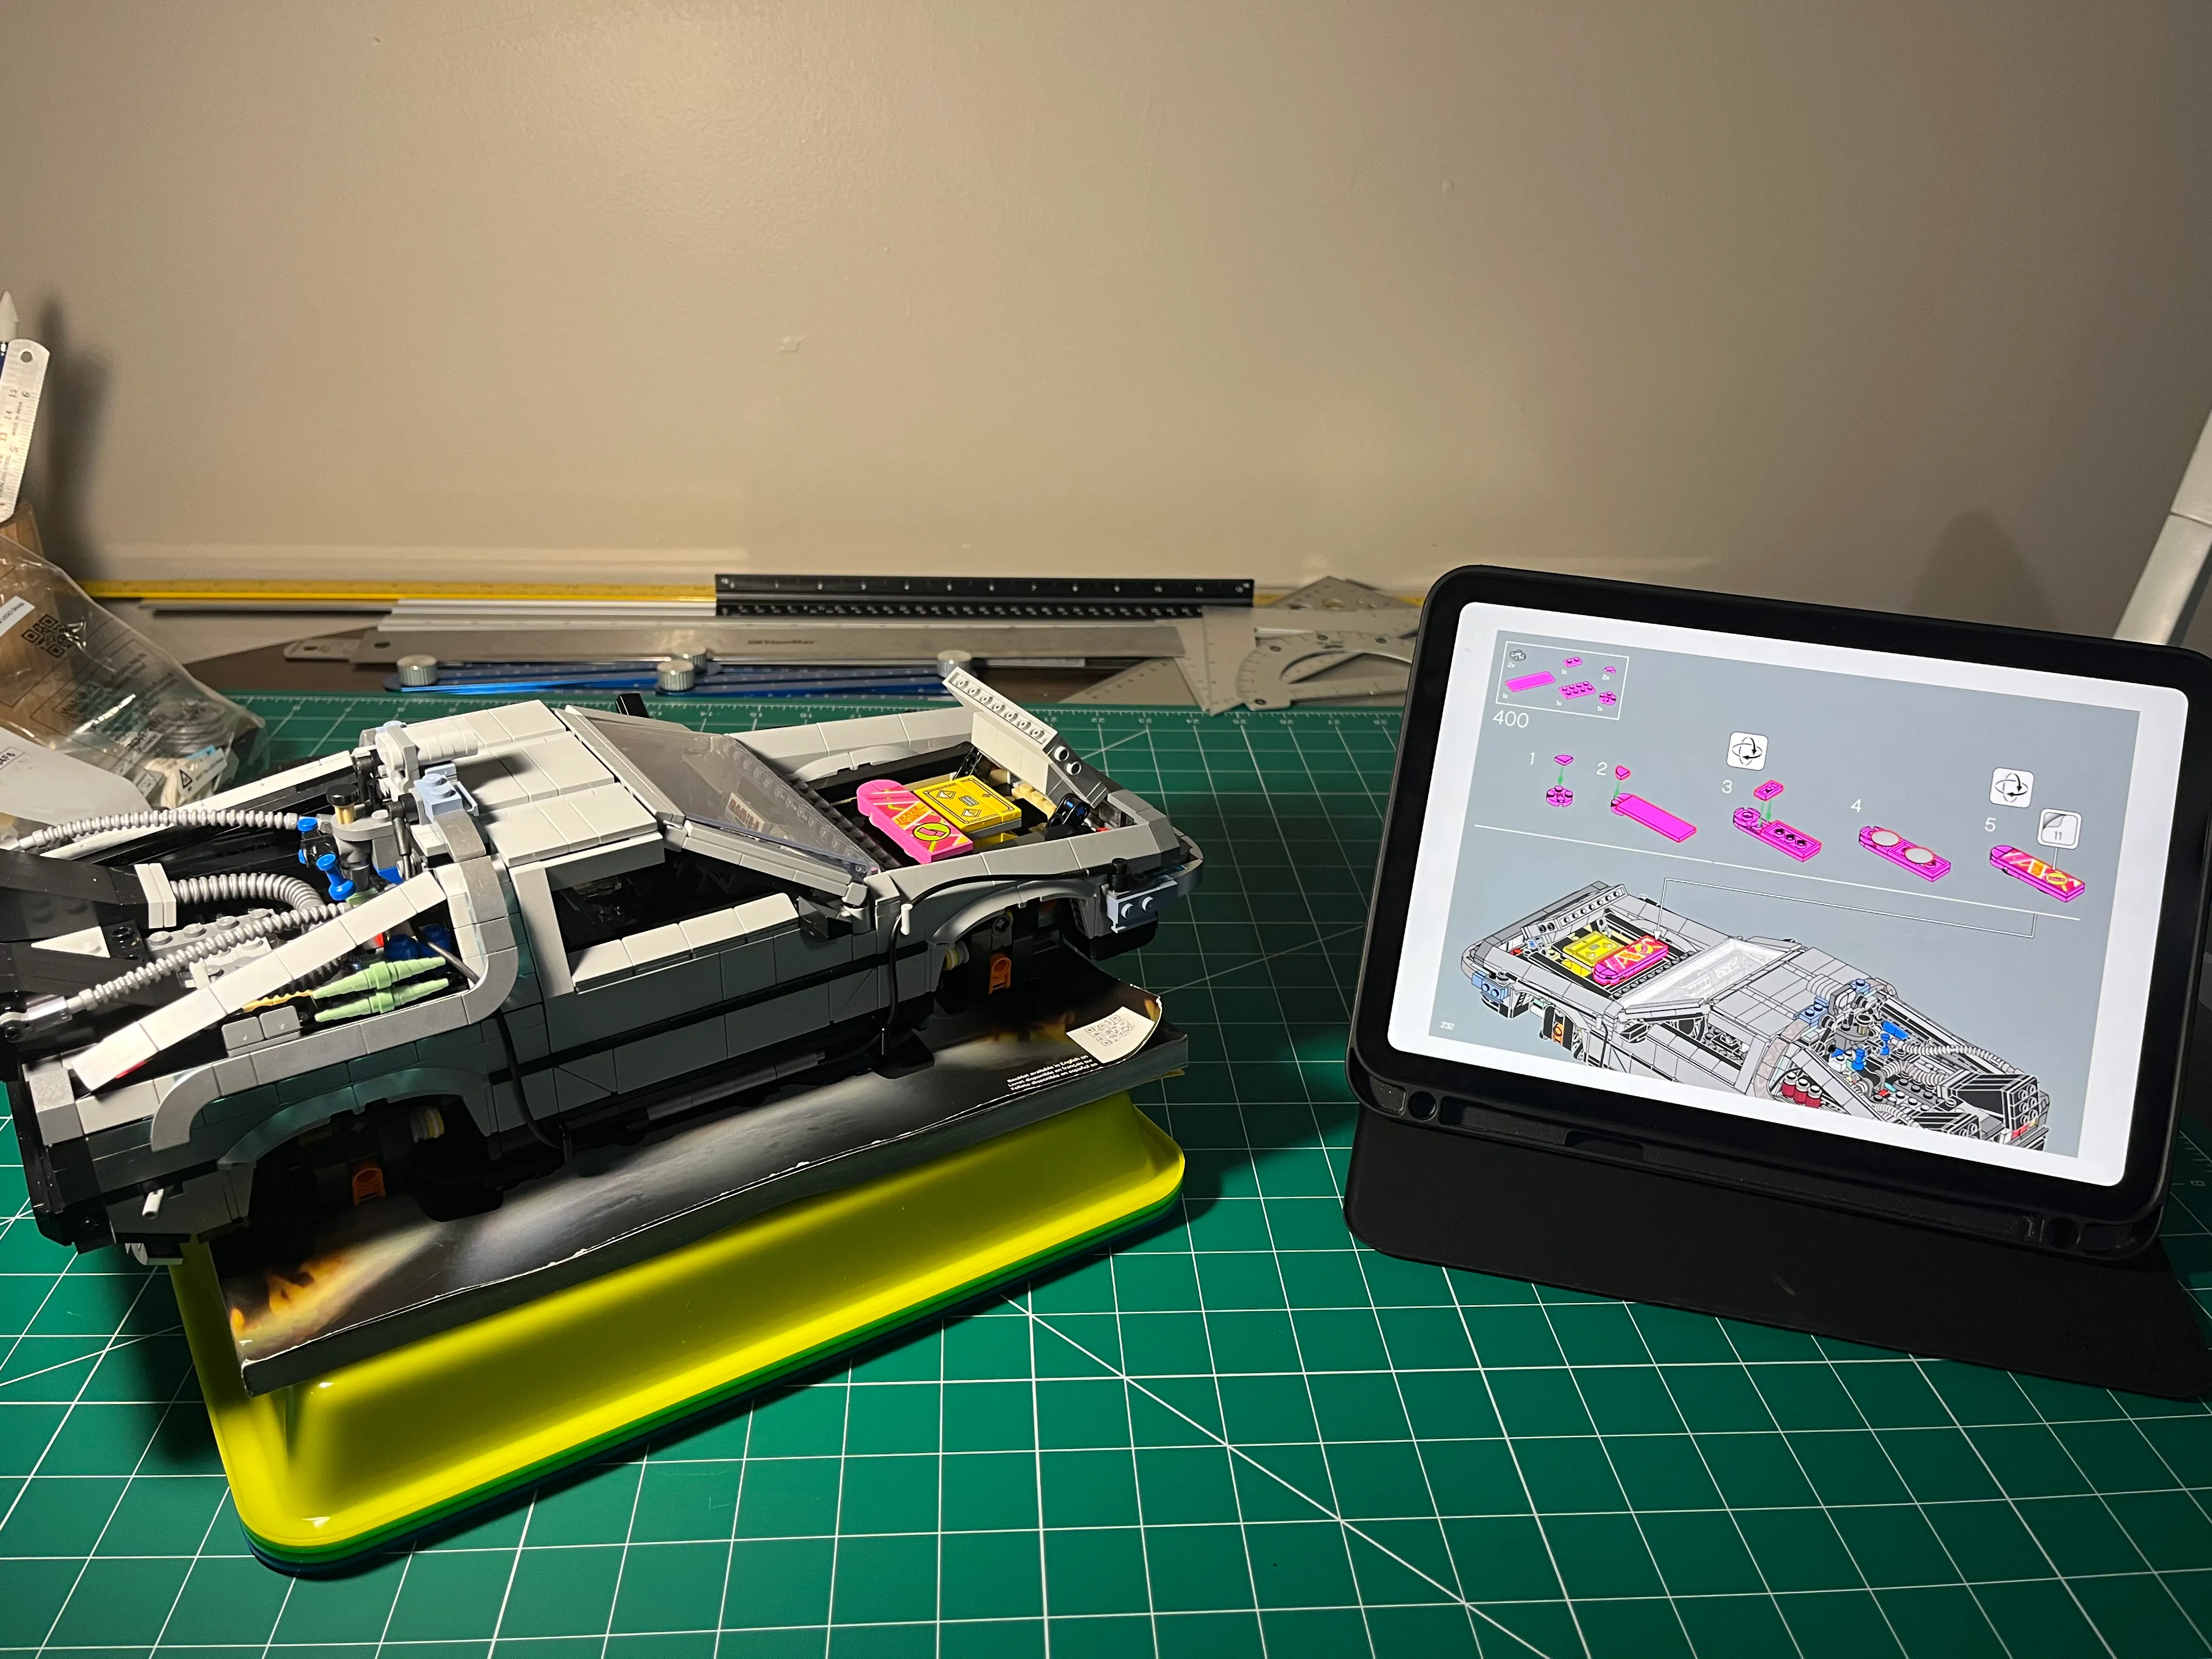
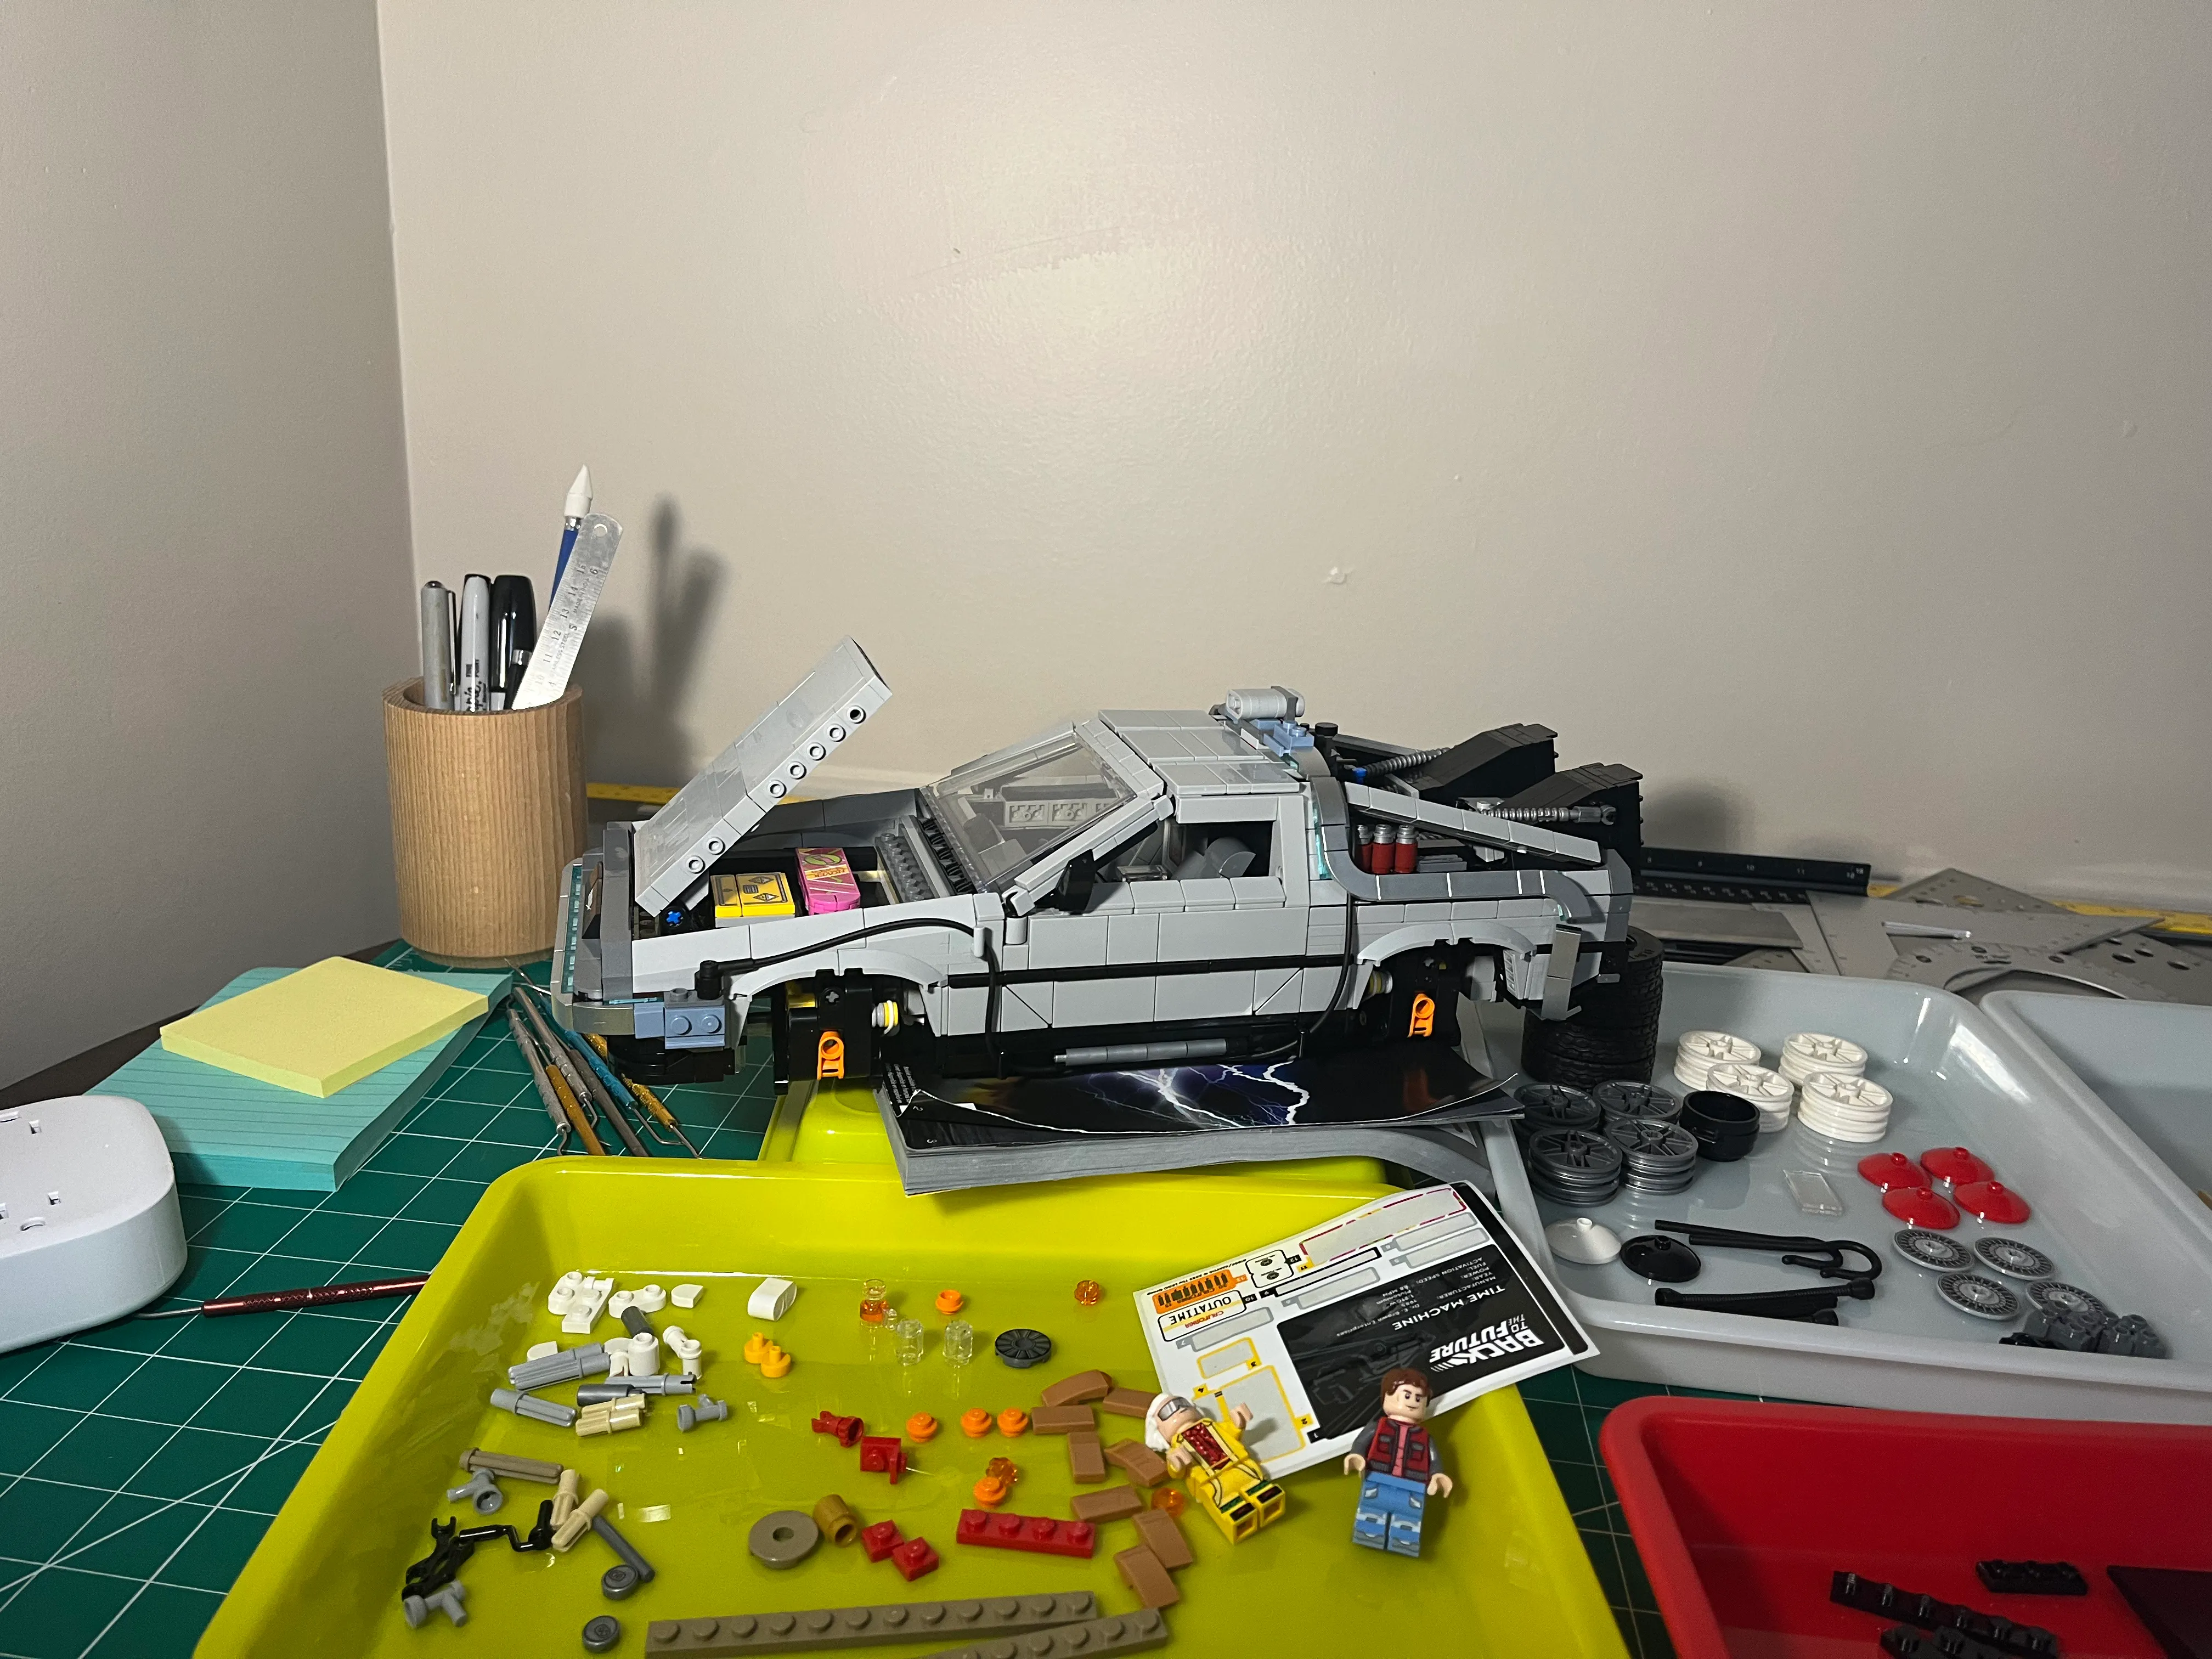
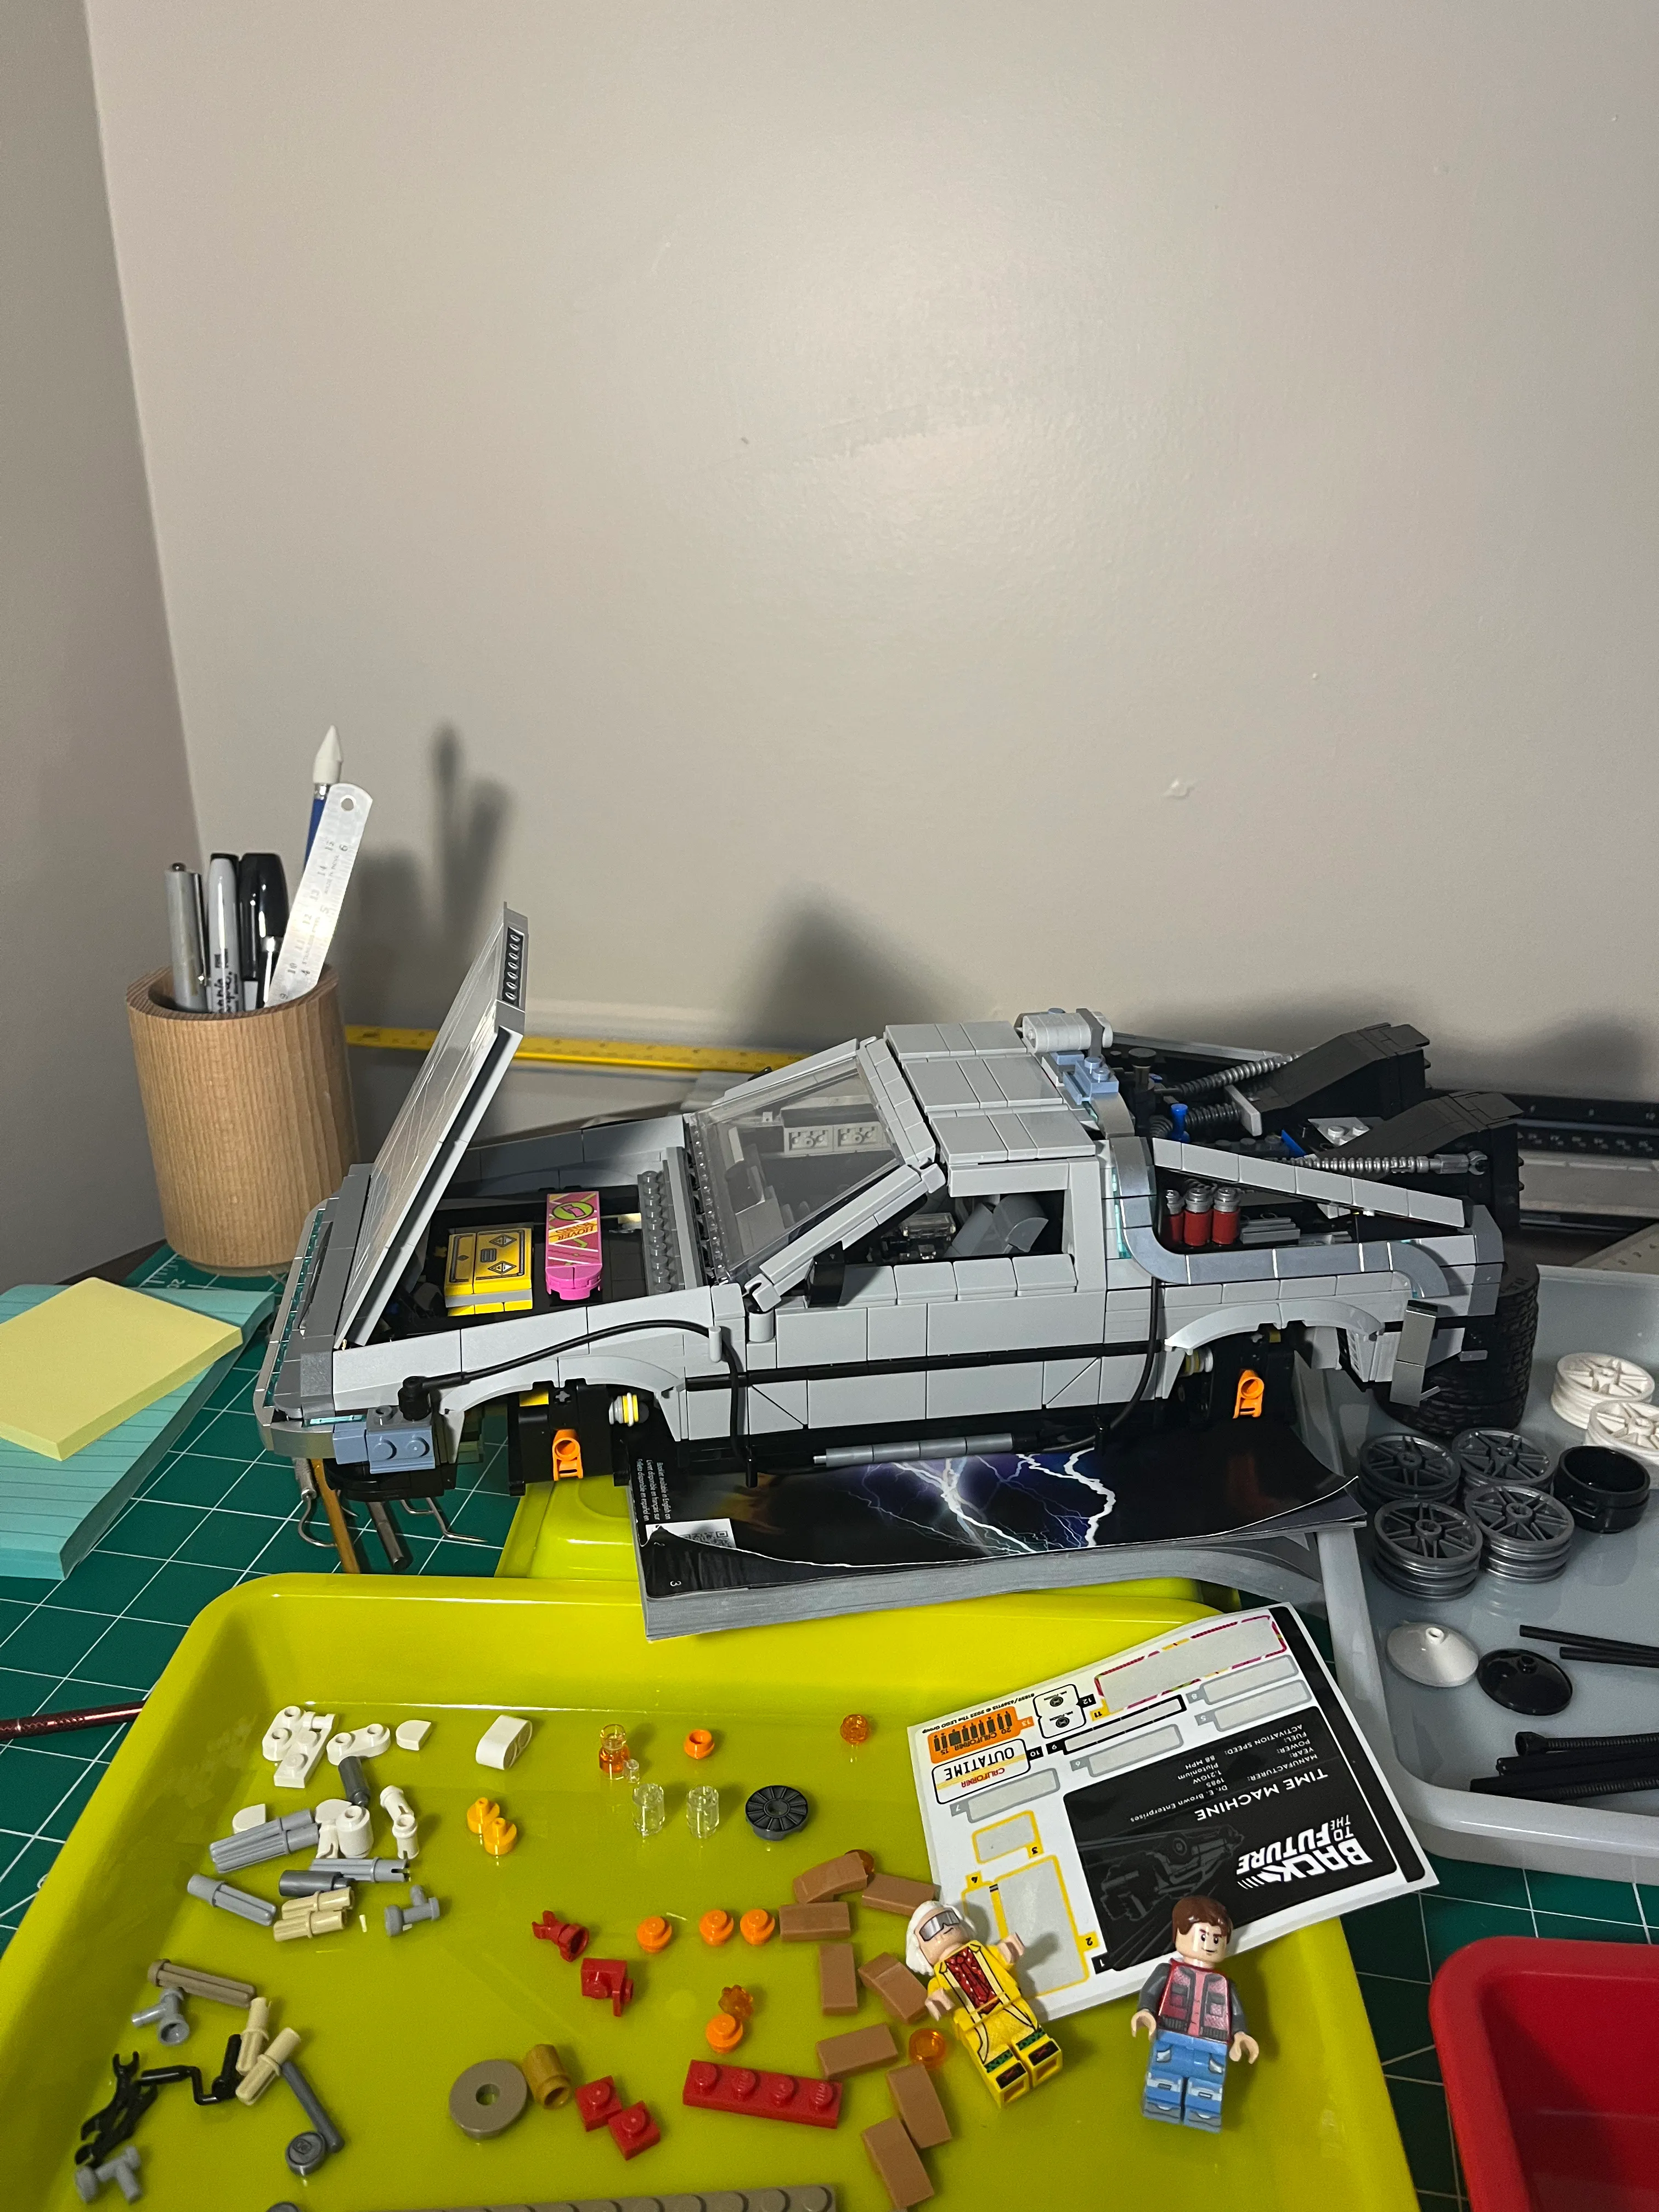
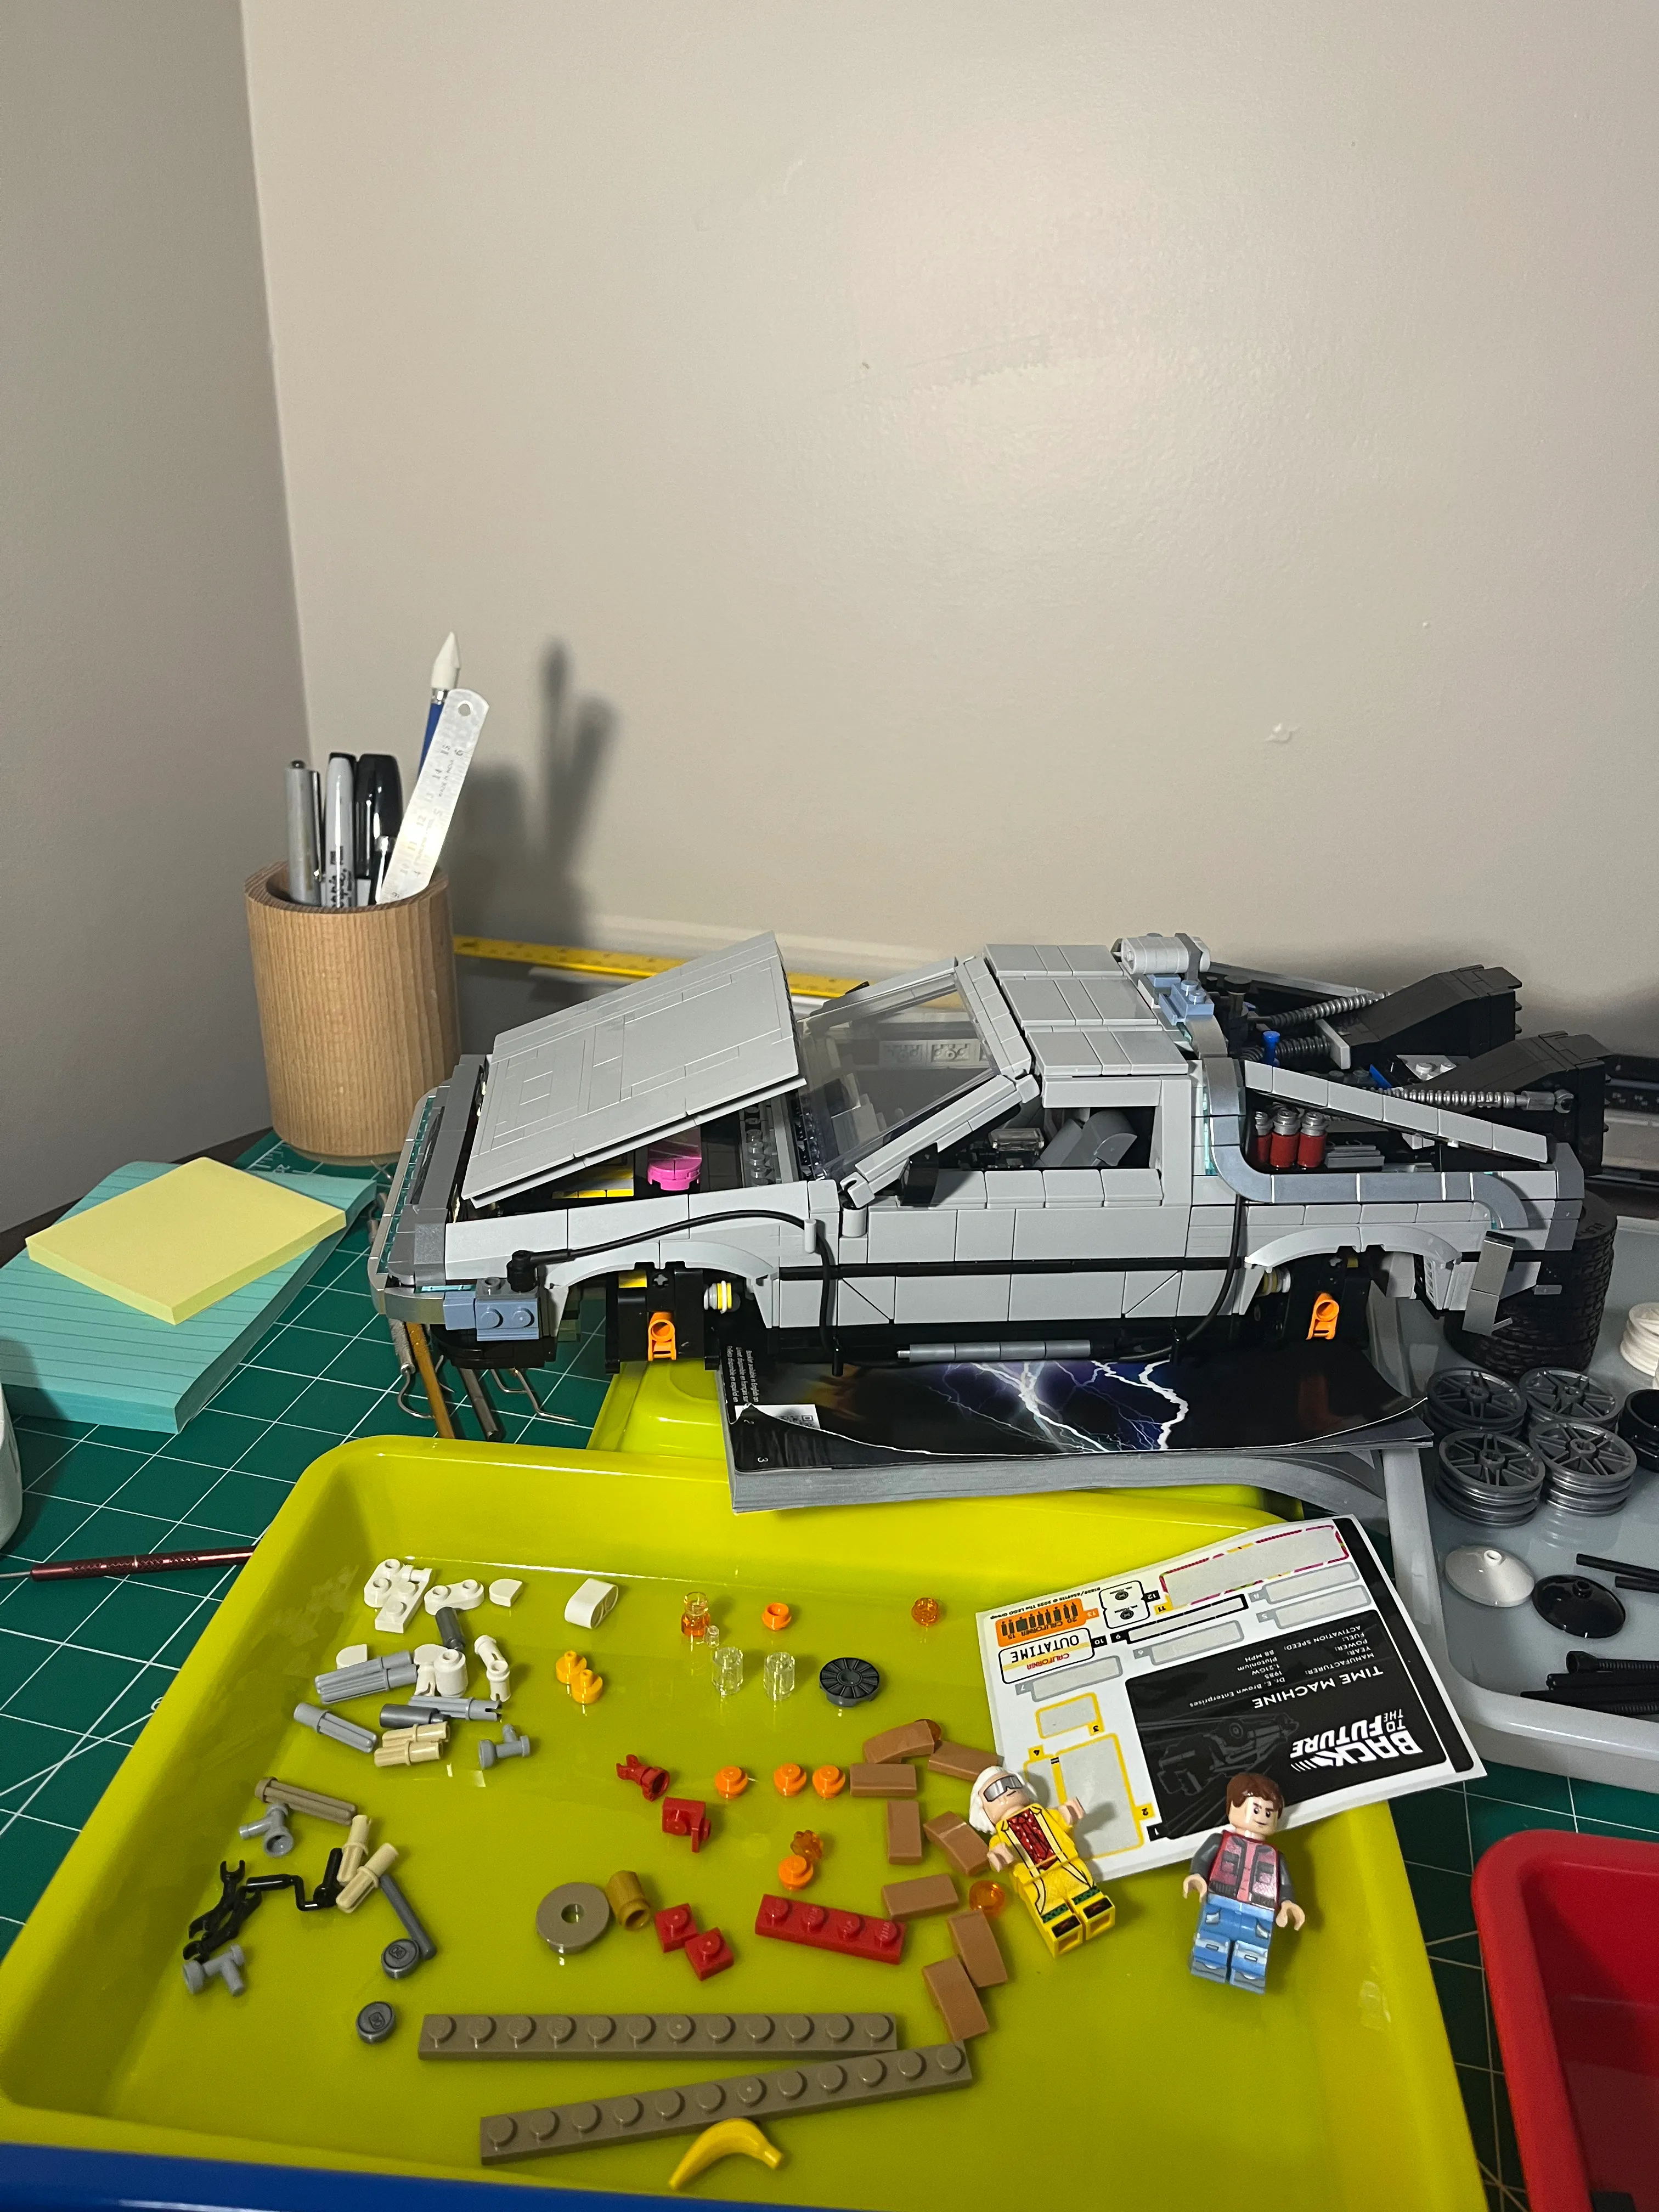
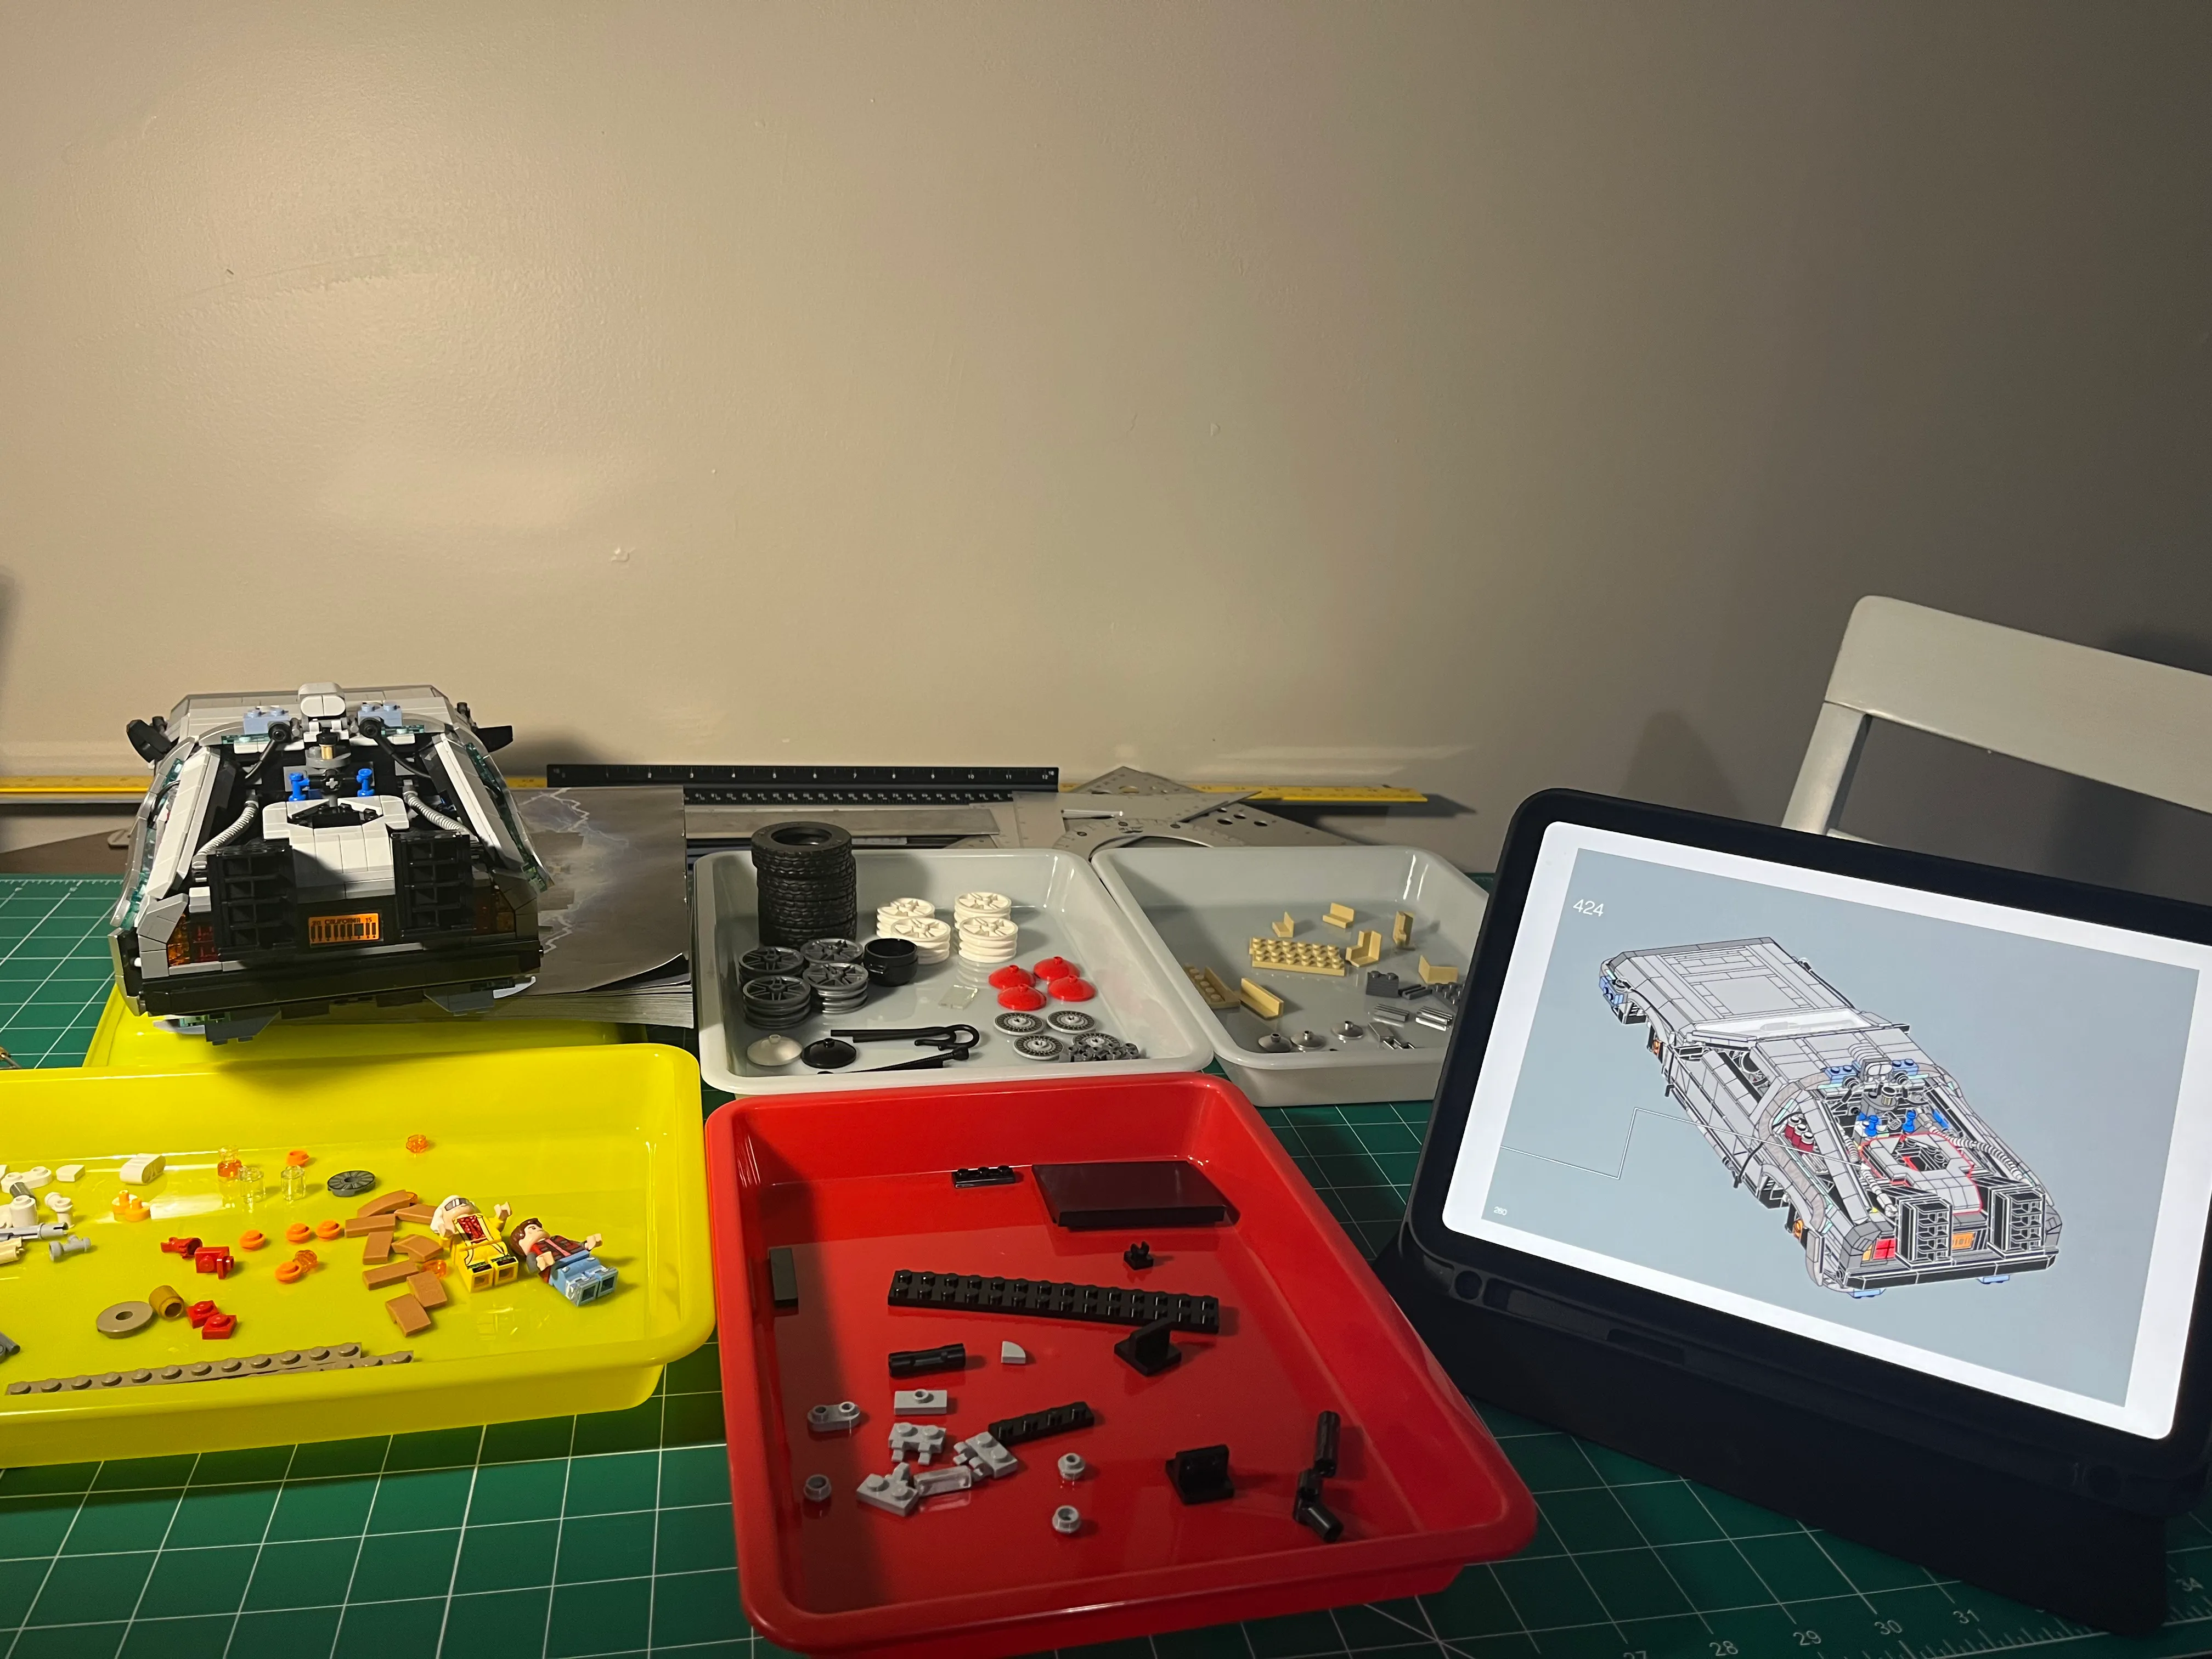
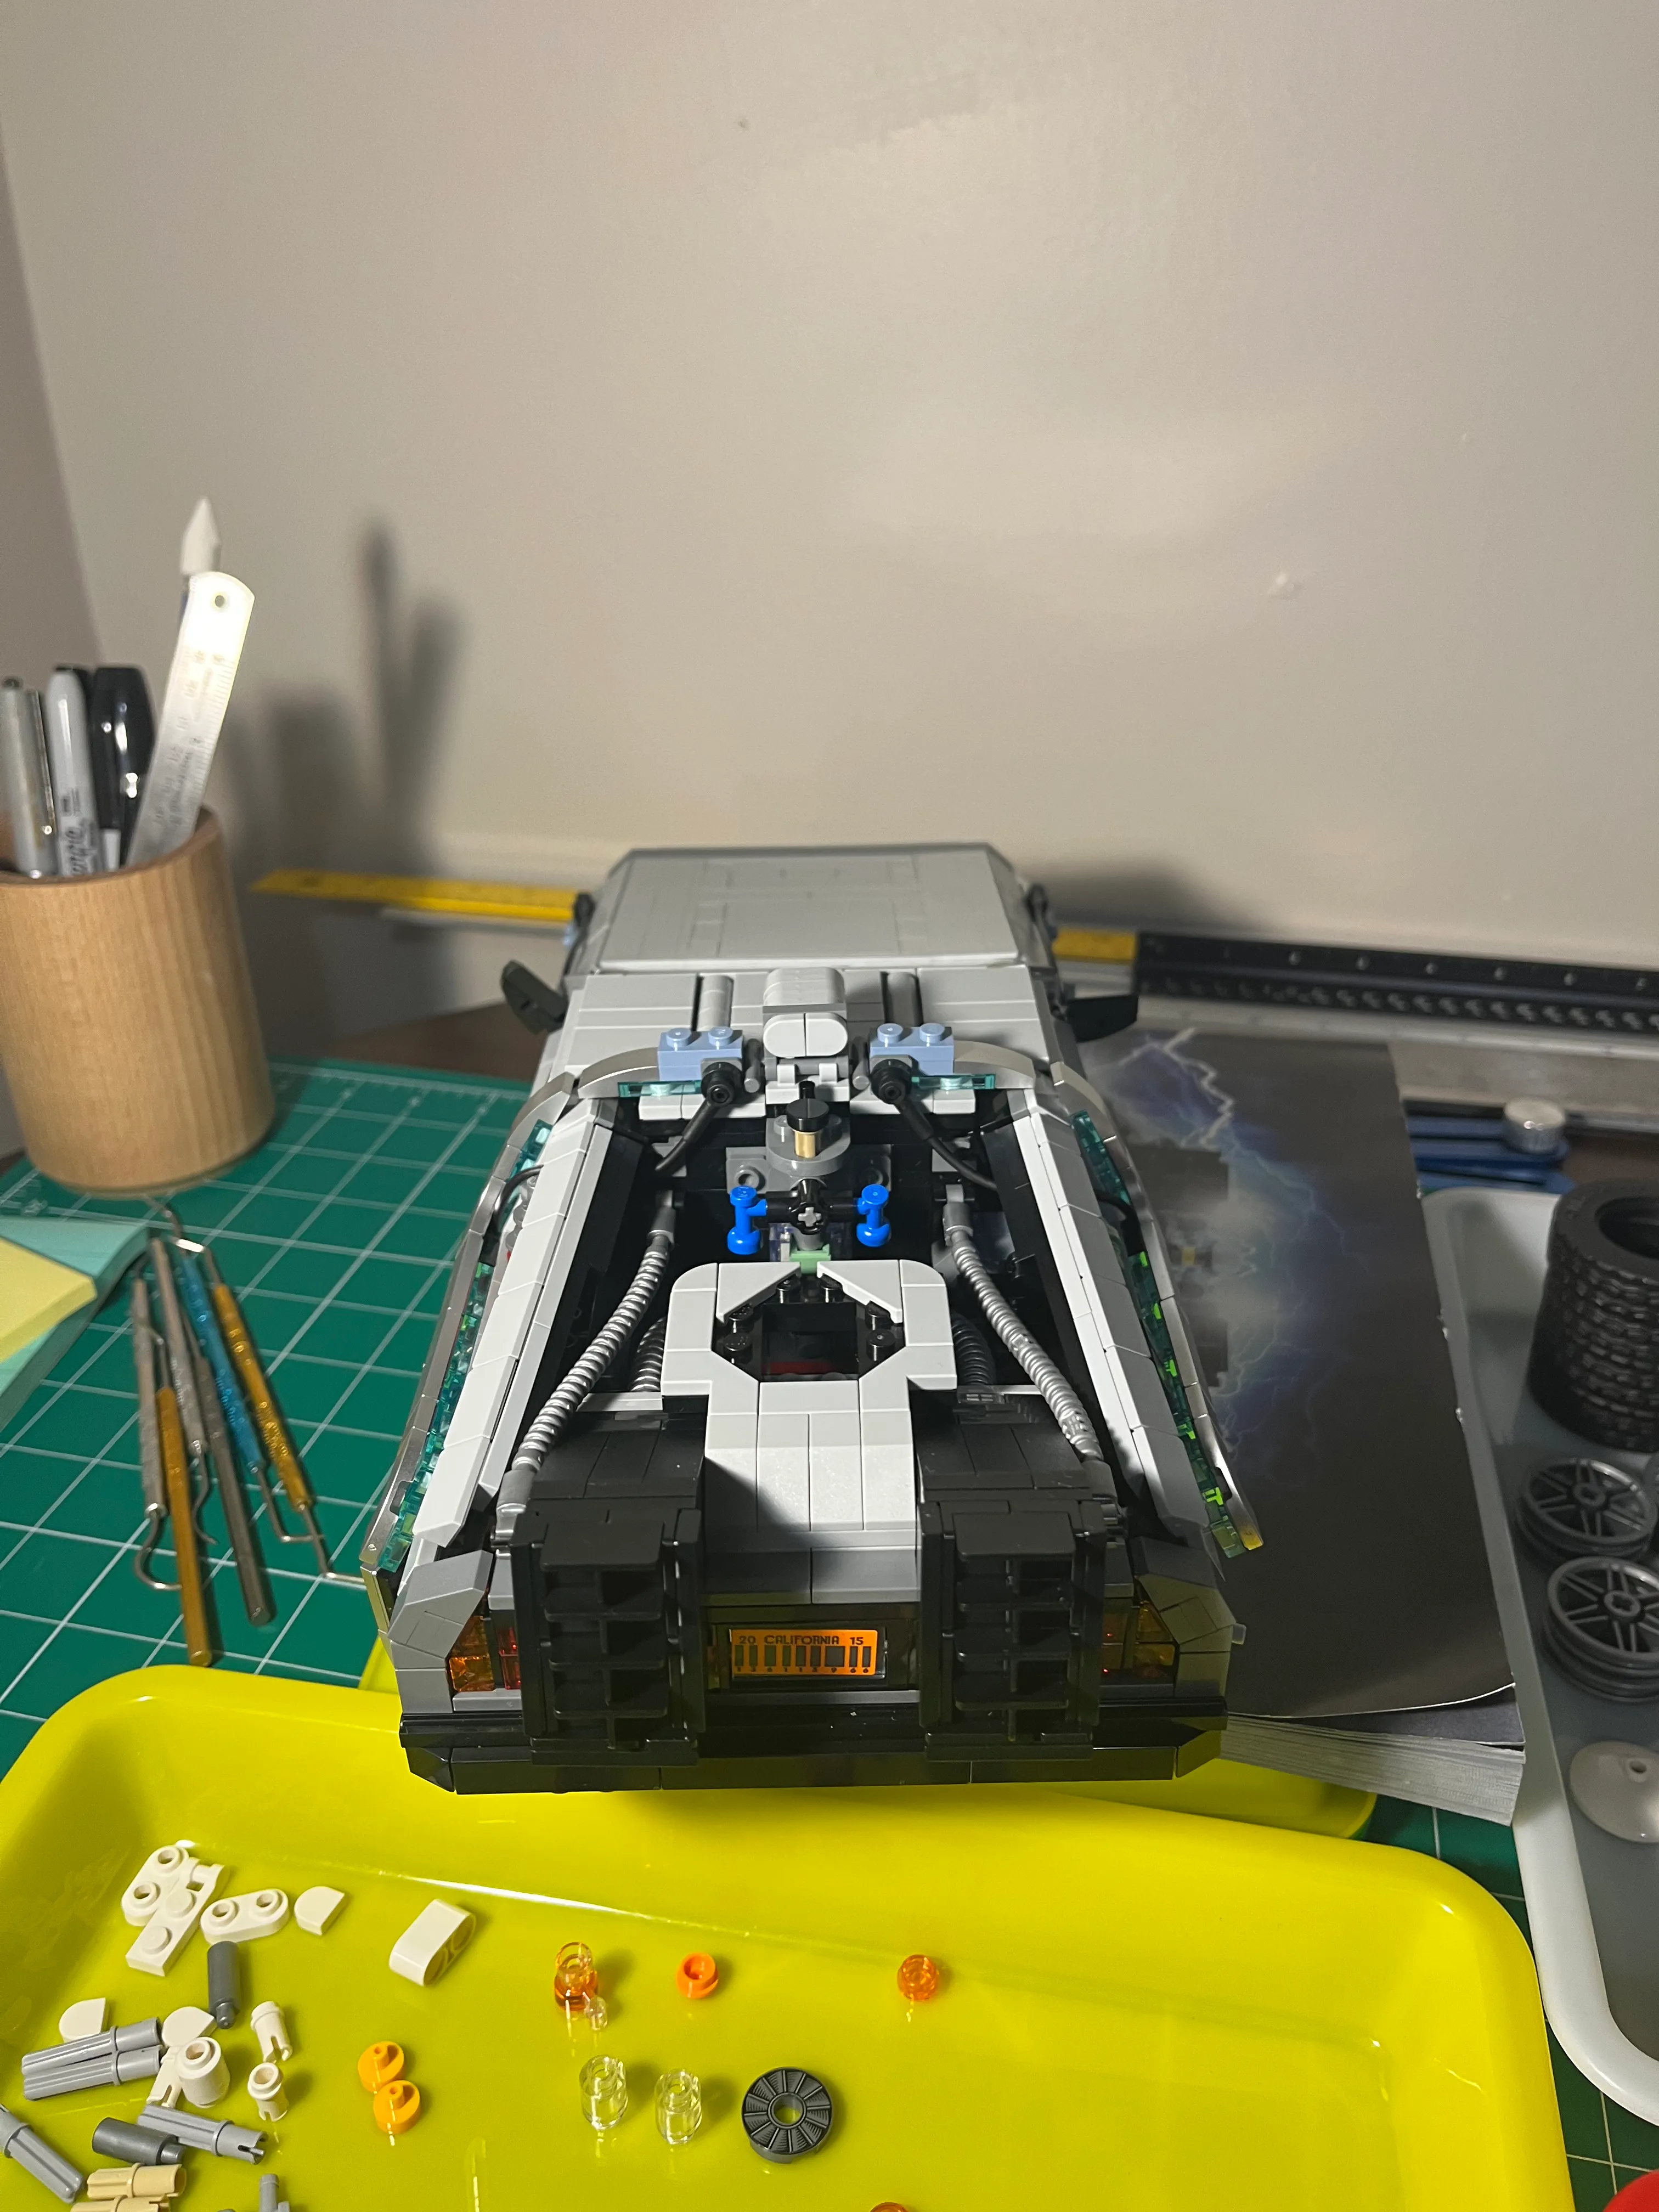
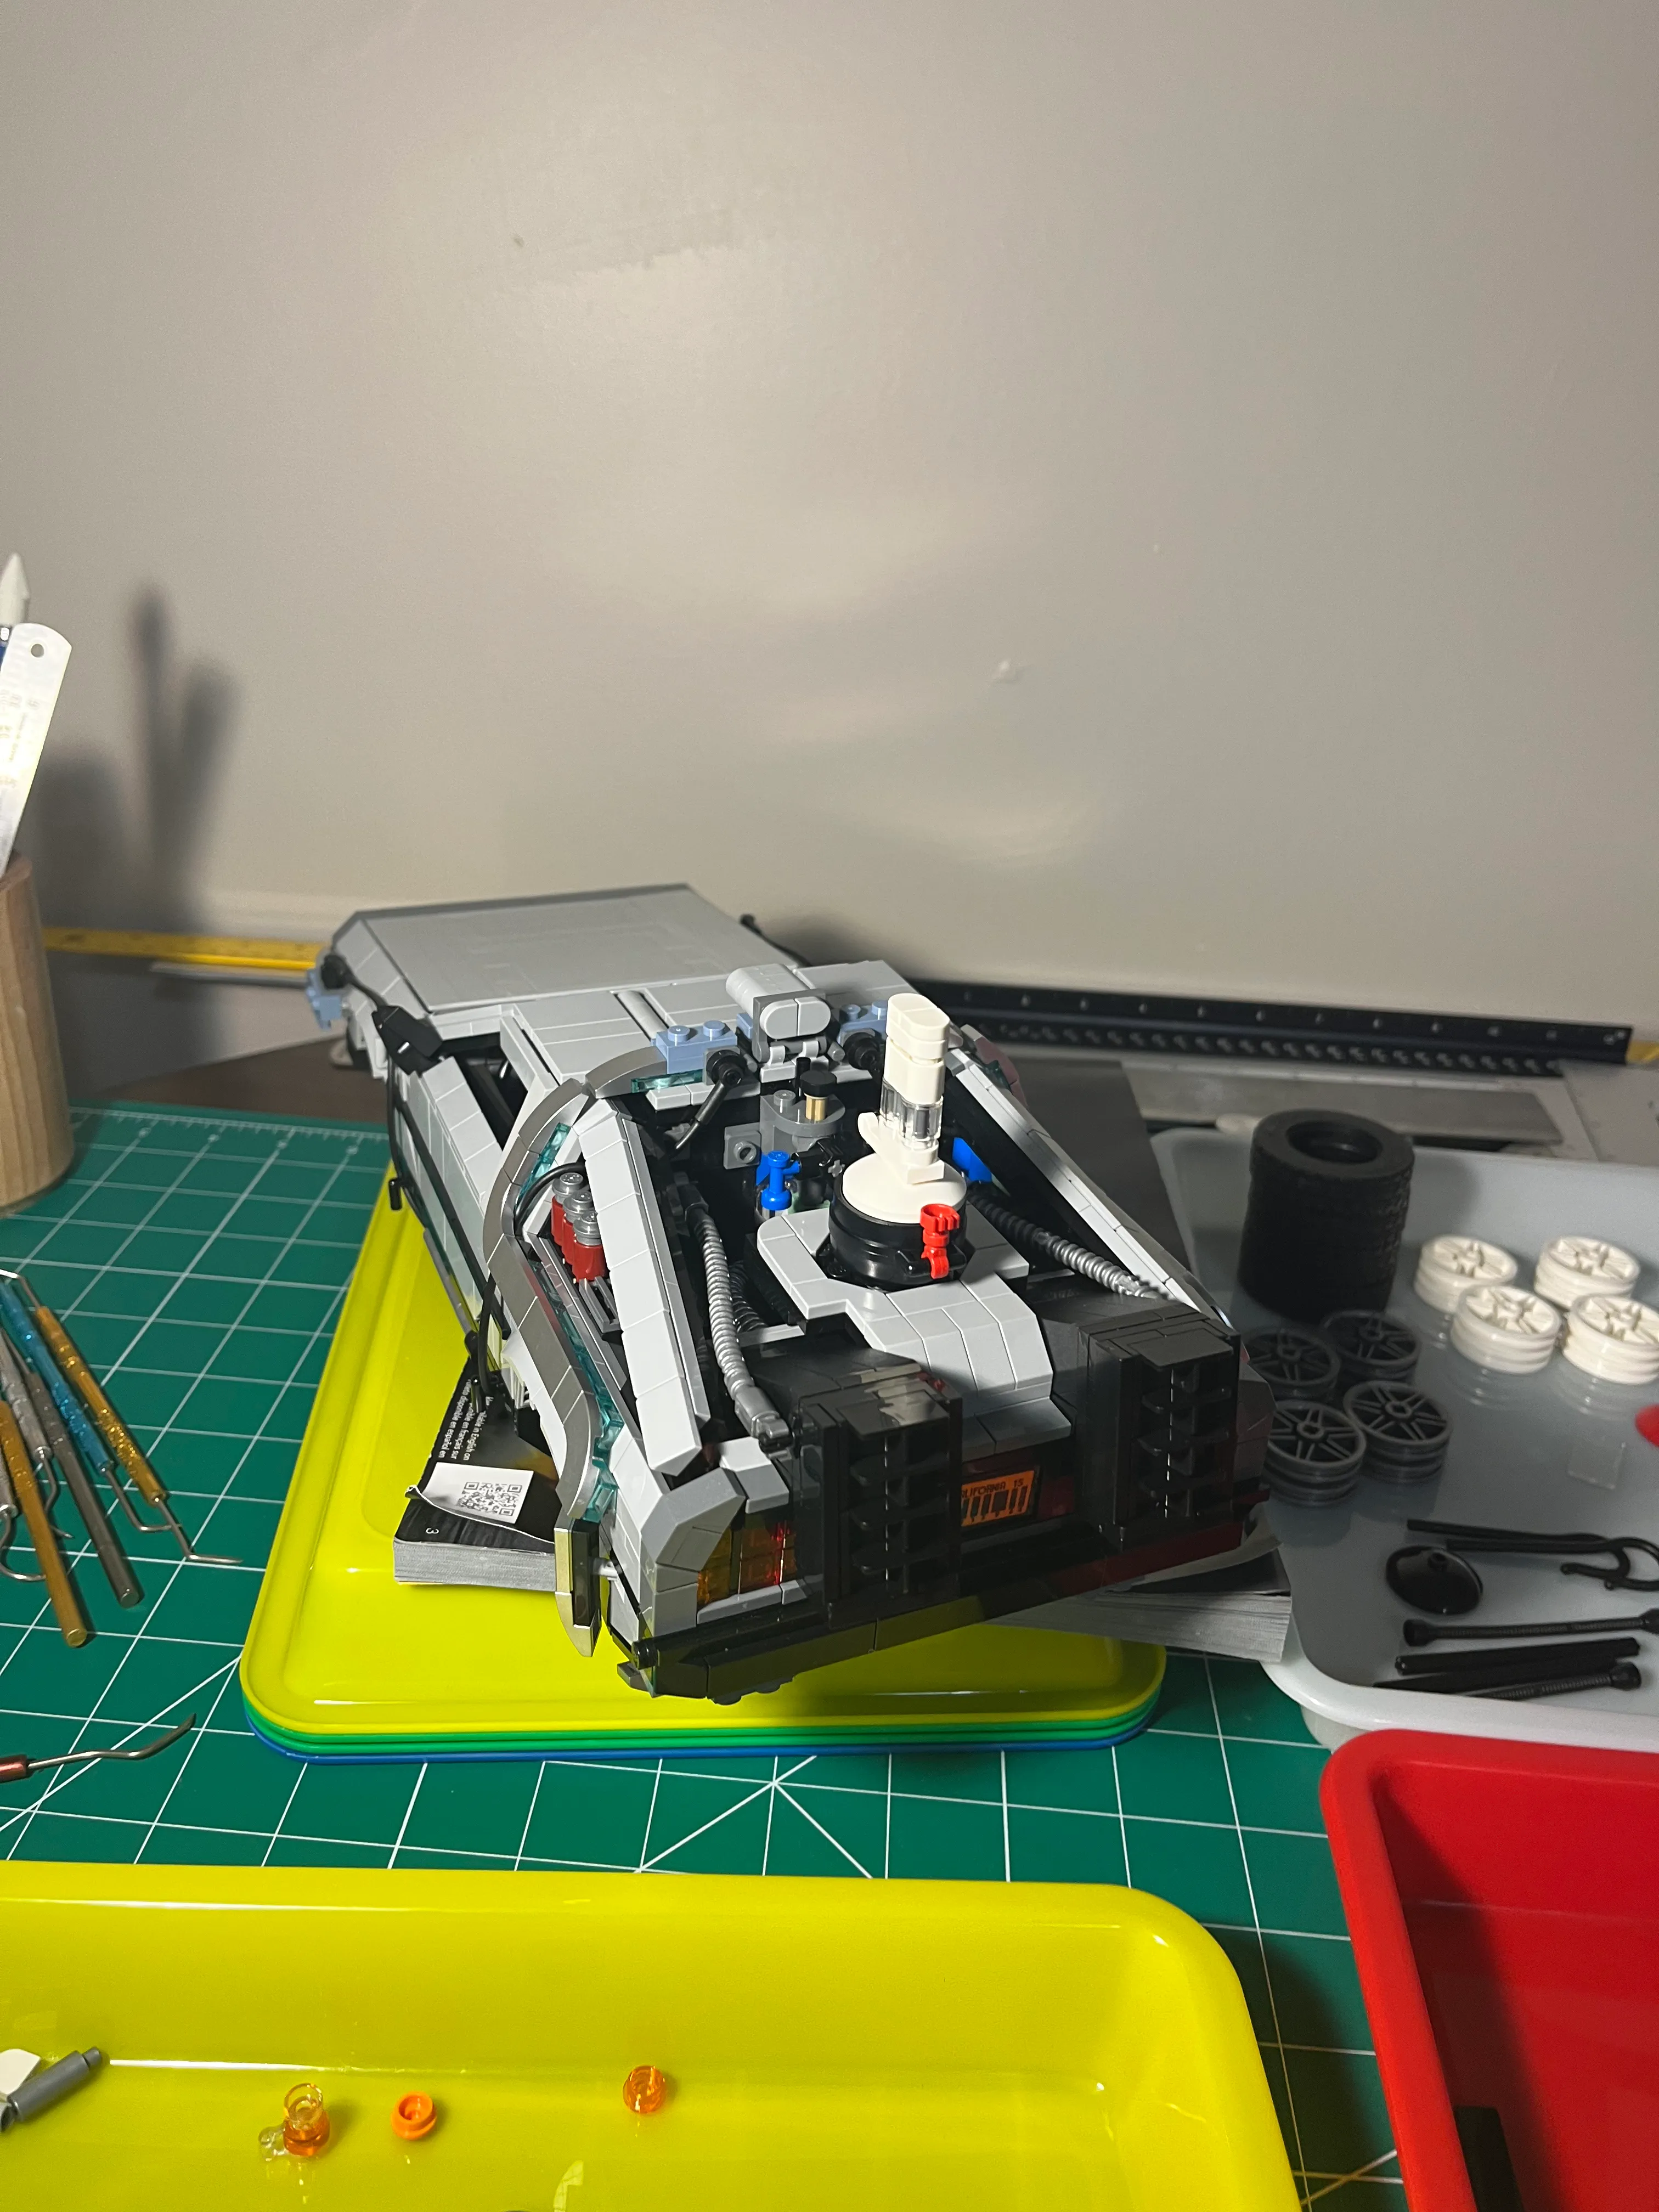
Bag #7
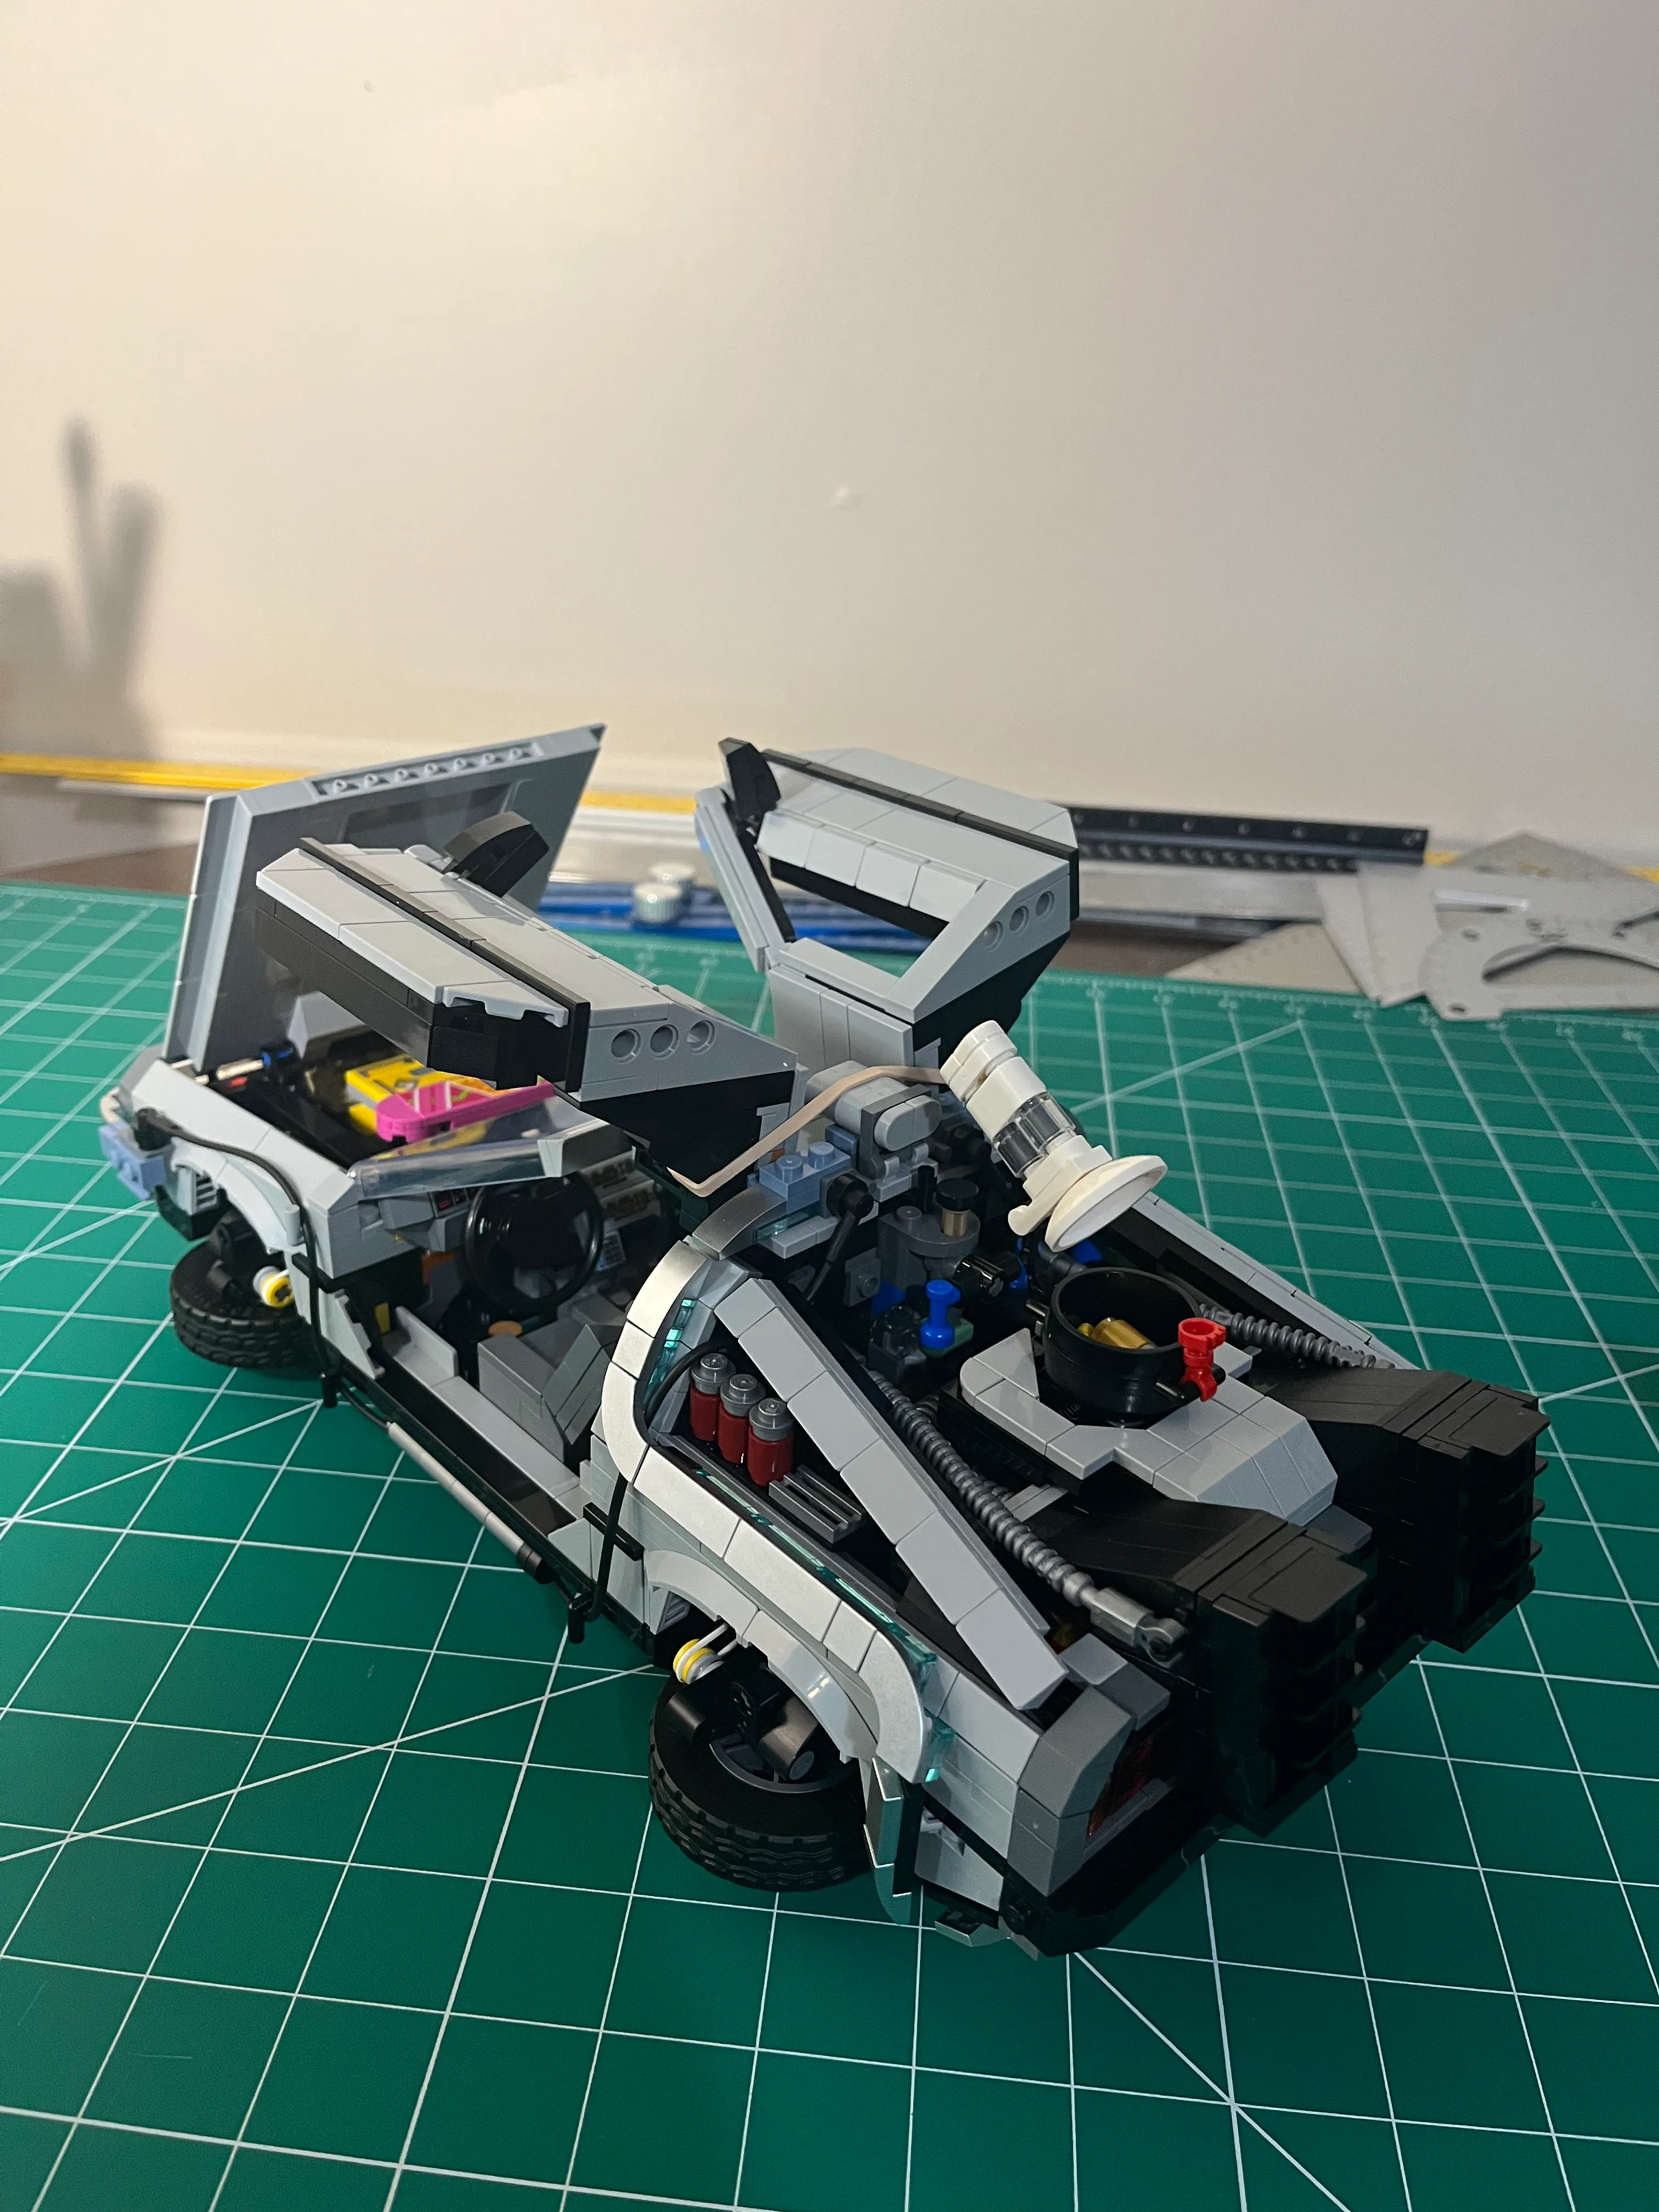
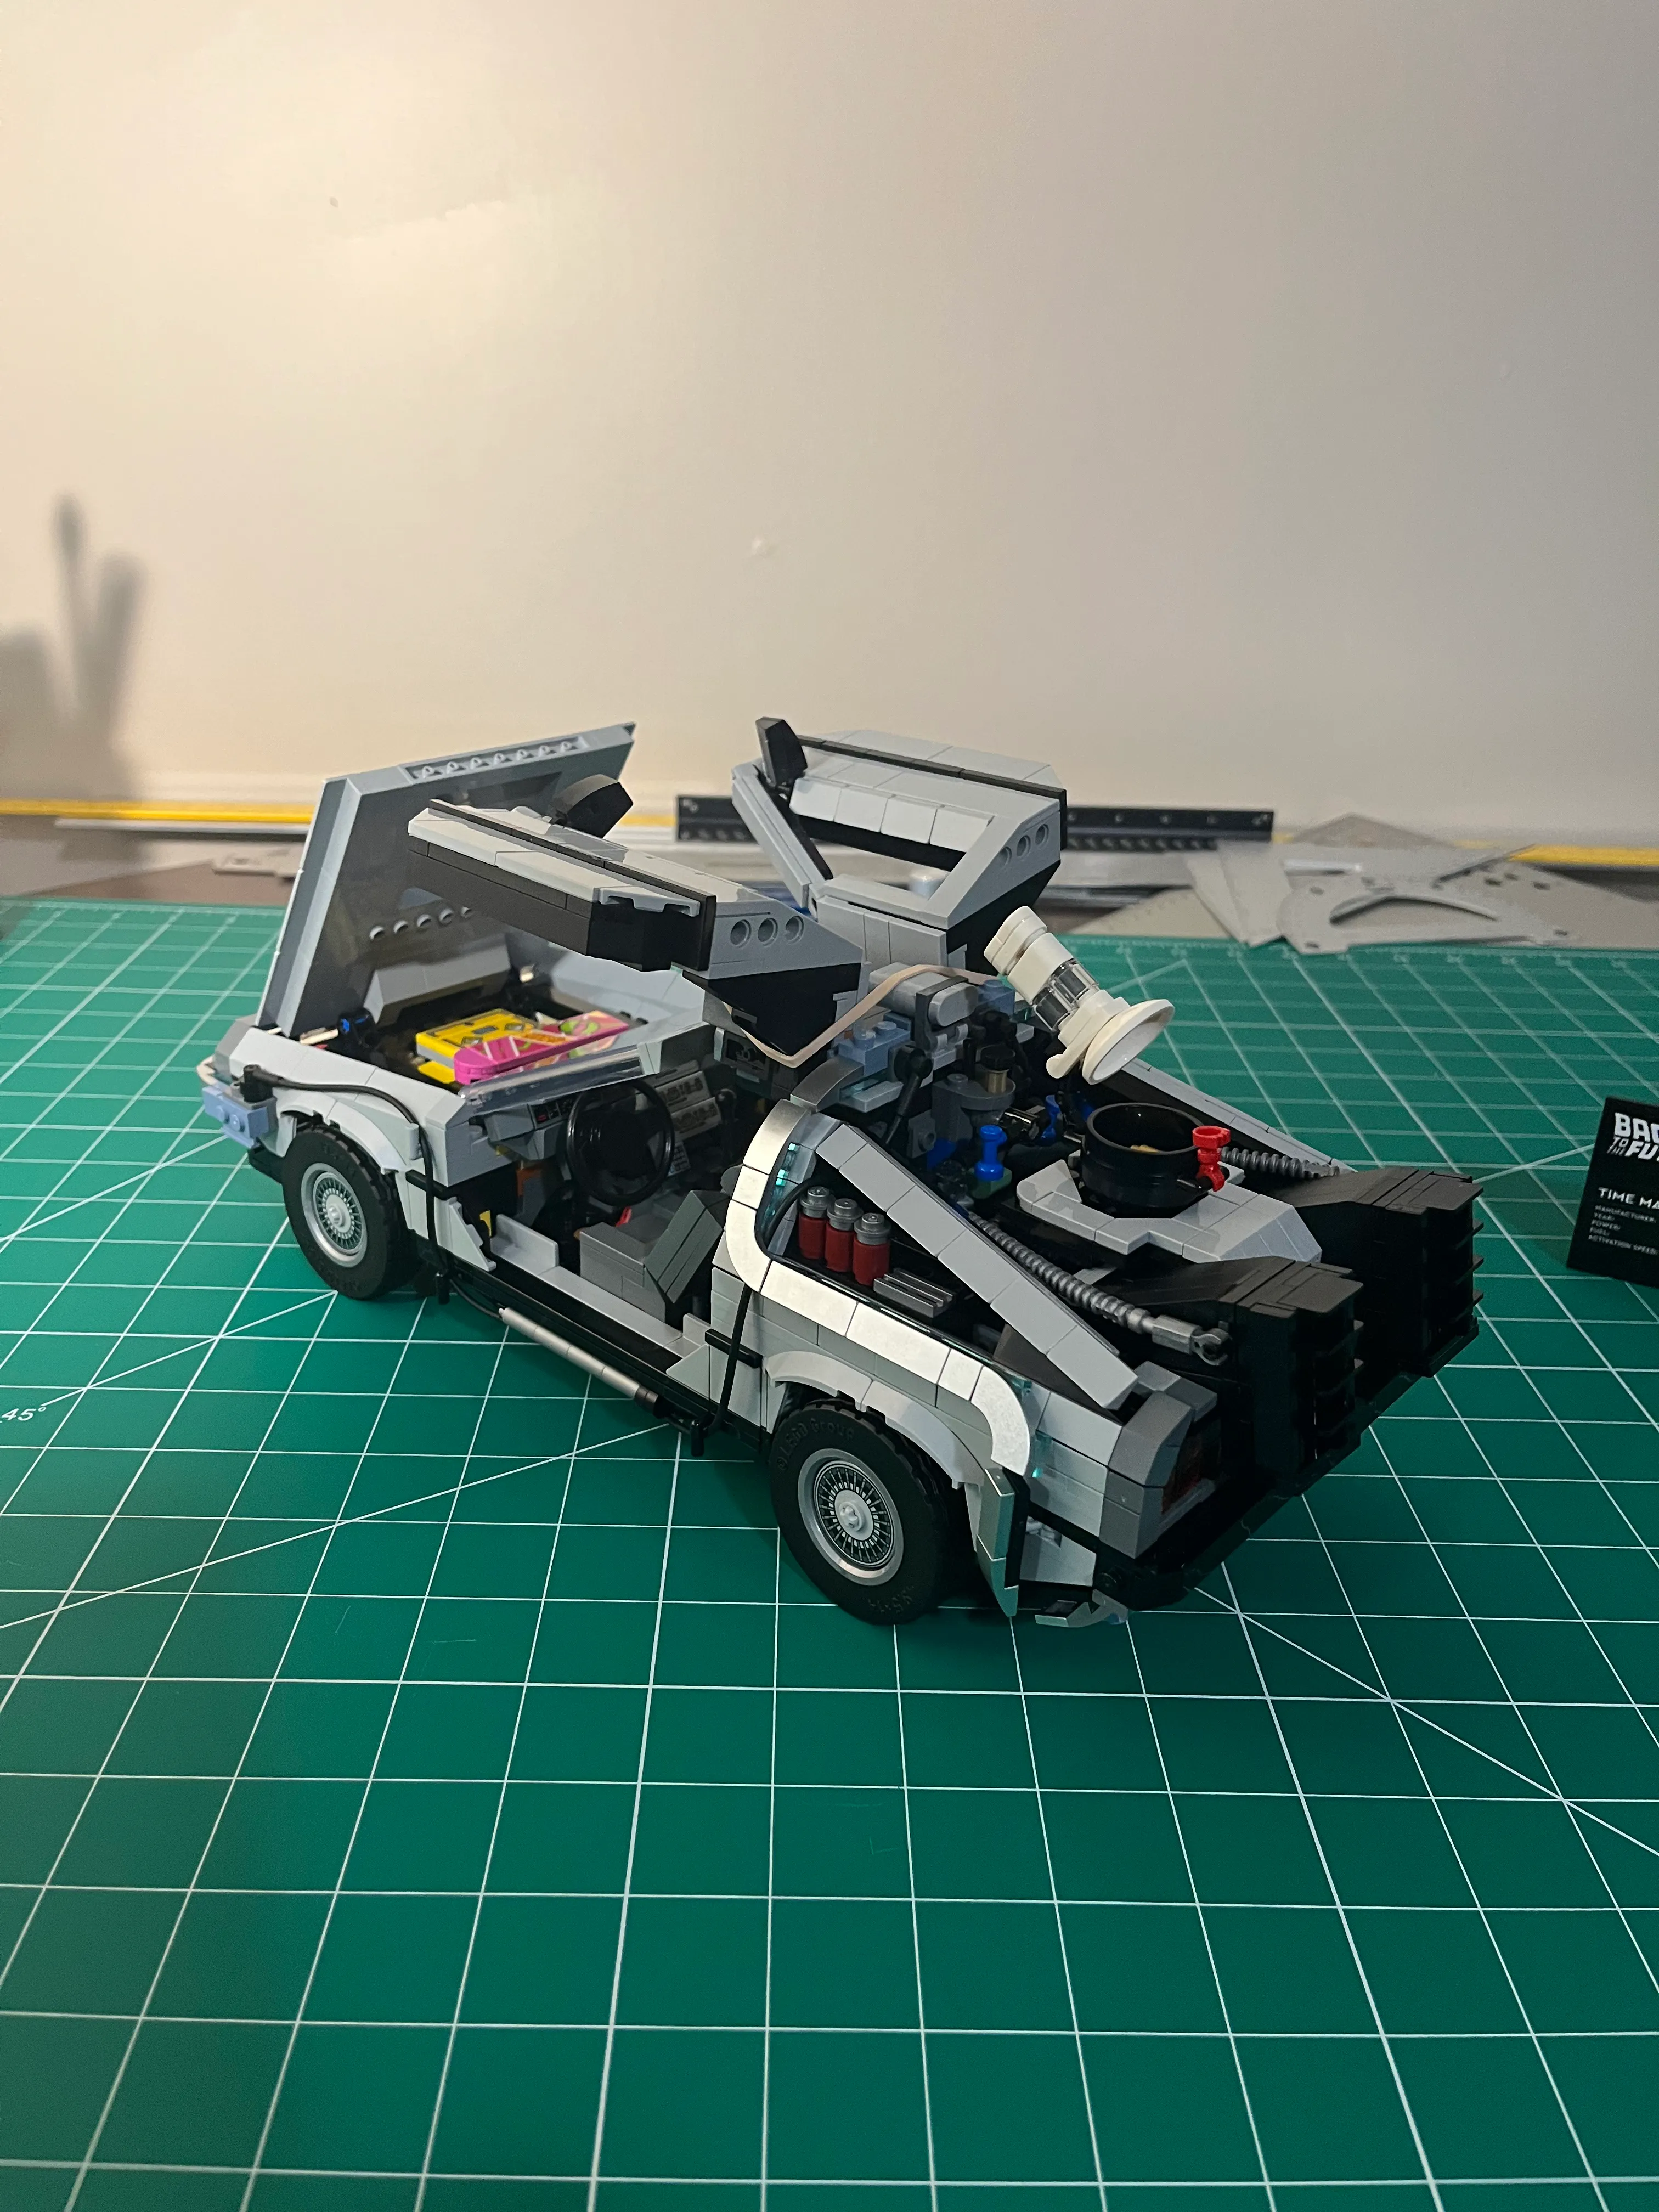
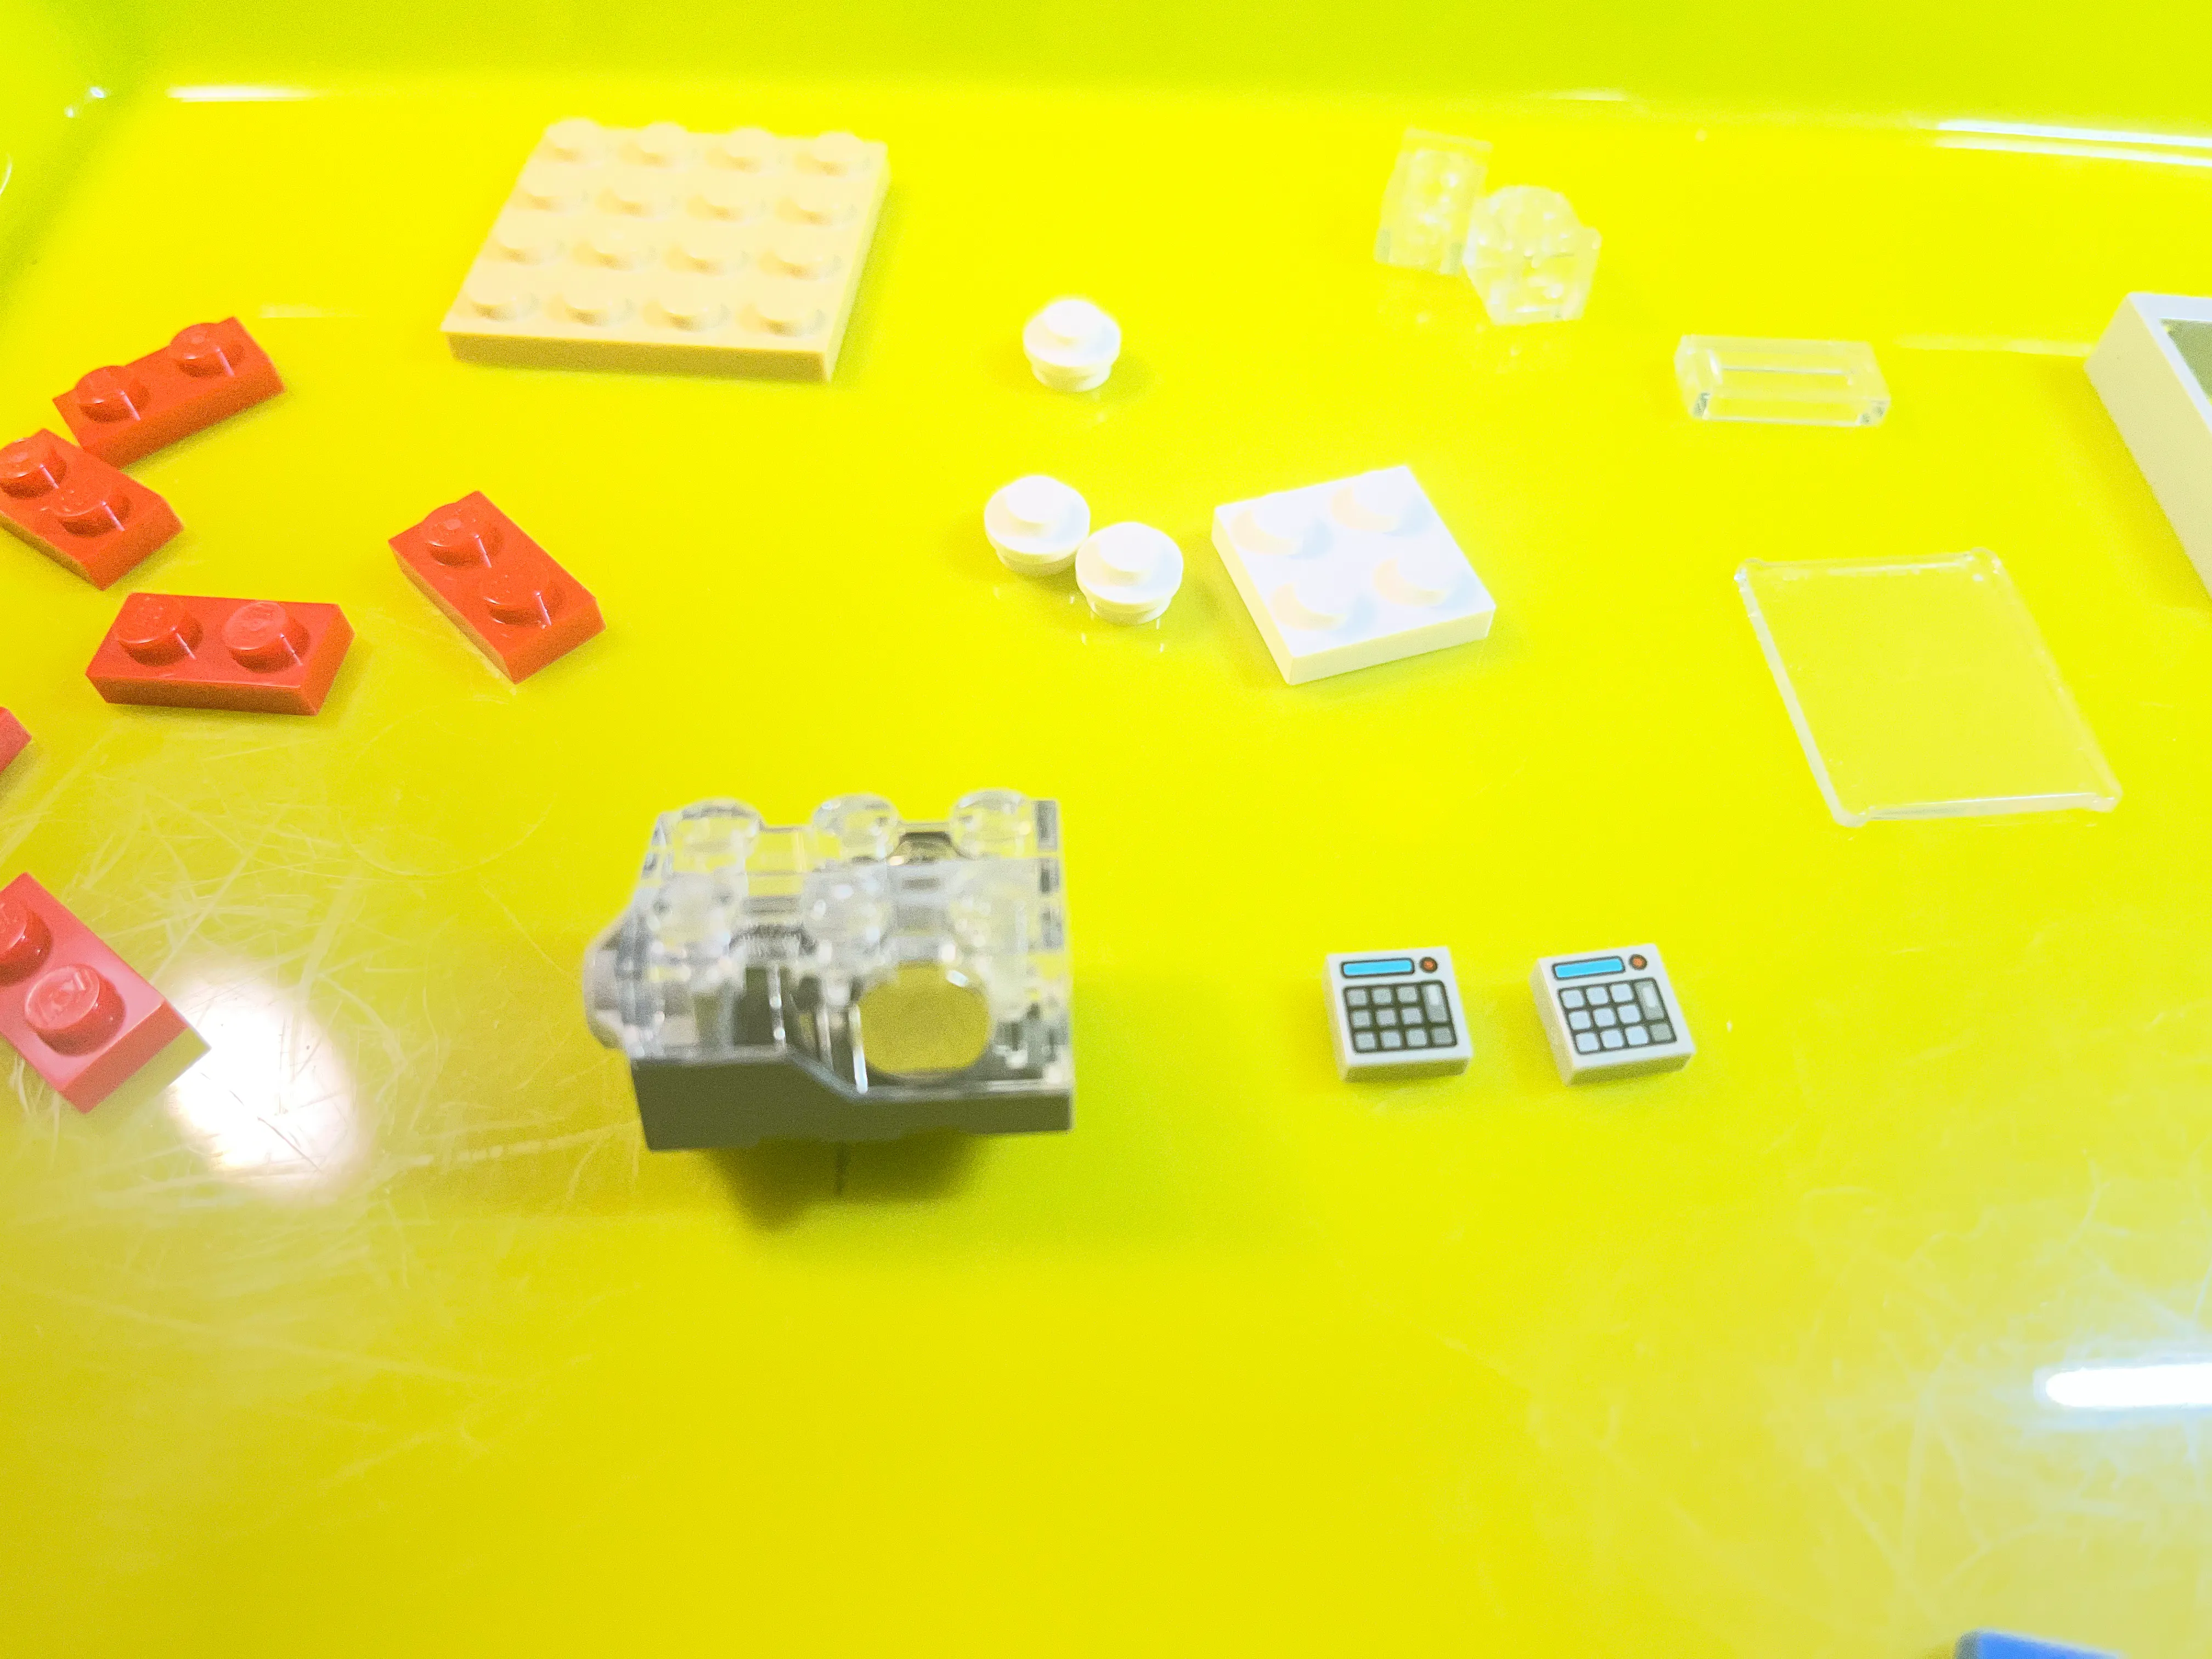
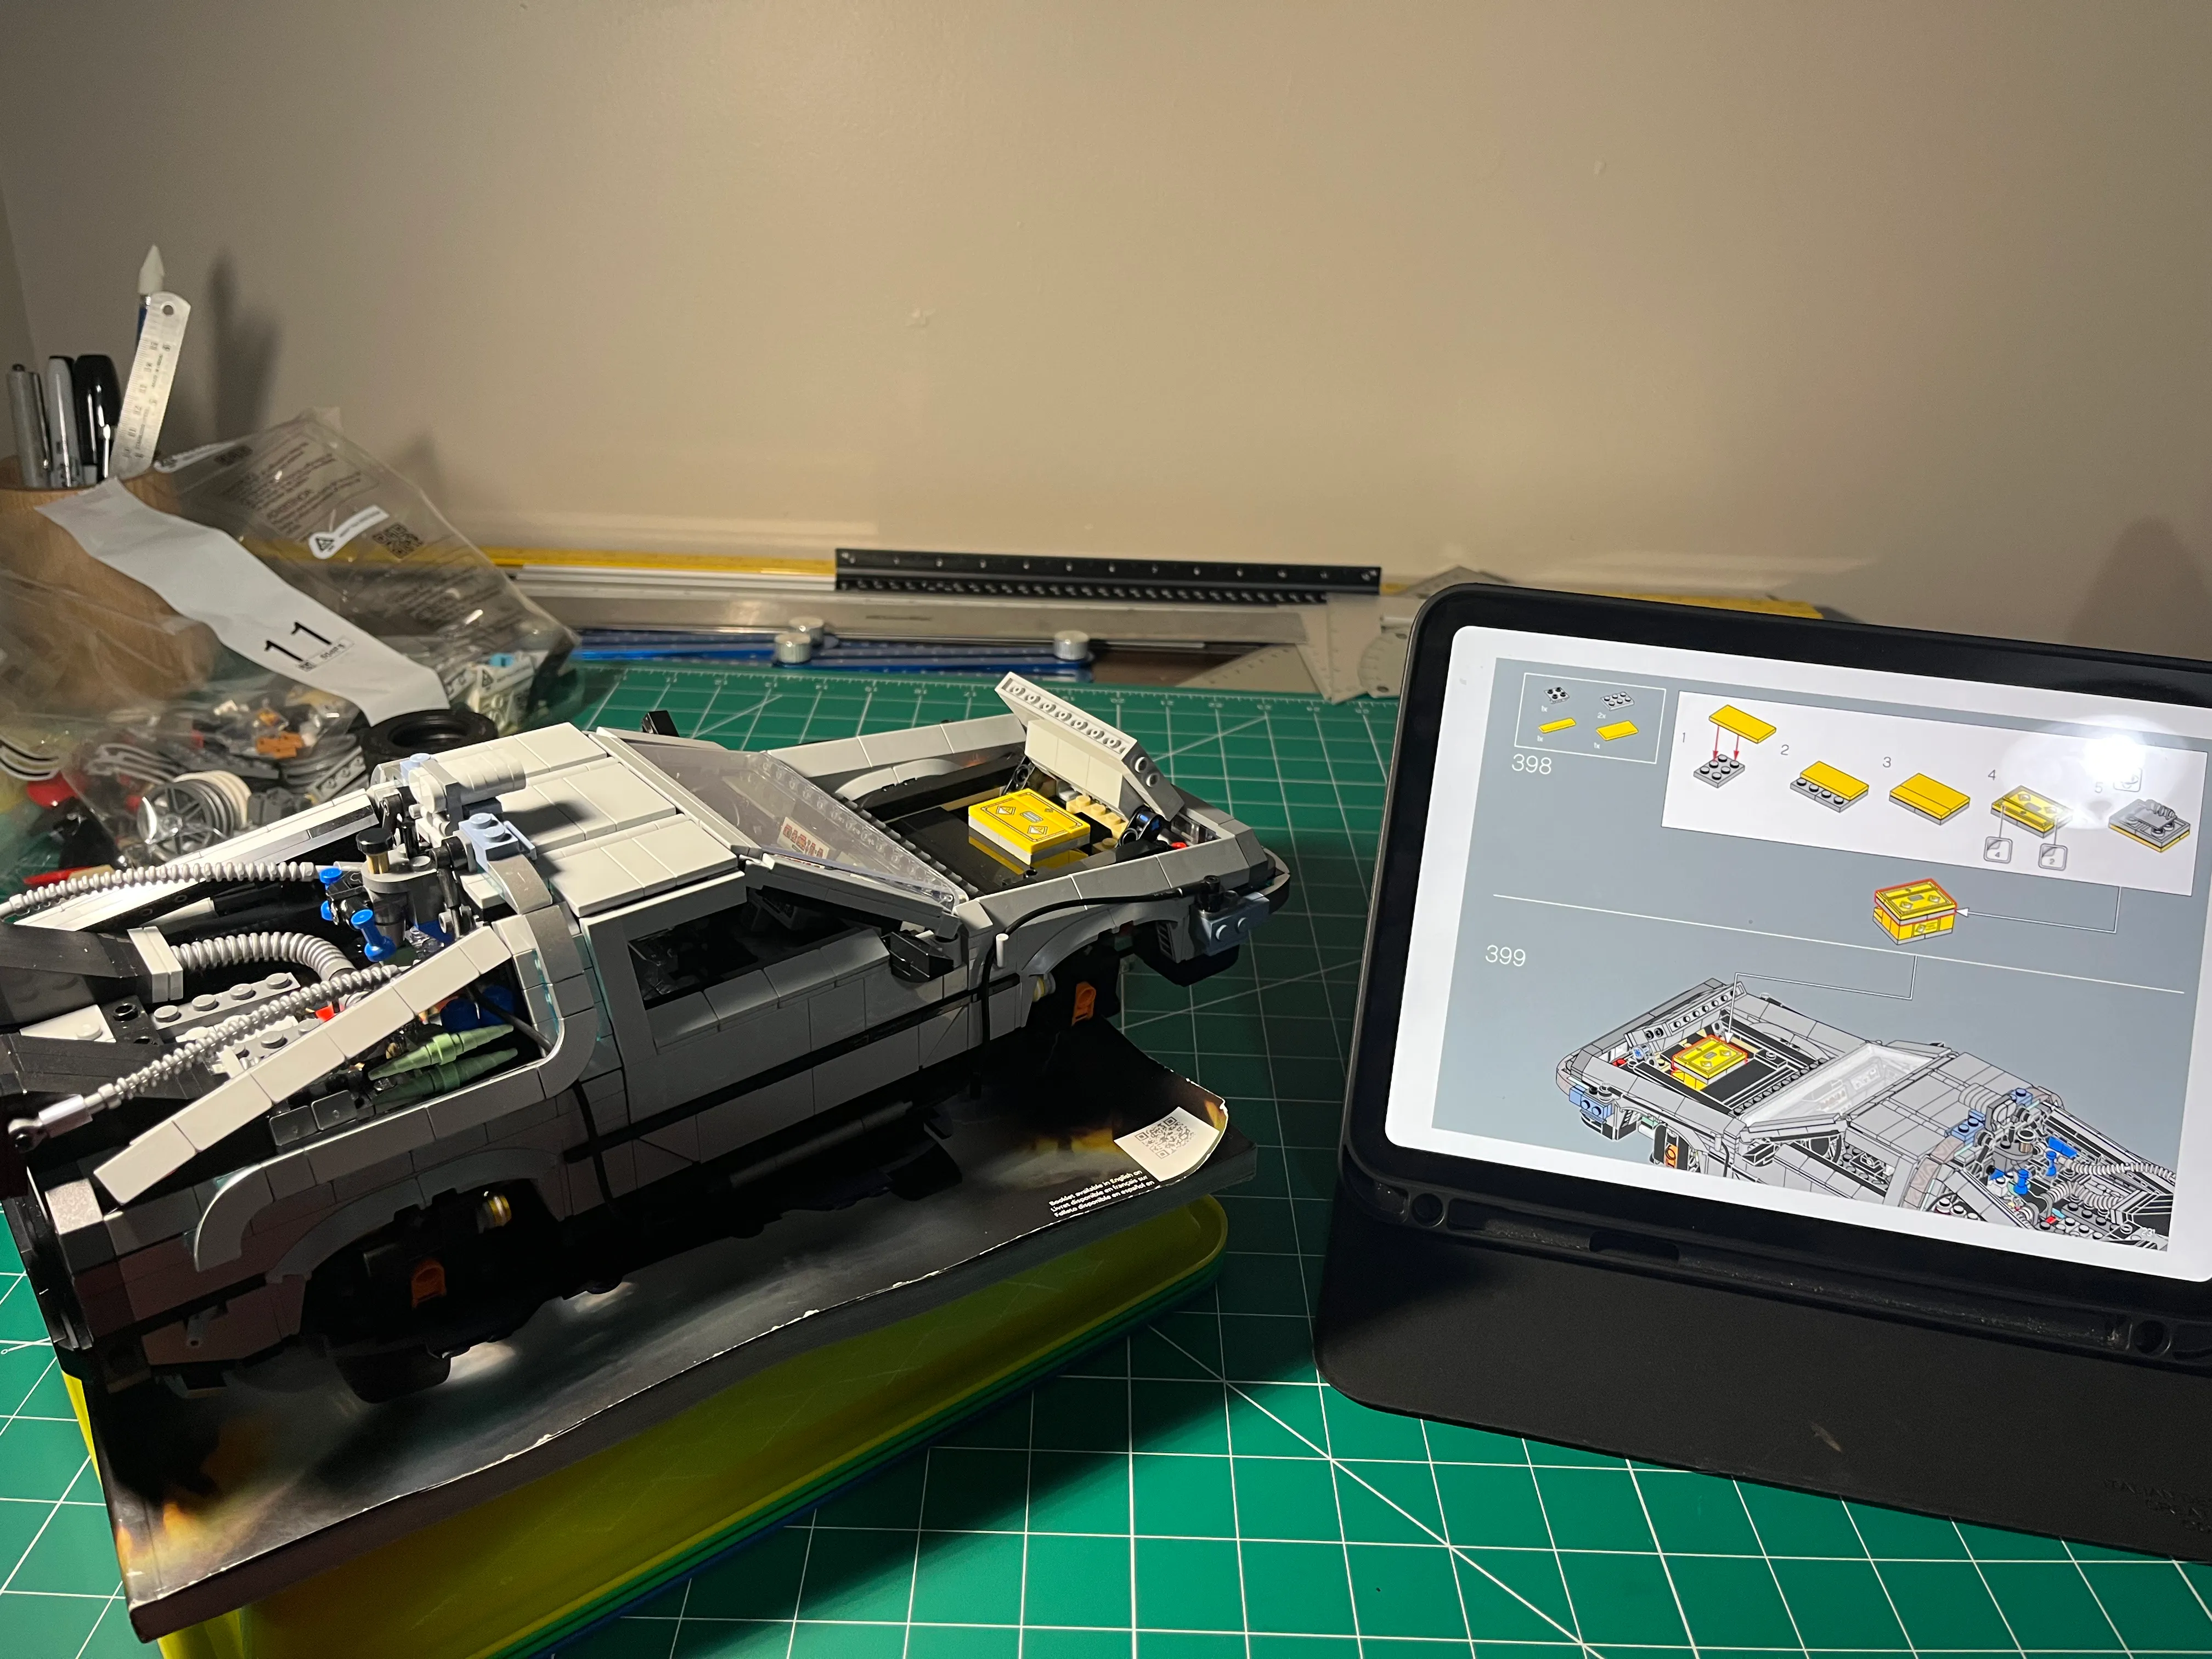
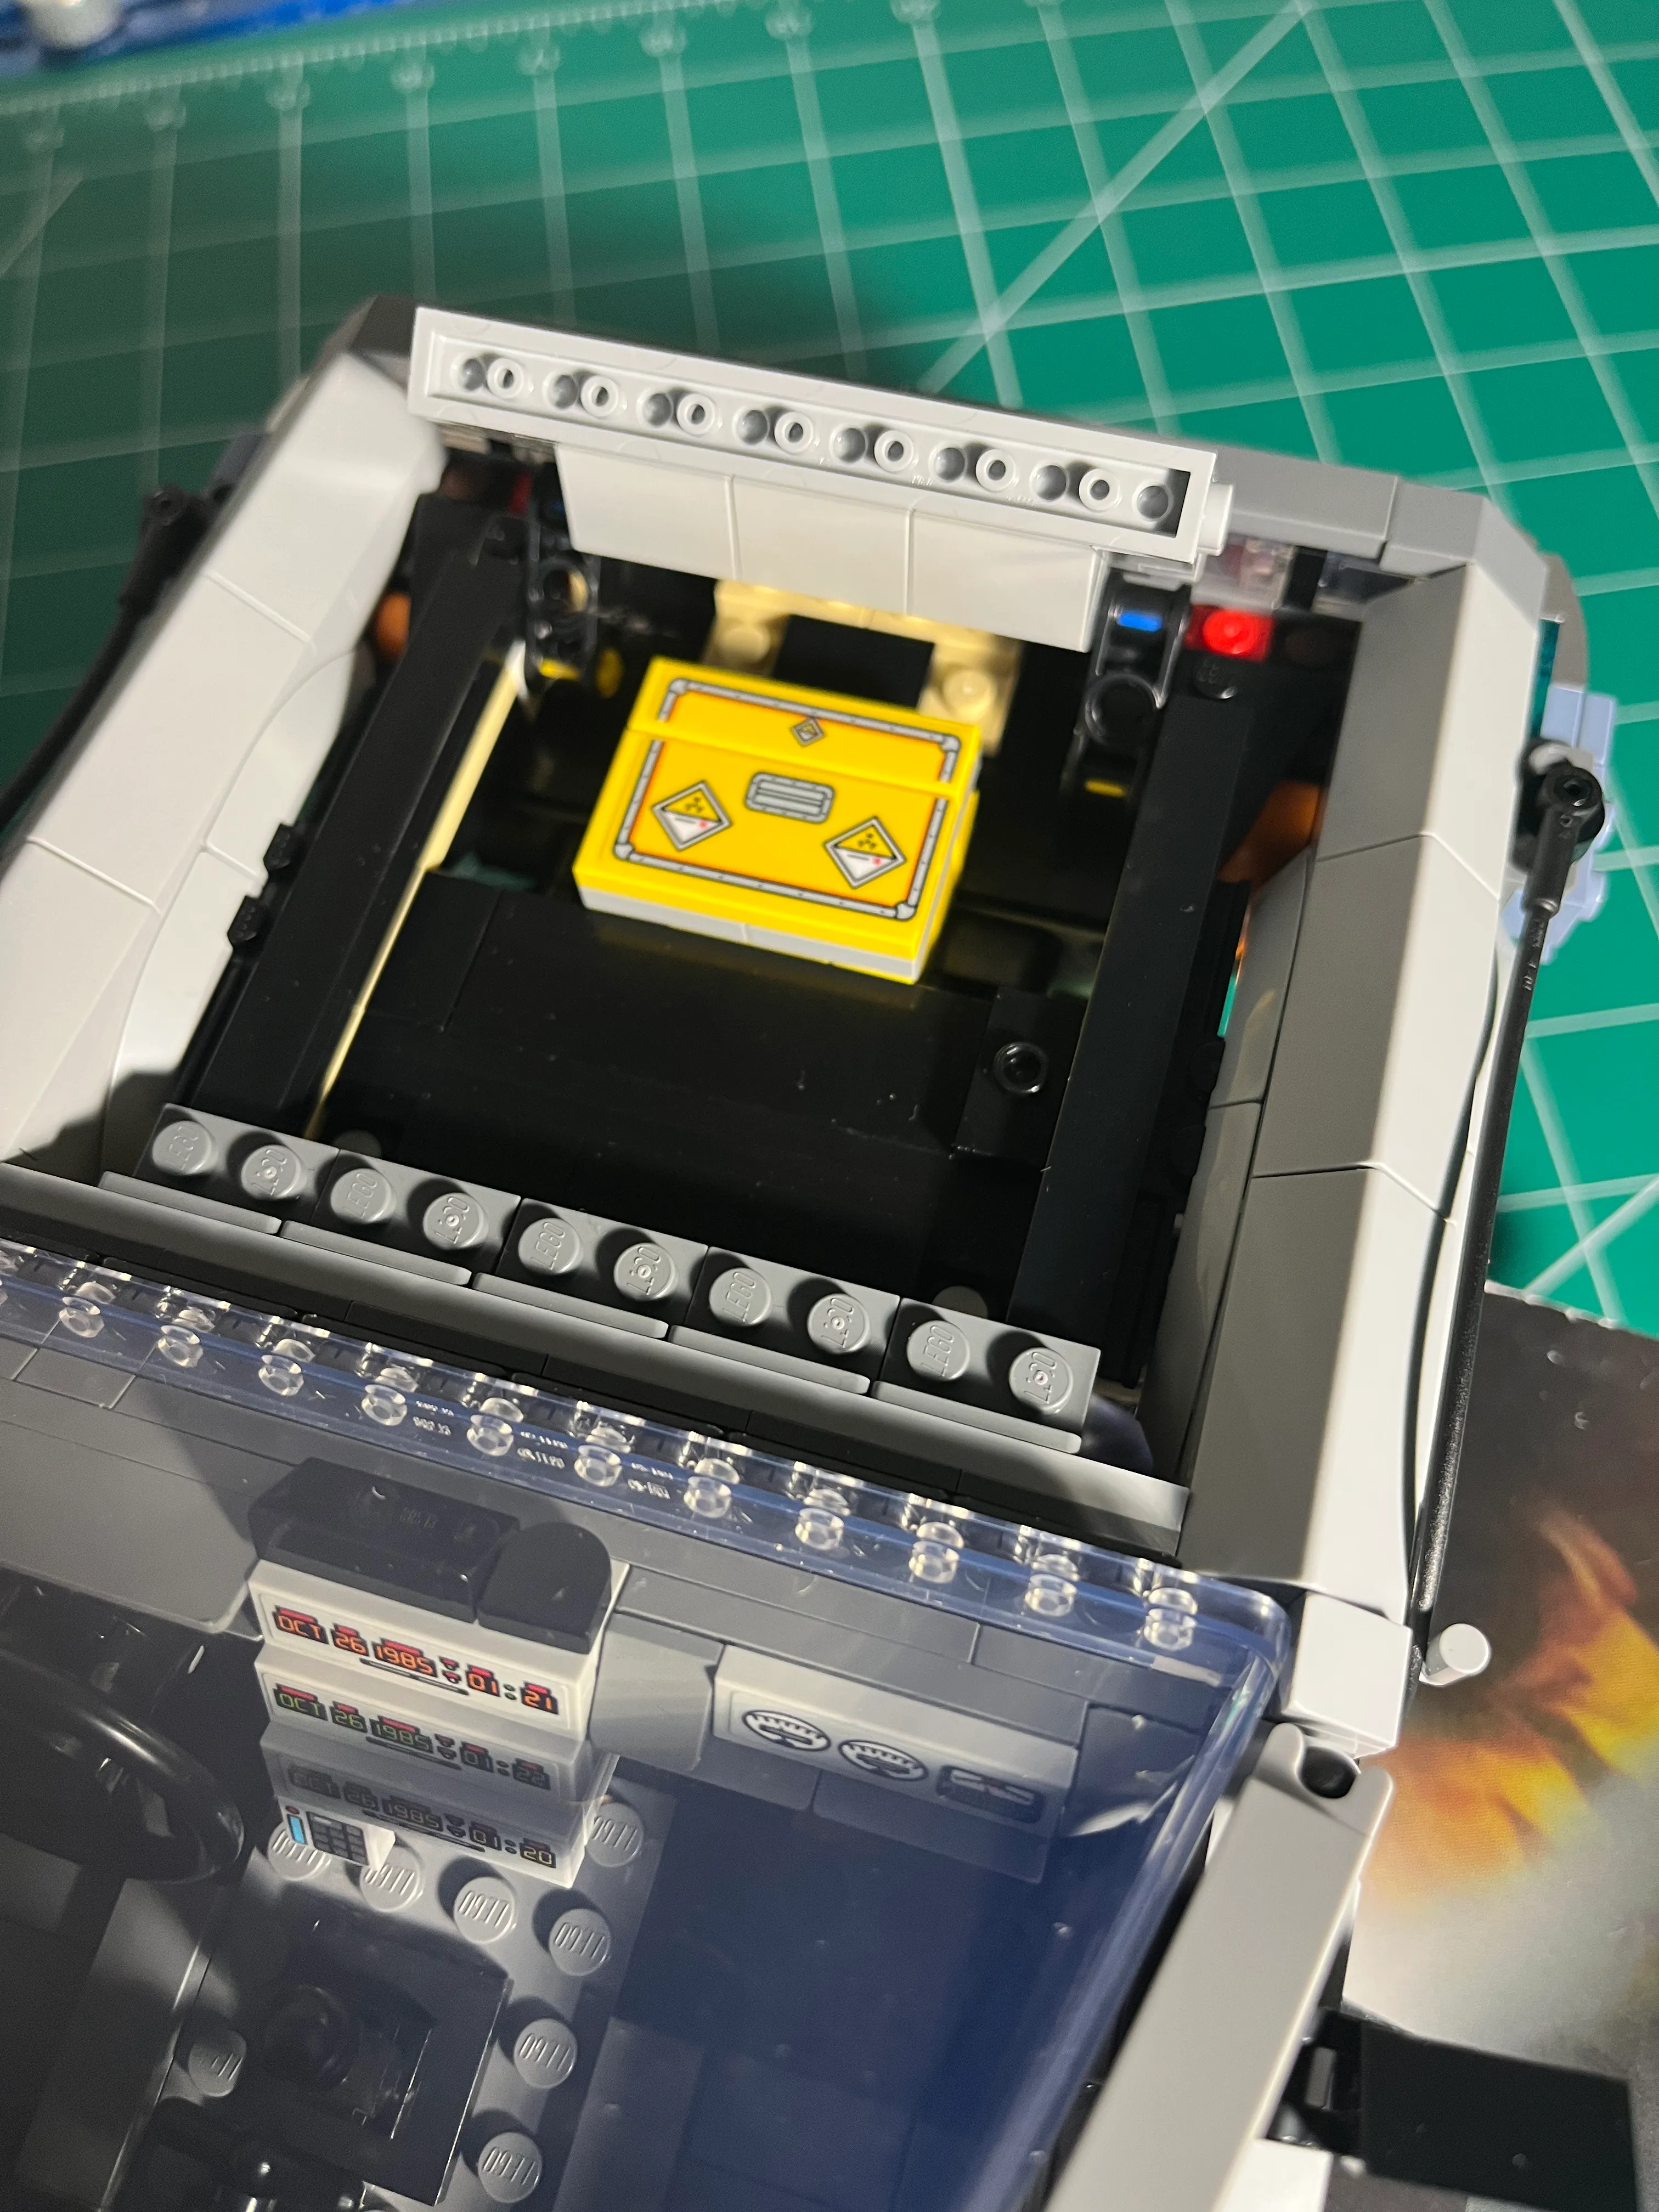
Mostly interior components - a lot 😀. The date calendar and time entry components are iconic. I think the clear design plastic component with a battery might be the main part of the flux capacitor.

Bag #8

Bag #9

Bag #10
Bag #11
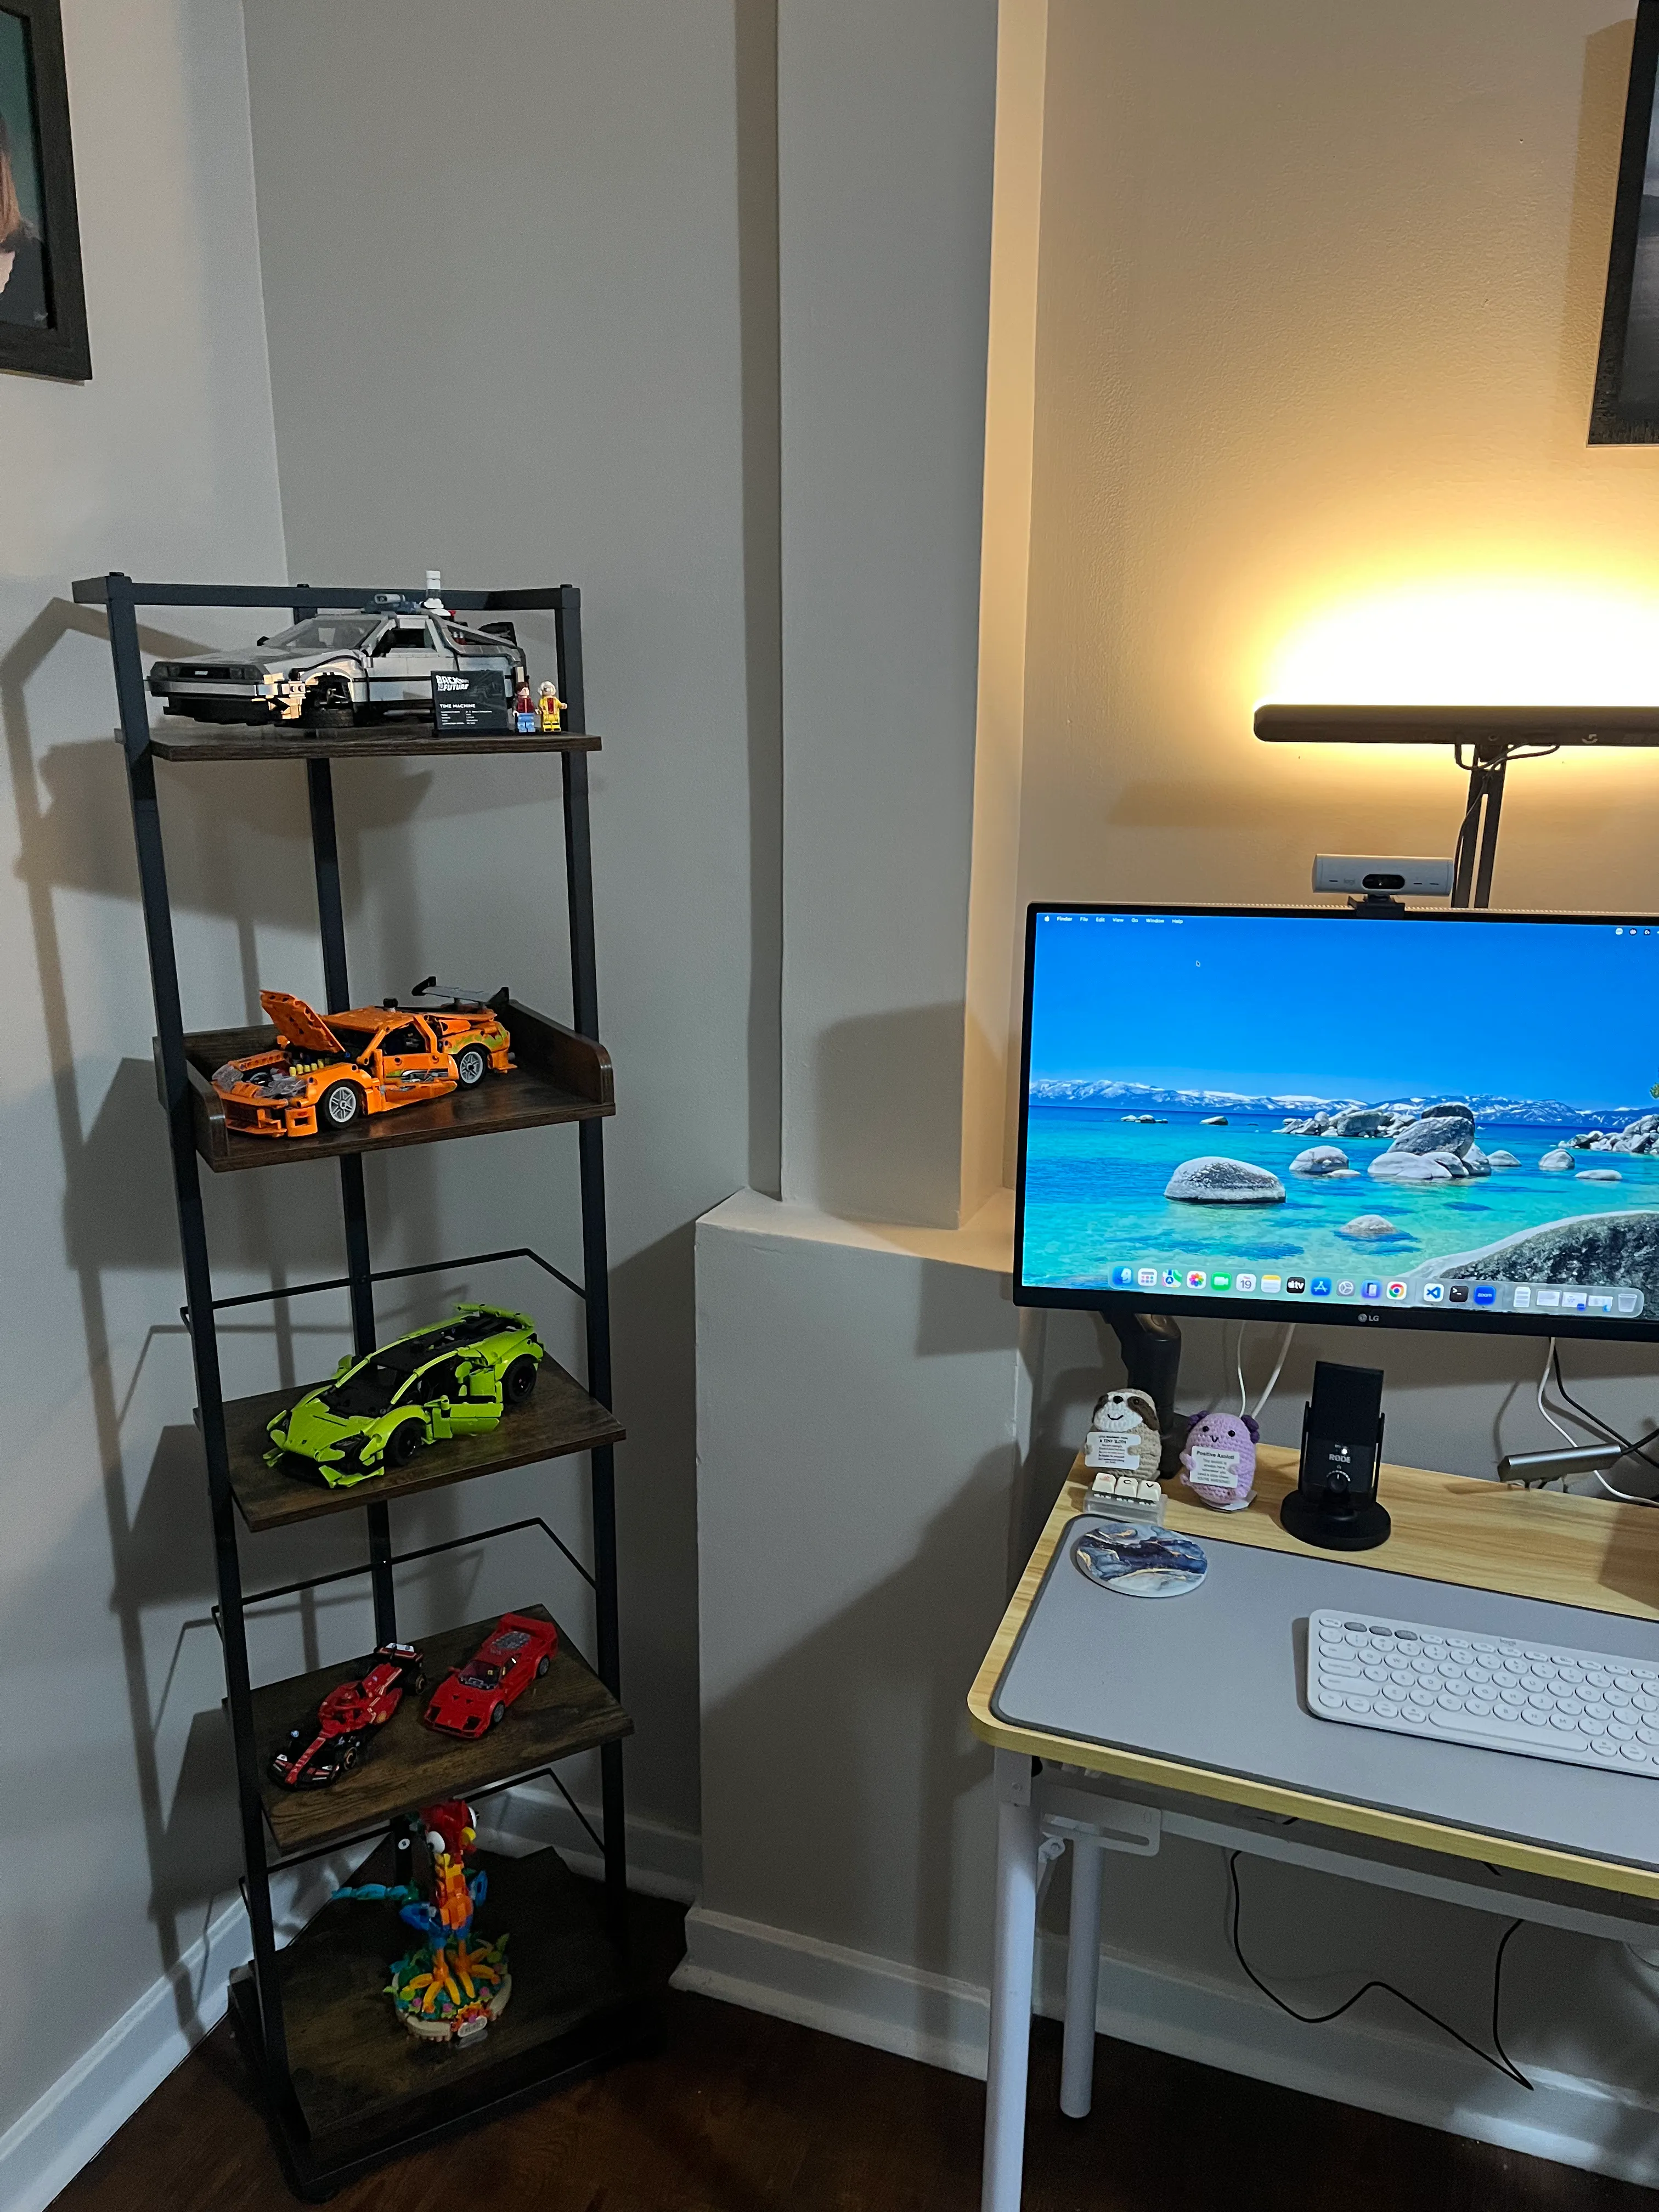
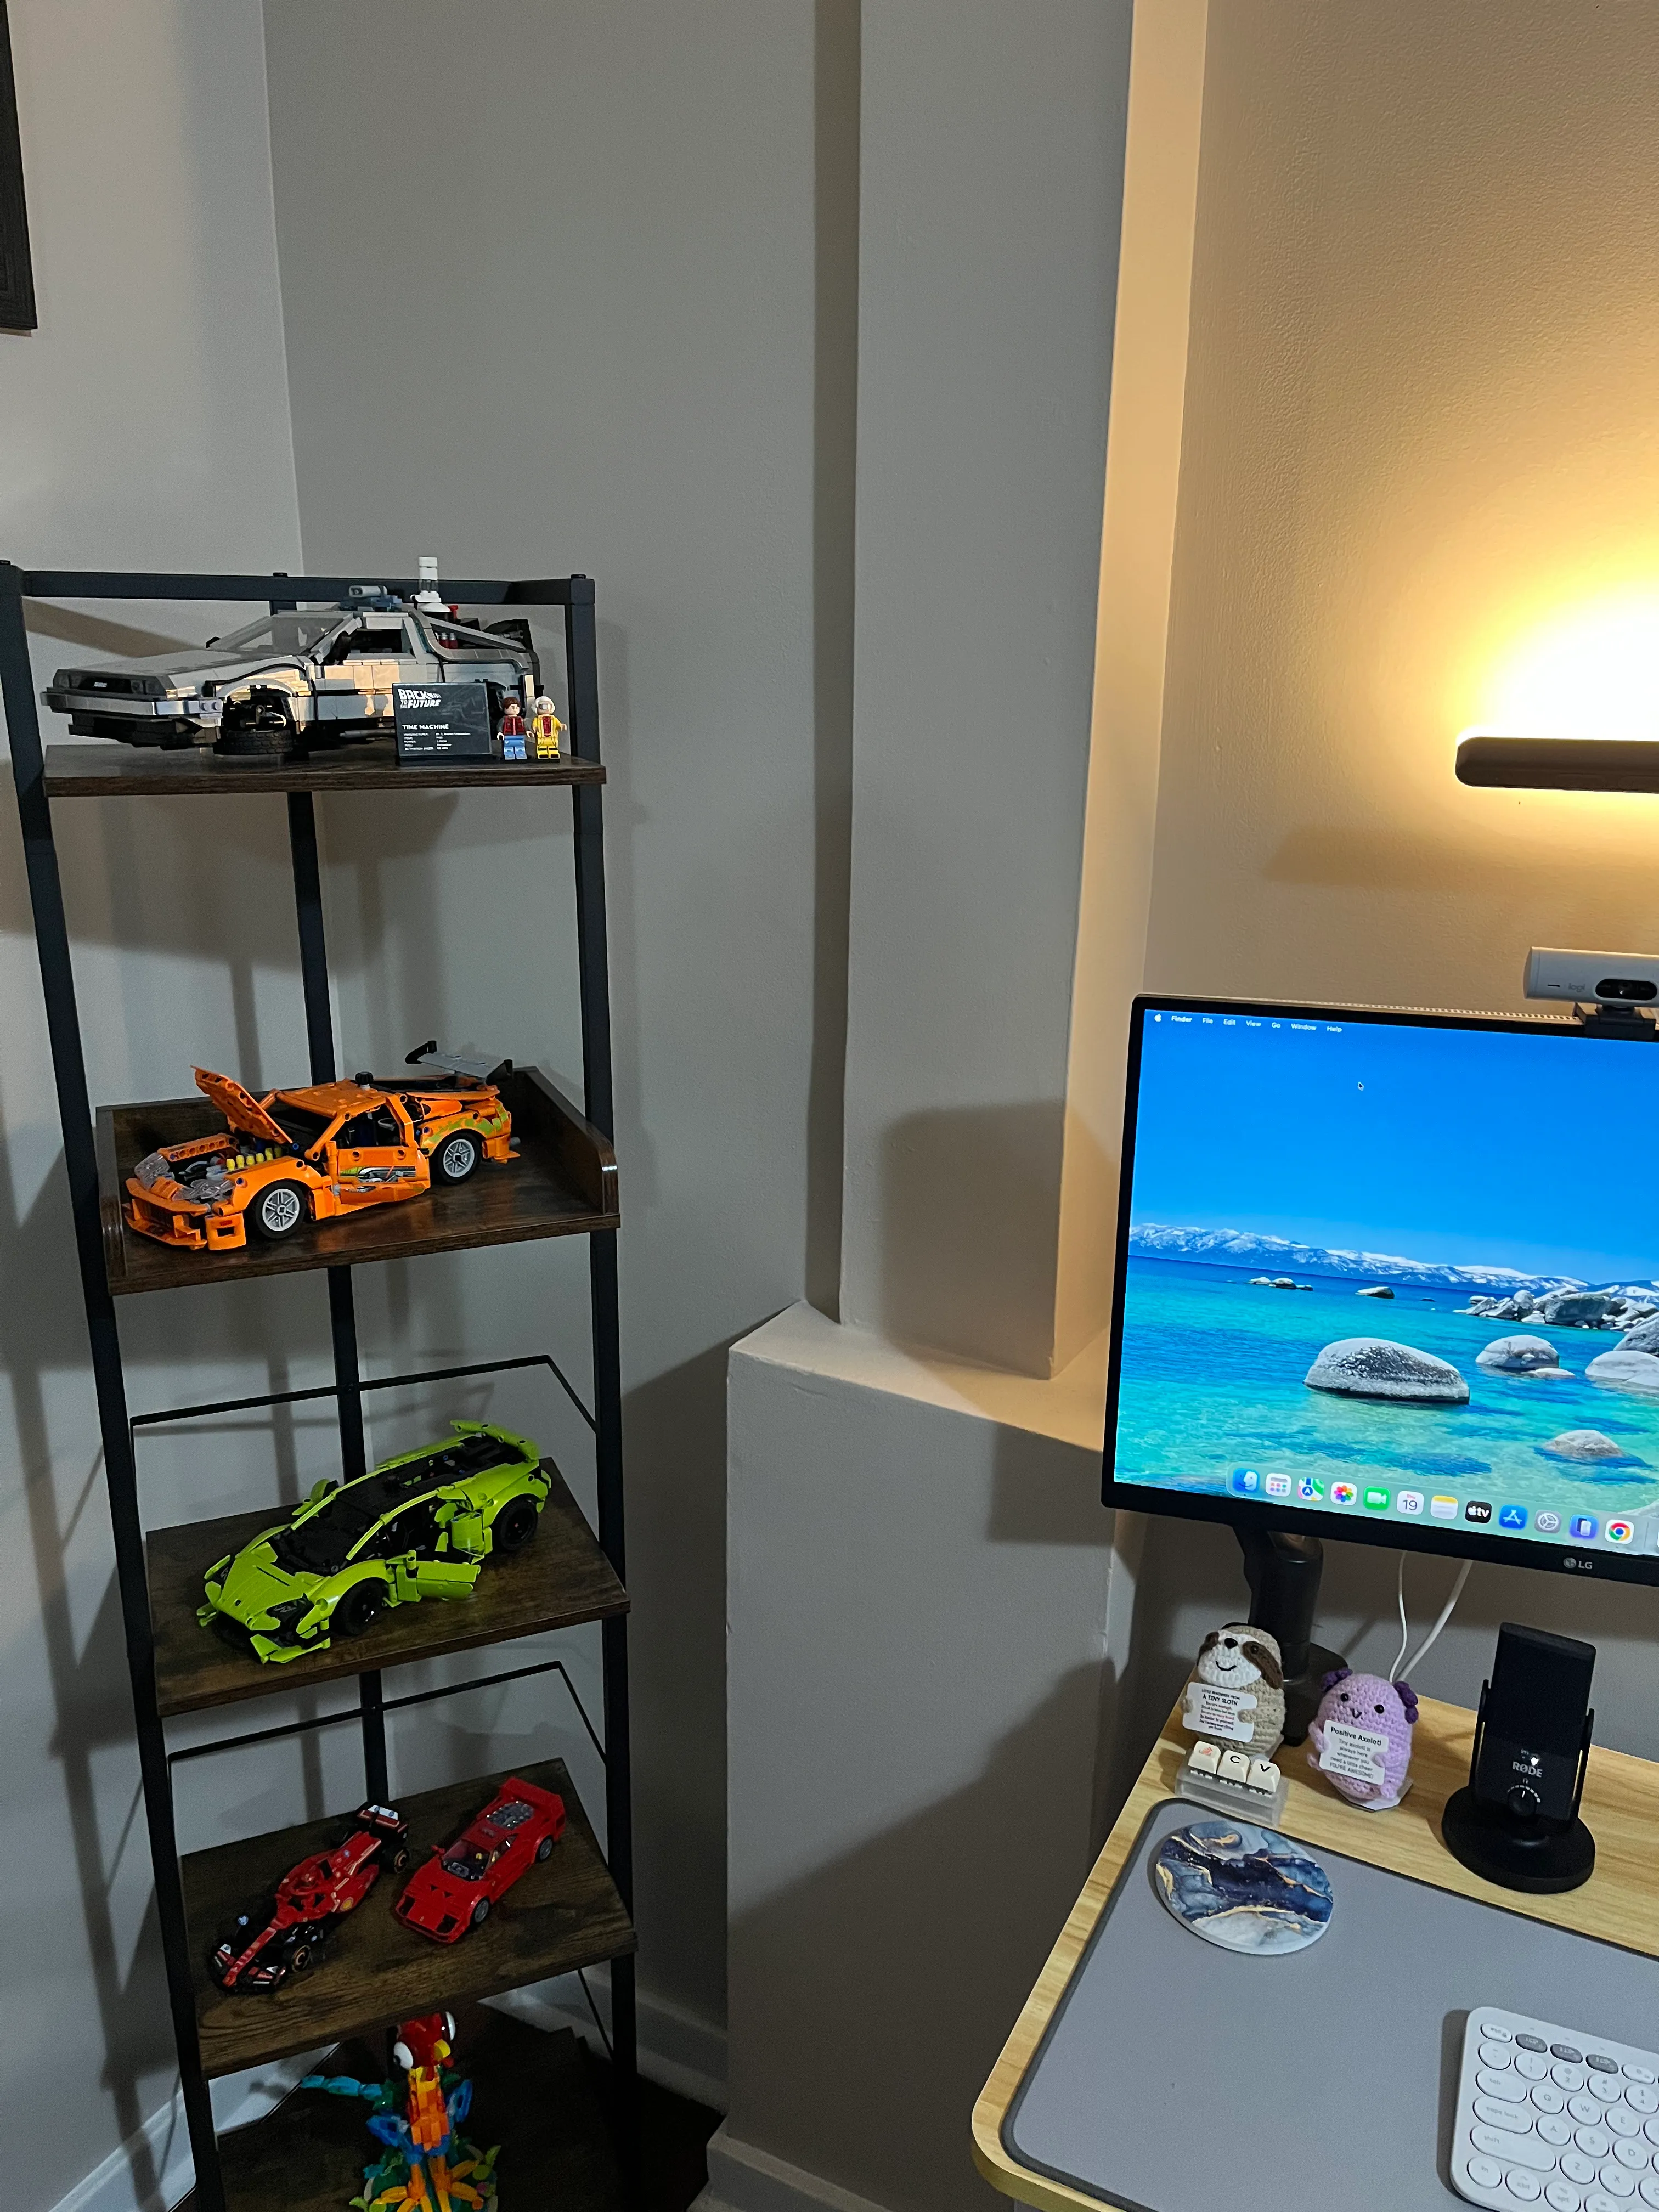
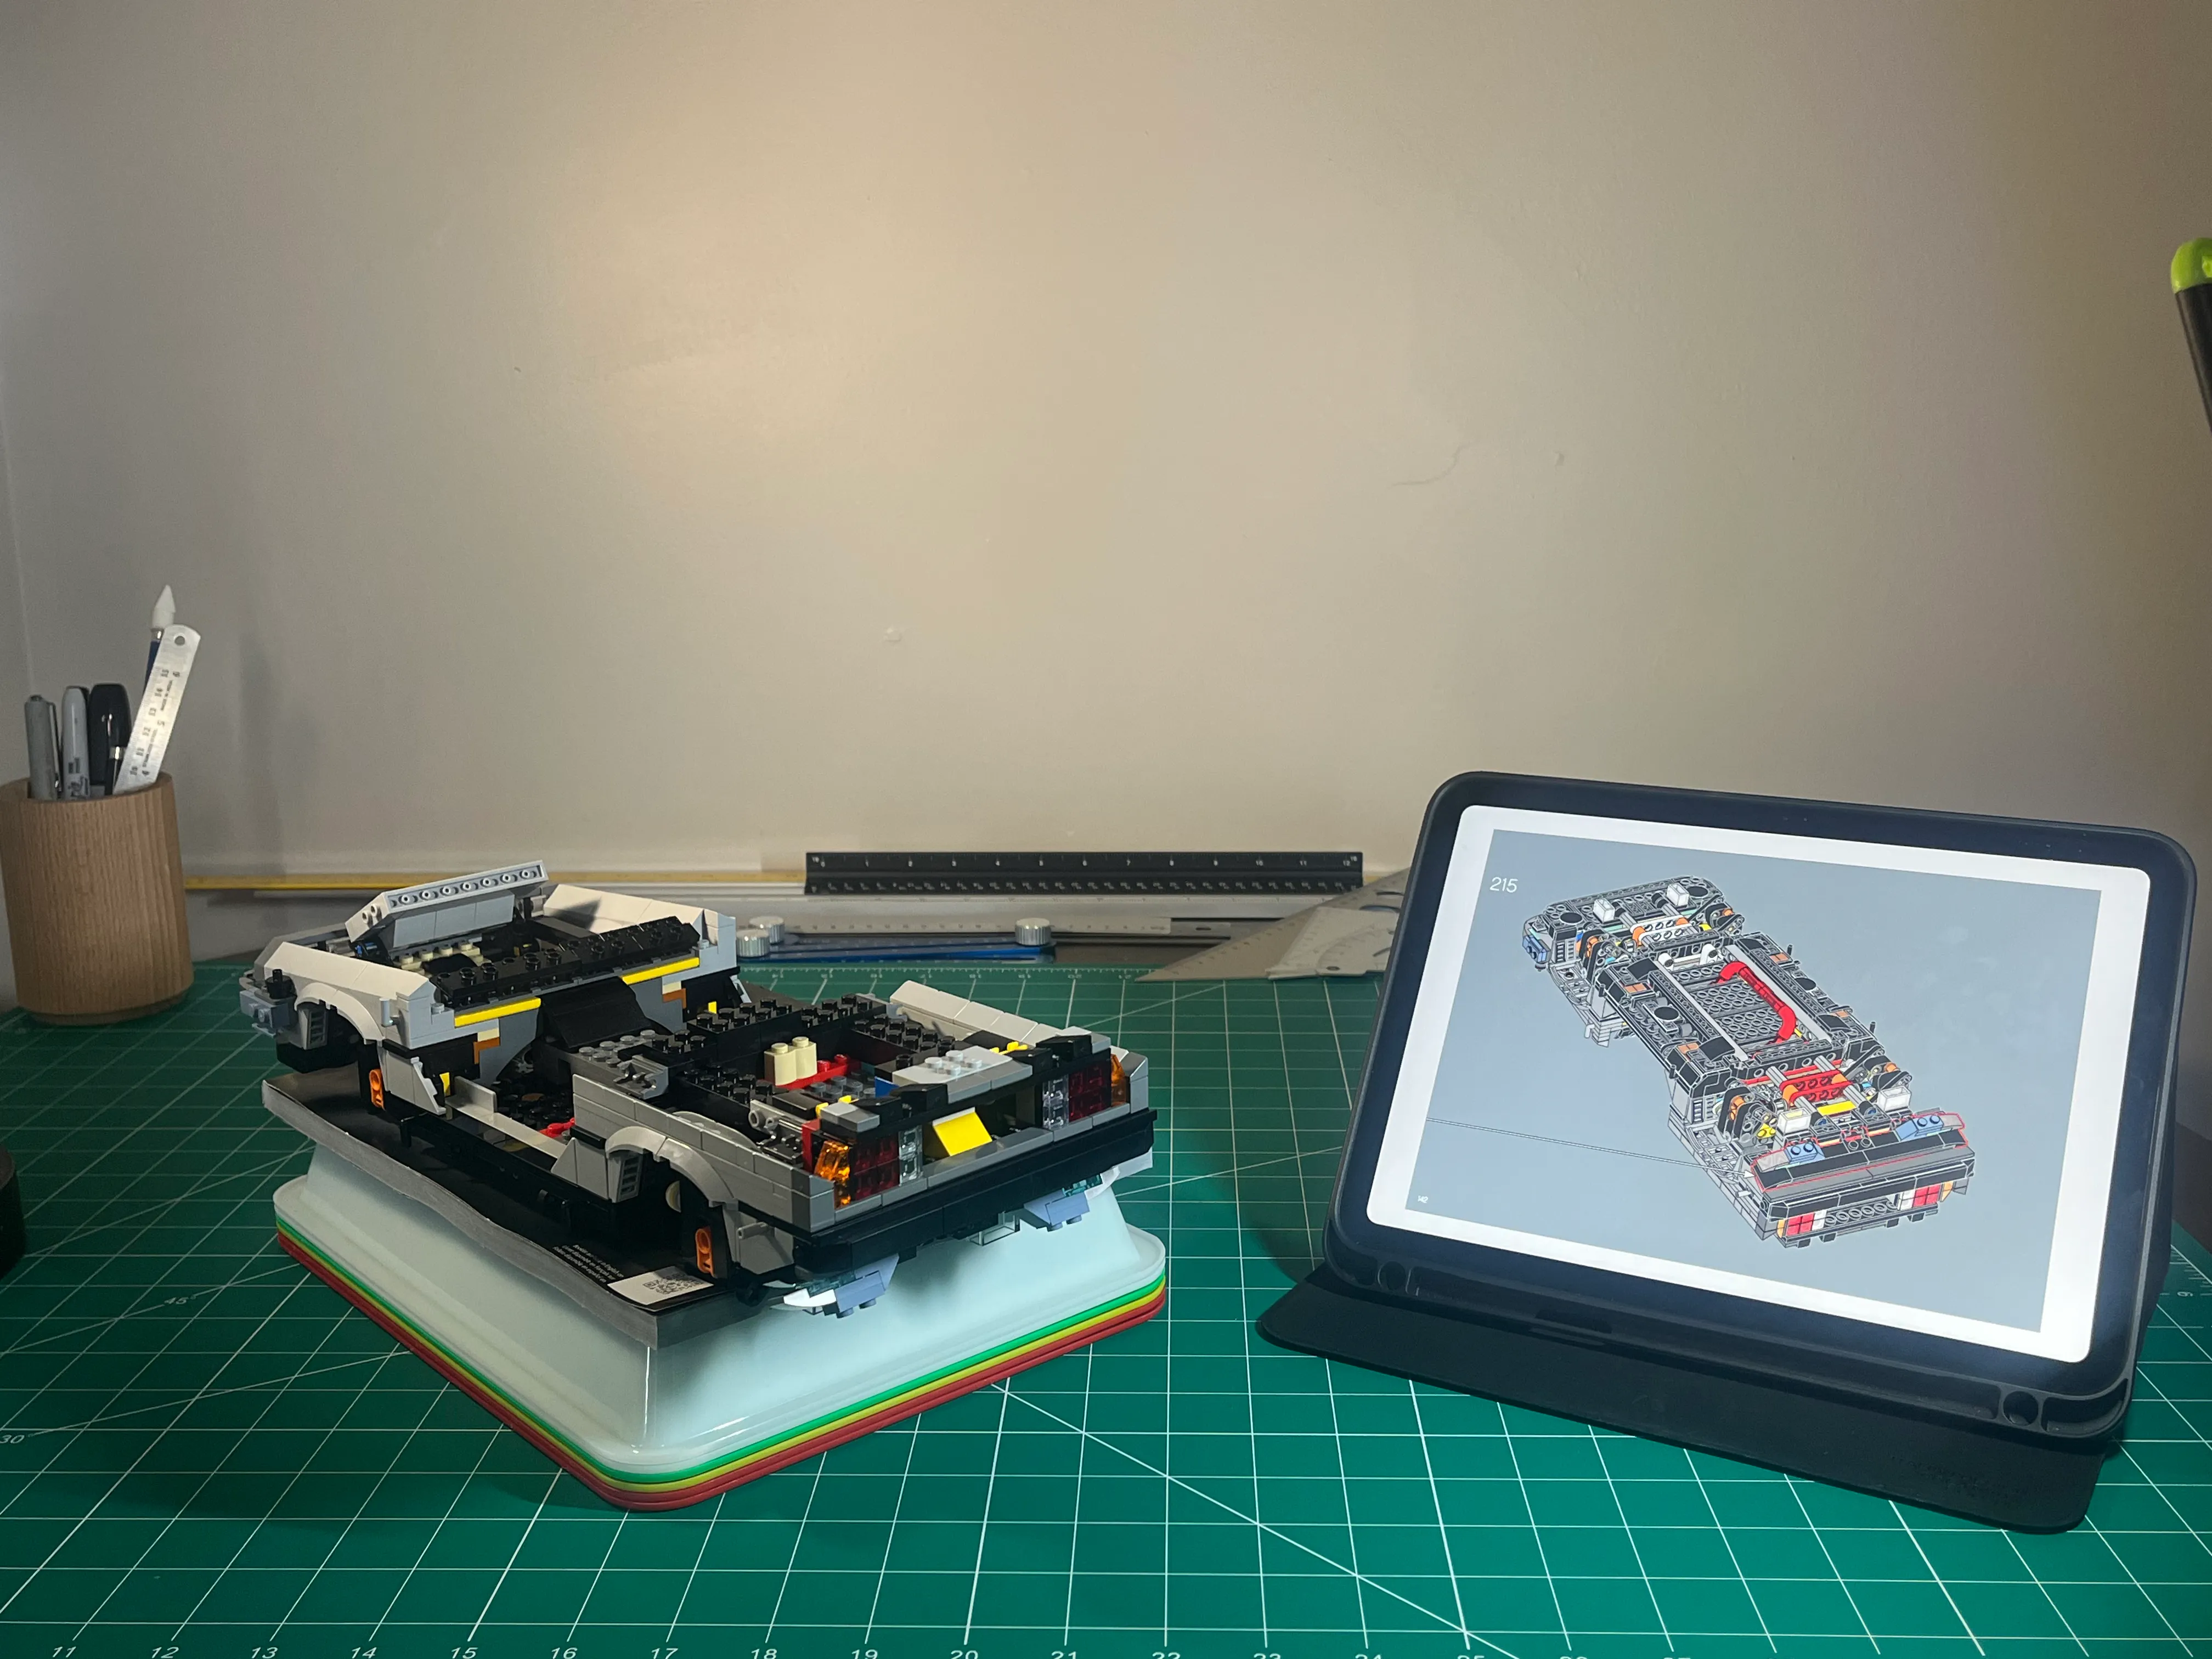
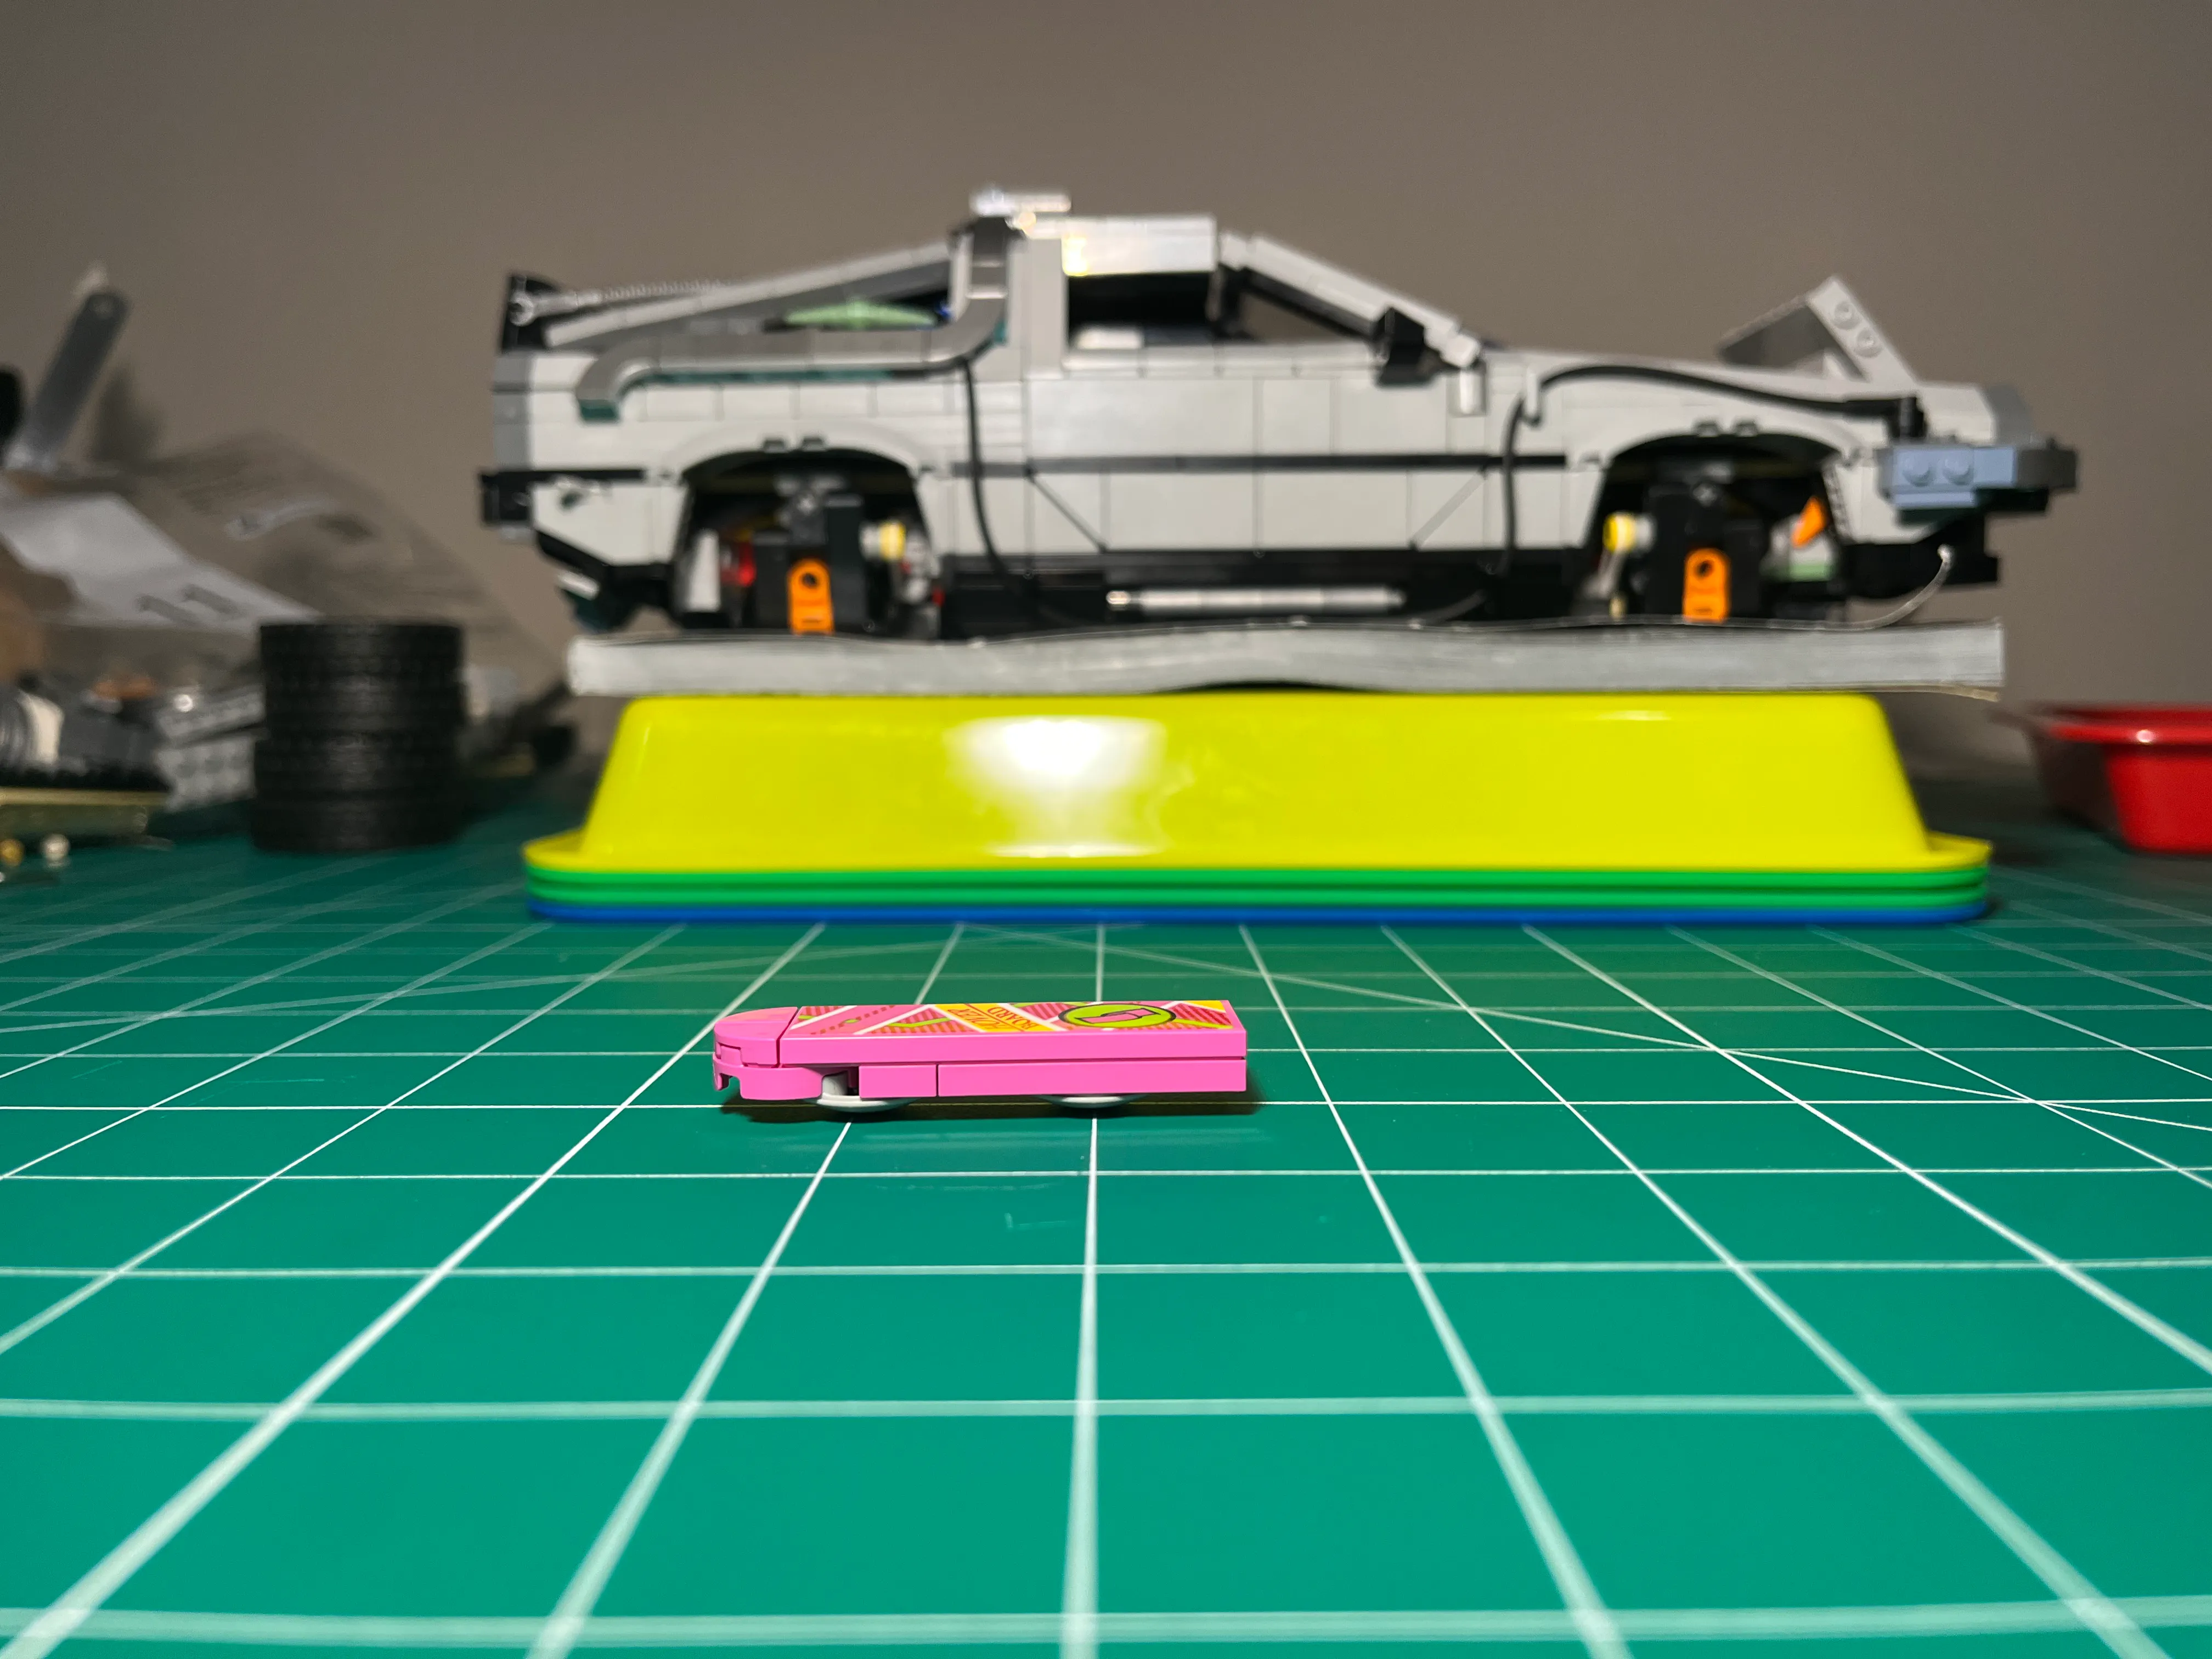
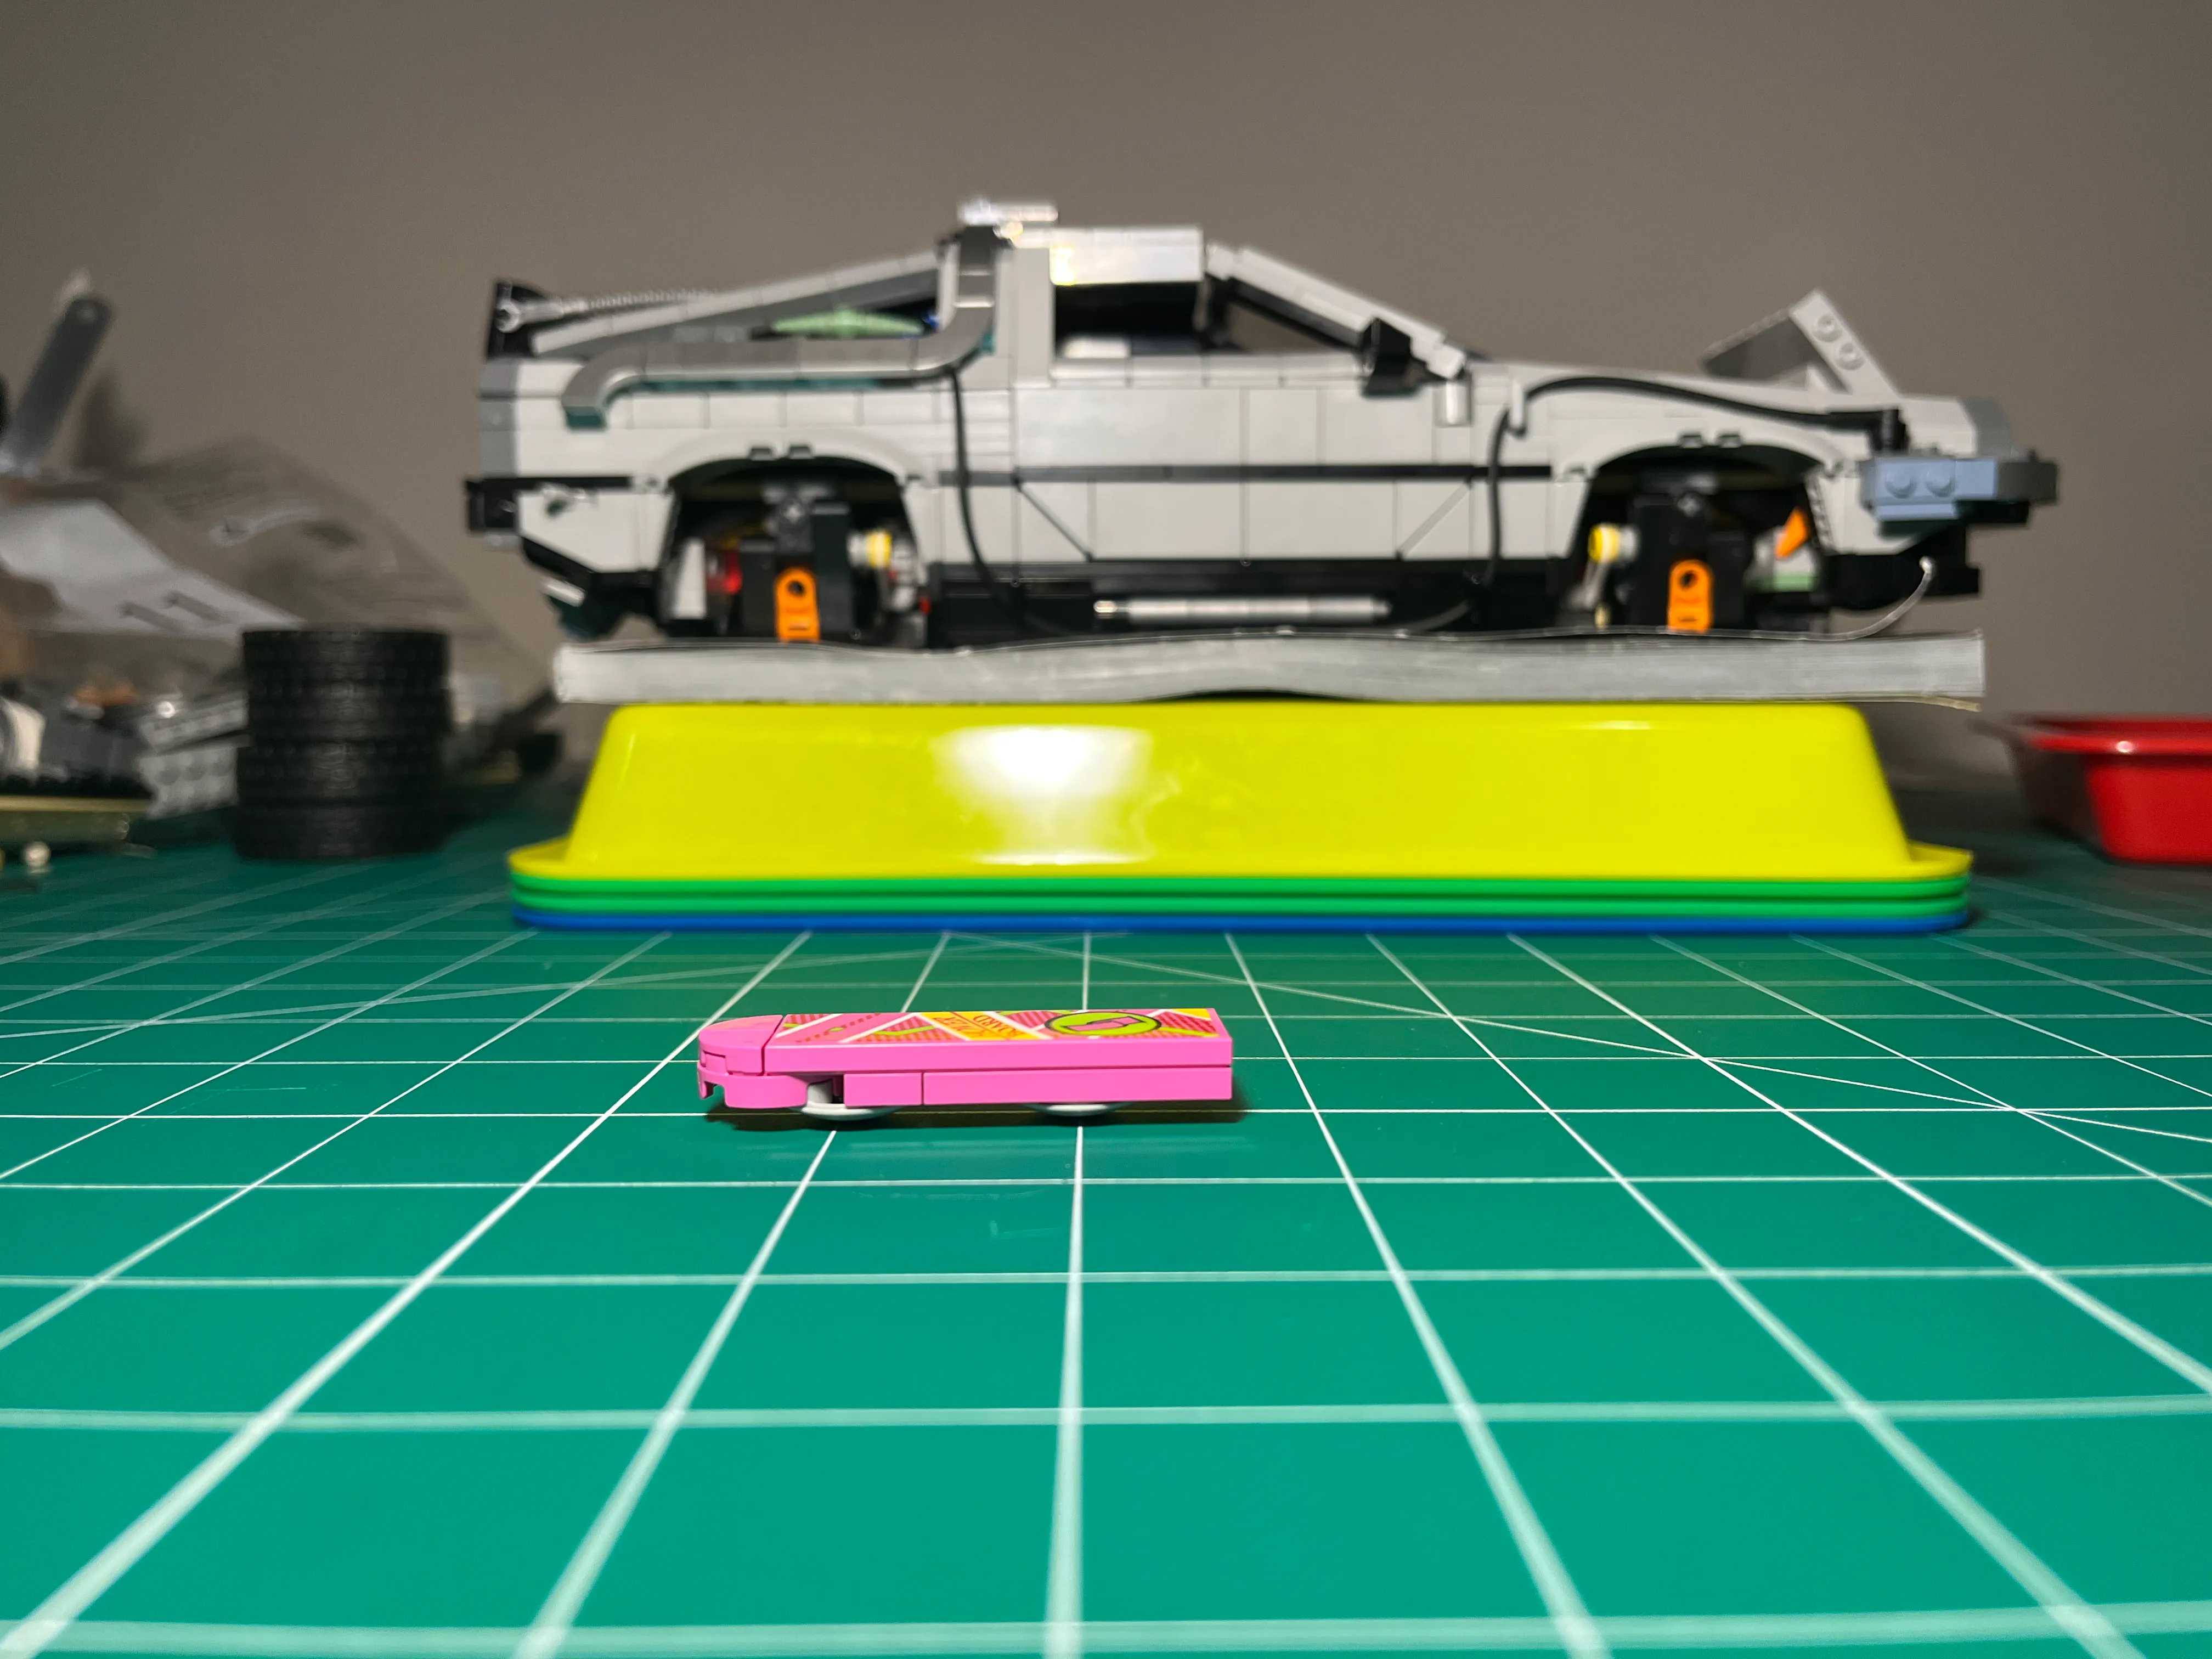
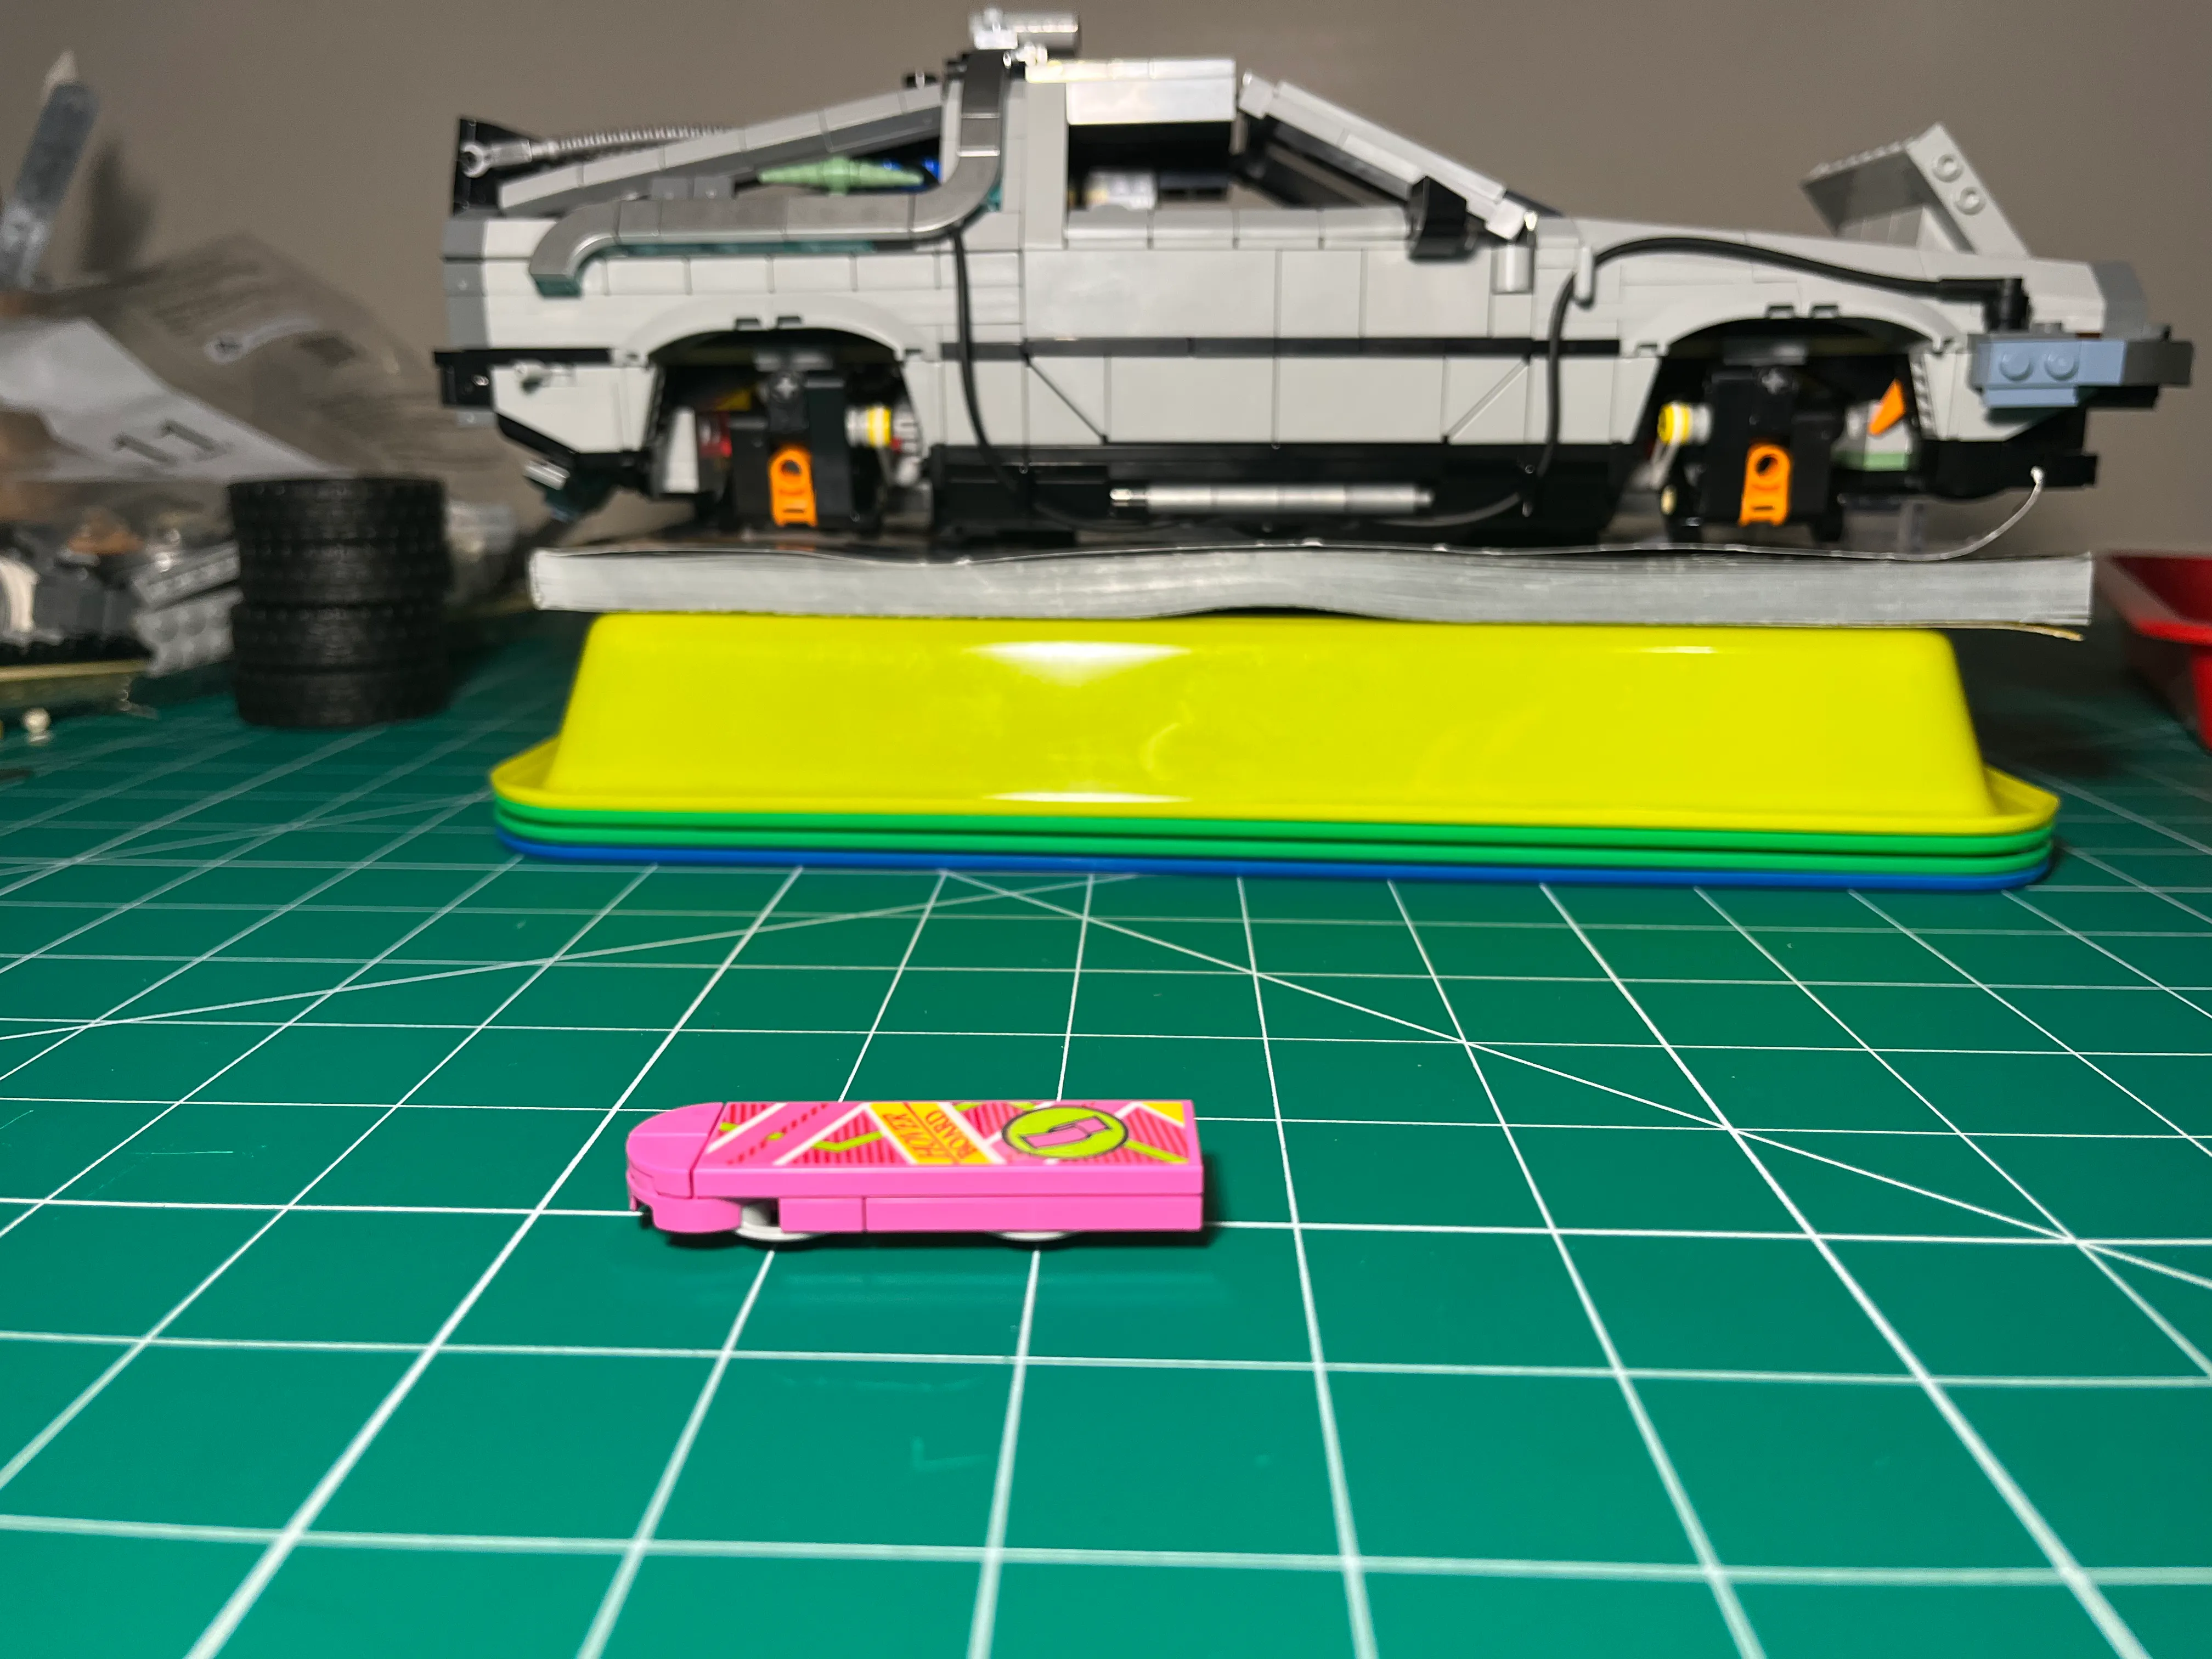
Choose Your Favorite
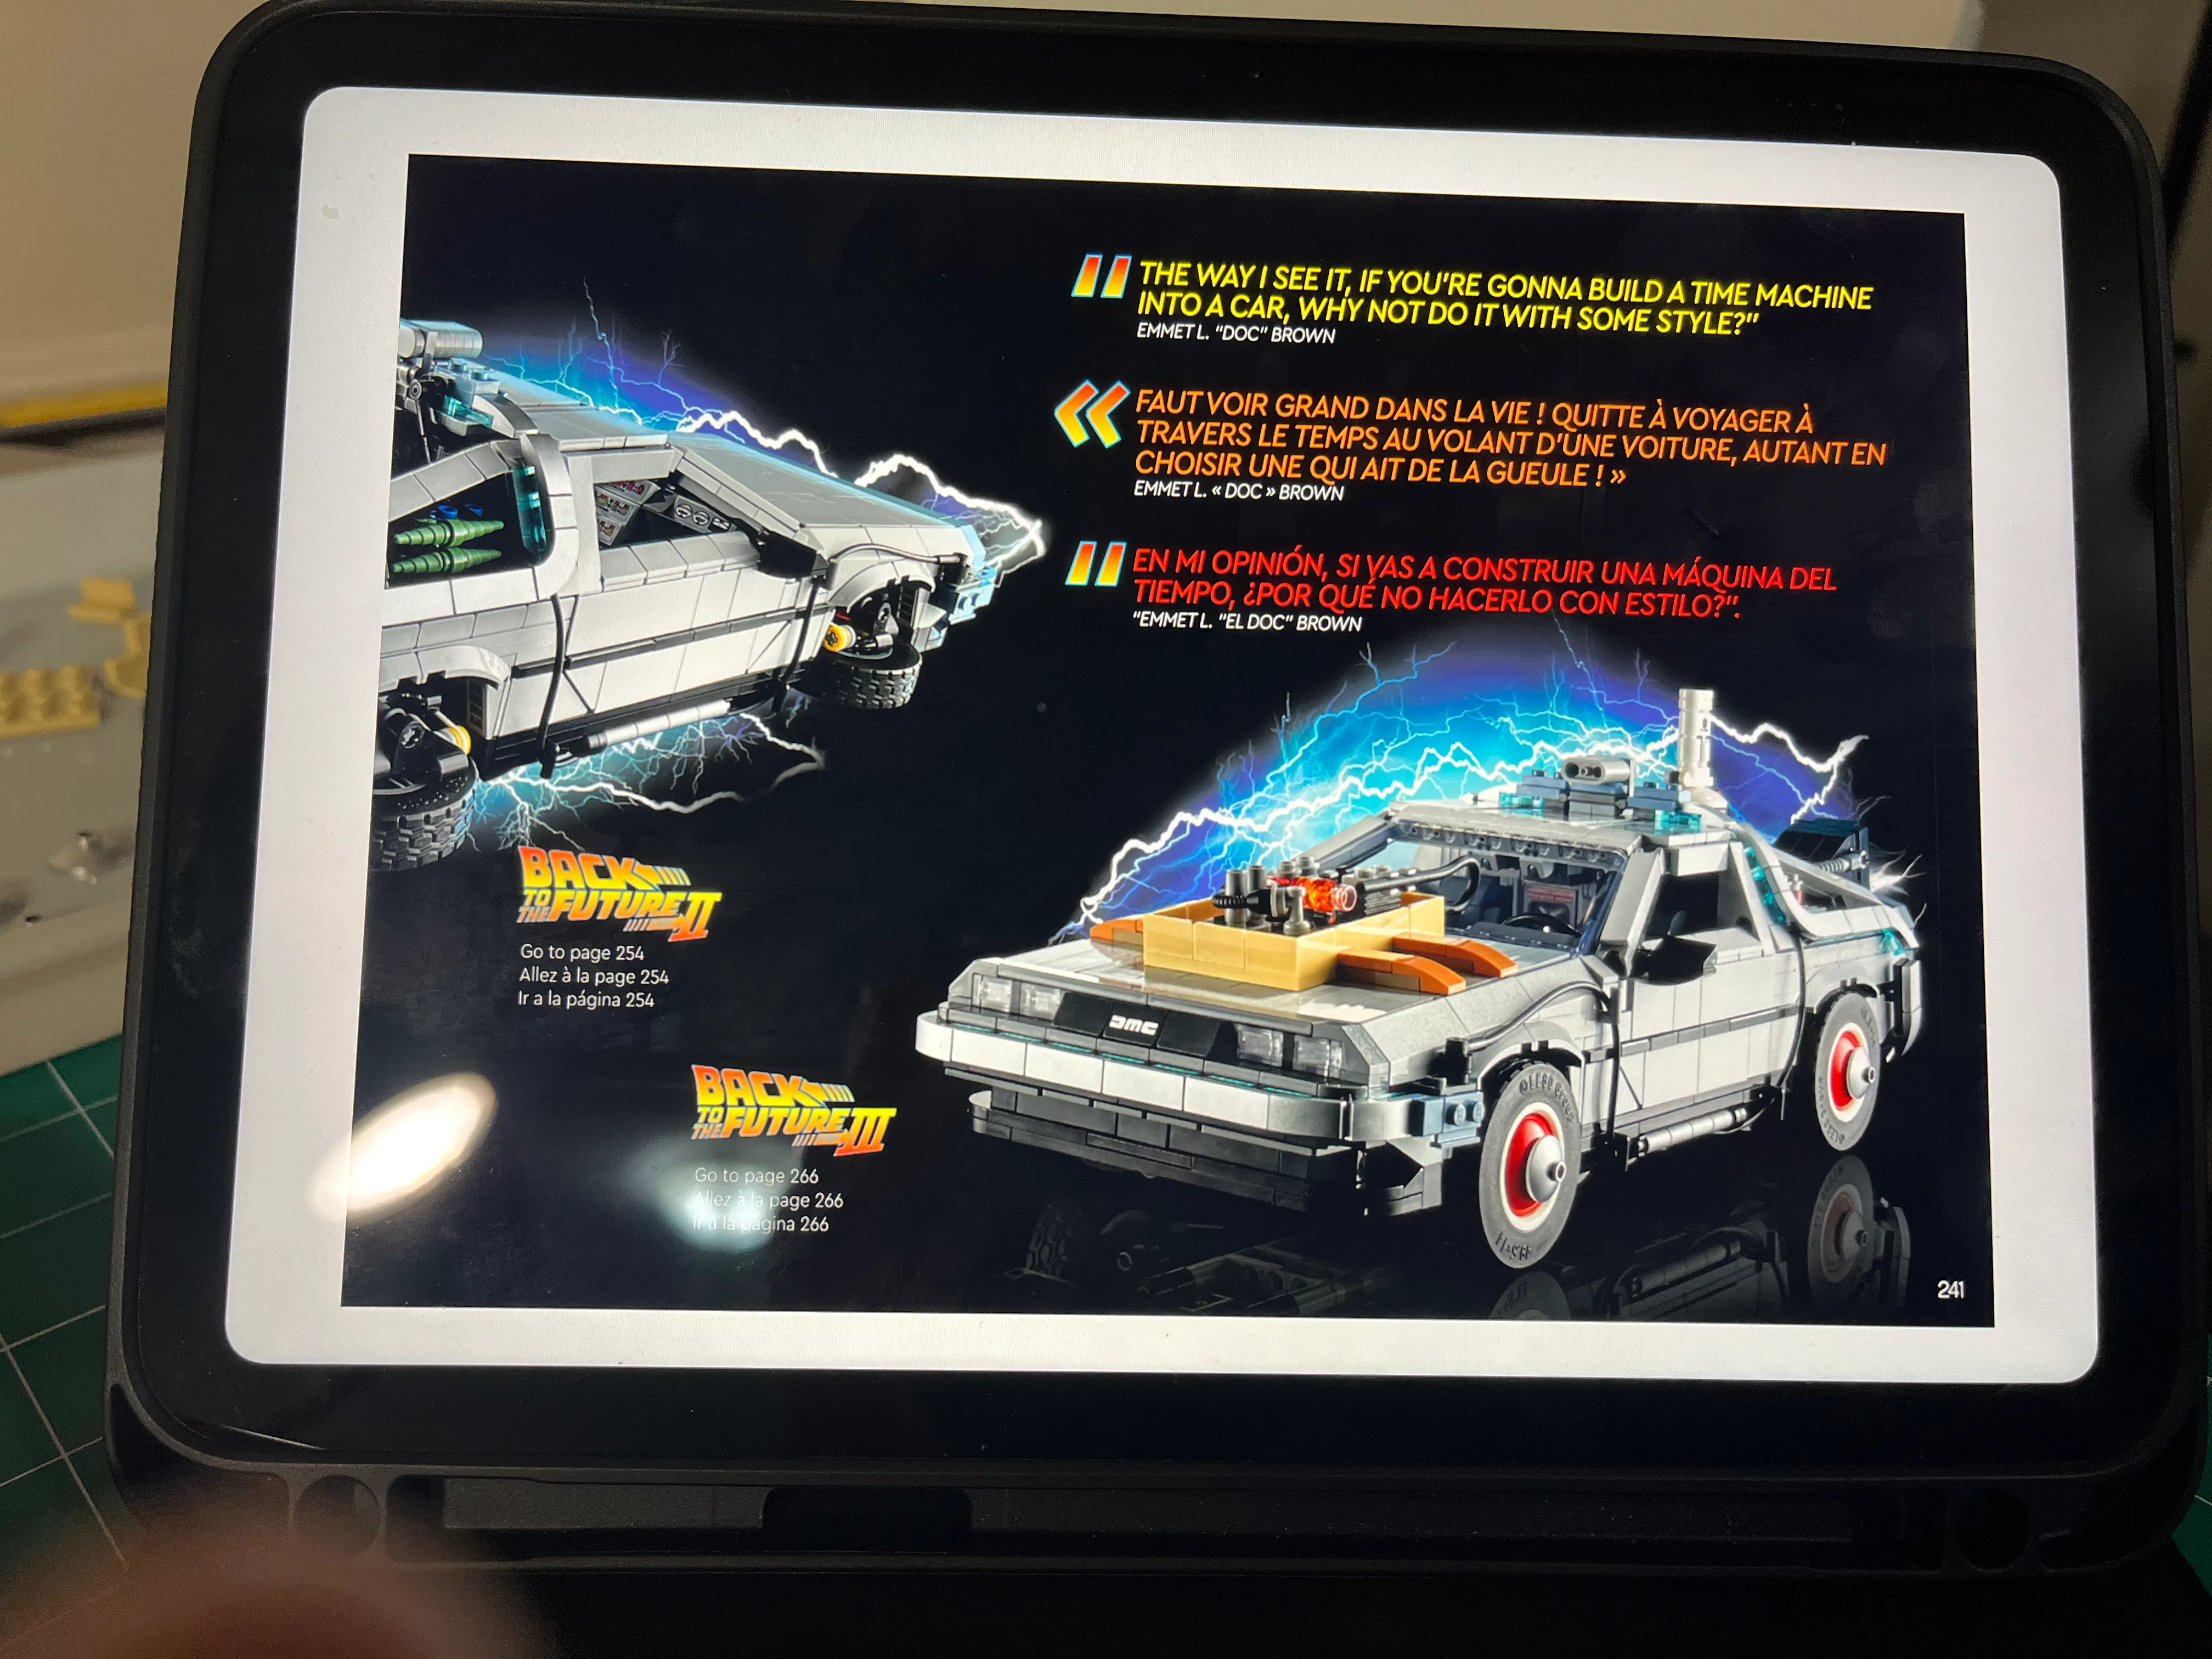
Which Back to the Future Time Machine LEGO model will you build? The original car from the classic 1985 movie? Or the slightly modified ones from the 1989 and 1990 sequels?
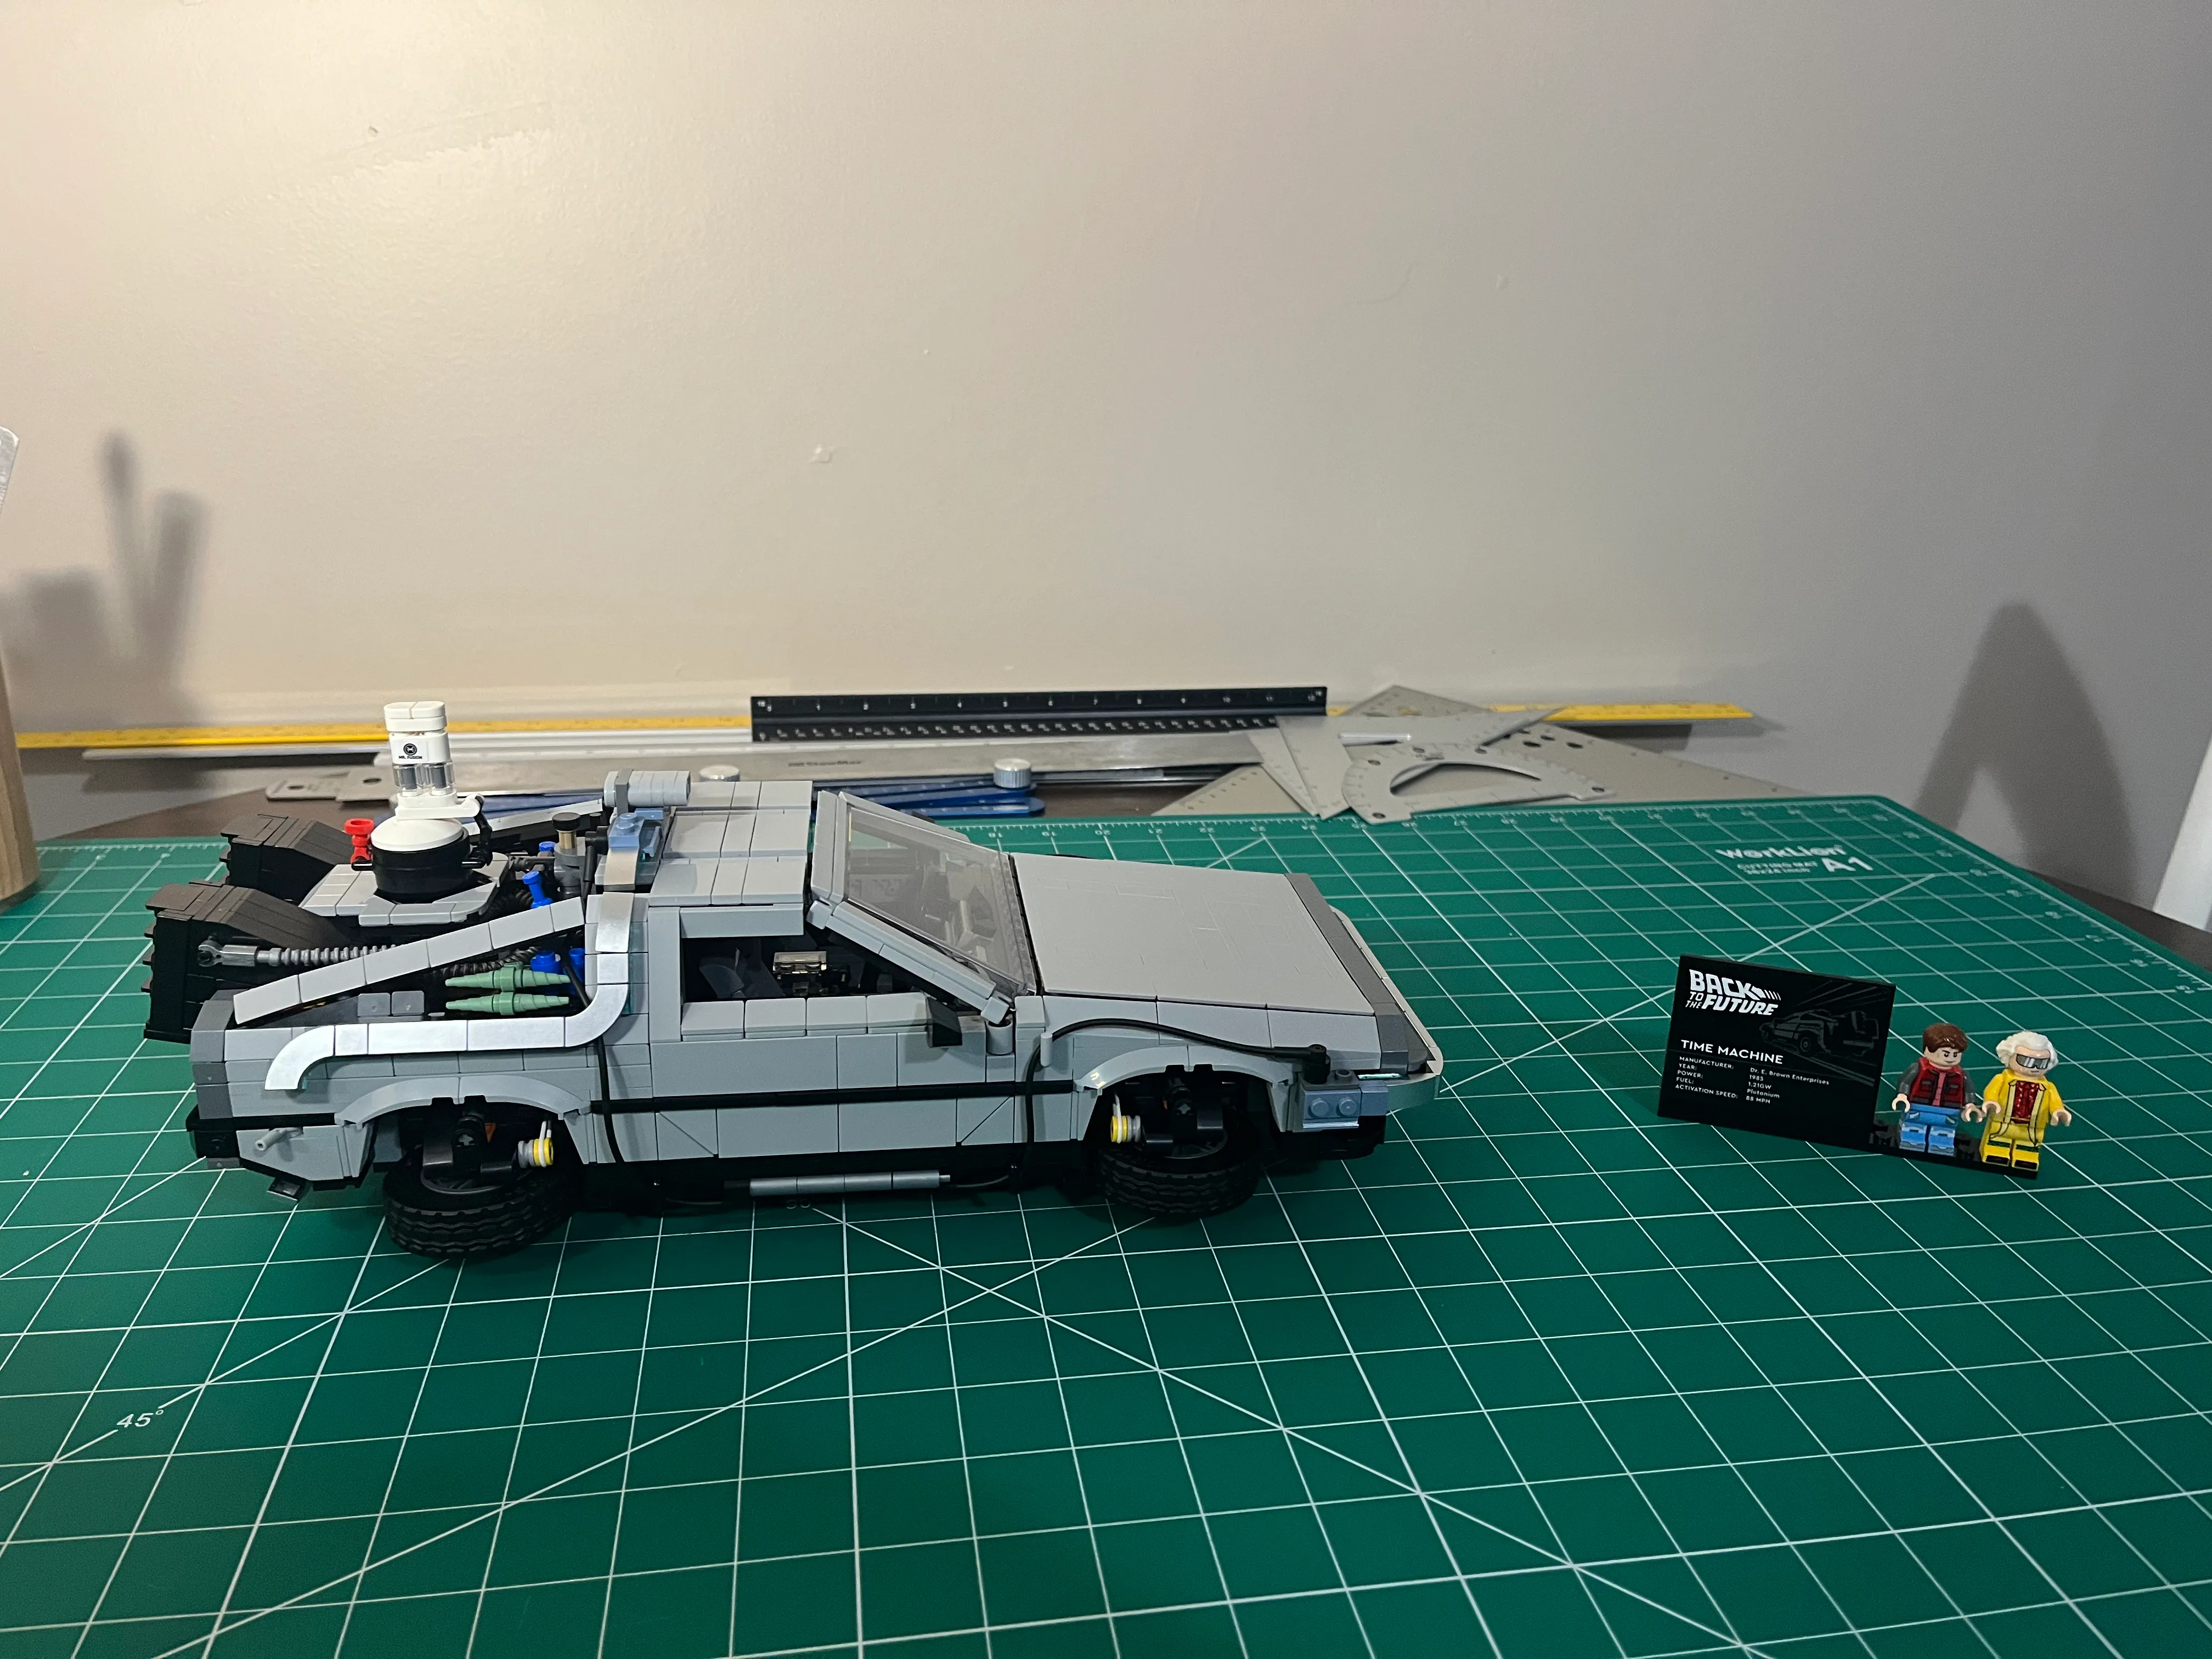
I chose the Back to the Future II model
Roads?! Where we’re goin’ we don’t need … roads.


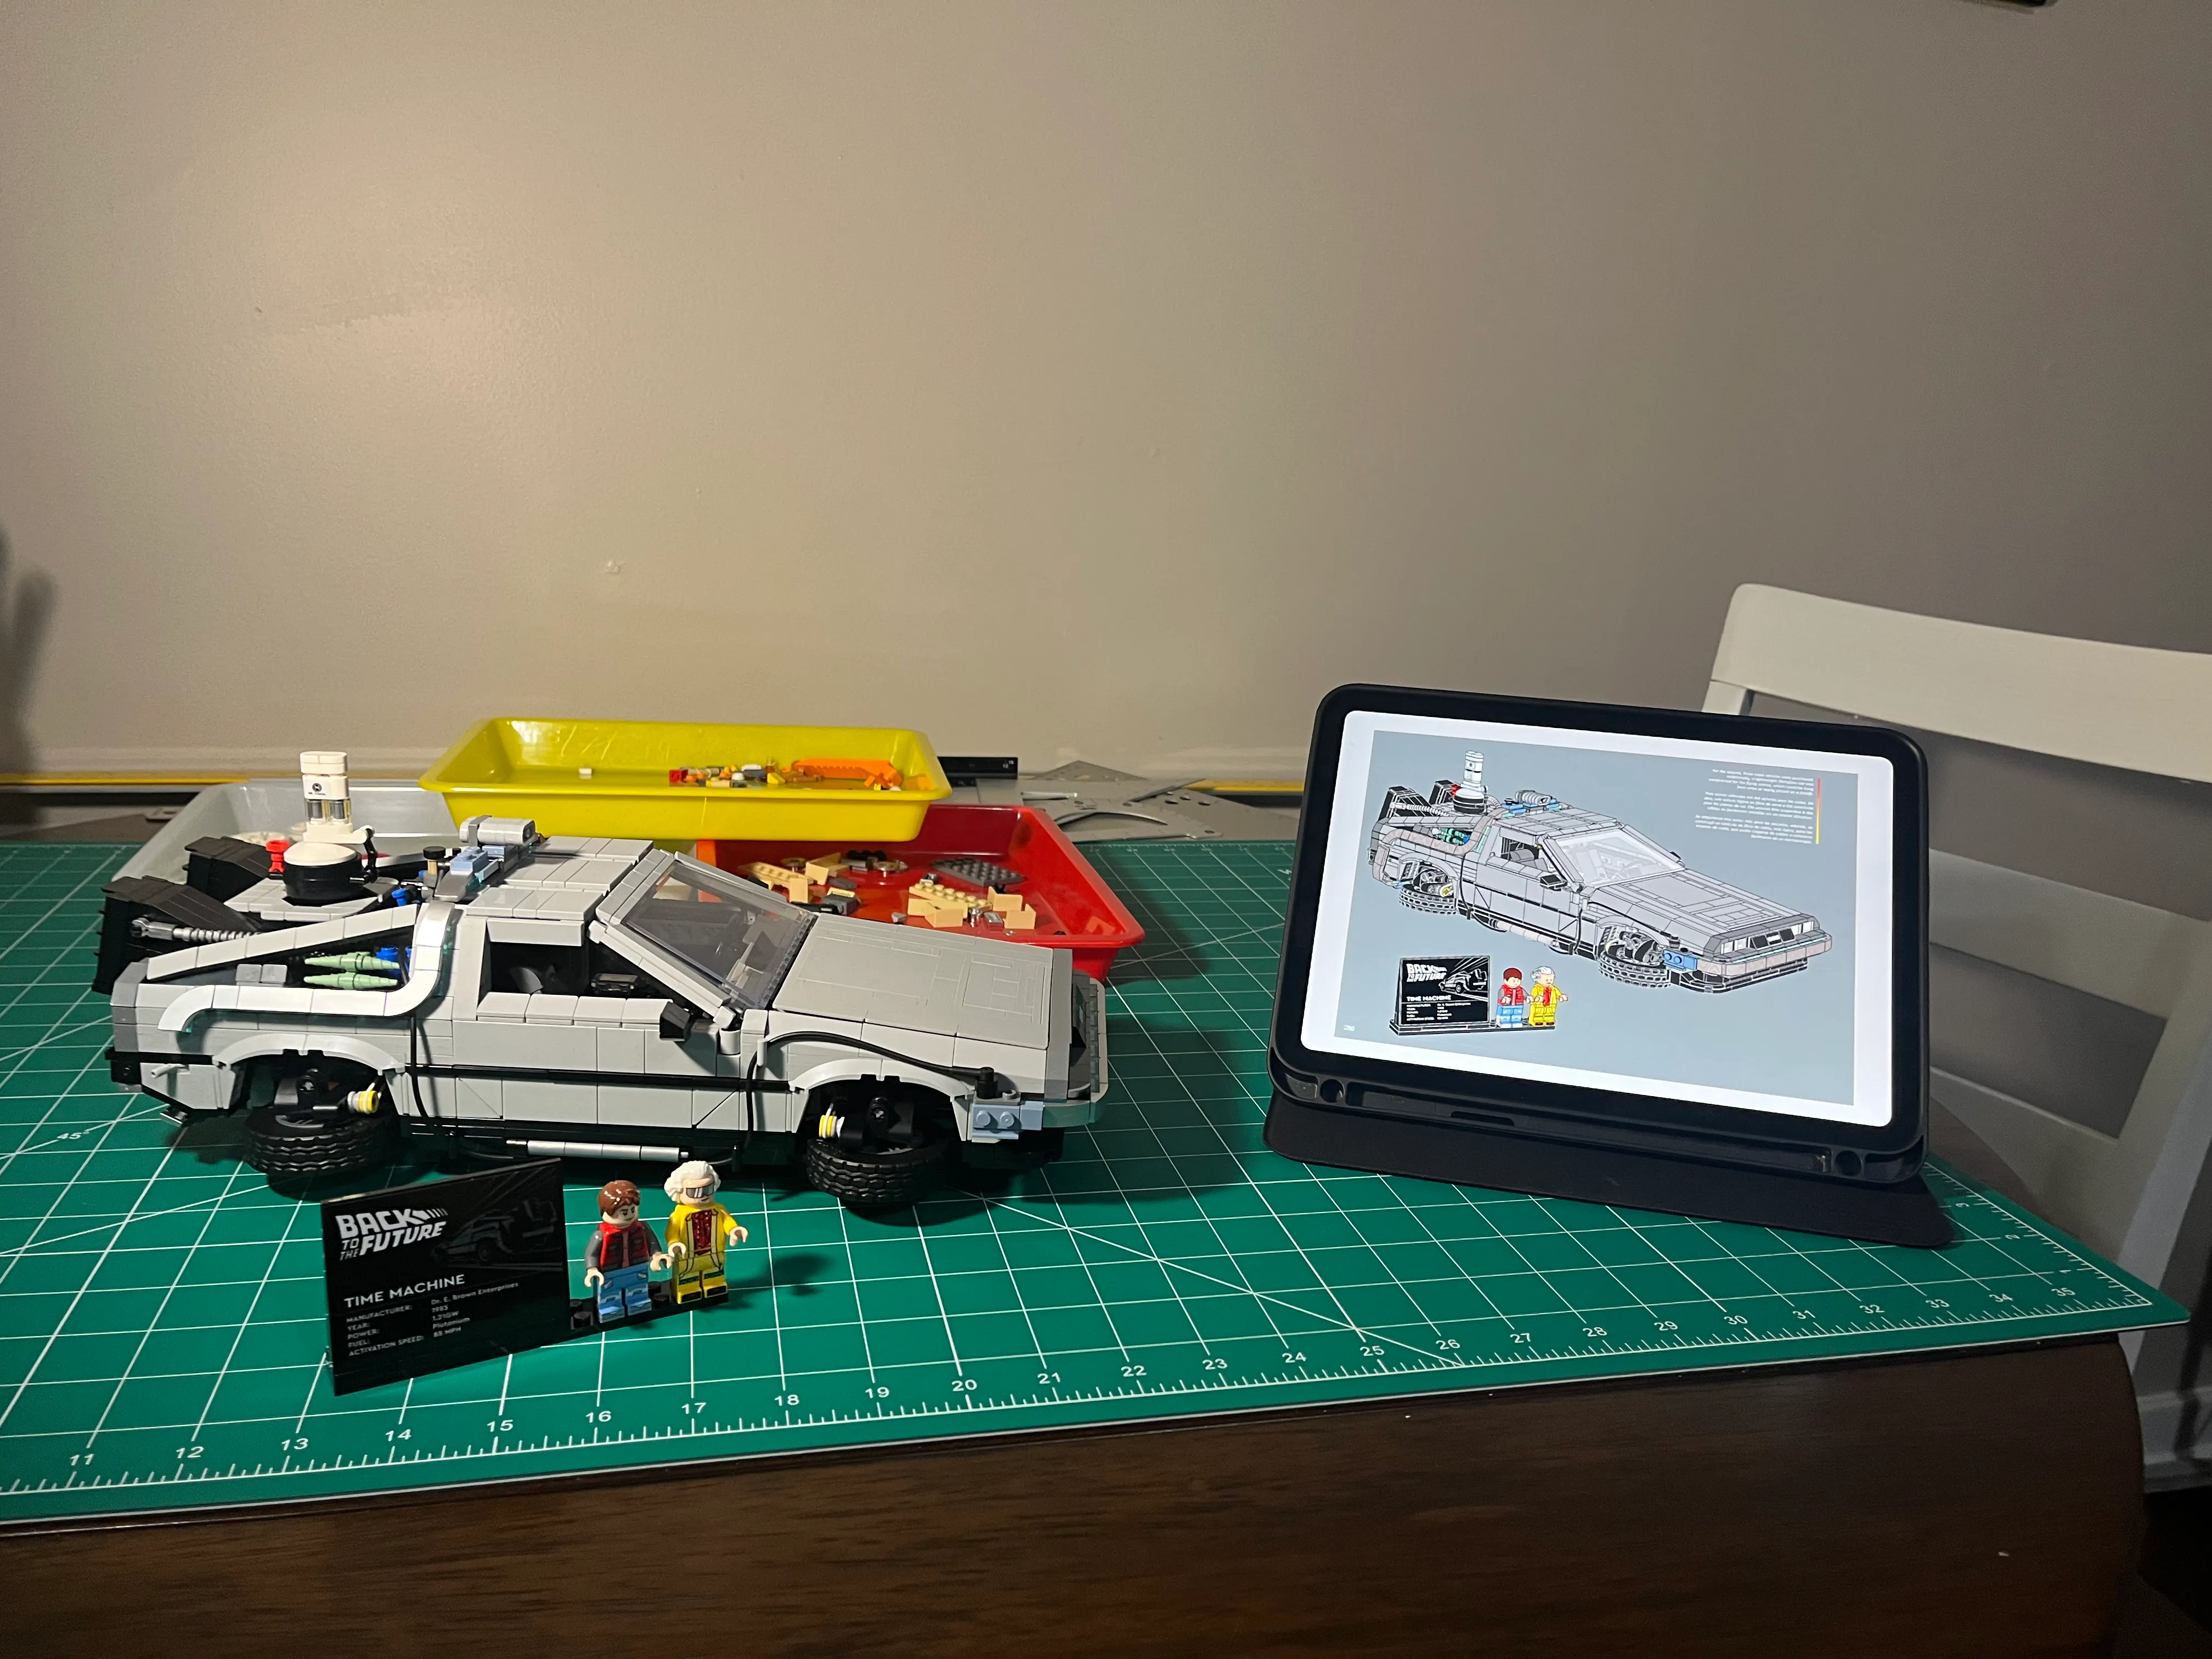
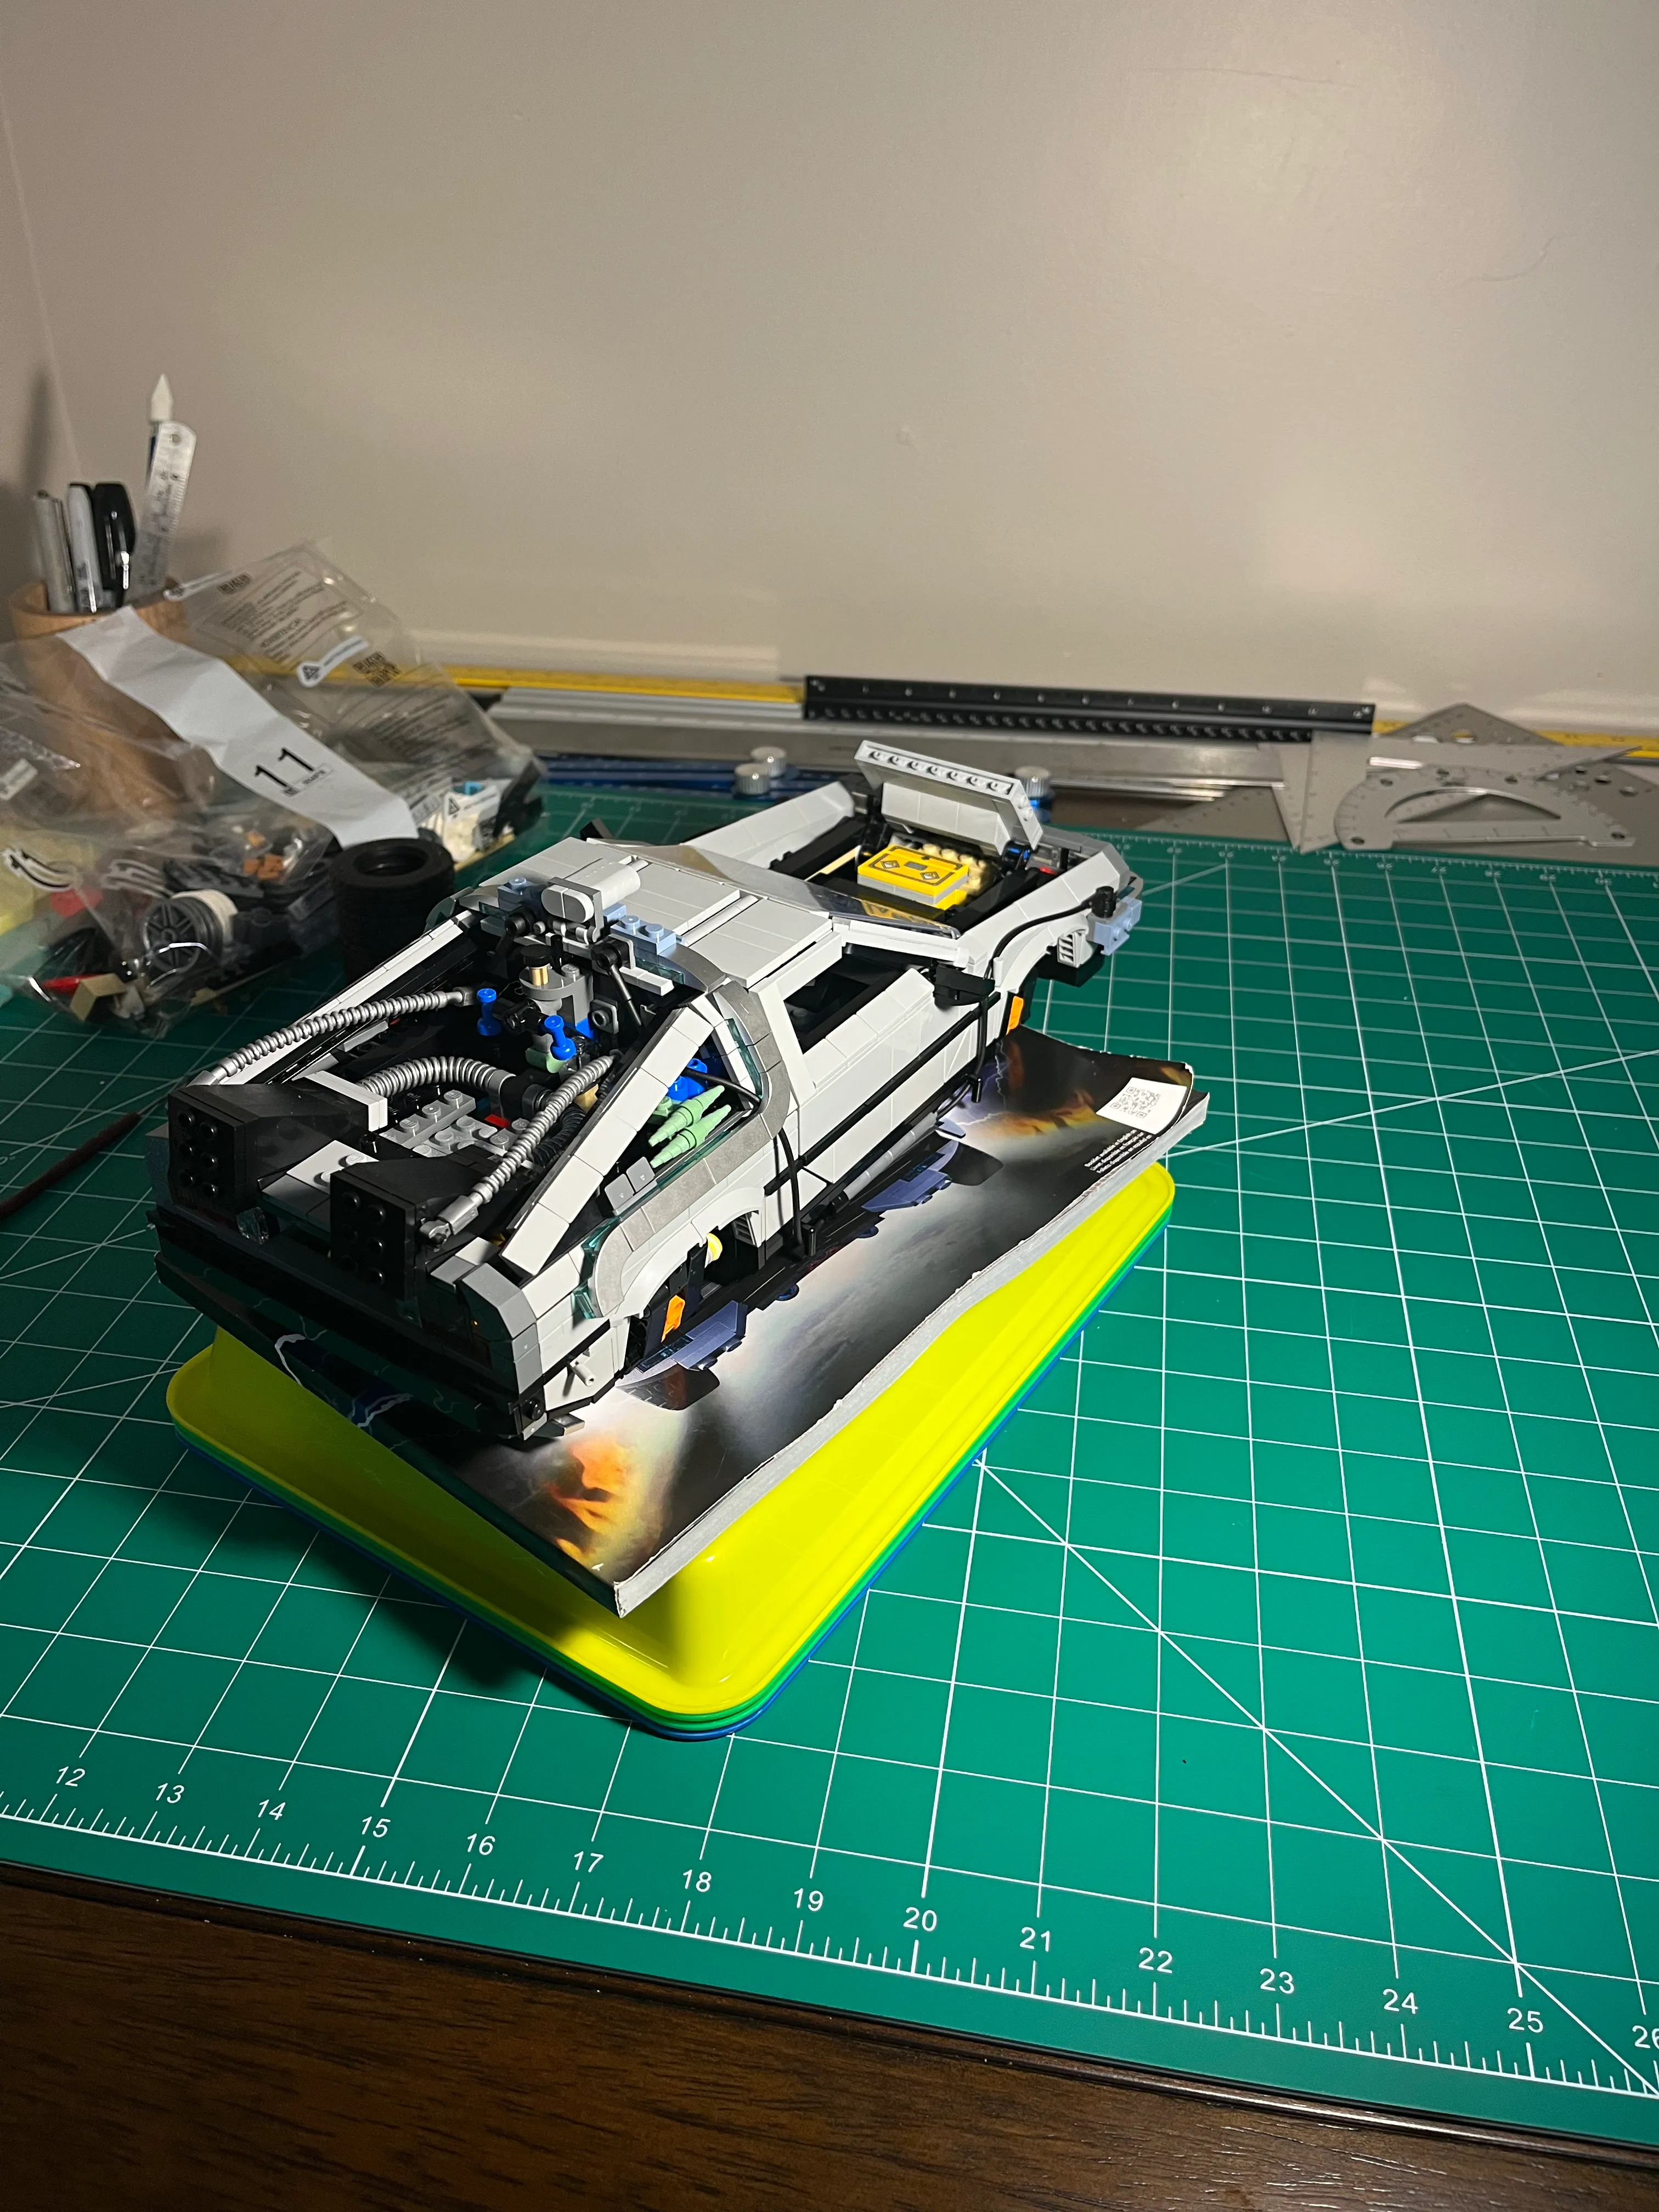
Completed Build